Desktop Environments (DEs) are to Linux distros what clothes are to people. They are bundles of GUI components, such as toolbars and icons, that give a Linux distro its look and feel.
But just like you don’t wear skinny jeans on a hike, using a basic DE like Xfce on a machine with a powerful processor doesn’t make sense.
We’ve shortlisted the best desktop environments for Debian machines to help you find the right match.
Top 3 Desktop Environments for Debian
Desktop environments are a dime a dozen, but here are three DEs that are objectively the best choices for a Debian installation:
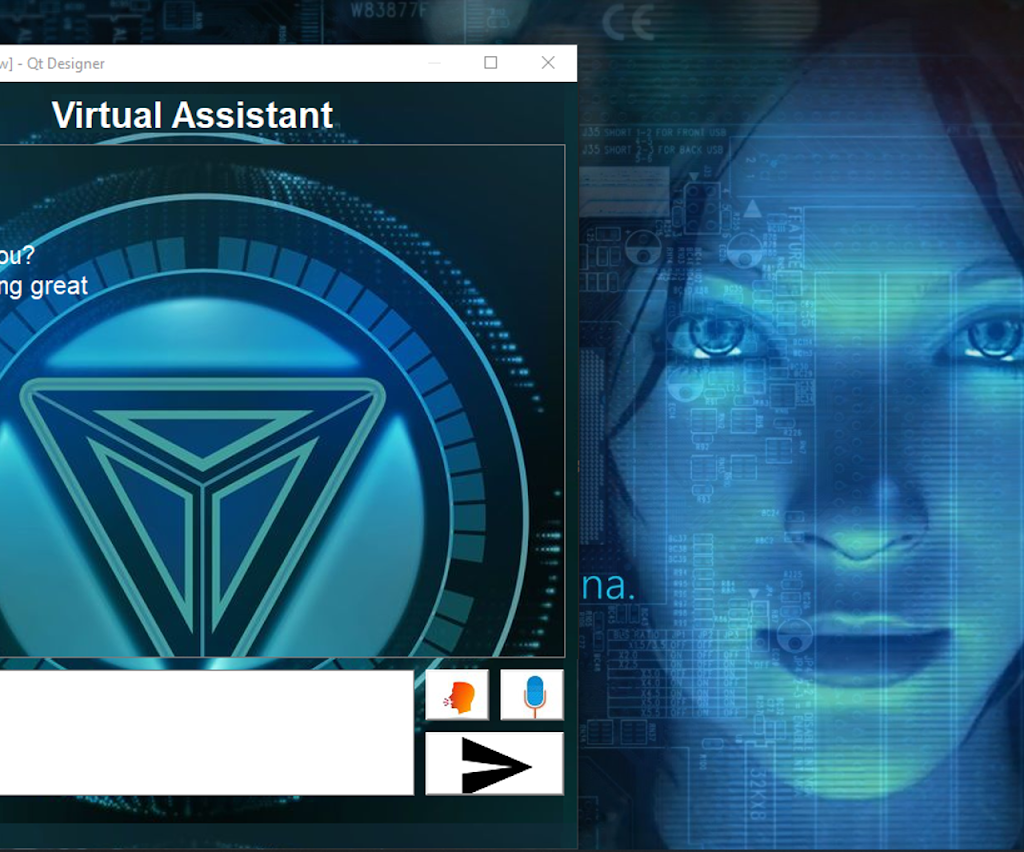
#1 KDE Plasma: Ideal for Power Users

KDE Plasma is the ultimate choice for Linux enthusiasts who deeply understand the operating system’s intricacies.
With its roots in catering to experienced users, Plasma has a reputation for being a robust distro with a steep learning curve.
However, Plasma has undergone significant transformations in recent years to enhance its accessibility without compromising its impressive capabilities.
Let’s explore the top features that make KDE Plasma the go-to option for power users:
Excellent UI and Desktop Experience
A stock Plasma installation presents an intuitive desktop layout akin to what Windows users have grown accustomed to over the years. The interface is visually pleasing and easy on the eyes.
But what truly sets Plasma apart is the unparalleled level of customization it offers. Like the Cinnamon DE, which we explore in the next section, Plasma empowers users to modify every aspect of the desktop environment to their liking.
From tweaking default UI settings such as taskbar location and appearance to having multiple taskbars or even replacing the menu toggle, Plasma offers an extensive range of design options, turning your desktop into a personalized workspace.
Support for a Huge Assortment of Tools
Plasma provides out-of-the-box support for numerous tools and applications, ensuring a seamless user experience. It comes bundled with essential applications catering to casual users, students, and working professionals alike.
Additionally, Plasma boasts remarkable integration capabilities, allowing you to connect your smartphone for data exchange, media control, and more through the installation of KDE Connect.
One of the best things about Plasma is that it’s easy to find open-source tools for completing unorthodox tasks. But the environment encourages innovation and empowers users to develop their own tools, reflecting the community’s commitment to crafting efficient solutions for any challenges users may encounter.
Customizability
Plasma is a playground for customization enthusiasts. It offers an expansive range of options to personalize your desktop environment. Choose from thousands of themes or mix and match components to create a unique look and feel.
Want the icons from one theme but prefer the taskbar design from another? With Plasma, you can effortlessly combine elements from different options, resulting in a cohesive and visually pleasing aesthetic. The seamless integration of these diverse components ensures a pleasant experience with minimal disruptions.
More interestingly, users will have no trouble finding a Windows theme for Plasma. So, if you’ve been using Windows for years and this is your first switch to Linux, you won’t be missing your old Windows installation with such a theme installed.
Speed and Stability
One of the hallmarks of Debian and Linux-based desktop environments is their exceptional performance and stability. Plasma excels in this aspect, demonstrating efficient resource management and low system requirements.
It runs smoothly even on older hardware, utilizing minimal RAM (approximately 500 MB when idle) and displaying low CPU usage. The absence of unnecessary bloatware and its small footprint contributes to a snappy and responsive desktop experience.
Once you’ve experienced the speed and efficiency of Plasma, you’ll think twice before reverting to another DE.
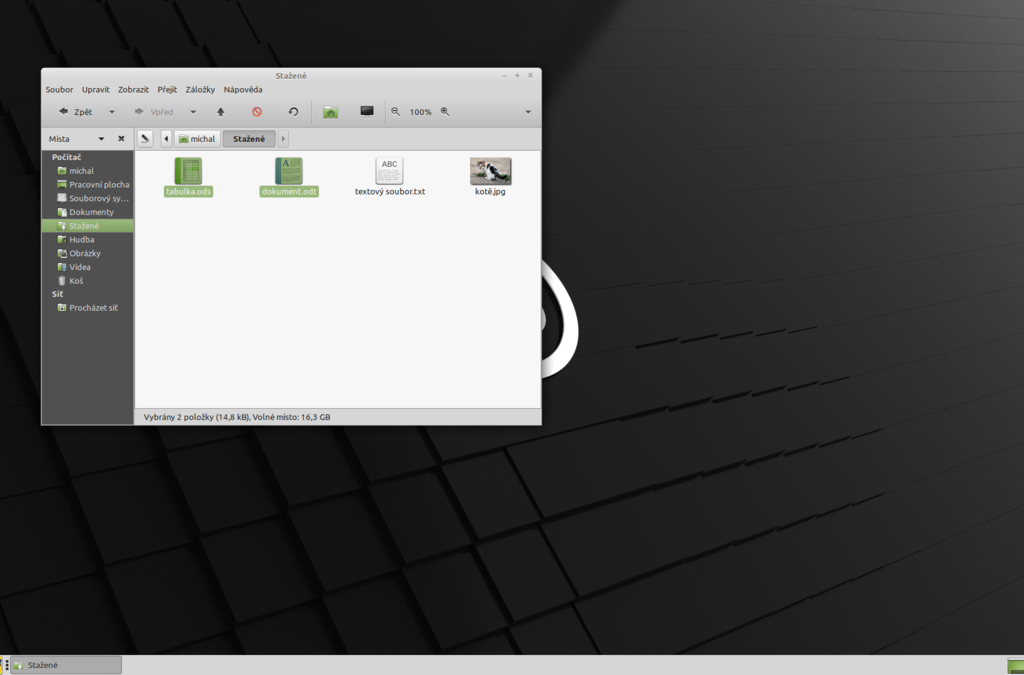
#2 Cinnamon DE: Perfect for Casual Use
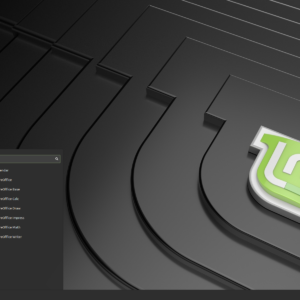
Cinnamon is an exceptional choice for a delightful desktop experience, offering a plethora of unique features, an abundance of themes, and extensive customization options. This stable and community-supported open-source desktop environment is renowned for its adaptability, speed, and user-friendly design.
In our assessment, Cinnamon has proven itself as a remarkable Linux desktop environment, showcasing its versatility and support for a wide range of features. To delve deeper, let’s explore the standout characteristics that make Cinnamon the best choice for casual users on Debian:
An Intuitive UI
Cinnamon is an excellent option for casual desktop users with its user-friendly features and easily graspable design.
From the moment you log into the Cinnamon desktop, you’ll feel right at home, thanks to its intuitive and thoughtfully crafted user interface. Furthermore, Cinnamon offers extensive customization capabilities, allowing you to tailor the desktop to your preferences.
Out of the box, Cinnamon shares similarities with the GNOME desktop environment, as it was initially developed based on GNOME 3.
However, don’t mistake this resemblance for staleness, as Cinnamon excels in flexibility and ease of use. If you’re transitioning from Windows, Cinnamon will be an excellent choice, providing a familiar and comfortable environment.
Don’t be deceived by Cinnamon’s minimalist appearance upon first booting it up on Debian. You can choose from hundreds of different themes or even design your own.
Further, you can customize icons and modify virtually every aspect of the user interface to create a personalized desktop experience. With just a few minutes of exploration, you’ll be amazed by the intuitive flexibility of customizing your desktop to match your preferences.
Notably, Cinnamon allows you to rearrange desktop elements to any side of the screen, granting you further control over the layout and enhancing your overall user experience.
Supports All Types of Tools
Whether you’re engaged in professional work, setting up a server, or indulging in gaming, Cinnamon has you covered.
It comes bundled with a comprehensive set of tools for various tasks, including office-based work with applications like LibreOffice, networking utilities, and an extensive selection of software to cater to your diverse needs.
Moreover, Cinnamon boasts compatibility with a vast library of software, allowing you to download and install additional tools as required, ensuring you have the necessary resources to accomplish your tasks efficiently.
Highly Stable
In addition to its remarkable customizability, Cinnamon provides a highly stable desktop environment. Our extensive testing encompassing various scenarios and tasks has demonstrated its reliability, particularly with the latest versions.
Cinnamon’s commitment to stability ensures a consistent and hassle-free user experience.
Enhanced Security
Cinnamon’s development community has recently prioritized security by implementing essential security protocols.
While no system is perfect, the latest updates have significantly bolstered Cinnamon’s security, making it more robust than many other alternatives. Cinnamon’s enhanced security measures offer a reliable level of protection for casual users.
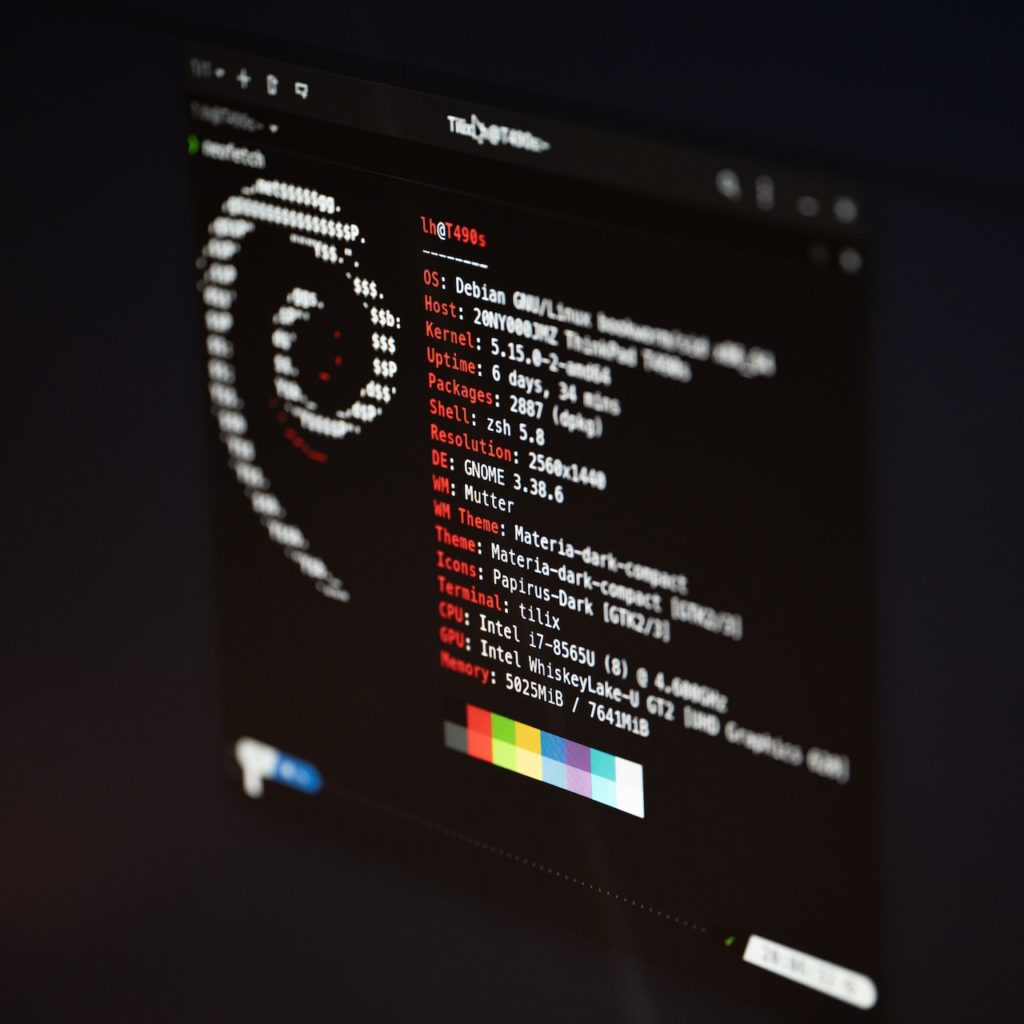
#3 Xfce: Best Lightweight DE
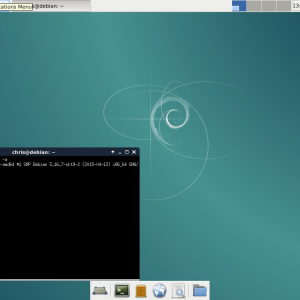
If you’re venturing into the world of Linux for the first time and happen to possess aging computer hardware, Xfce is the perfect match.
Operating on a mere fraction of the RAM and processing power compared to other desktop environments, Xfce performs remarkably well on virtually any hardware configuration.
Whether you’re exploring Debian for the first time or simply seeking a lightweight option, Xfce delivers a seamless experience.
This remarkable efficiency empowers Xfce to handle various operations that would otherwise be challenging on low-resource machines.
From setting up servers and surveillance systems to establishing proxy or VPN connections, conducting data backups, and much more, Xfce enables you to accomplish these tasks without being hindered by hardware limitations.
Lightweight Yet Strikingly Versatile Interface
While the default appearance of Xfce may not immediately captivate you like some other Debian desktop environments do, a little effort can transform its aesthetic to your liking.
With a modest degree of customization, you can still modify the look and select from a few different styles. However, it’s important to note that Xfce’s customization capabilities may not rival those of Plasma or Cinnamon. Nonetheless, you’ll enjoy a stable and swift experience that feels effortlessly smooth to work on.
Modular Design and Extensive Plugin Support
Xfce embraces a modular system design, granting it unparalleled flexibility and reusability of packages. Furthermore, it provides excellent plugin support across various applications, enabling highly customizable panels and user interfaces.
With a plethora of plugins at your disposal, you can tailor Xfce to meet your exact preferences.
These highly optimized plugins and built-in tools allow for seamless configuration without sacrificing resource efficiency. From CPU usage graphs and Verve Command-Line to workspaces and mail watcher plugins, Xfce offers diverse customization options to enhance your workflow.
Intelligent Integration Strategies and Superb Software Support
Although Xfce is built on GTK, it doesn’t limit itself to that framework alone. Thanks to its modular design, Xfce seamlessly supports software developed on other frameworks like Qt, GNOME, Electron, and more.
While Qt programs might have occasional theming challenges, such issues can be effortlessly resolved by configuring the applications with utilities like Kvantum.
Another significant advantage of Xfce’s modular design is that you needn’t reconfigure the entire desktop environment in case of instability or breakage in a specific component.
In most cases, minor adjustments to the problematic segment are sufficient to resolve any issues, allowing for a smoother overall experience.


")

")