Introduction
After 26 months of development the Debian project released its new stable version, Debian 9, code name ‘Stretch’. Thanks to the work of the Debian Security team and the Debian Long Term Support this new version will be supported for 5 years.
Debian 9 is dedicated to the project’s founder, who passed away on 28 December 2015.
What’s new in Debian 9
In Debian 9, Firefox and Thunderbird replace their debranded versions Iceweasel and Icedove, present in the archive for more then 10 years.
Thanks to the Reproducible Builds almost every source package included in Debian 9 will build bit-for-bit identical binary packages and this protects users from malicious attempts to tamper with build networks and compilers.
Goals
In this tutorial we will see how to complete a minimal installation of Debian 9 for server purposes, using a netinstall image.
Debian installation
After booting from the media containing Debian 9, choose the installation method.
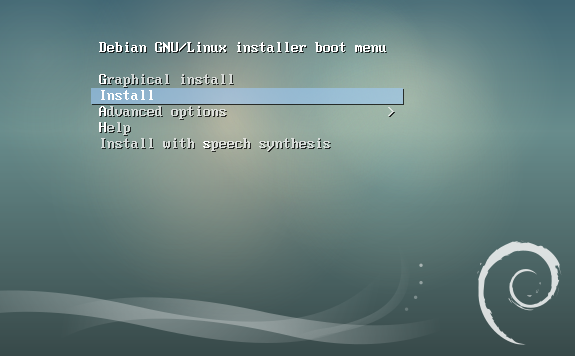
In this guide we will use the classic textual “Install”.
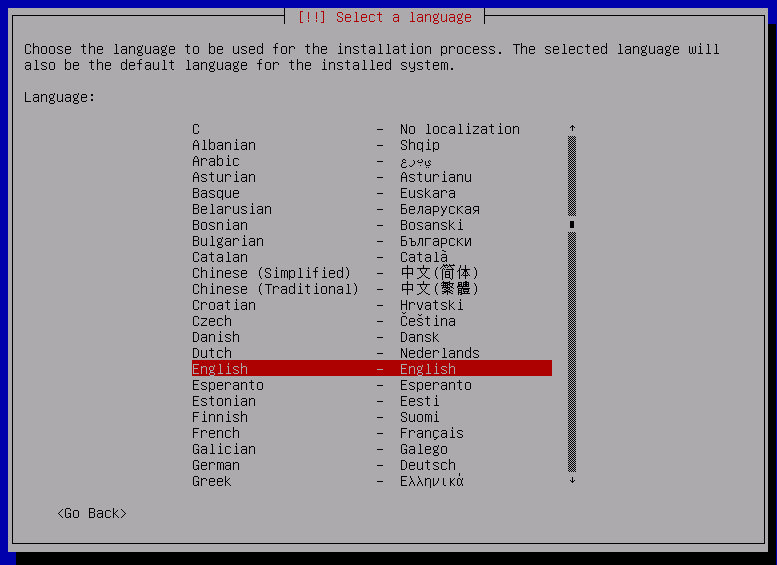
Language selection
Select the language to be used during the installation process.
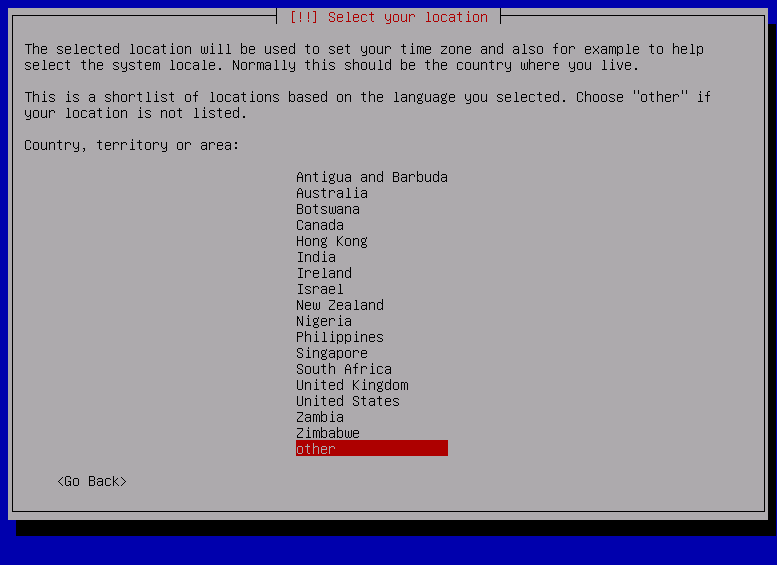
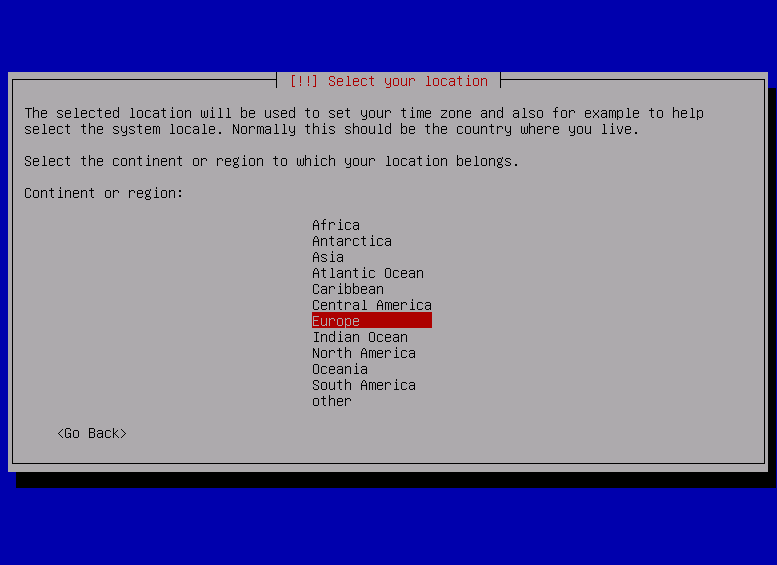
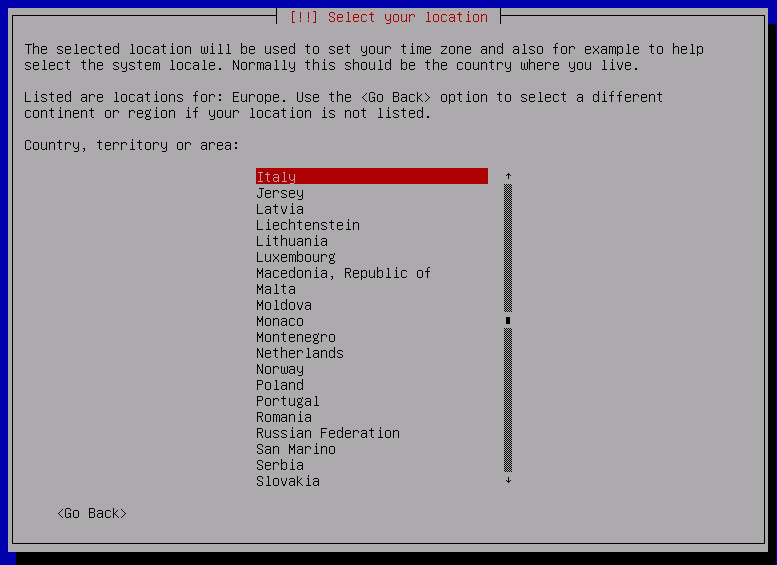
Next, select your location.
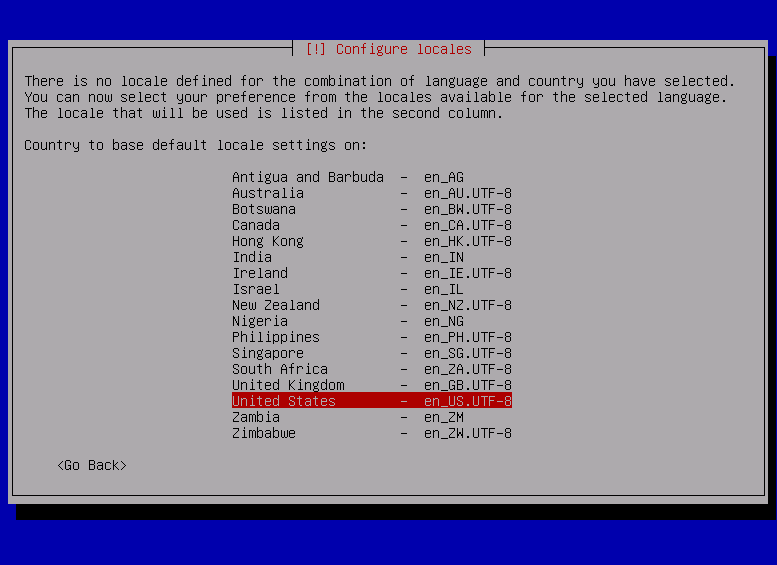
Select locales
In some case, there is no locale predefined for the combination of country and language chosen, so you’ll be required to select one.
Next, you can choose the keyboard layout.
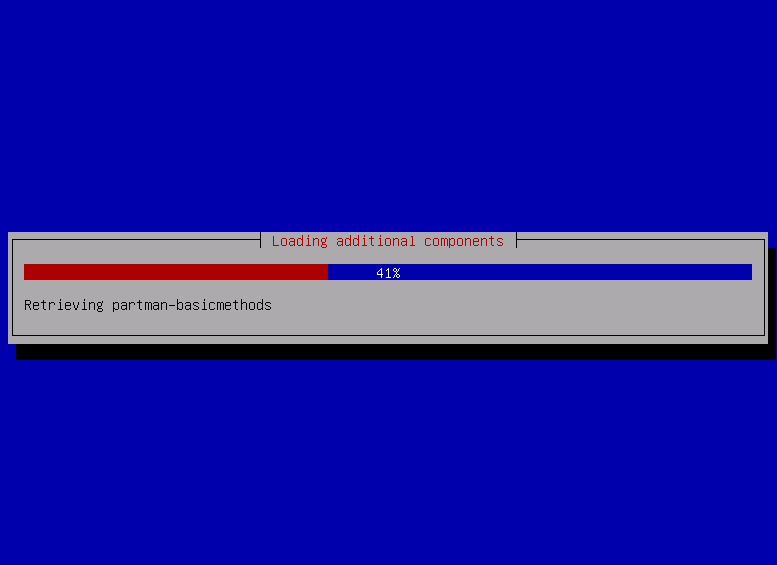
After that, the system will load additional components. This is a very fast process.
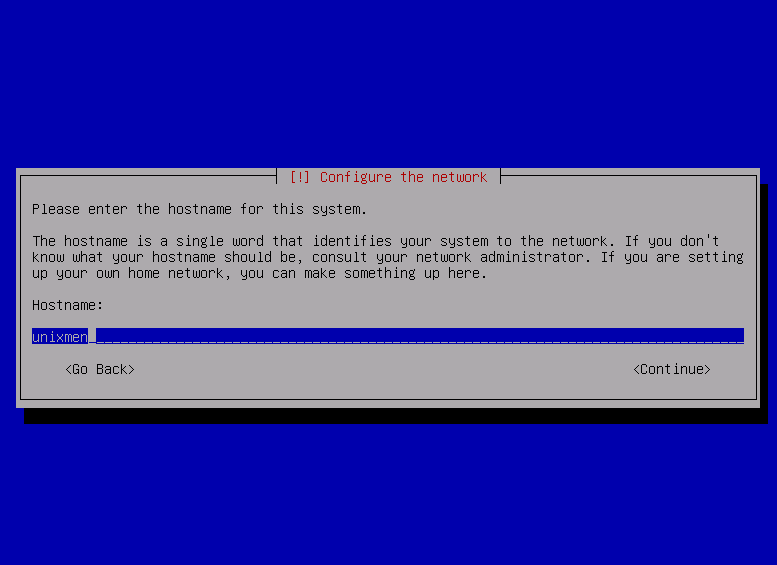
Configuring Hostname
Insert the hostname to be used, as in the following screenshot:
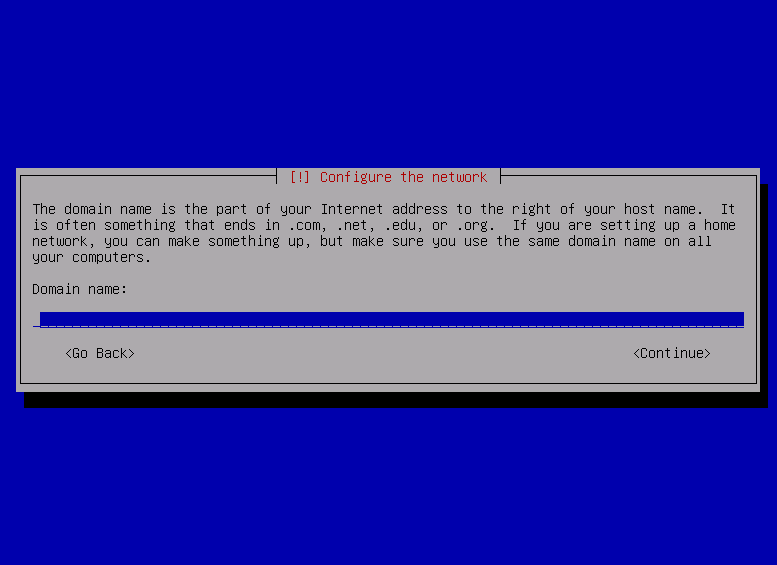
Configuring Domain Name
After the hostname, let Debian know what the domain name is. In case of home network it is not required to insert a domain, so we’ll leave it blank.
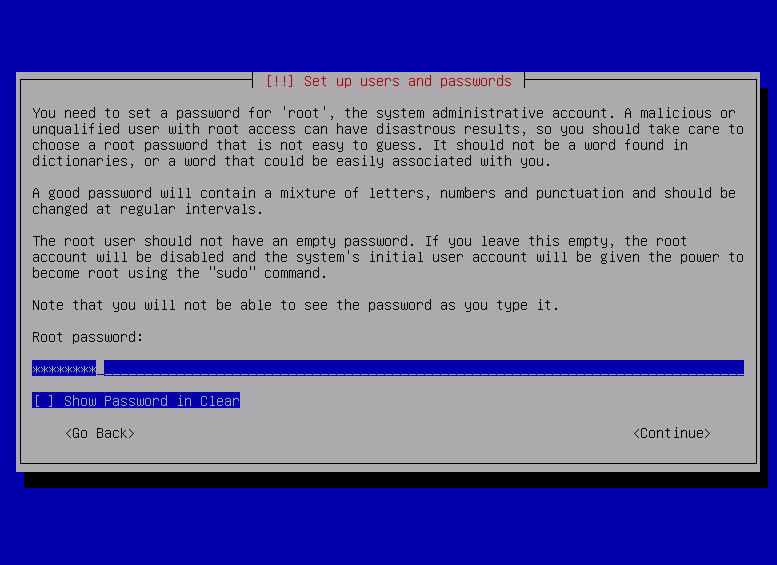
New Root Password
Enter a new password for the root account. Use one secure enough, because, as every GNU/Linux user knows, this is the most important password in the system.
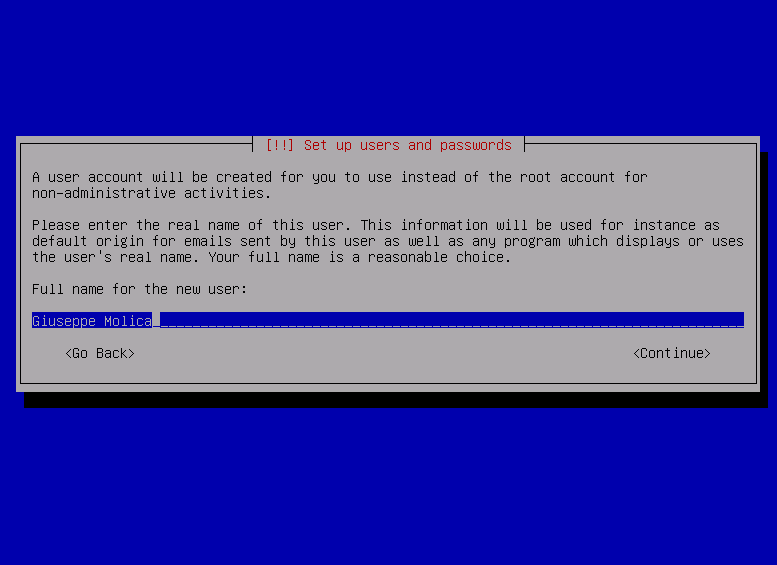
Create a new user
Create a new, non-root user.
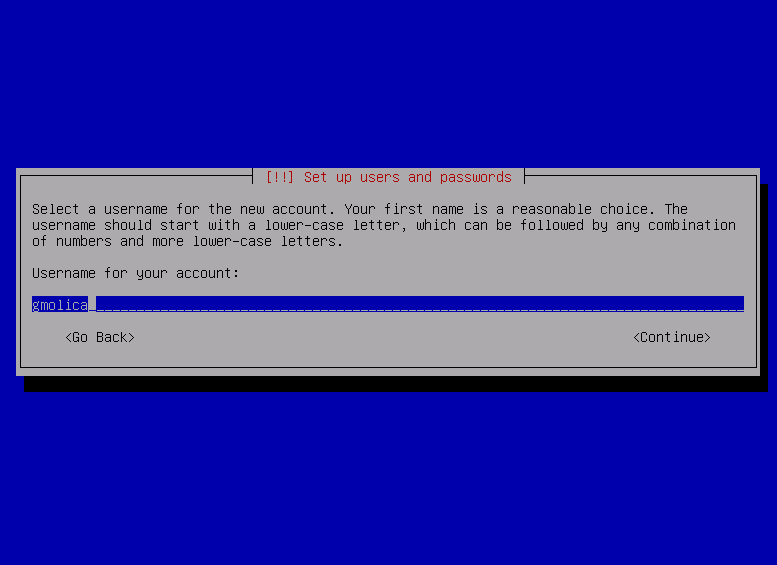
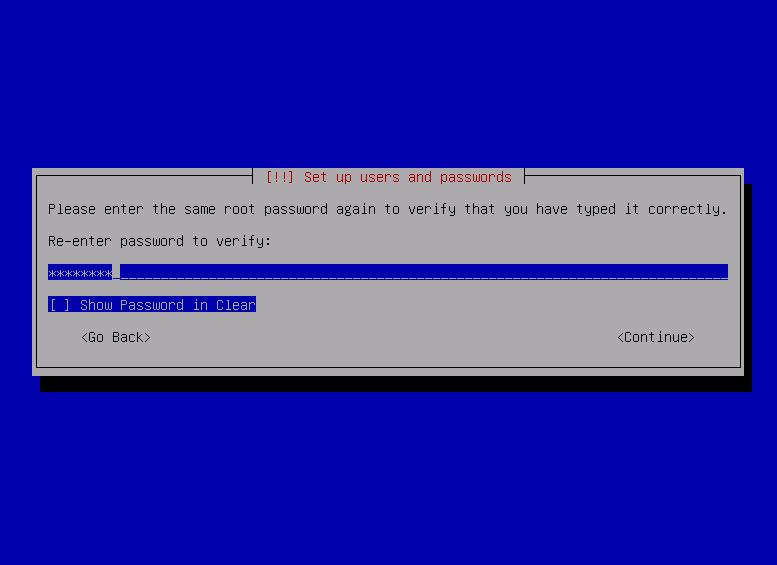
Verify the password, and wait.
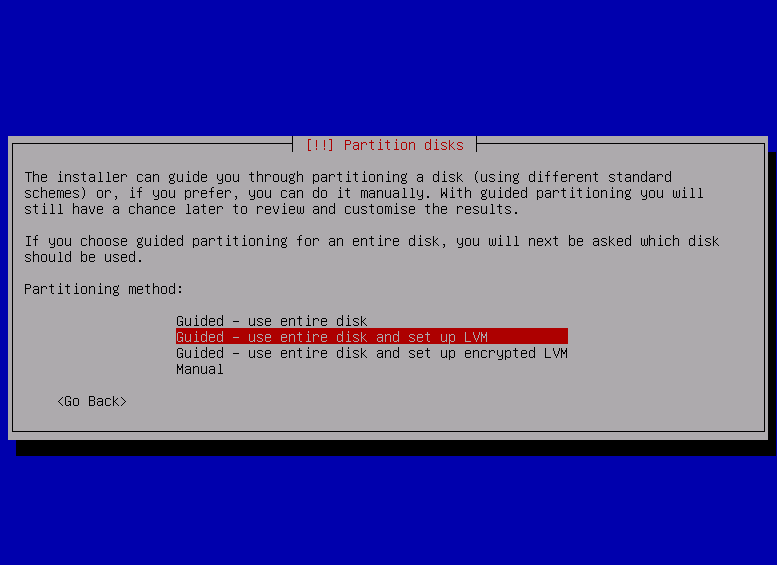
Partitions Creation
At this point, the next step is disk preparation. We need to manage the partition scheme. Debian automates almost everything. In fact, we can choose the “guided” option using LVM, which has some advantages, for example, taking advantage of opportunities to add disks or resize partitions.
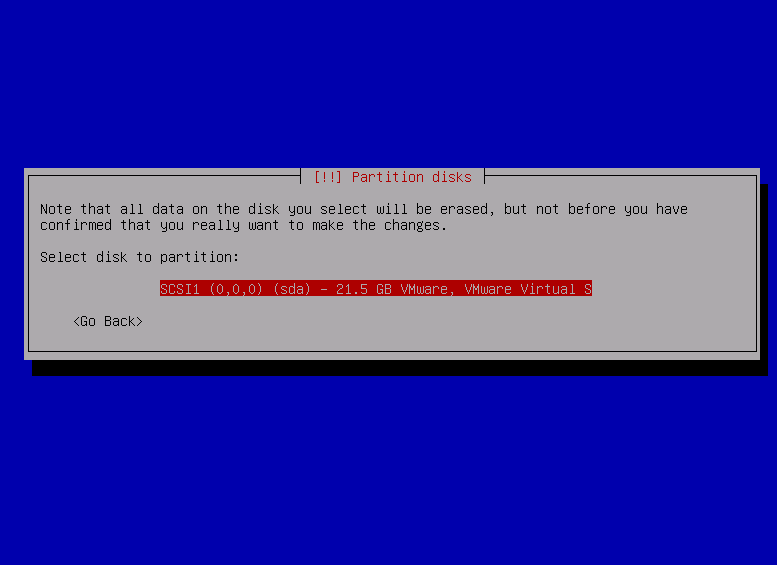
Next, select the disk that will contain Debian. In our case it’s just a virtual machine.
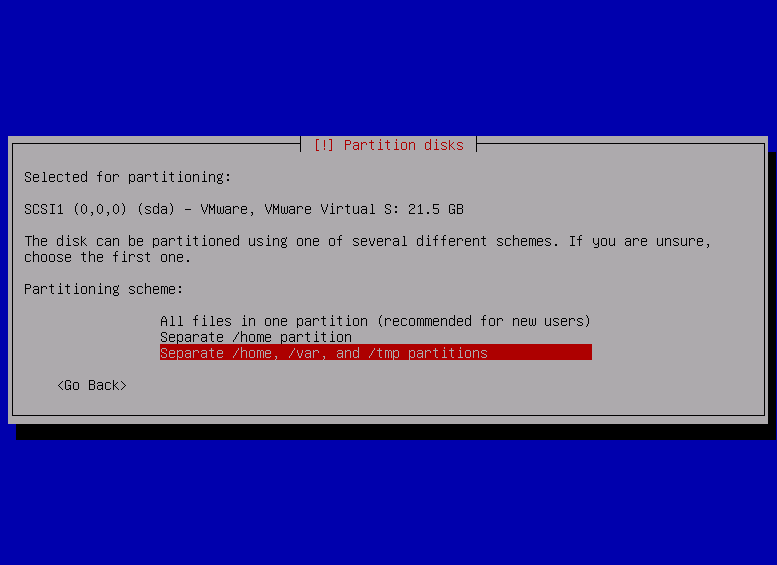
Next, decide how to partition the selected disk.
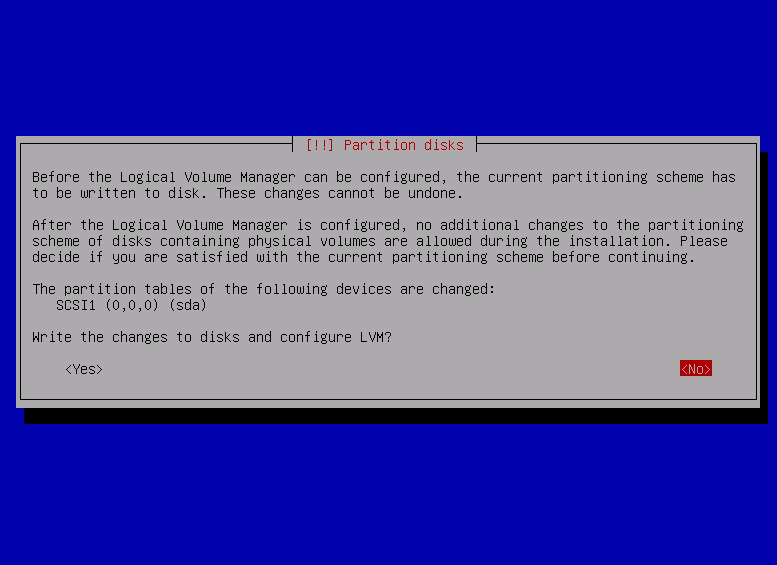
The installer will ask if we are satisfied with the chosen partitioning scheme. This is the last chance to make changes before writing the changes to the disk.
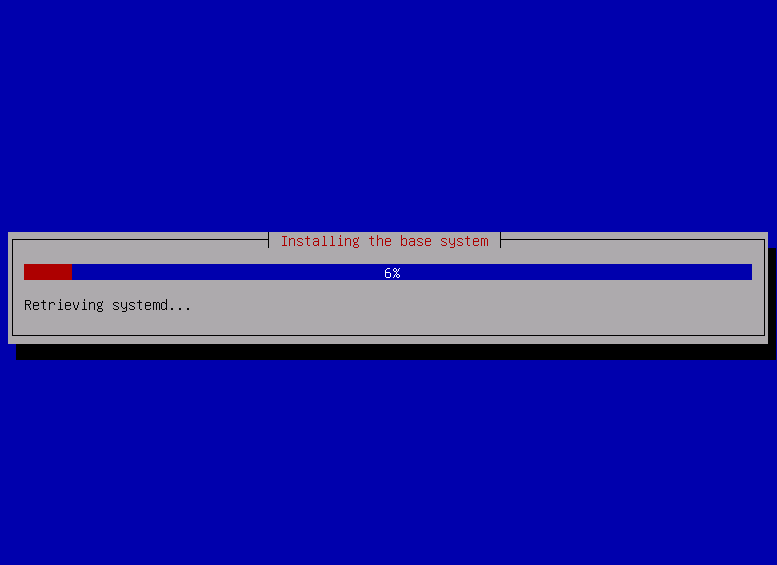
Base system installation
At this point the installation of the base system will start.
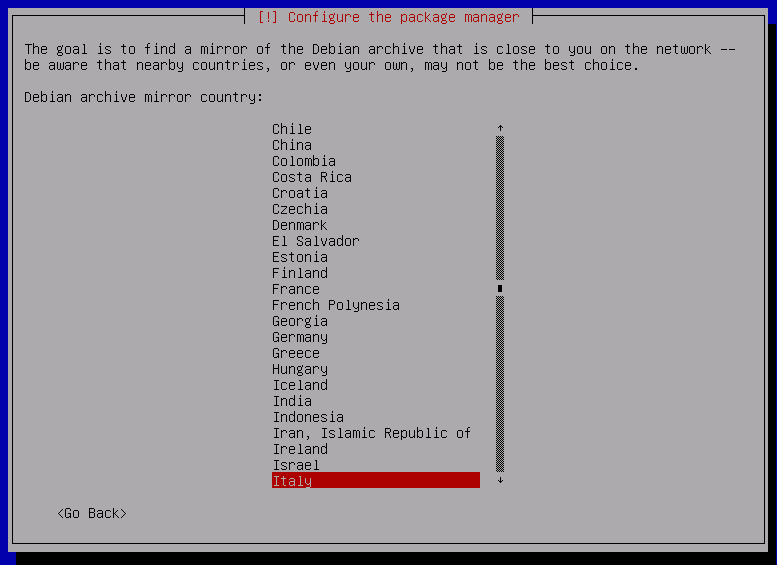
Configure the package manager
Next step is to configure apt repositories. First, choose the mirror country.
Select a mirror.
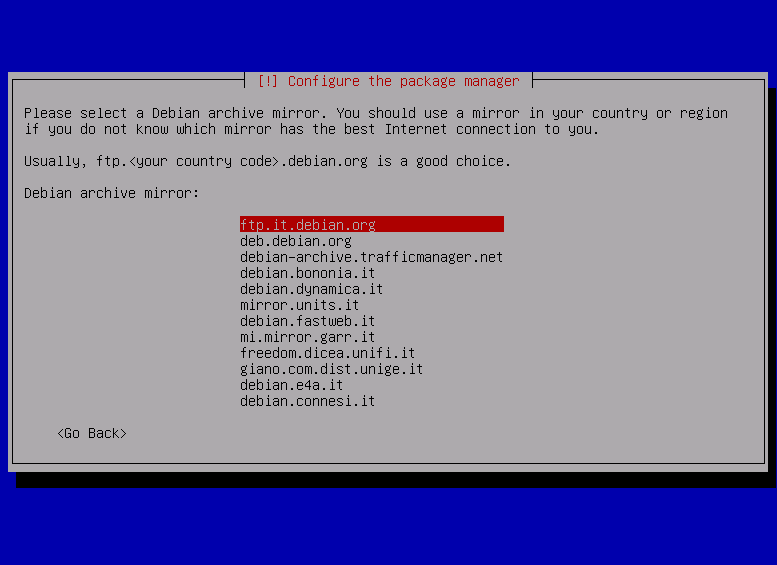
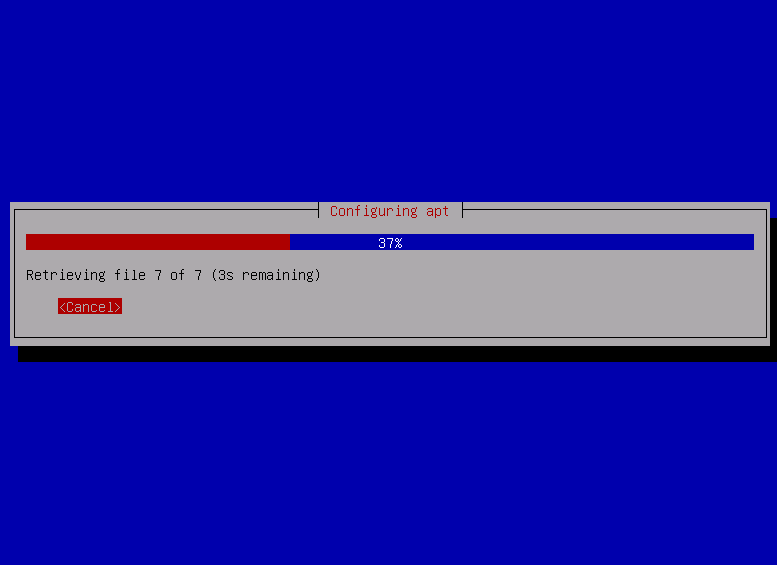
The installer will configure apt.
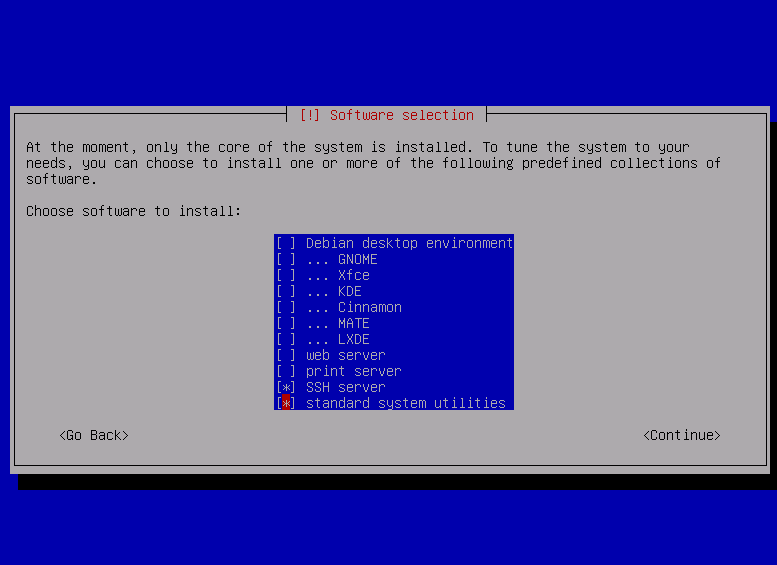
Software selection
At the end of the mirror configuration process, it’s time to choose what “software collection” you want to install. In our case, we will select a basic system with SSH server support.
The installer will download and install selected software.
GRUB installation
Install GRUB boot loader, and wait for the process to finish.

At the end, just reboot in the newly installed system.
Conclusion
In this guide we have seen how to install the latest version of Debian, “Stretch”. Debian is one of the oldest GNU/Linux distributions, first released in 1993.
In future tutorials we will use Debian 9 as the server for different platforms and services.


