
About VPSSIM
VPSSIM, an acronym of VPS is SIMple, is an auto-installer script for LEMP stack setup. Using this script, anyone, even the novice users, can easily deploy LEMP stack, i.e Nginx, MariaDB, and PHP in minutes. VPSSIM will currently work on both CentOS 6 and CentOS 7.
Features
- Works both on 32 and 64bit systems;
- Latest and stable Nginx;
- NginX running PHP via FastCGI is faster and consumes much less RAM memory than Apache + mod_php;
- PHP-FPM with FastCGI;
- You can setup different versions of PHP. You can choose PHP 5.4, 5.5 or 5.6 when setup and change PHP version anytime;
- MariaDB for better performance;
- Supports SSL;
- Includes PhpMyAdmin for managing databases;
- Includes CSF firewall;
- We can either enable or disable PhpMyAdmin;
- Optional Zend opcache/Memcached/Google Pagespeed;
- And many.
Try VPSSIM Demo
Before setup VPSSIM in your server, you can try VPSSIM VPS DEMO and see what it does, and how it works.
Here, We will see how to access and test VPSSIM demo.
- VPSSIM demo IP address: 168.235.69.220
- User name: vpssim
- Password: vpssim
Open your Terminal, an type:
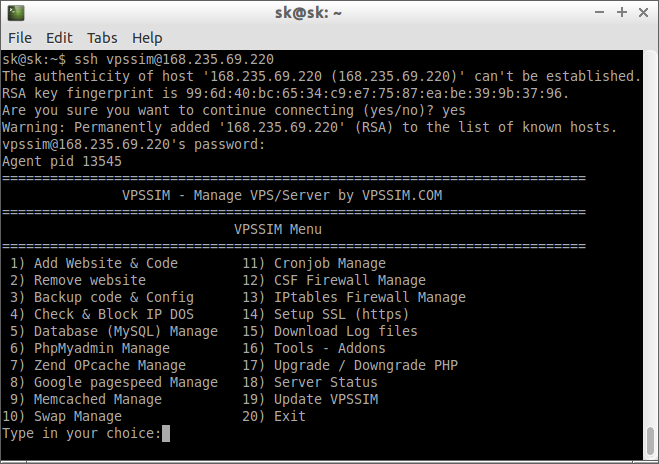
ssh vpssim@168.235.69.220
Type ‘Yes’ to add the host (168.235.69.220) to known list.
The authenticity of host '168.235.69.220 (168.235.69.220)' can't be established.
RSA key fingerprint is 99:6d:40:bc:65:34:c9:e7:75:87:ea:be:39:9b:37:96.
Are you sure you want to continue connecting (yes/no)? yes
Warning: Permanently added '168.235.69.220' (RSA) to the list of known hosts.
vpssim@168.235.69.220's password:  ##password is vpssim
After you login to VPS, SSH auto redirect to VPSSIM demo
Okay, I am happy with VPSSIM, now I want to install it on my production server. How do I do it? Well, follow the procedures given below.
VPSSIM Installation
As we mentioned before, VPSSIM will work both on CentOS 6 and CentOS 7. Do not install it in a existing systems that has Nginx, Php, or MariaDB already installed. It may conflict with the existing installations. Use it only on a fresh and minimal servers.
Before setup VPSSIM, you need a VPS at minimum 512 MB RAM with centos 6 or 7. We will install and test VPSSIM in CentOS 6.5 minimal server.
Log in to your server with root privileges, and update your system.
yum update
Then, Enter the following command to start the installation.
yum -y install wget && wget https://vpssim.com/install && chmod +x install && ./install
The above command will start to pull and install all required packages. It will take a while depending upon your Internet connection speed.
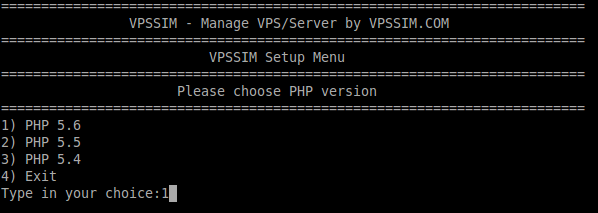
After a few moments, you’ll be asked to choose which PHP version you want to install. Here, I go the latest version. So, I entered the choice 1.
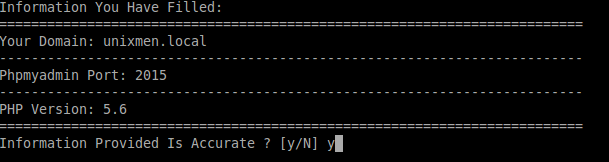
Now, the installer will check for the system specifications. Then, It will ask you to enter the domain name, PHP port etc.

Now, it will ask you to confirm the details you have given. Just enter Y and hit Enter key.
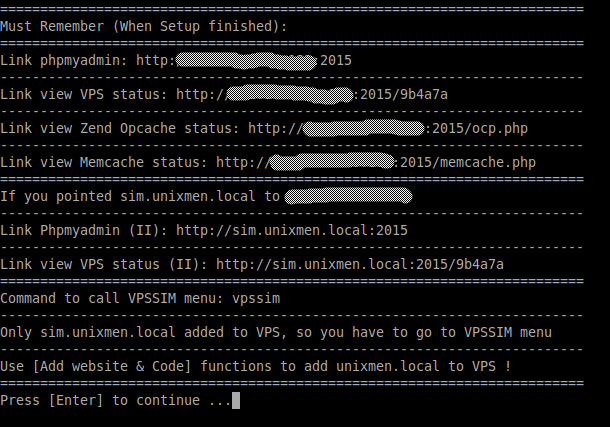
Note down or take screenshot of the following URLs that needed after installation completed.
Finally press Enter.
This will take some time. The installer will start to download and install all required packages for LEMP stack. Be patient and grab a cup of Coffee!

After a few minutes, you’ll be asked to enter the MySQL root user password. Enter the password twice.

After the installation is over, your server will be automatically reboot in few seconds.
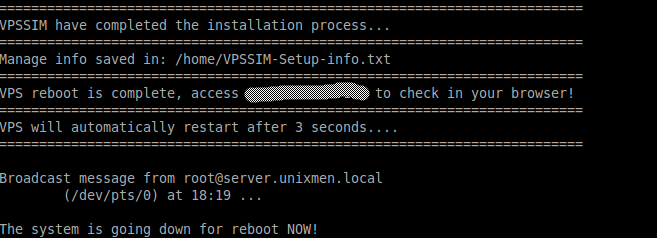
Congratulations!! VPSSIM has been successfully installed. Now, you can login to the server as usual.
![CentOS 6.5 Minimal (VPSSIM) [Running] - Oracle VM VirtualBox_008](http://unixmen.com/wp-content/uploads/2015/04/CentOS-6.5-Minimal-VPSSIM-Running-Oracle-VM-VirtualBox_008.png)
Now, type “vpssim” in the Terminal to see list of menus available.
vpssim
Sample output:
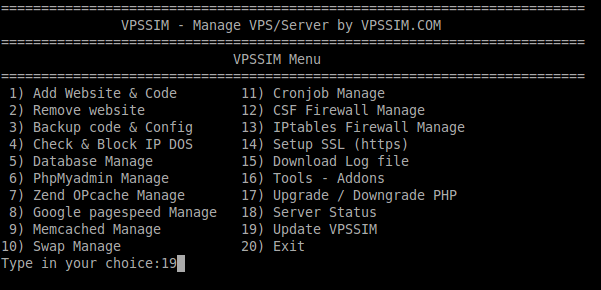
=========================================================================
               VPSSIM - Manage VPS/Server by VPSSIM.COM
=========================================================================
                             VPSSIM Menu
=========================================================================
 1) Add Website & Code          11) Cronjob Manage
 2) Remove website          12) CSF Firewall Manage
 3) Backup code & Config      13) IPtables Firewall Manage
 4) Check & Block IP DOS      14) Setup SSL (https)
 5) Database Manage          15) Download Log file
 6) PhpMyadmin Manage          16) Tools - Addons
 7) Zend OPcache Manage          17) Upgrade / Downgrade PHP
 8) Google pagespeed Manage   18) Server Status
 9) Memcached Manage          19) Update VPSSIM
10) Swap Manage              20) Exit
Type in your choice:
From the menu, you can type any numbers to start installing the corresponding service. For example, I am going to update VPSSIM, so I entered the number “19”.
To view the server status, enter number: 18.
Sample output:
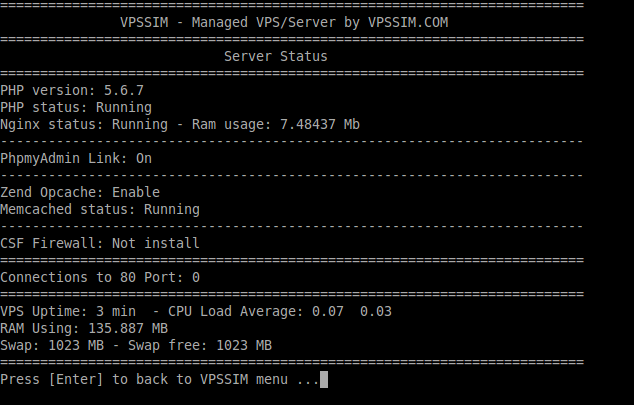
Press Enter to return back to VPSSIM menu.
To exit from the VPSSIM menu, type number: 20
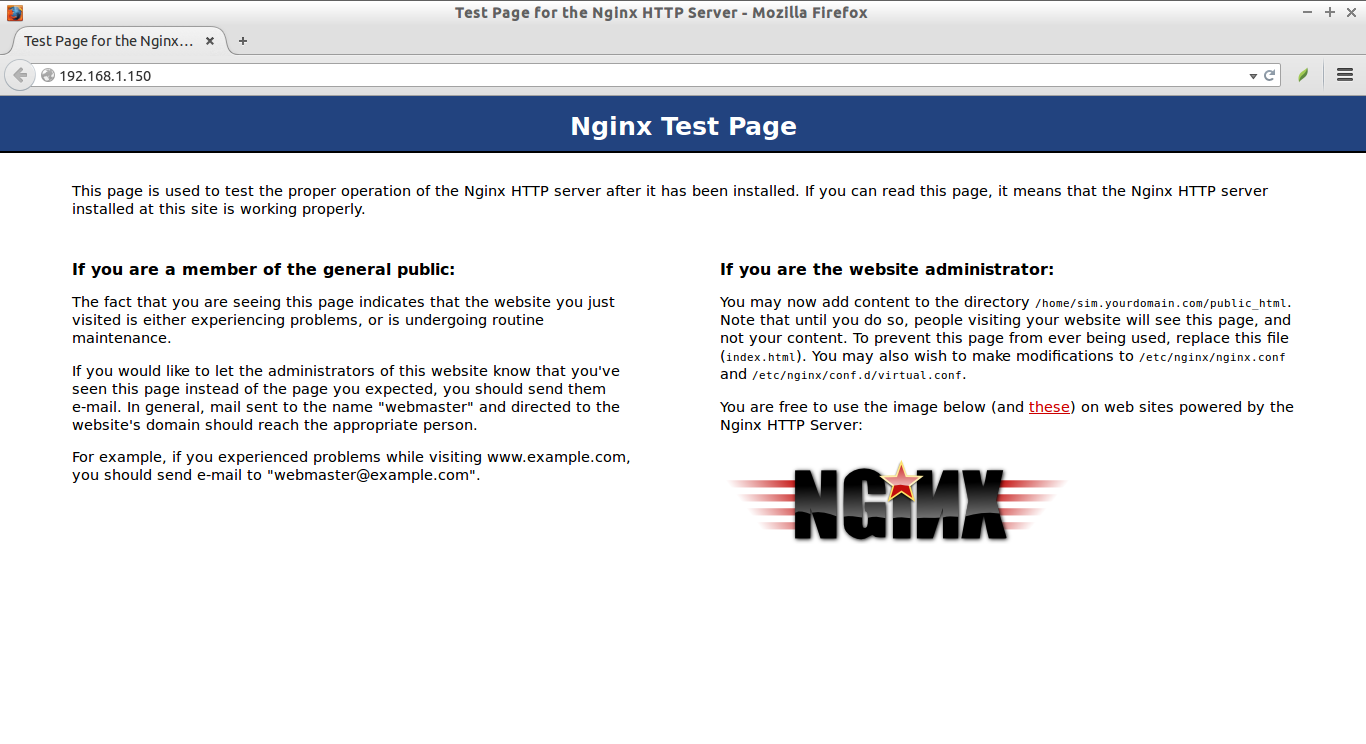
Testing Nginx:
To test whether Nginx is properly working, open up the web browser and type: http://IP-address or http://domain-name.
You should see the following nginx test page.
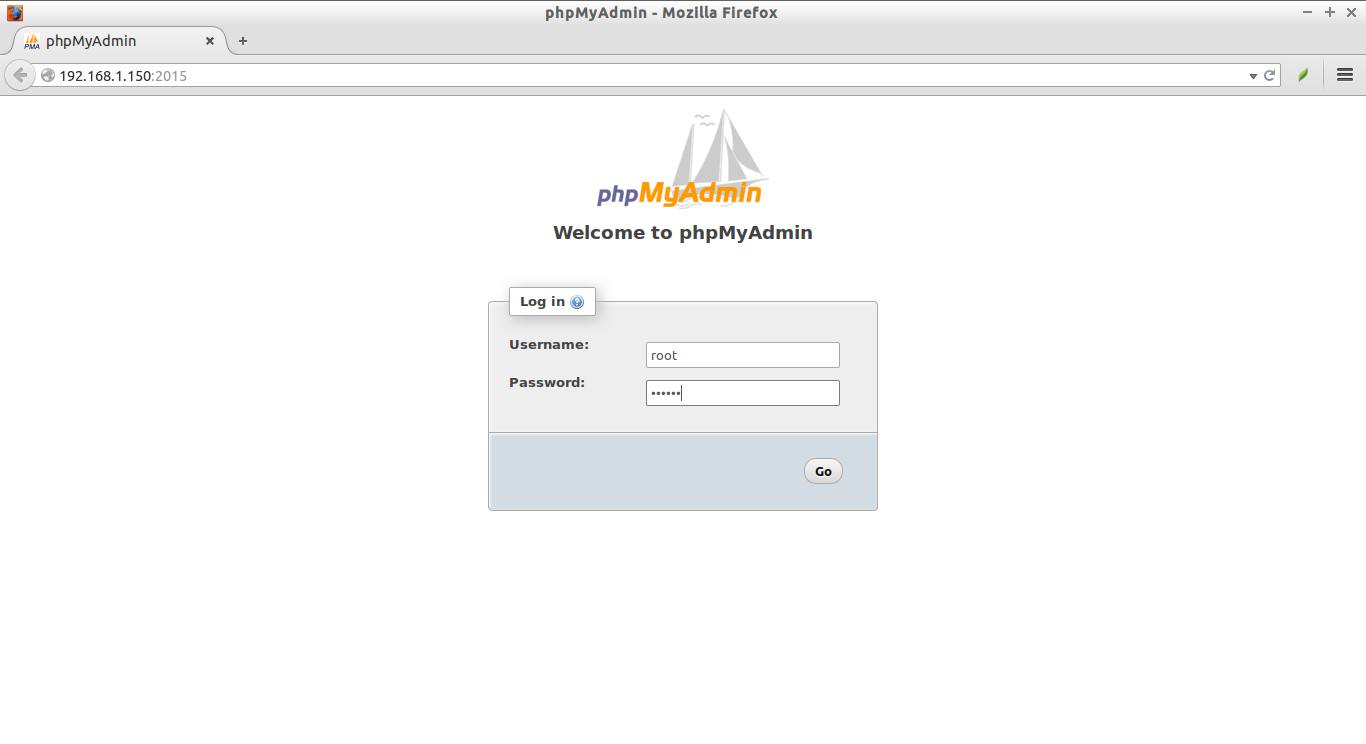
Access PhpMyAdmin Console:
Type http://IP-addres:2015 or http://domain-name:2015/ in the address bar of your Browser.
Enter the mysql root user name and it’s password which we created during installation. in my case my database root username/password is root/centos.
PhpMyAdmin Dashboard:
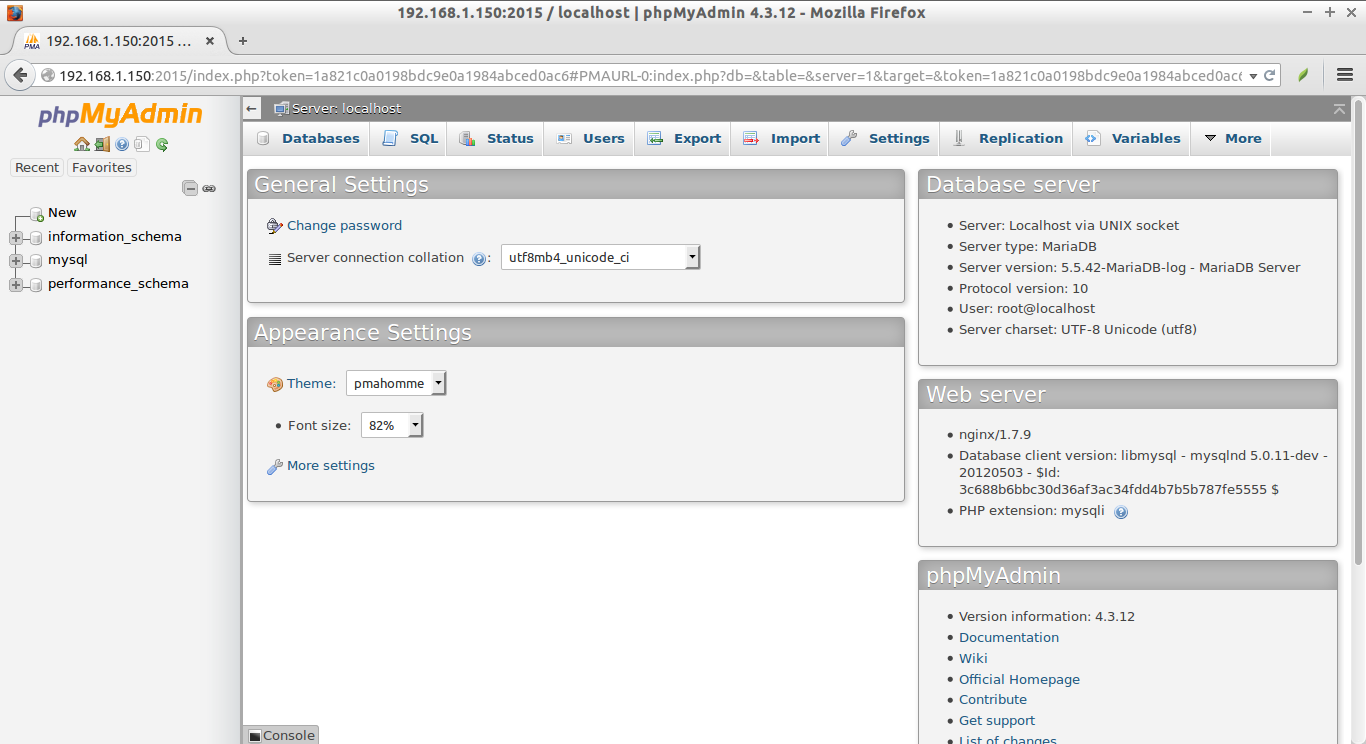
From PhpMyAdmin dashboard you can create/delete/edit any number of databases in few Mouse clicks.
That’s it. Your LEMP server is ready to use. Start building your websites.
But, I want to setup LEMP server step by step myself? How do I do it? Well, follow the below links to setup LEMP server step by step manually.
- Install LEMP Server (Nginx, MariaDB, PHP) On CentOS 7
- Install LEMP Server (Nginx, MariaDB, PHP) On CentOS, RHEL, Scientific Linux 6.5/6.4/6.3
Cheers!


