
Canonical unveiled the 6th LTS release with Ubuntu 16.04. This release has been codenamed as Xerial Xerus. We have already covered – what’s new in this release. You may like to go through this post here
Ubuntu 16.04 Released: See what’s new
Also, If you are using Ubuntu 14.04 LTS, you may follow this guide to update to Ubuntu 16.04 LTS.
Detailed guide to Upgrade To Ubuntu 16.04 From Ubuntu 14.04
Here in this article we will show you how to perform a fresh installation of Ubuntu 16.04 LTS and review its features.
Prerequisite to Install Ubuntu 16.04
- 2 GHZ dual core Processor
- 2 GB RAM
- 25 GB Free Hard Disk Space
- DVD/USB port for Installation
- Internet access will be a plus
Download Image and burn/write to Disk
- The first step of migration starts with Backup. Yup! you heard it right. Backup all your Data.
- We need to Download Ubuntu 16.04 ISO from the link below. Please note that You may download “Network Installer” or “Image from BitTorrent” or standard Installer from “Other Images”, depending upon your need and preference. If you are not sure, we suggest you to go with Standard Images by selecting your nearest mirror.
Link: http://www.ubuntu.com/download/alternative-downloads - Once you have downloaded the ISO image, lets check its md5sum (or any other Hash Checksum). Matched hash checksum will ensure two things. First that our download was complete and not interrupted. Second We Downloaded the correct Image. The Checksum of current Ubuntu release can be found here.
link: ftp://ftp.free.fr/mirrors/ftp.ubuntu.com/releases/16.04/MD5SUMS
To check md5sum of the downloaded ISO, run the below command from terminal.
$ md5sum ubuntu-16.04-desktop-amd64.iso
Sample Output
c94d54942a2954cf852884d656224186 ubuntu-16.04-desktop-amd64.iso

Installation of Ubuntu 16.04 LTS
- Now, since the checksum is verified, we can write this ISO to a DVD or USB Mass storage device. Then select the media as a current preferred boot option from System BIOS. The system boots with Ubuntu 16.04
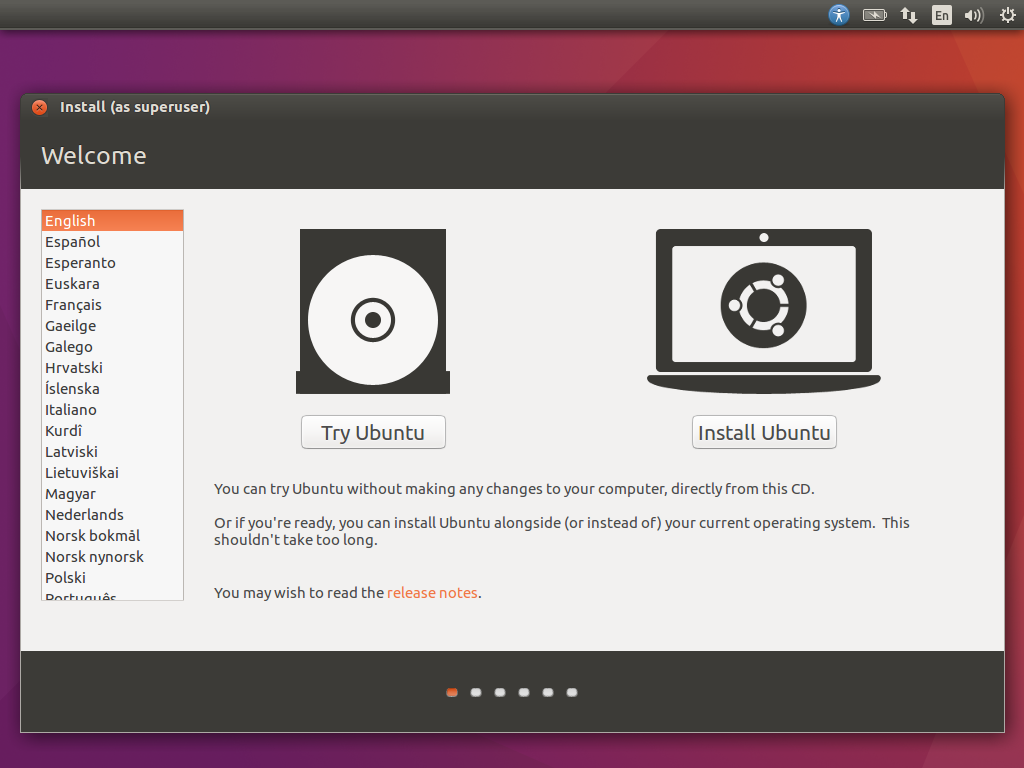
- From the next window, it is prompted to “Try Ubuntu” or “Install Ubuntu”. Select Install Ubuntu unless you want to Try it before installing.
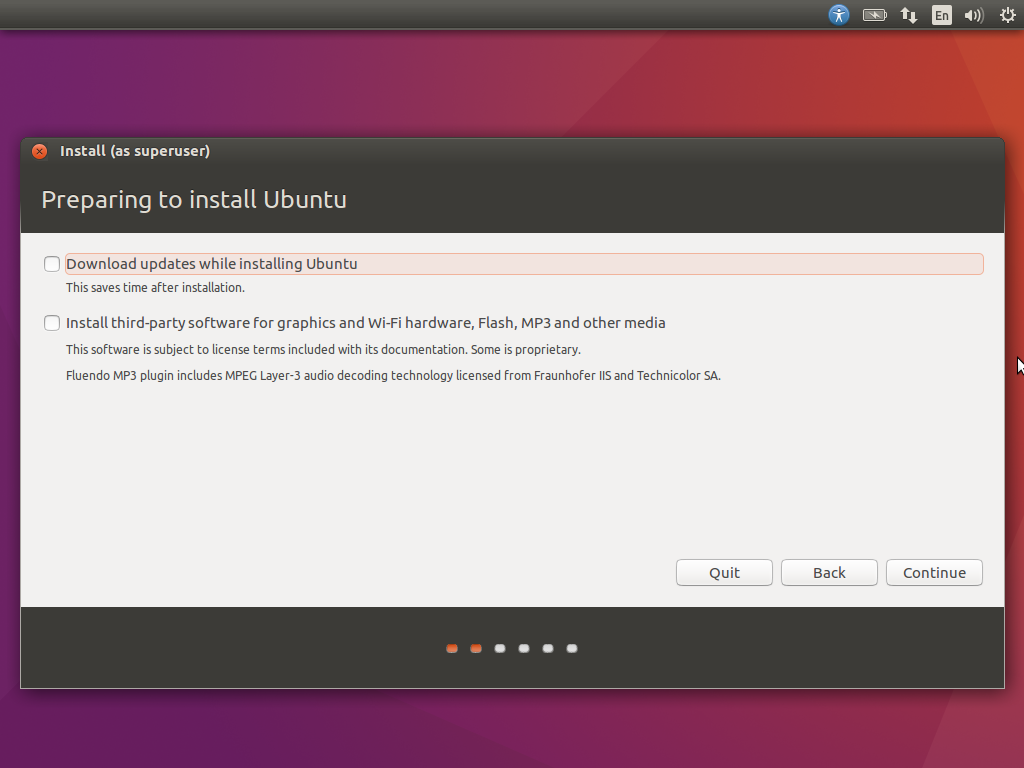
- Click Continue from the next window, without selecting anything, as we can Download updates and install third-party softwares later. This will also speed up the Installation.
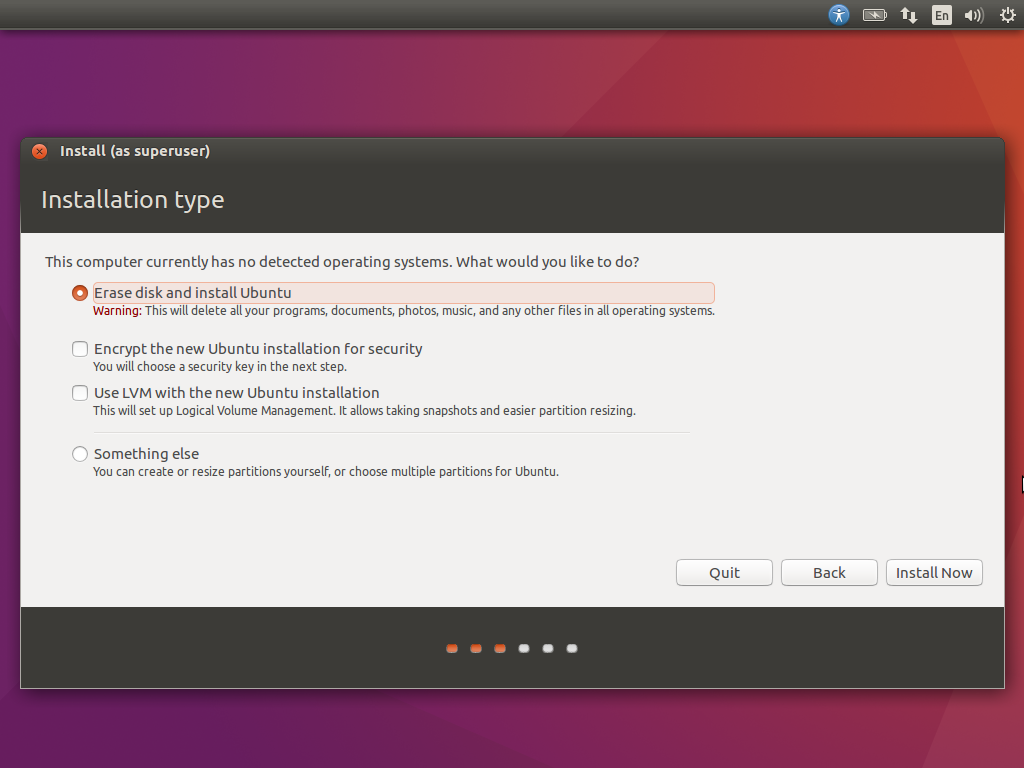
- From the Installation type select “Erase disk and install Ubuntu” and click Install Now. This will erase all the files on Hard disk, but nothing to worry for us as we have already taken backup.
- When Prompted “Write the changes to disk?” click Continue.
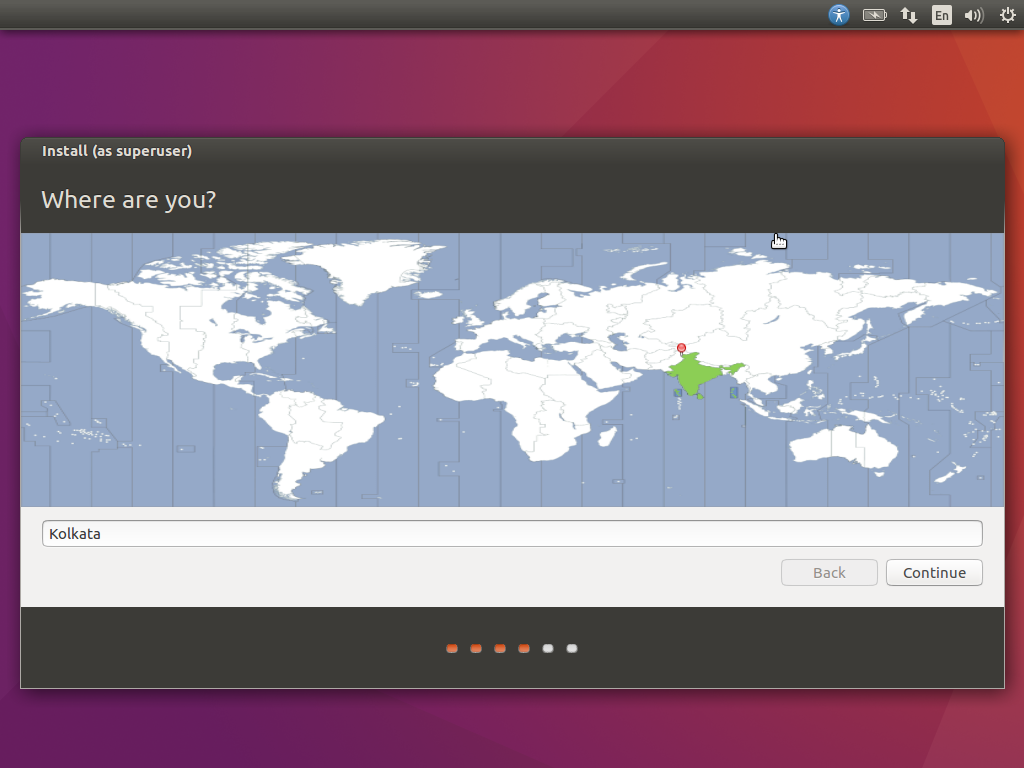
- In the next Window, you need to select your geographical location. You may like to click on the map or select from the drop down box. Click continue, when done.
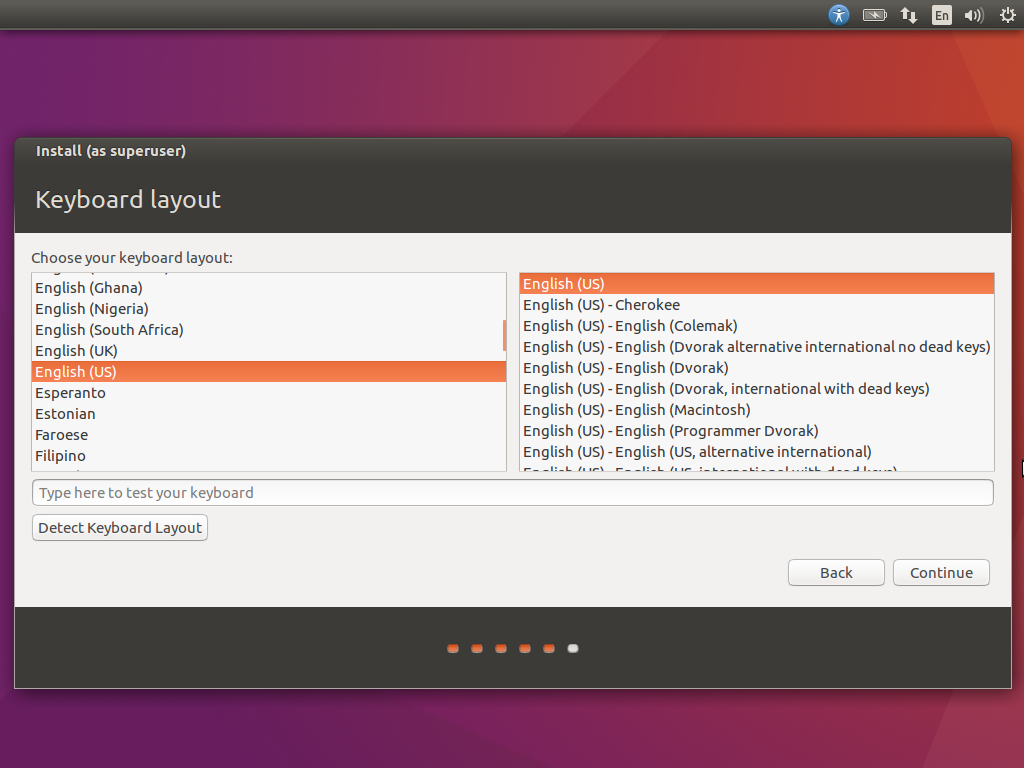
- Next is Keyboard Layout. For most of the cases it will be English(US). Select a different option, if you know what you mean.
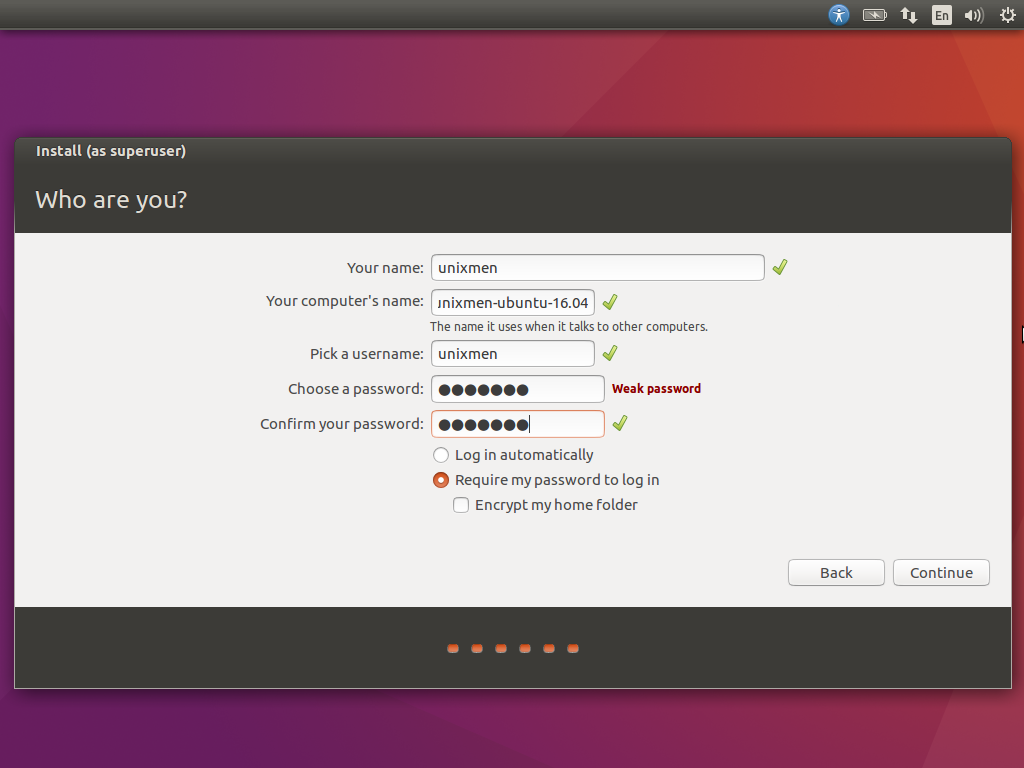
- On the resulting window, you need to Enter “Your name”, “Your Computer name”, “User_name” and “Password” before clicking continue.
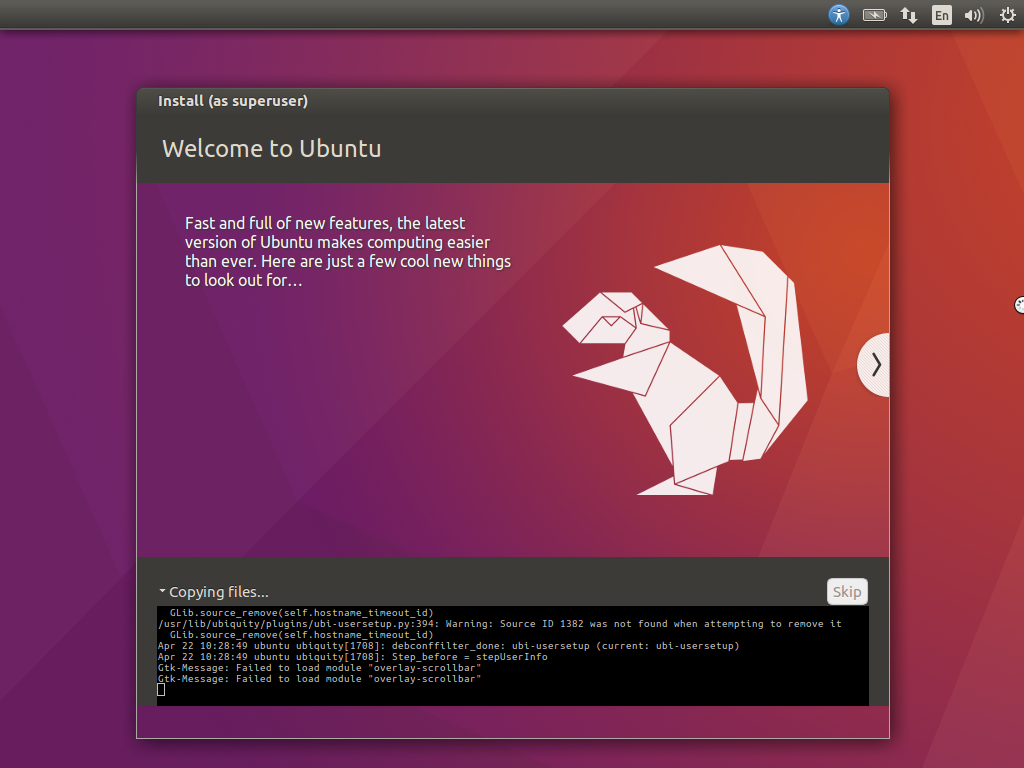
- The Installer will start Installing Ubuntu onto your Hard Disk. It will take a couple of minutes to do a fresh Installation.
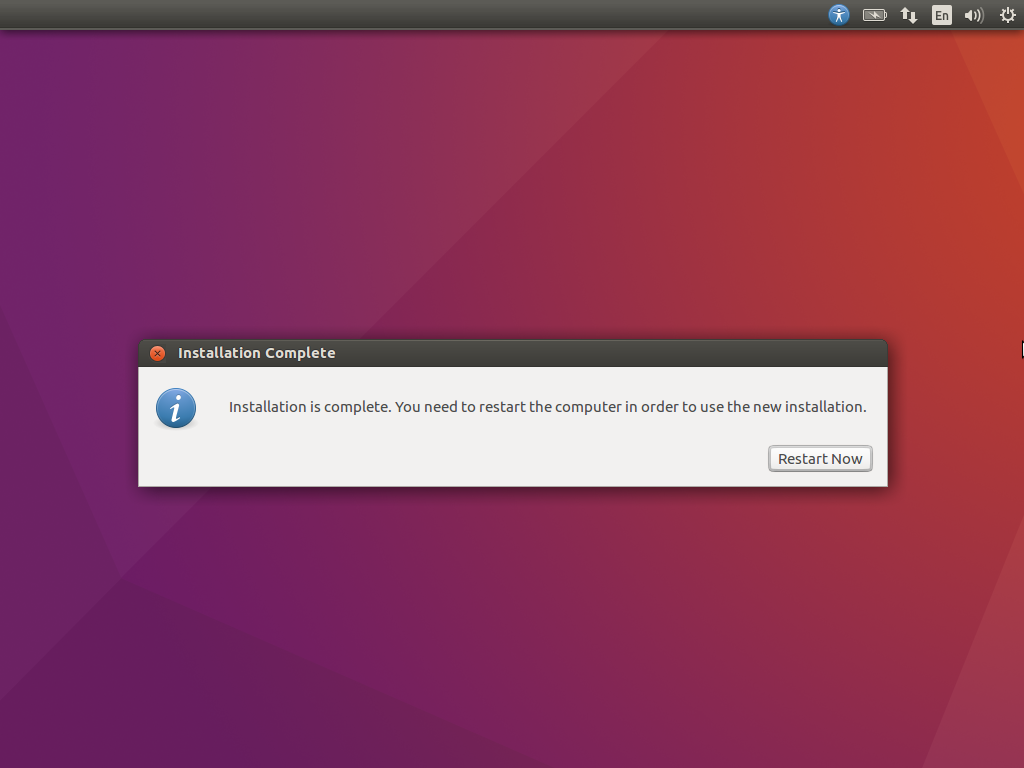
- When the Installation is complete, You will be prompted to restart the computer. Don’t hesitate restarting your computer at this point.
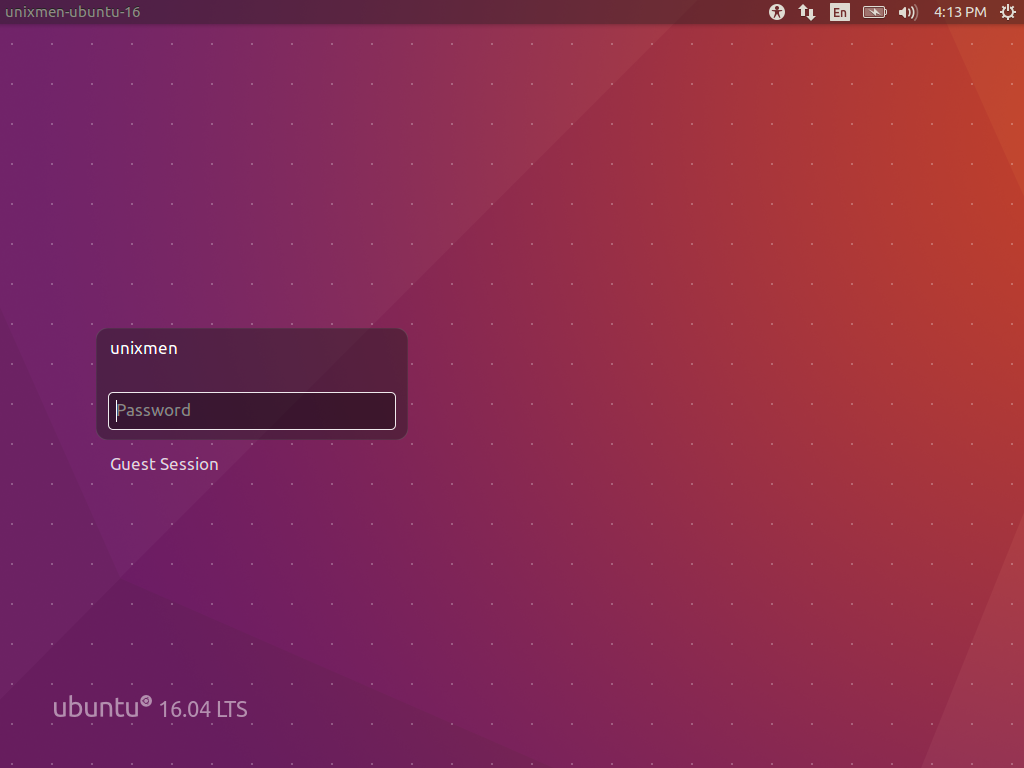
- The machine reboots and then you get the most expected login Screen. Enter your password to go past it.
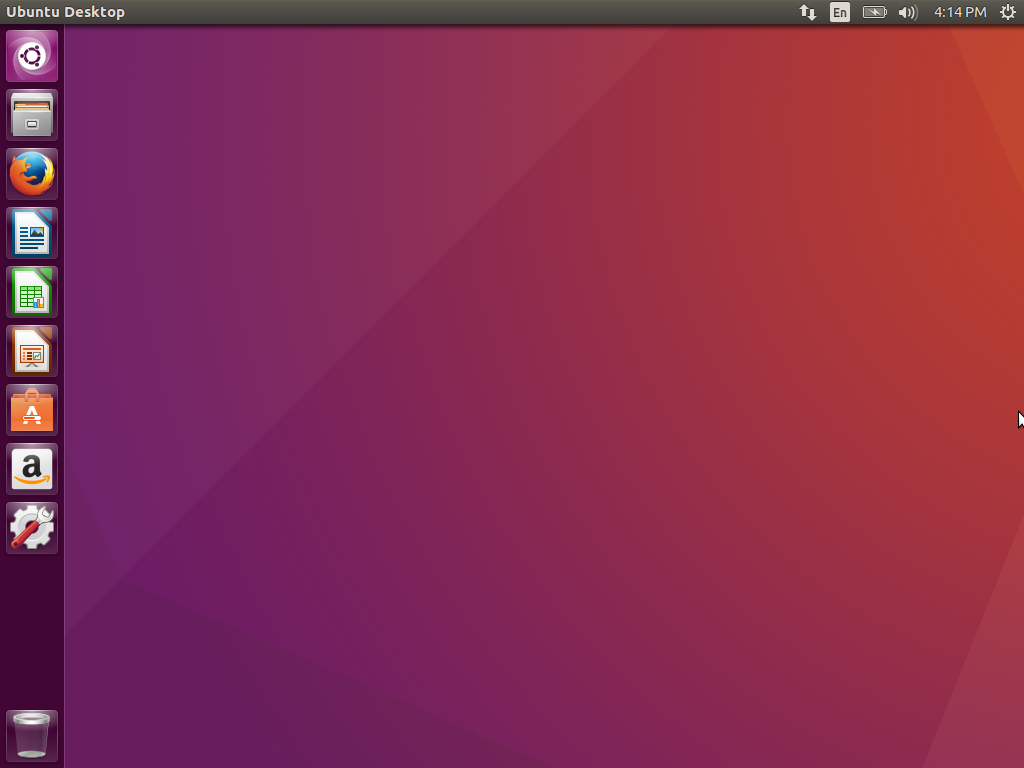
- And then you get your well known Ubuntu Desktop.
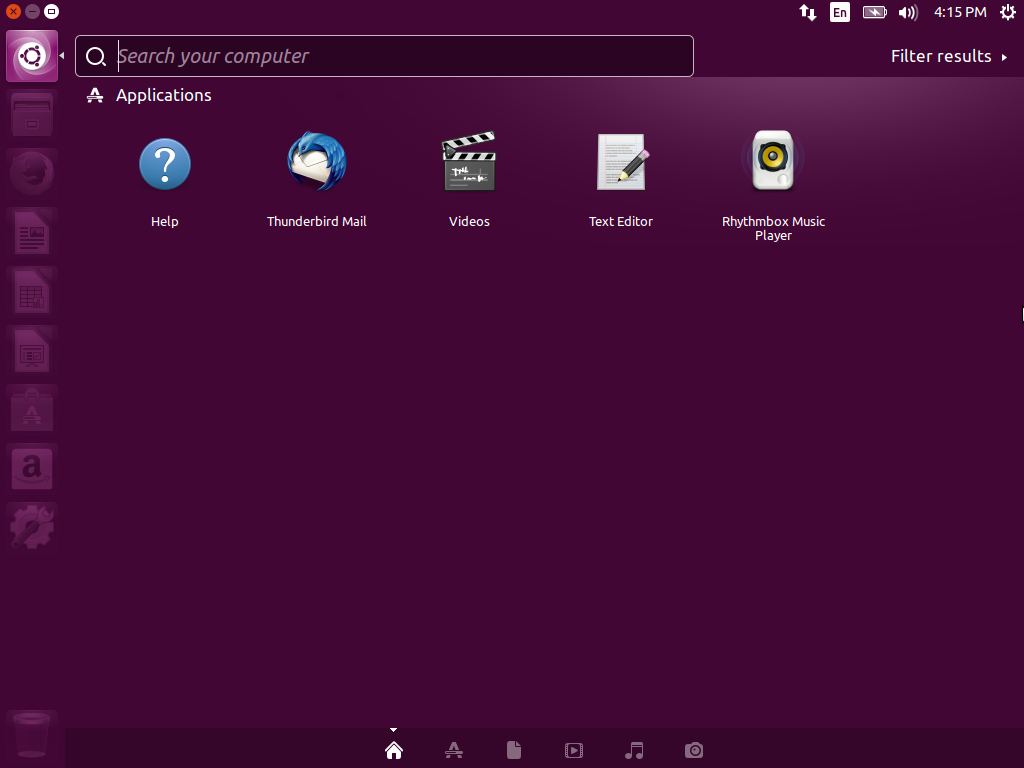
- Goto Dash to search through applications.
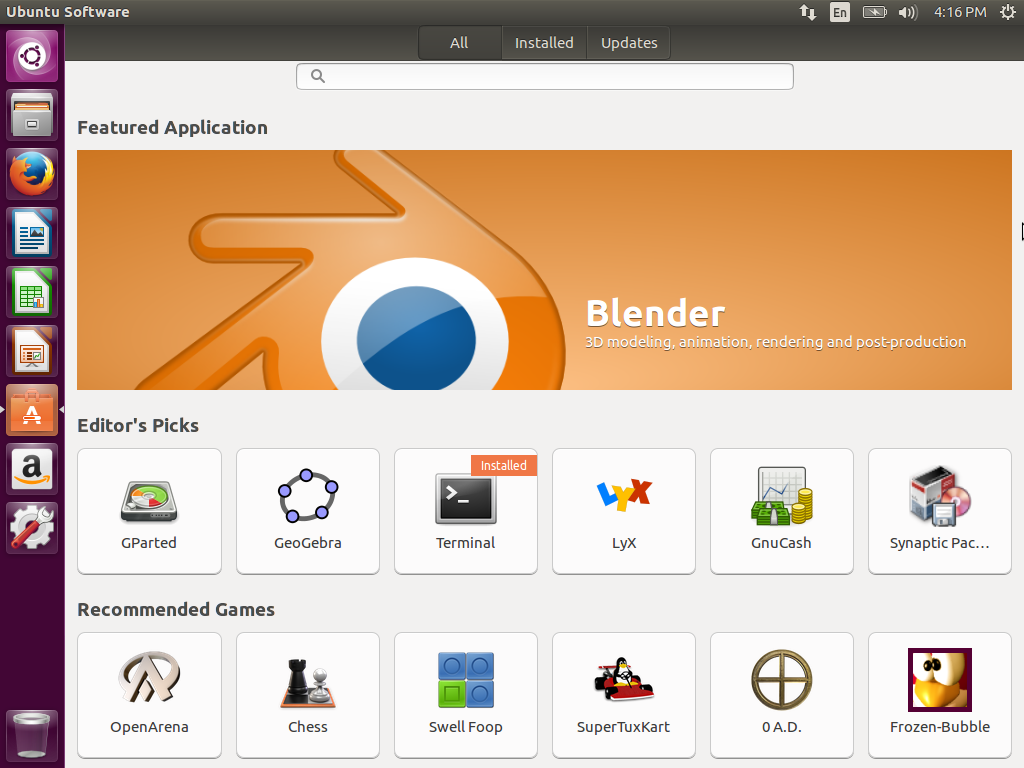
- Ubuntu Software – The legacy Ubuntu Software Center package manager has been replaced with Gnome Software App but renamed as Ubuntu Software App so that the users don’t get confused.
- Kernel 4.4 is giving it a bleeding edge.
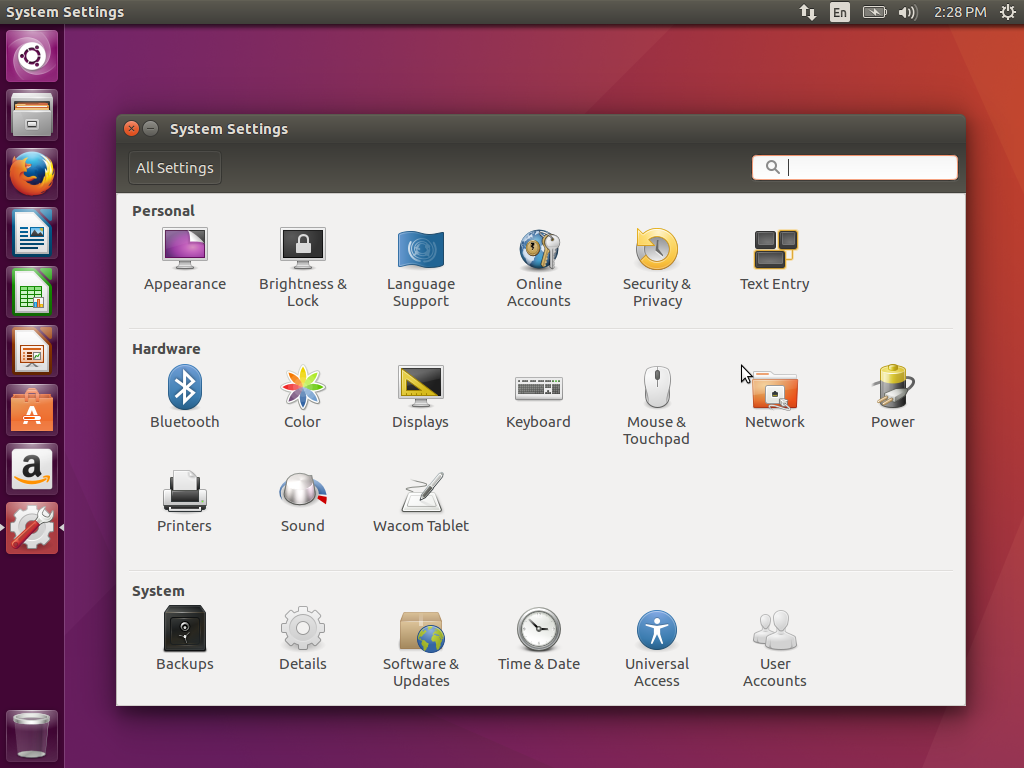
- System Settings Box
- Other than that Ubuntu 16.04 LTS has
- Improved launcher integration with file manager.
- Launcher can be moved to bottom
- New dash Overlay Scrollbars
- Python 3.5
- Online Search Disabled in Dash
- New Power Management Applet
- Improved login screen visuals – better and fast login/logout animation
- Updated apps, including catfish file search


Conclusion
The Installation is Pretty easy and it completed without any glitch. The OS seems stable as didn’t seem to break at any time while testing it in our lab. The kernel 4.4 gives it a bleeding edge. Canonical has given a treat to Ubuntu fans, by releasing 16.04. Unixmen Community feels that Ubuntu opened the door to a new world with support for LXD Pure-container with OpenStack, ZFS and CephFS Storage, Converged Ubuntu across IOT, Support on IBM Z, LinuxOne System and Snape Package Management alongside legacy deb package management, Read More. We congratulate canonical for this release, which is no less than an achievement.
That’s all for now. I’ll be here again, with another interesting story, you will love to read. Till then Stay healthy and tuned to Unixmen. Don’t Forget to put your valuable feedback in the comments below. By the time I was writing this post UBUNTU 16.10 CODENAME REVEALED: YAKKETY YAK Like and share us and help us get spread.
")
