
About SiteBios
SiteBios is a free, open source, Linux control panel that comes with useful Server management tools by default. Unlike other free or paid control panels, It comes only with mandatory and most commonly used features. It isn’t bloated with any unnecessary tools and features. It ships with only what is required and what is important to host a Domain. As the name implies, SiteBios name comes from “Basic Input and Output System” (BIOS). Similar to the bios on your PC, SiteBios is designed to be a “Basic Input Output System” for your website, domain, email and database server.
SiteBios has dual interface namely User control panel and Admin server management panel.
The user control panel includes:
- Add/Remove Email Accounts
- RoundCube and SquirrelMail webmail interfaces
- Email Forwarders, Auto-responders, Filters
- Spam Assassin spam filtering
- ClamAV virus scanning
- Create/Manage Redirects
- MariaDB (mySQL) Databases
- Add/Remove Database users
- Addon, Parked and SubDomains
- AWStats web traffic stats
- Create/Manage Backups
And, the Admin panel include:
- Create/Remove/Manage Accounts
- Add Packages
- Add/Remove/Manage IPs
- Manage Backups
- Perform a restore, single or multiple sites
- Multiple Backups
- Create a CSR
- Install and SSL
- Create a reseller account
- Add/Remove/Manage DNS Zones
- View Server info
- Stop, start, restart services
It also comes with a full LAMP (Linux, Apache, MariaDB and PHP) stack and a mail server by default. It is designed only for CentOS 6 and CentOS 7 operating systems at present, and there is no clarity for other platforms. However, I guess It should work on CentOS like OSs such as RHEL, Fedora and Scientific Linux.
Install SiteBios
System Requirements
- CentOS 6 or CentOS 7 64-bit Linux minimal installation
Download the latest version from SiteBios page.
yum update
yum install wget
wget http://www.sitebios.com/install.tar.gz
Extract the downloaded tar file using command:
tar xvf install.tar.gz
Go to extracted location:
cd install/
Run the following to start installing SiteBios:
./install.sh
It will ask you the series of questions. Read carefully and answer them accordingly.
Press Enter to continue.

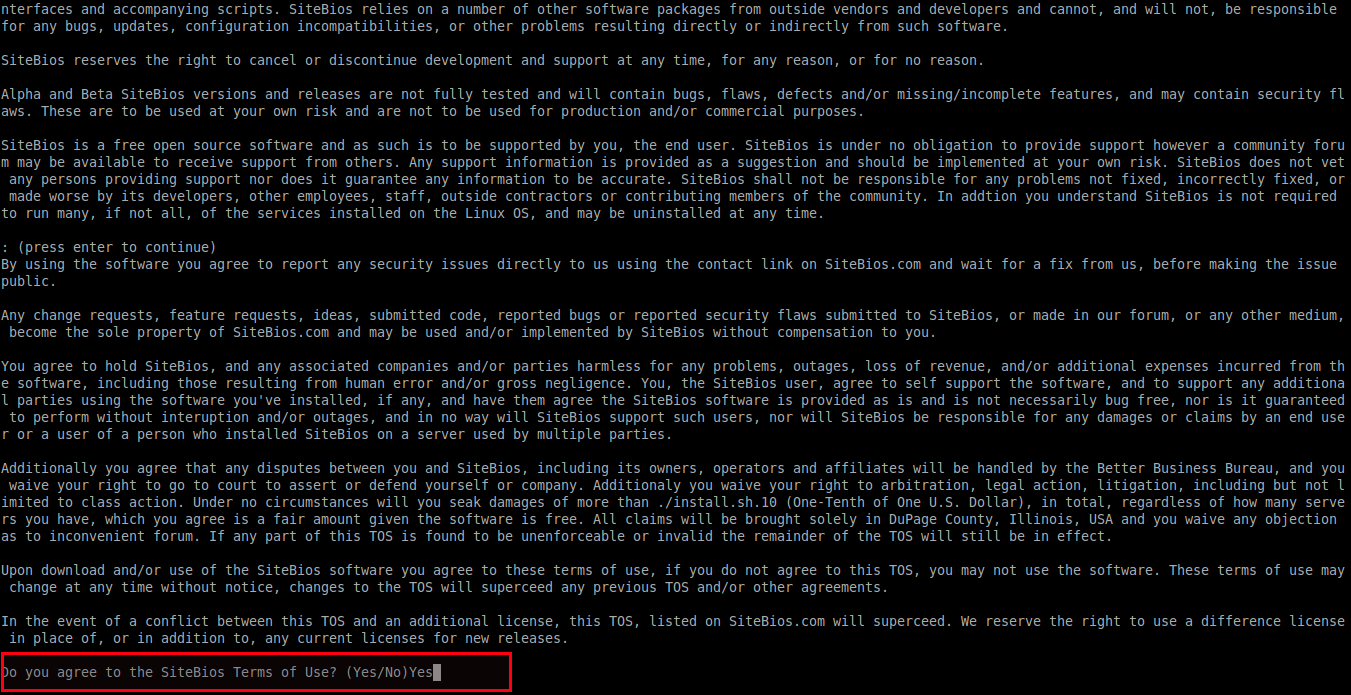
Type Yes and press enter to accept the license agreement:
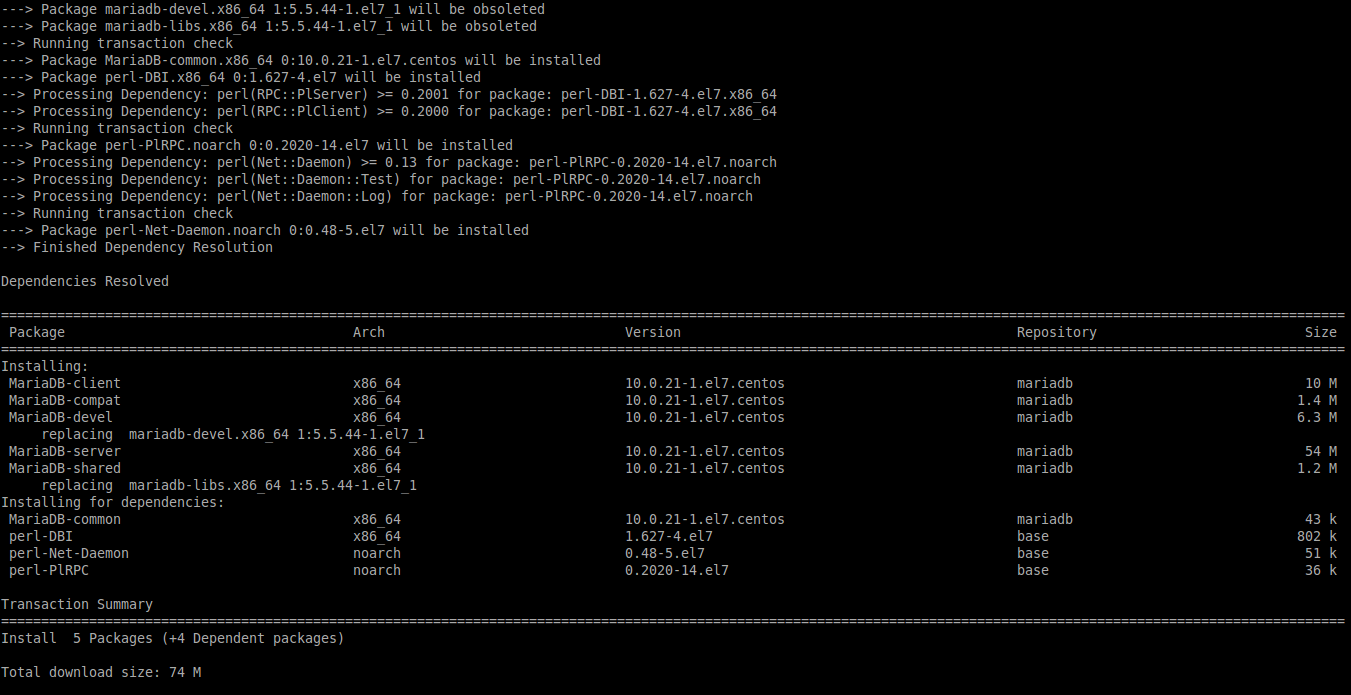
Now, sit back and relax. SiteBios installer will script will start to full and install all required packages along with dependencies. This will take a while depending upon your Internet speed. Be patient and have a cup of coffee.
Finally, you’ll see the SiteBios installation completed message. Wait for few minutes for freshcalm and updatedb to finish the update process.
Finally, press Y to update the SiteBios.
Thank you for installing SiteBios
Please review the license file for Terms of Use
If you do not agree to the terms of use you must not use the software and uninstall it immediately
To get started:
1.) set a password for the SSH user "sbadmin" with the command: "passwd sbadmin"
2.) Wait 60 seconds, and then use that login for the Admin URL: https://server1.unixmen.local:5001
3.) Upon entering the admin area proceed to "Settings" tab to update your settings
4.) You can also use a reseller's username for port 5001
5.) Client URL: https://server1.unixmen.local:5000
6.) User: varies per account, created in the admin panel
7.) For security please setup an ACL for the 2 ports above
8.) After the installation finishes, please reboot (we recommend waiting for freshclam and updatedb to finish running before rebooting)
9.) Press 'y' to update SiteBios, start SiteBios, and finish the installation
Reboot your system.
Now, let us setup password for the SiteBios administrative account, which is: sbadmin.
To do that, run the following command as root user from your Terminal:
passwd sbadmin
Next, we’ll go for the web based configuration.
Accessing SiteBios dashboard
Like I said before, SiteBios comes with dual interface, namely User panel and panel. The User panel can be accessed with URL: https://IP-address:5000/, and the Admin panel can be accessed with URL: https://ip-address:5001/.
First, let us see what’s in Admin panel.
Access SiteBios Admin panel
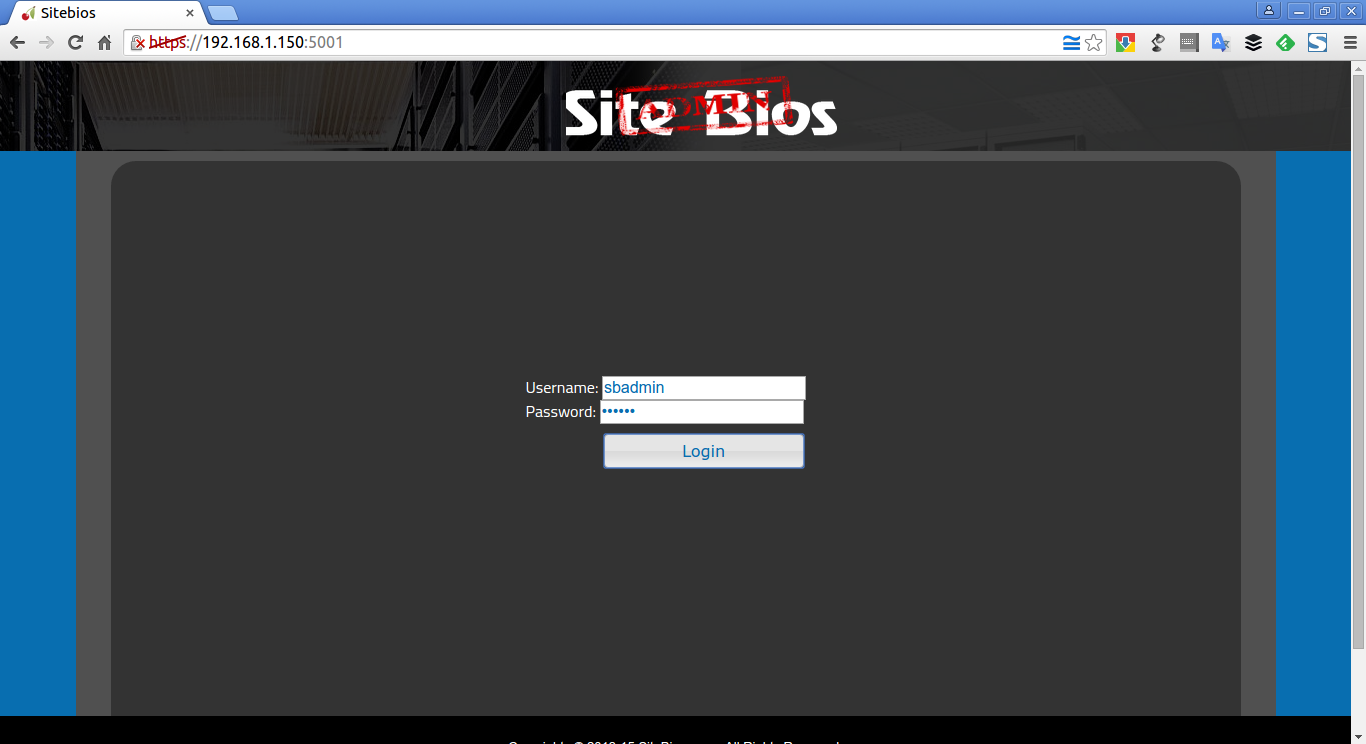
Open up your web browser and navigate to https://IP-address:5001/.
The following screen should appear. Enter the username as sbadmin and it’s password which we created using command “passwd sbadmin”.
This is how SiteBios Admin dashboard looks.
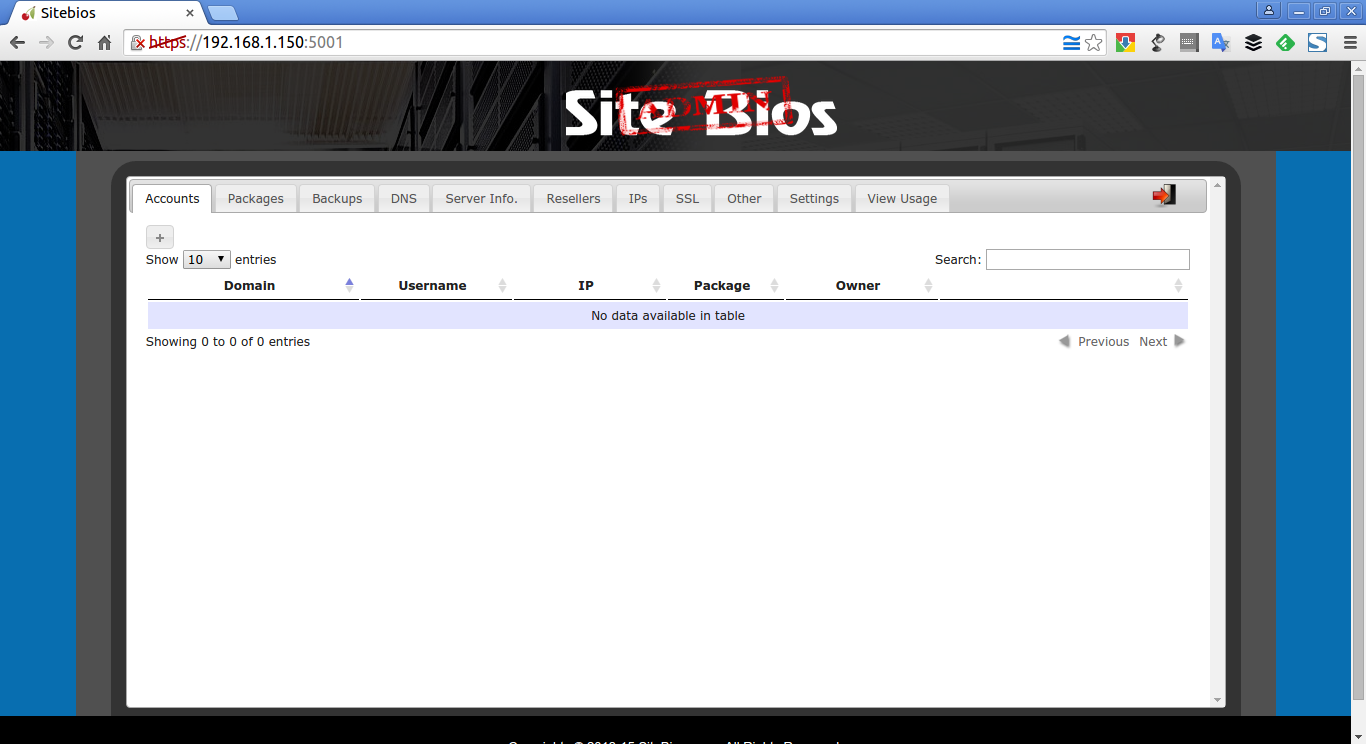
As you see in the above screenshot, SiteBios admin panel totally has 11 tabs namely:
- Accounts : Create new accounts, and manage existing accounts
- Packages : Add, modify, delete packages
- Backups : Create and configure backups,
- DNS : Add, edit, copy, delete DNS zones
- Server Info : View server version, view service, start/stop/restart services.
- Resellers : Add, edit, modify, delete resellers
- IPs : Add new IPs, remove IPs
- SSL : Install SSLs, View installed SSLs, and generate CSRs
- Other : Change sbadmin’s password, unlock accounts, and terminate multiple accounts.
- Settings : Settings related to SiteBios server
- View Usage : View disk and bandwidth usage
Now, go to the Settings tab in the Admin panel and update your server settings. Refer the following screenshot.

Let us create a new account to access User panel.
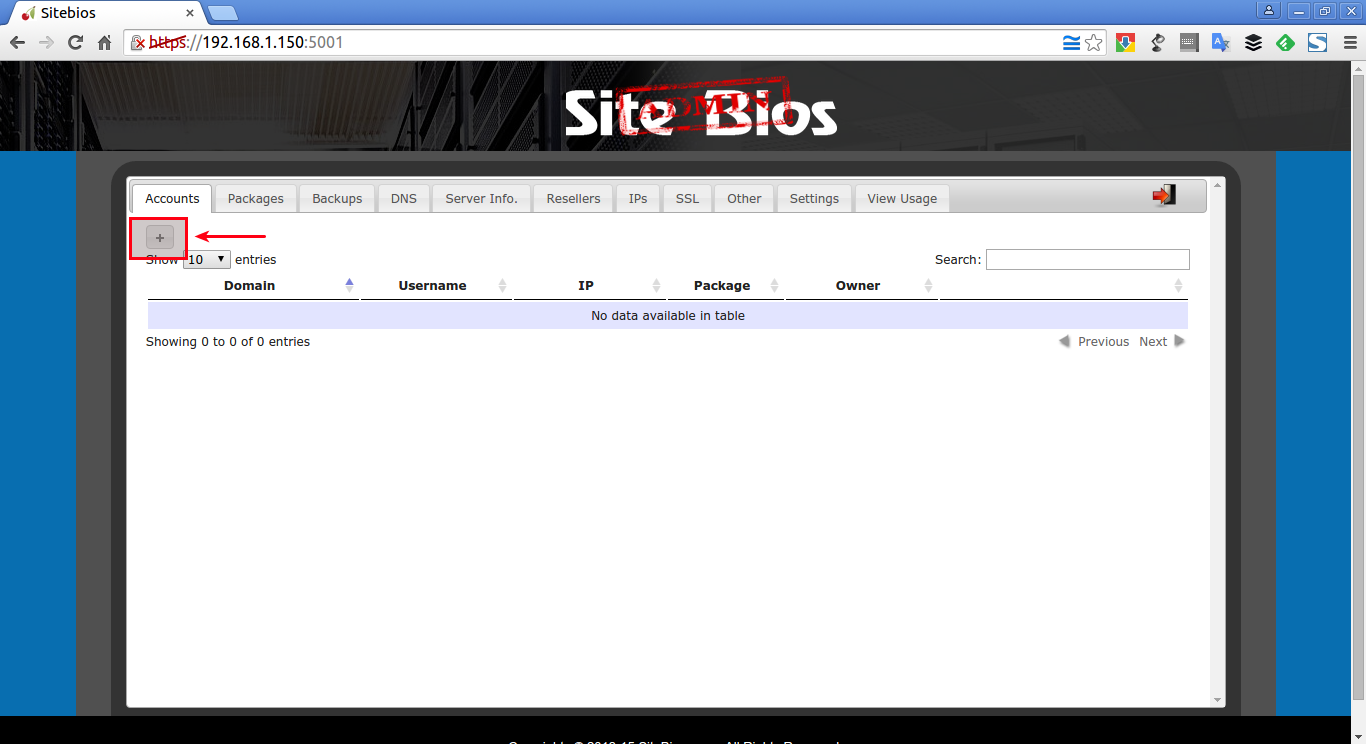
Click on the plus sign (+) on the Accounts tab.
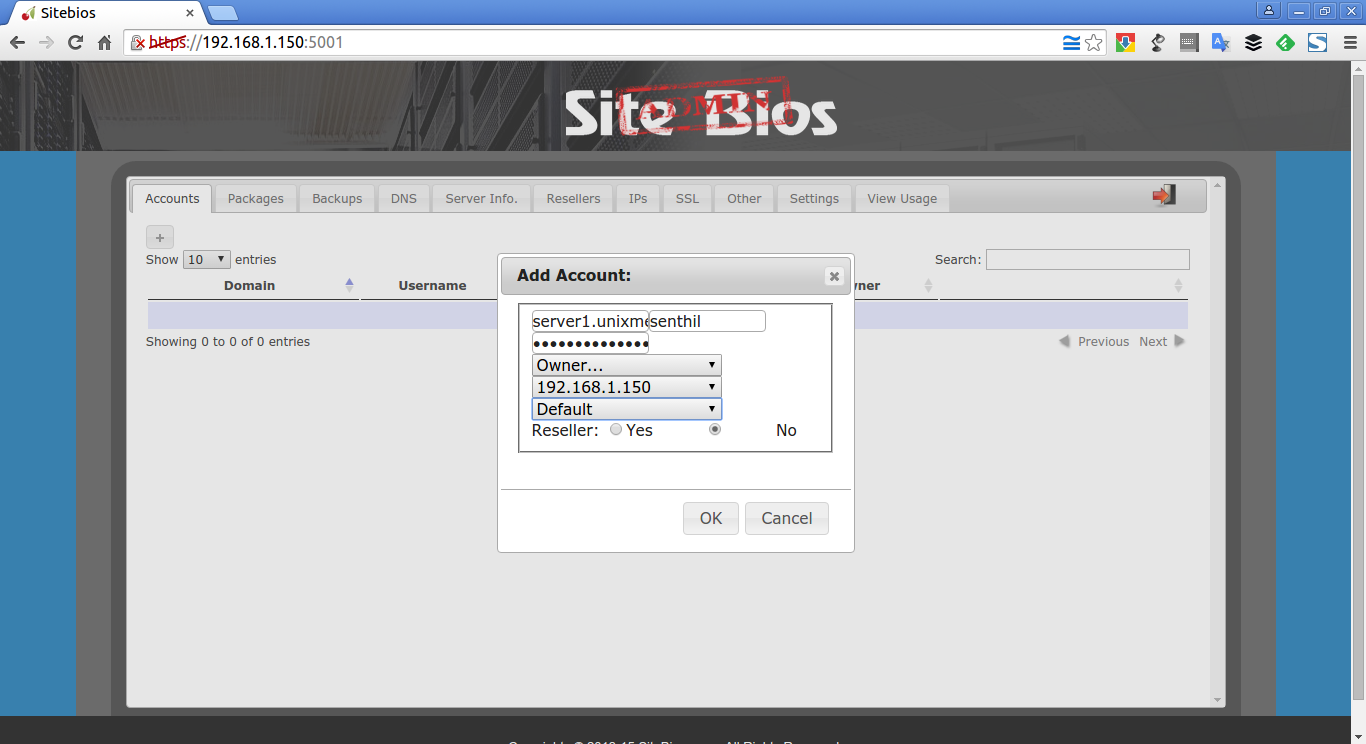
Enter the domain name ,username, password , user type, select IP address and package details etc.
You should see the following confiramtion message after creating the new user.
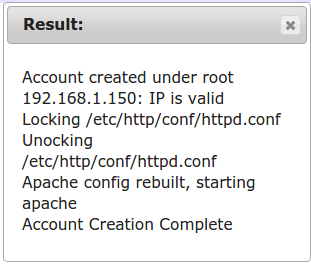
Click the cross button (X) to close the window. Now, you will see the newly created user in the Accounts tab.
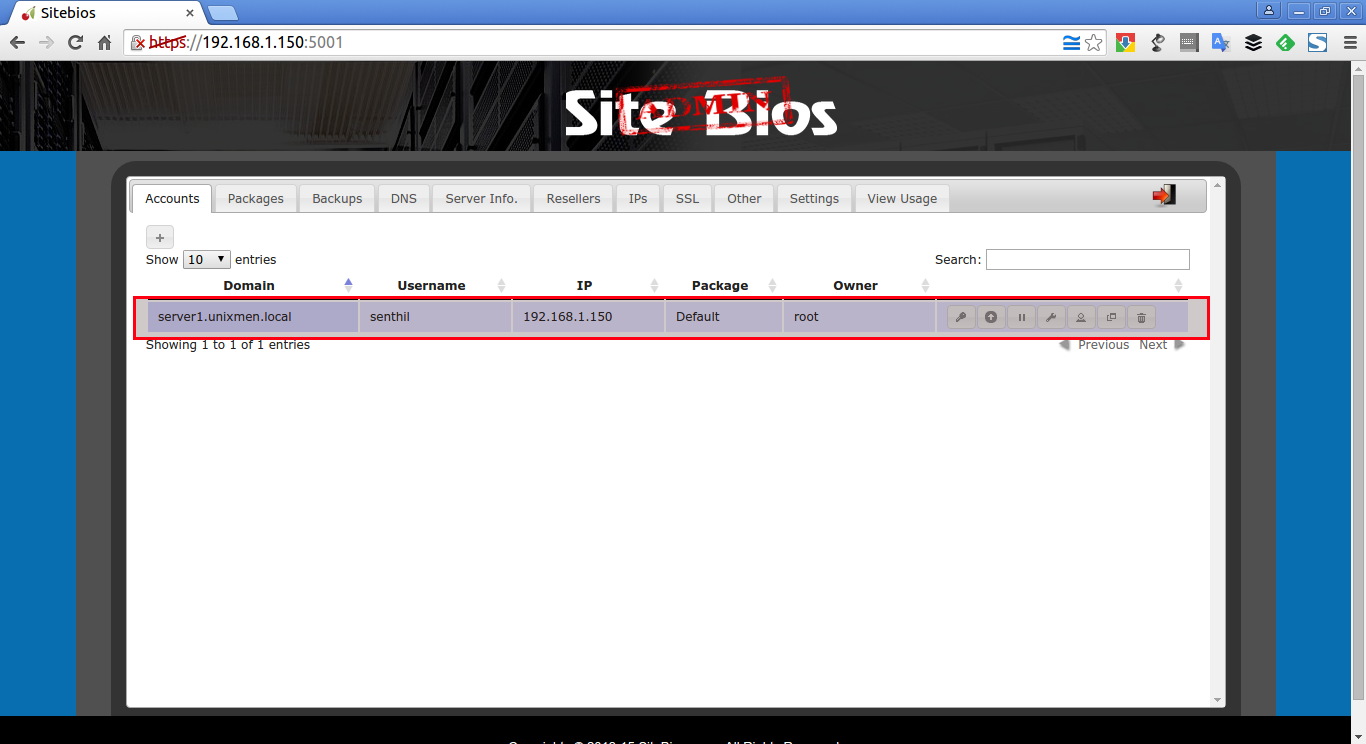
Similarly, you can create as many users as you want.
Access User panel
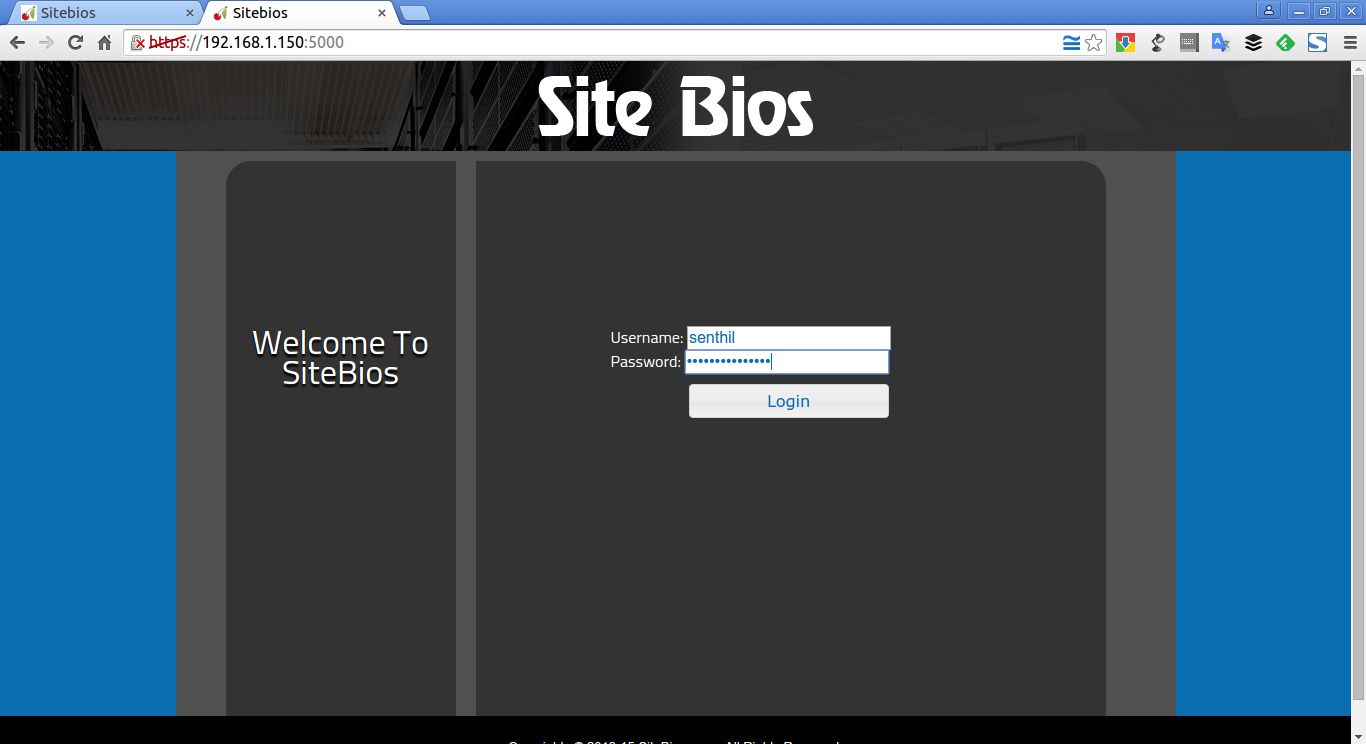
Navigate to https://ip-address:5000/.
The following screen should appear. Now, enter the username and password which you created in the Admin panel.
This is how User panel looks.
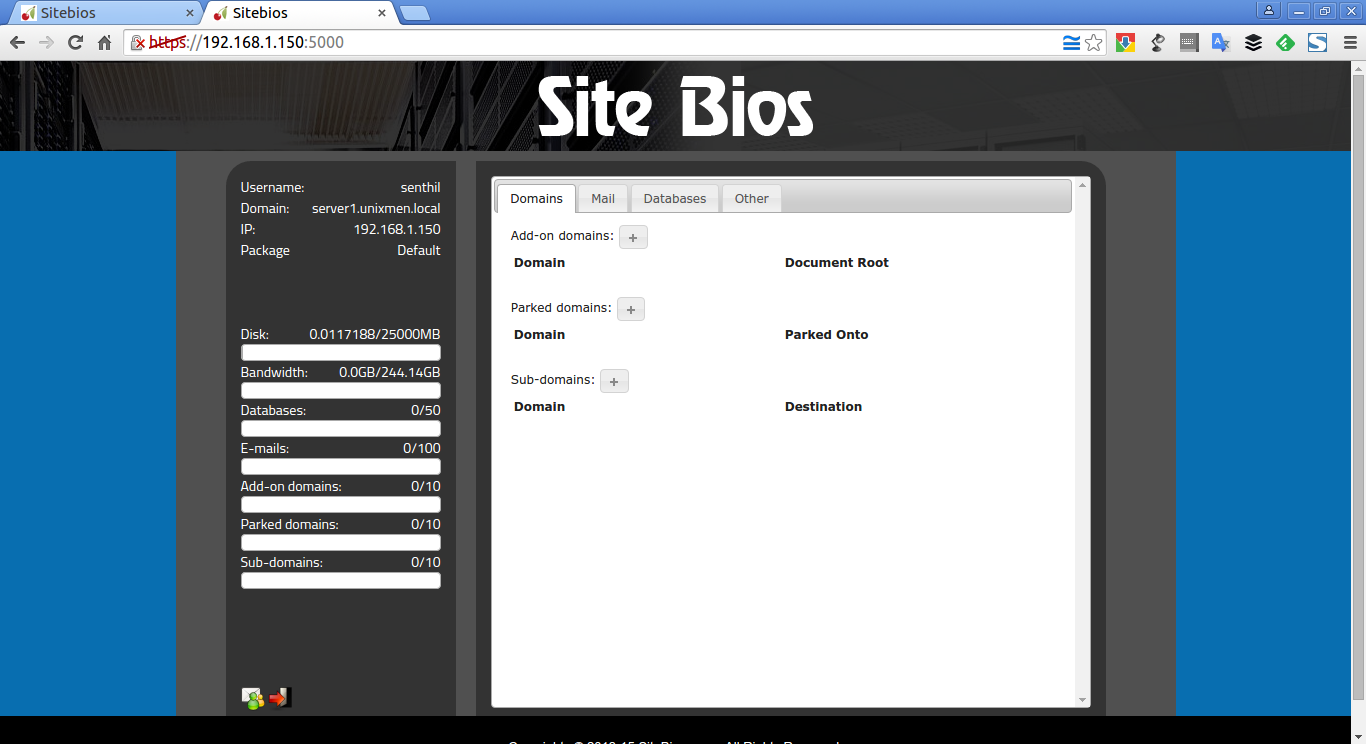
From here, you can create/delete, new add-on and sub domains, mail accounts, databases and so on. Also, you can check the other useful features such as AWstats, Backup, change password, Cron tabs, and phpMyAdmin and more.
I recommend you to refer the SiteBios official documentation page for more details about SiteBios usage and configuration. And, I also recommend you to check out the comparison chart to find the difference between SiteBios and other cPanel and the location of important files and logs of SiteBios as well.
Conclusion
SiteBios is still in development stage and is not recommend to try in production environment. The developers have added only the important features, however you can request them if you want any additional feature you would like to see in the upcoming versions.
Cheers!
Reference links:


