
LogicalDOC is a Document Management System. It is useful for all kind of small and medium enterprises, and it could play a very important role in knowledge resource management of Educational Organizations.
This tutorial describes how to install LogicalDOC in Ubuntu 15.04
Prerequisites
Minimum System requirement: 2.0 GHz Processor, 1 GB RAM, minimum 10 GB of Storage.
Minimum Software requirements: MySQL, JAVA jdk7, Ubuntu 9/RHEL 6/CentOS 6/Suse Enterprise Linux 10.
Installation
We will be using Ubuntu 15.04 Desktop OS 64bit for this demonstration.
First switch to root user using command:
su
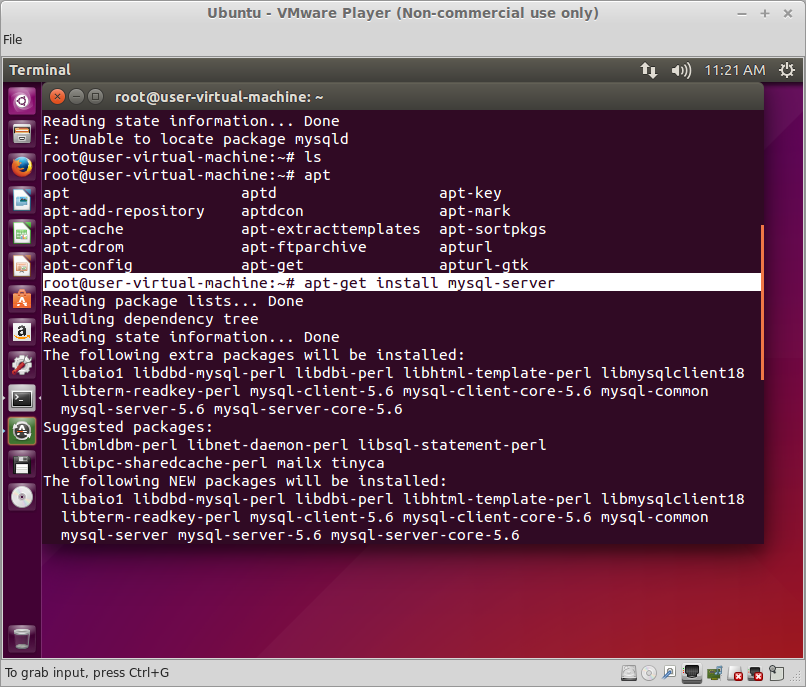
1. Install mysql.
apt-get install mysql-server
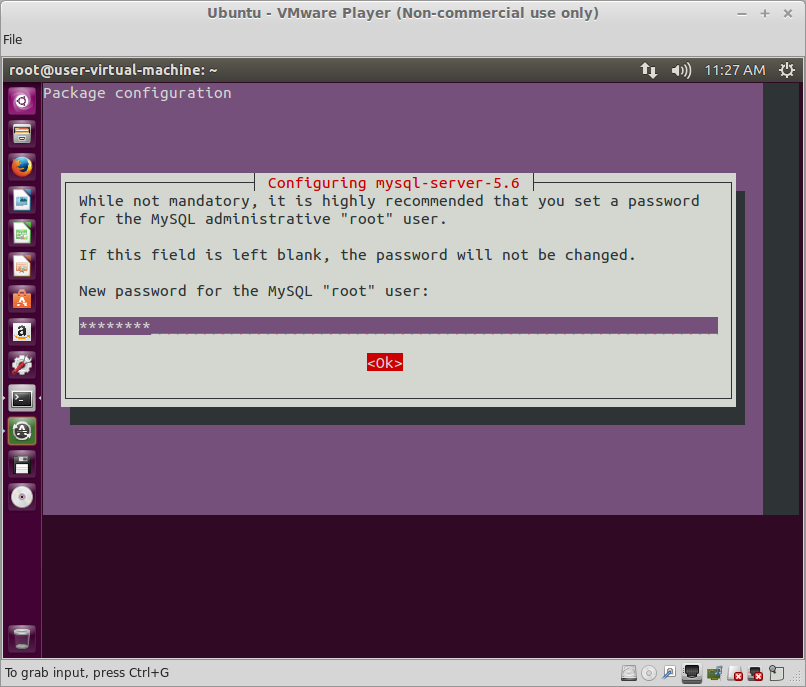
Assign password for mysql root user:
Now create database schema for logicaldoc.
mysql -u root -p <press enter, give password>
Create database with name “logicaldoc”
mysql> CREATE DATABASE logicaldoc;

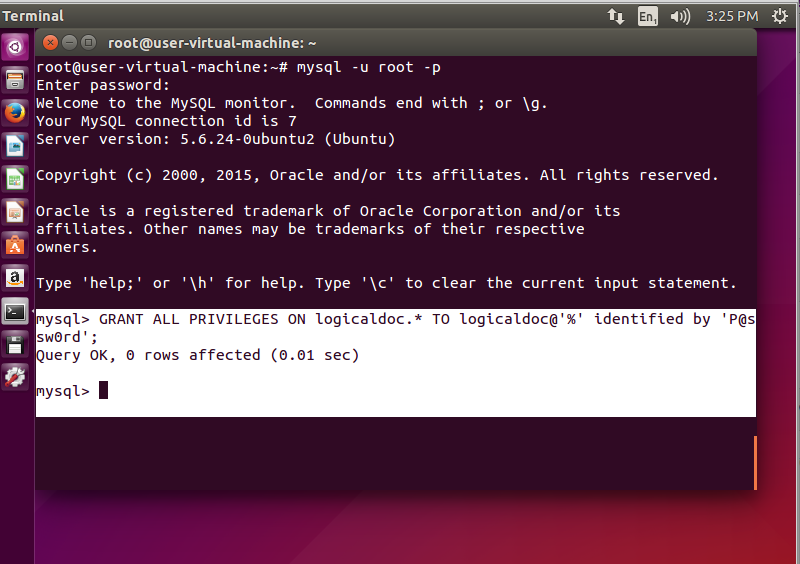
And create a user called “logicaldoc”.
mysql> CREATE USER logicaldoc;
Set password for user “logicaldoc”.
mysql> SET PASSWORD FOR logicadoc@'%'=PASSWORD('P@ssw0rd');
Give all privileges to user “logicaldoc”
mysql> GRANT ALL PRIVILEGES ON logicaldoc.* TO logicaldoc@'%' identified by 'P@ssw0rd';
save and exit from the MySQL prompt.
Make sure you installed latest version of openJDK.
java -version
If you haven’t installed Java yet, refer the following link.
Install Community version of Logicaldoc from following this link.
I have tested this setup with Trail version of Logicaldoc, but the installation instructions are same for both.
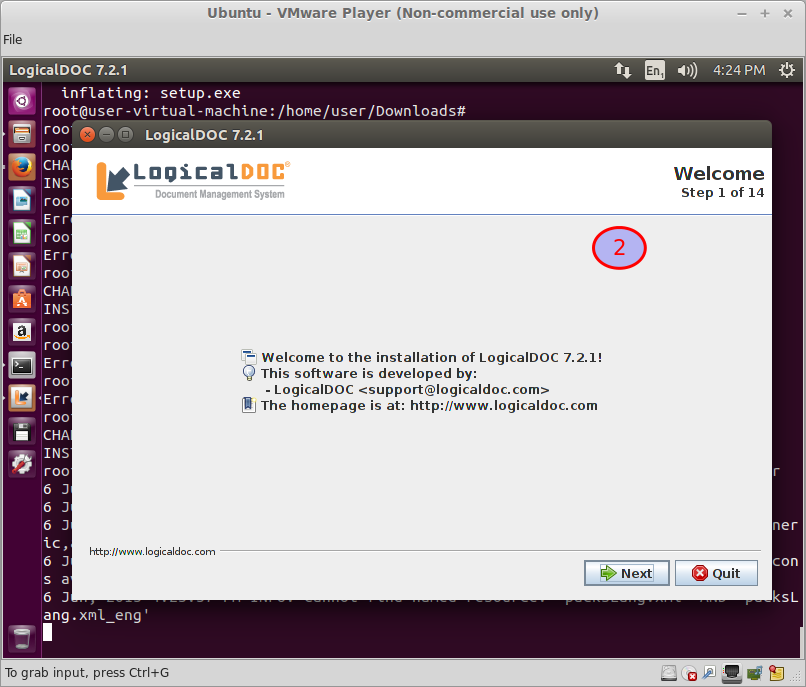
Go to the download folder and unzip this package, start installation.
java -jar logicaldoc-installer.jar
Select Language, and press ok.

Press next.
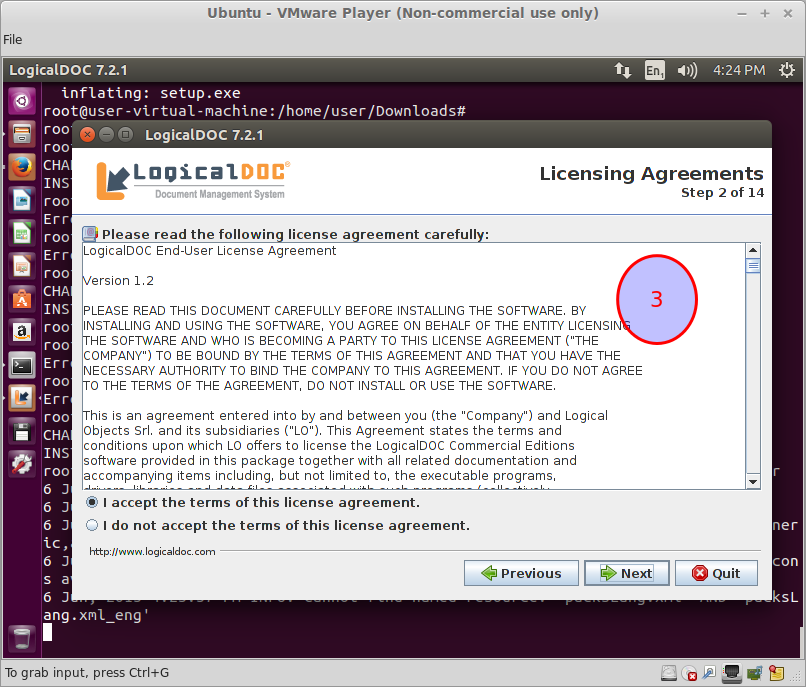
Accept Terms and Conditions, and press next.
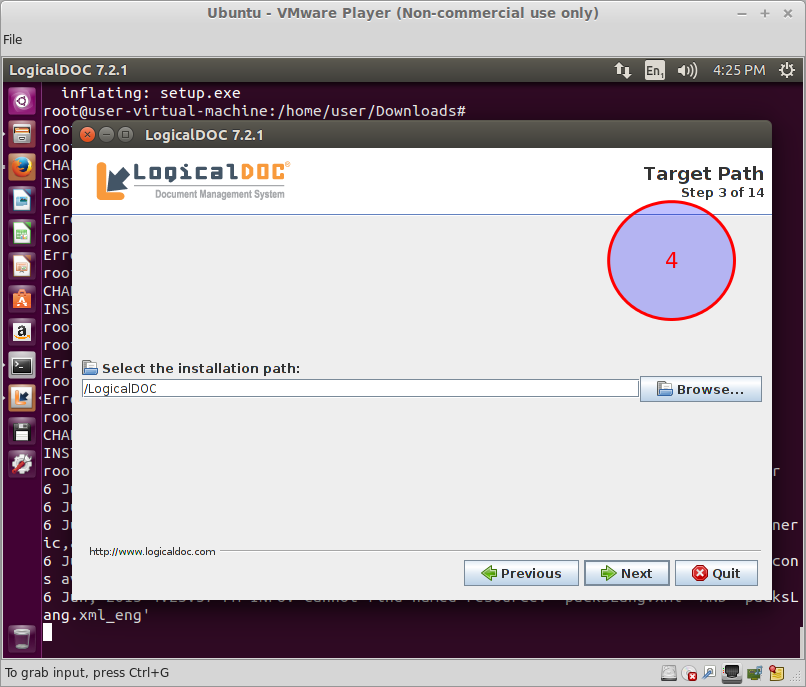
Select installation path.
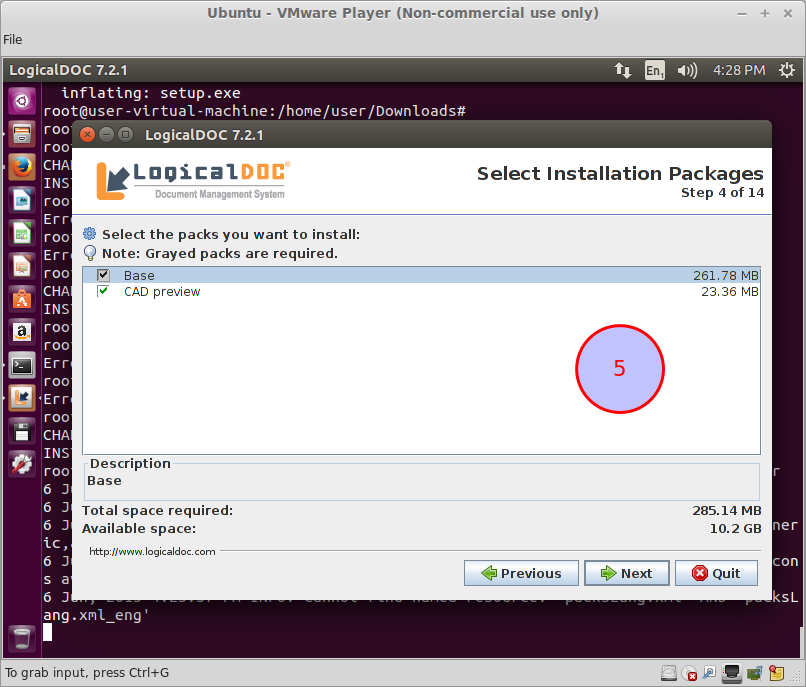
Keep default settings and press next.
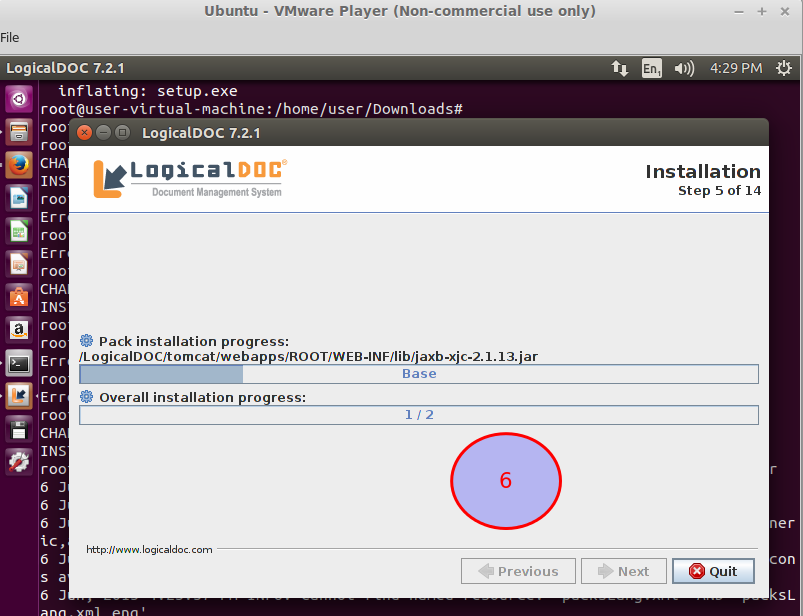
Wait for the the process to get finished.
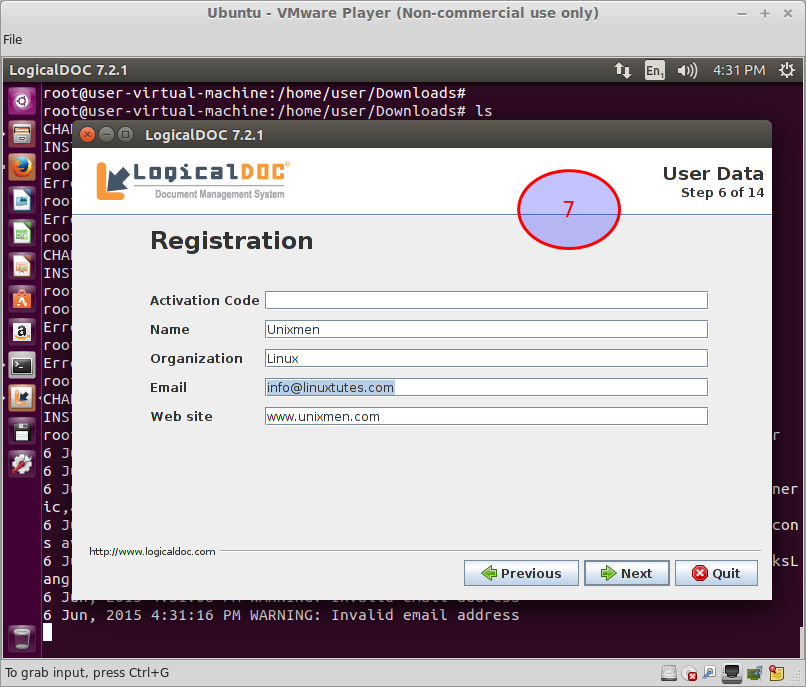
Provide relevant information, and press next.
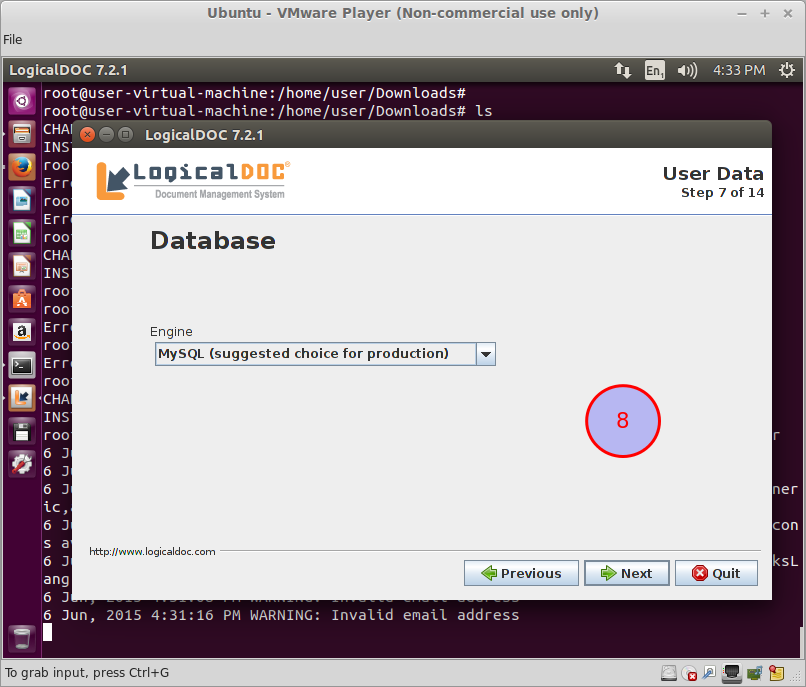
Select your database and press next.
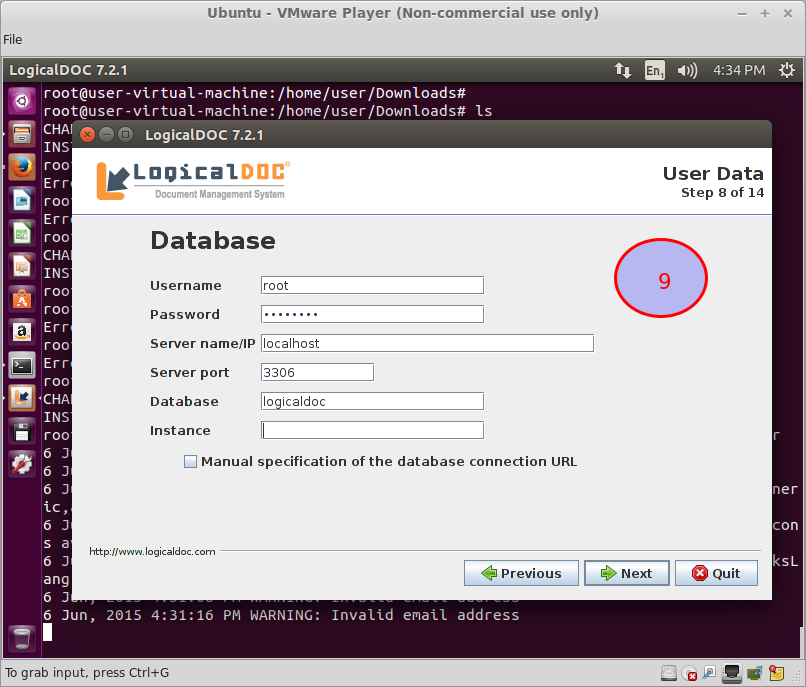
Provide data base credentials and press next.
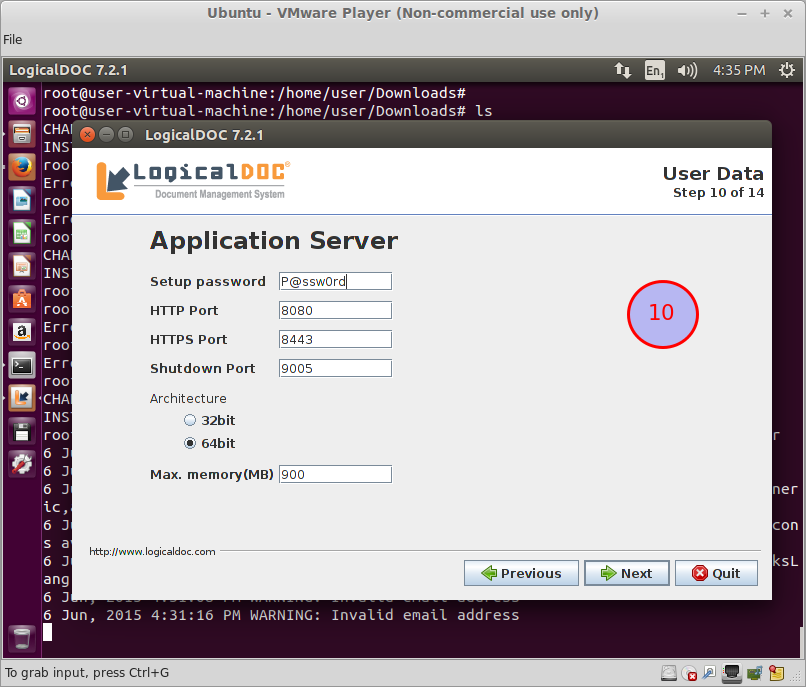
Provide password and leave rest of the setting as default, and press next.
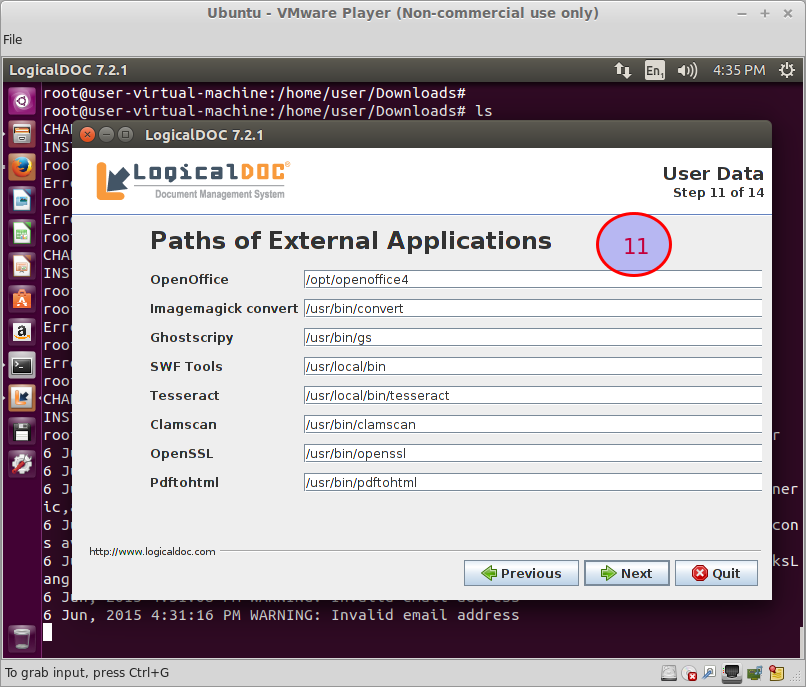
Leave default, press next.
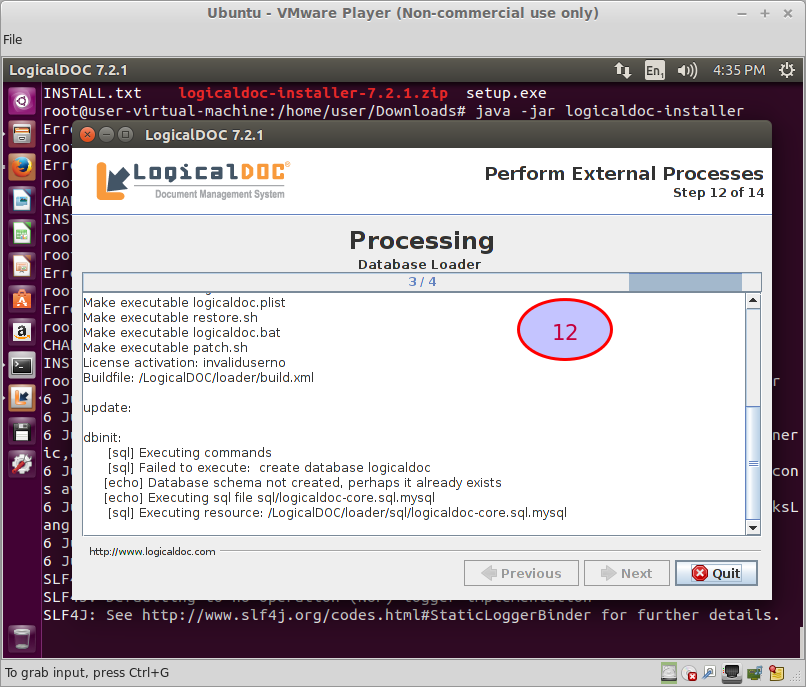
This step will check database parameters, press next.
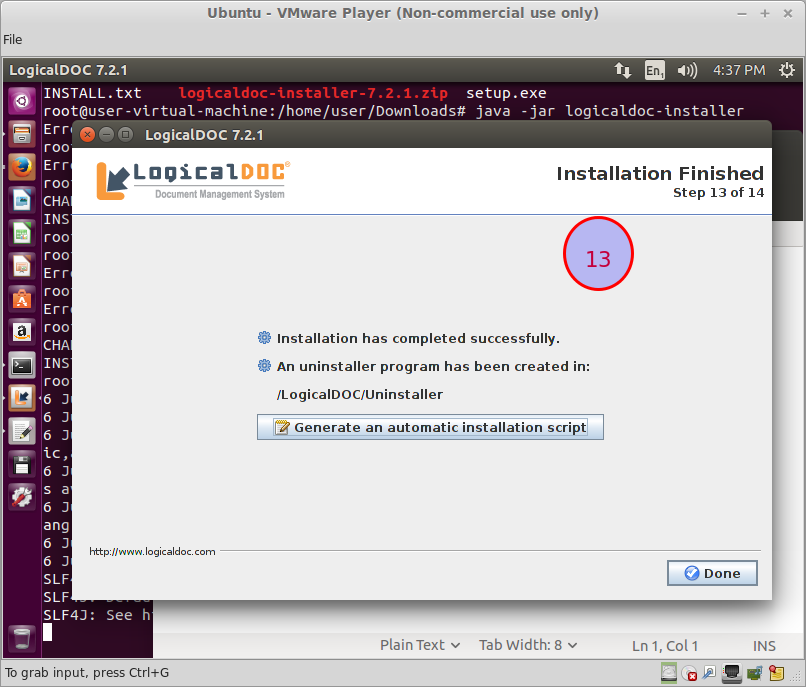
Installation is finished, press done.
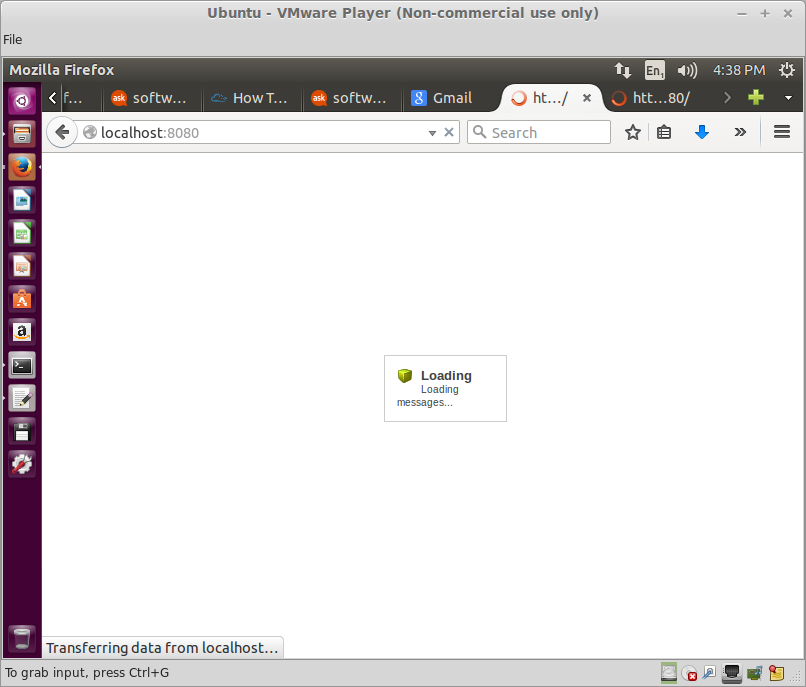
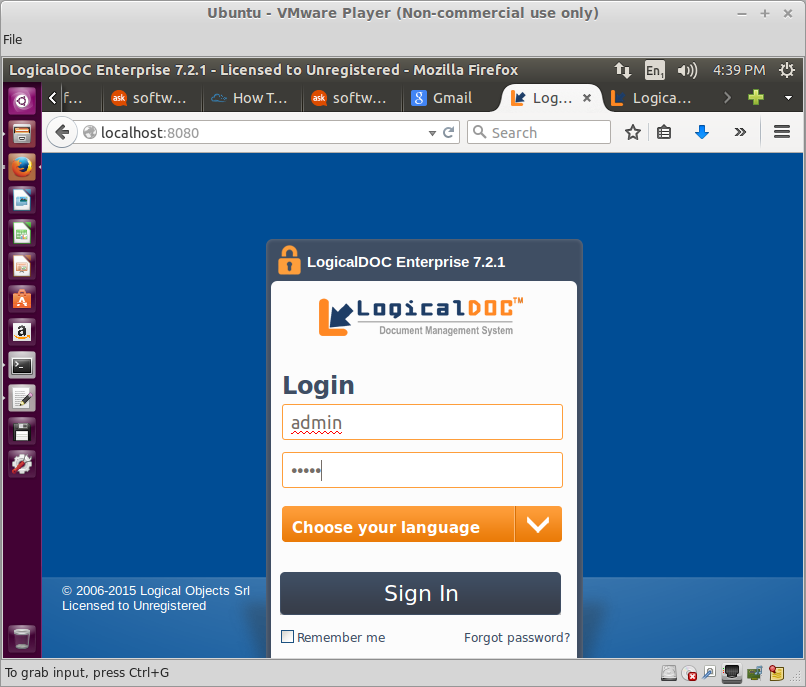
Open your web browser and type: http://localhost:8080
Provide user id and password (default user: admin, default password: admin)Setup your server.
That’s it. Installation is finished. Have fun!


