
Database administration via command line is bit difficult for newbie system and database administrators. Because MySQL has numerous commands which we can’t remember all day. If you’re a Webmaster or Database Administrator who managing many remote databases, you’ll definitely need a easy to use tool to mange your remote database servers. This is where DbNinja comes in handy. Unlike other database administration tools such as phpMyAdmin, Adminer, Chive etc., it can manage multiple databases from multiple hosts at the same time from anywhere, using any browser or any operating system.
DbNinja is free and non-commercial advanced web-based application for MySQL database administration and development. It’s a must-have for those who wish to access their hosted servers remotely. DbNinja supports all the latest features including: triggers, events, views, stored routines and foreign keys; in addition it allows to import and backup data and MySQL object structures, manage users and much more. DbNinja has a highly functional and elegant user interface, and can be used securely in any modern browser on any OS.
Features
The brief list of features of DbNinja is given below.
– Manage databases, tables, events, indices, foreign keys and triggers.
– Edit procedures, functions and views.
– Manage and export user accounts and privileges.
– Back-up and restore database structure and data.
– Compare and synchronize databases between hosts.
– Export data into CSV, SQL, Excel and JSON formats.
– Check, repair and optimize tables.
– View and terminate active server connections.
– View system status info and edit system variables.
– Connect to multiple hosts at same time.
– Do tasks simultaneously with tabs-based interface.
– Access all hosts and database objects from a tree view.
– Items can be right-clicked to show context-sensitive menus.
– Edit queries and routines efficiently with syntax highlighting.
– Work with multilingual data – different encodings are supported.
– Preview images and other binary data that’s stored in tables.
– Save your favorite queries for later use.
– Set limits on amounts of fetched data and query execution time.
– Use keyboard shortcuts for common tasks.
Install DbNinja On Linux
Installing DbNinja is pretty easy and straight forward. Please be mindful that DbNinja isn’t free software. It’s free for Personal use only. Please have a look at here for license details for commercial use.
In this tutorial let us see how to setup DbNinja on RHEL/CentOS, Debian/Ubuntu and SUSE/openSUSE distributions. Since DbNinja is web based, we should have a working LAMP stack in our server. Refer the following links to setup LAMP server on your respective distribution.
– Install LAMP Server On RHEL / CentOS
– Install LAMP Server On Debian
– Install LAMP Server On Ubuntu
– Install LAMP Server On openSUSE
Now download the latest version of DbNinja from the official download page. Or just enter the following command to directly
# wget http://www.dbninja.com/download/dbninja.zip
Extract the zip file using command:
# unzip dbninja.zip
Move the extracted folder to your webroot folder.
For RHEL/CentOS:
# mv dbninja /var/www/html/dbninja
For Debian/Ubuntu:
# mv dbninja /var/www/dbninja
For SUSE/openSUSE:
# mv dbninja /srv/www/htdocs/dbninja
Make sure that you have installed the following php modules.
On Debian/Ubuntu:
# apt-get install php5-mysql php5-json
On RHEL/CentOS:
# apt-get install php-mysqli php-pecl-jsonc
On SUSE/openSUSE:
# zypper install php5-mysql php5-json
Don’t forget to restart apache service after this.
Set the read/write permission to the following directory.
# chmod 777 dbninja/_users/
Begin Installation
The rest of the installation is easy. Point your browser to http://ip-address/dbninja or http://domain-name/dbninja/ and follow the onscreen instructions.
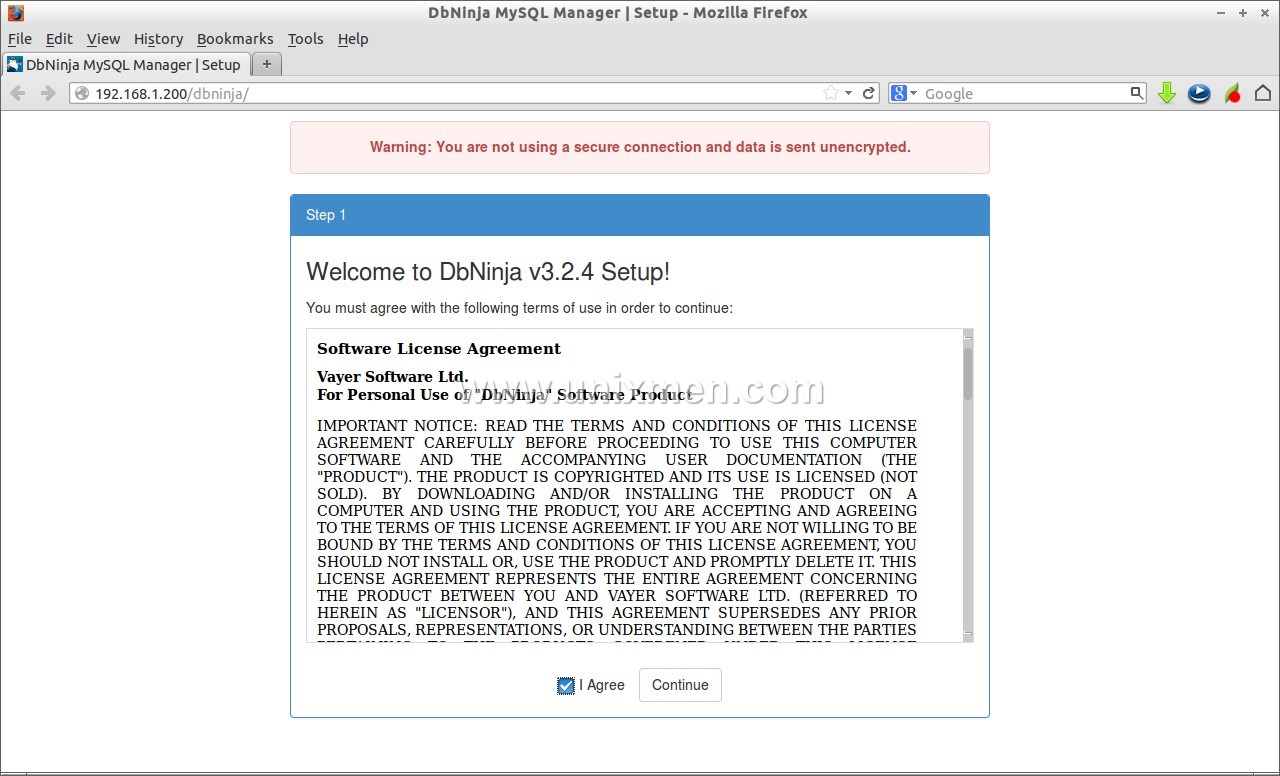
At first, you’ll be asked to agree the License agreement and click Continue.
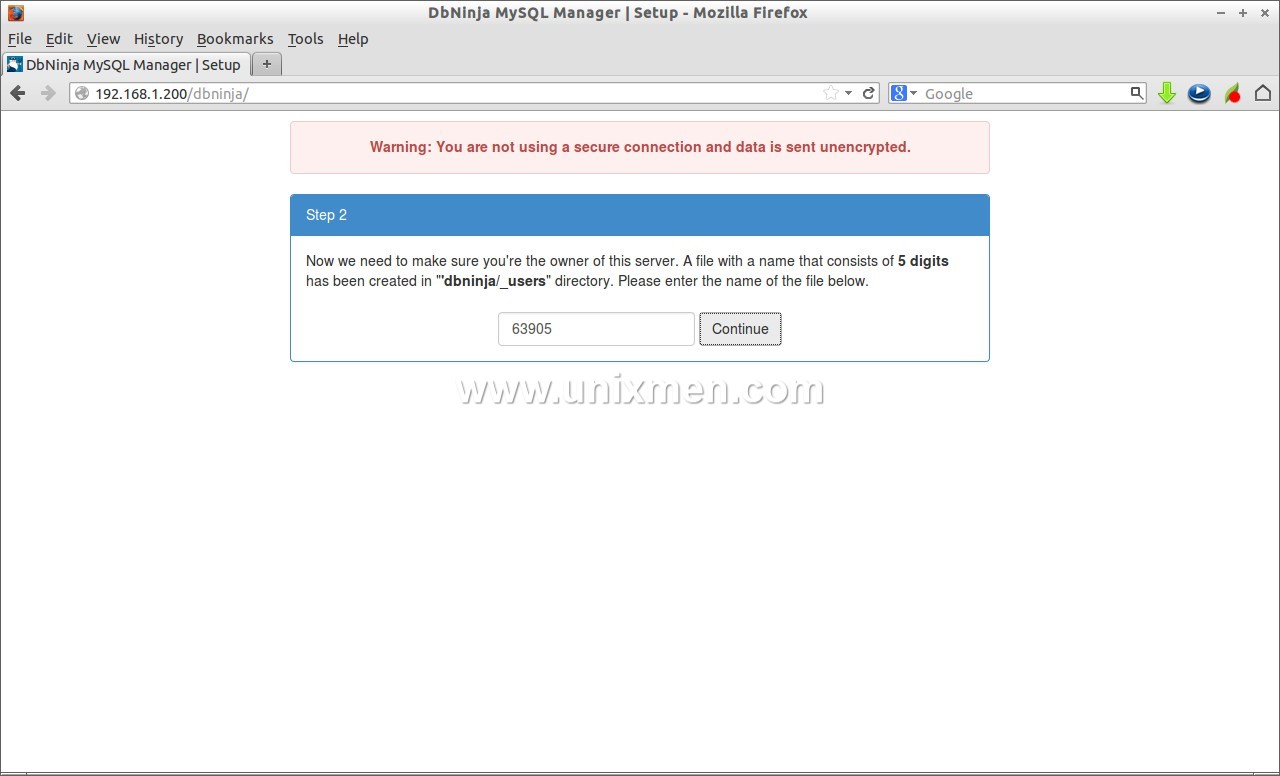
 Now a file with that consists of 5 digits will be created automatically in dbninja/_users directory. Find the file and enter the name of it. This is need to make sure you’re the owner of this server.
In my case it’s 63905. So just enter it in the box and click Continue.
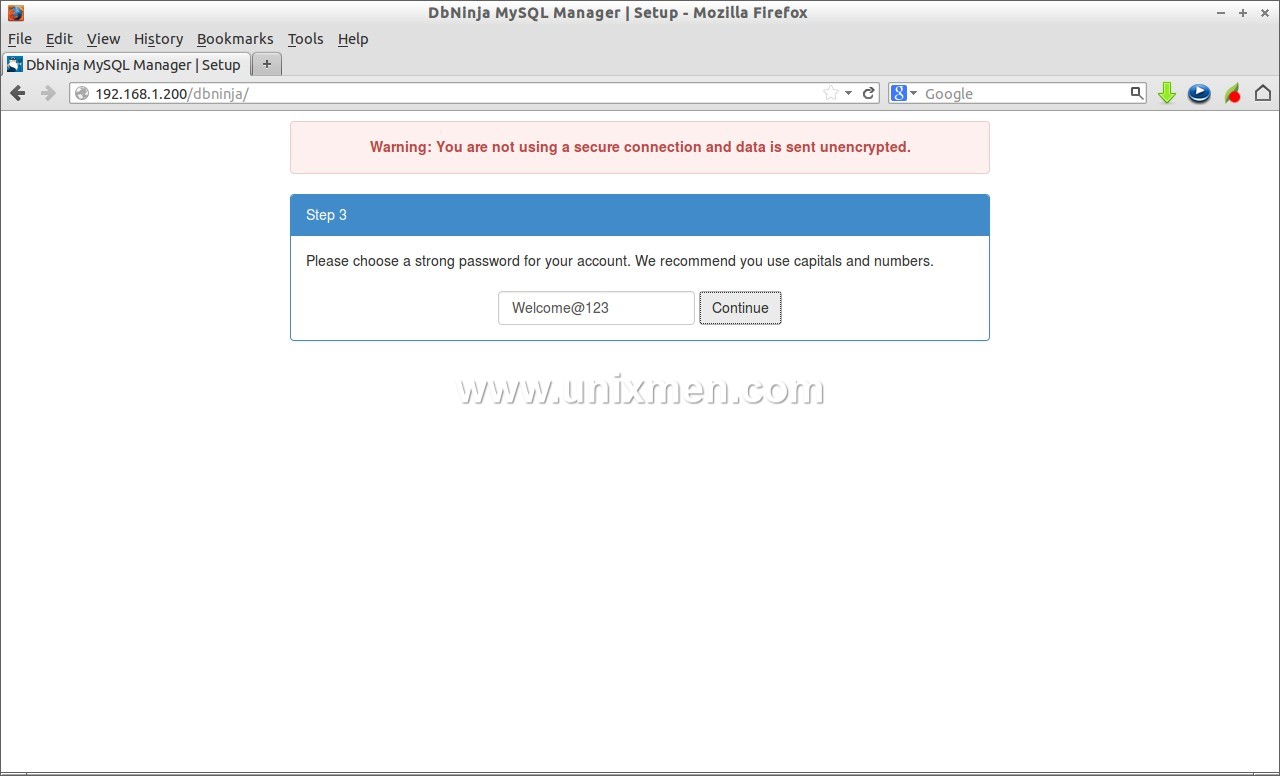
 Enter a strong password for your account and click Continue.
 Finally DbNinja has been installed successfully. Click Continue to log in to DbNinja.
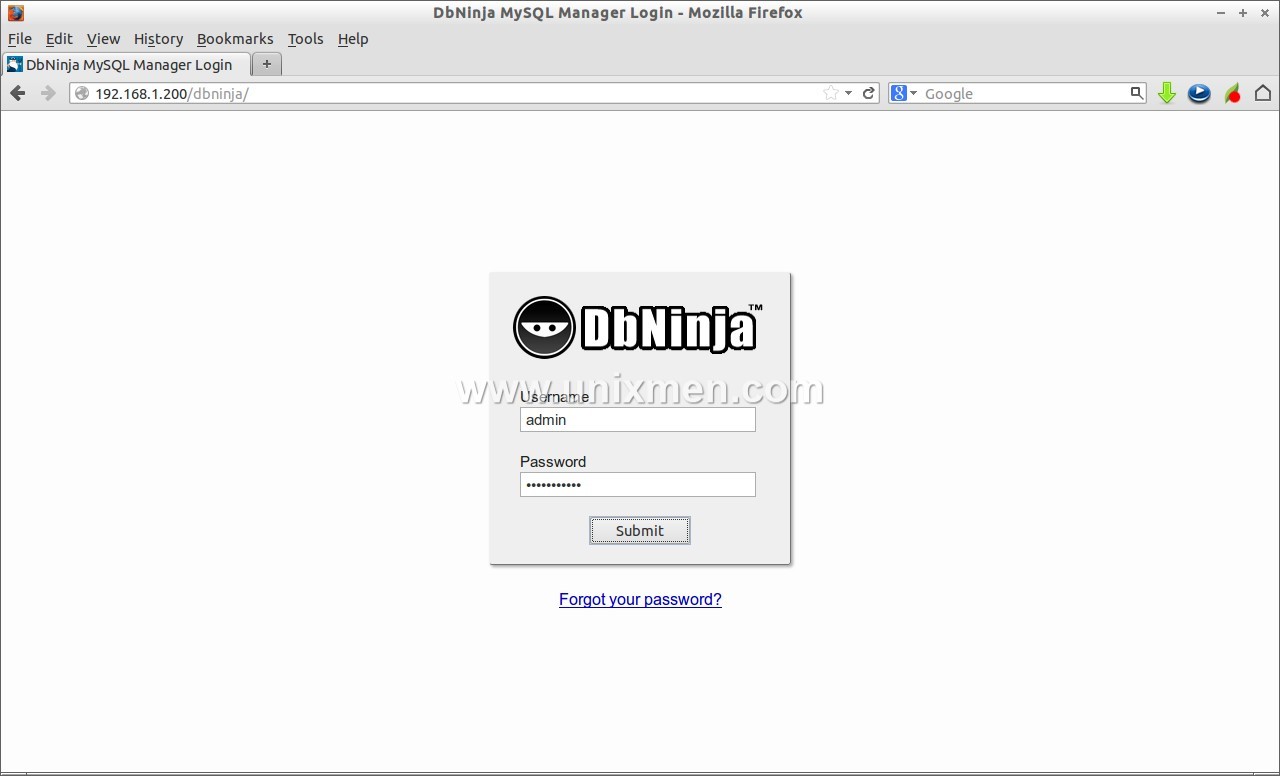
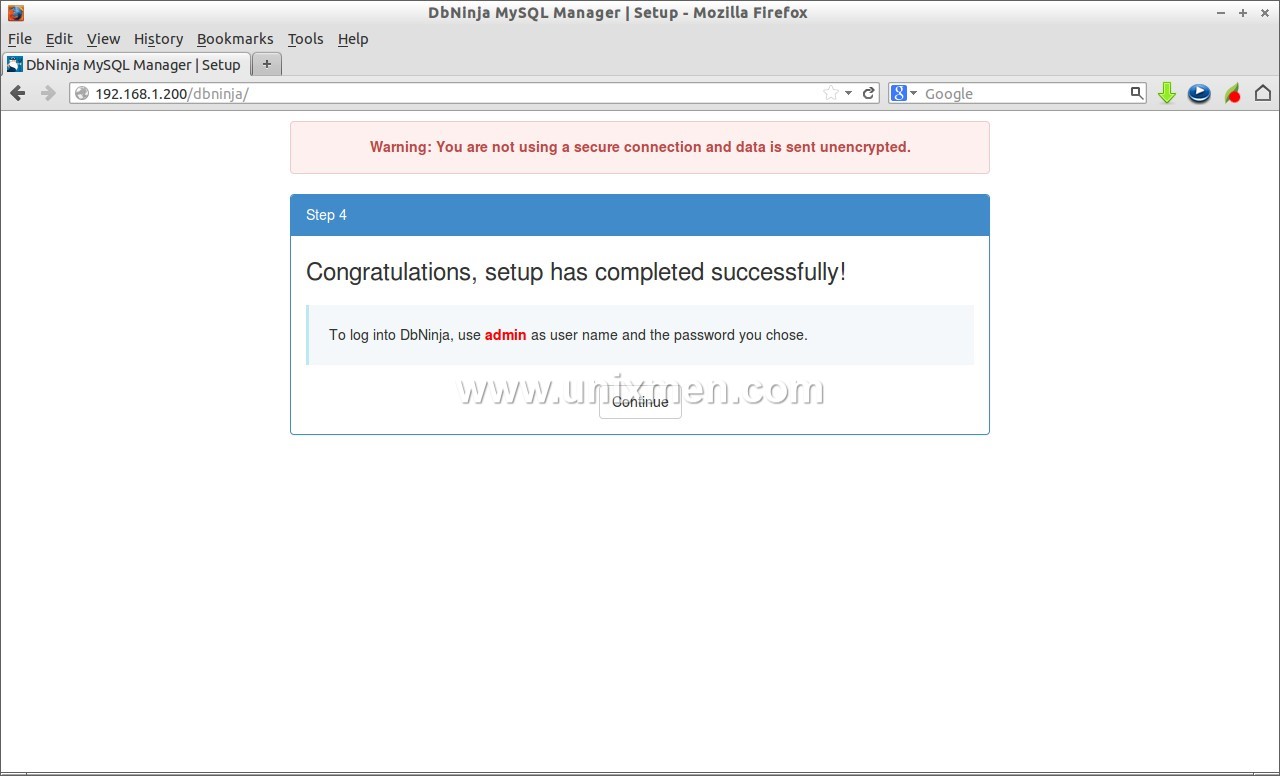 Enter user name as admin and the password that you’ve created earlier.
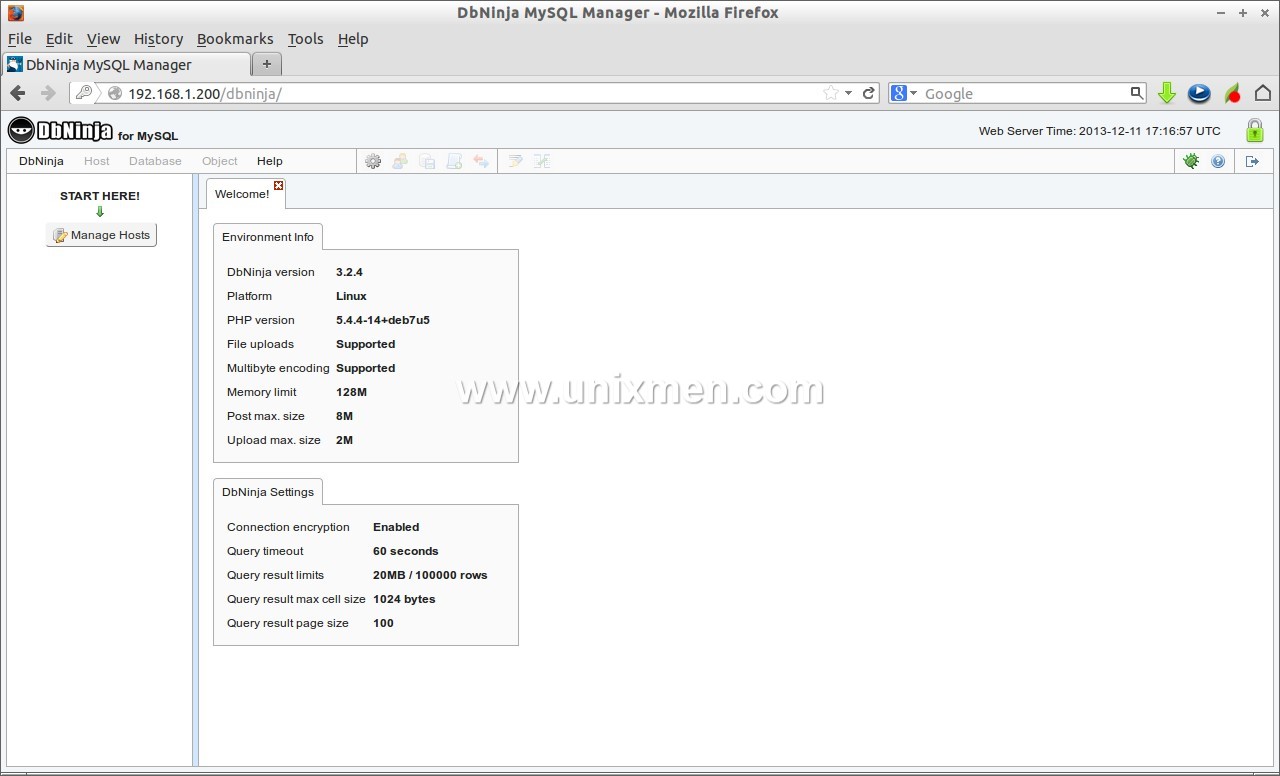
 This is how my administrative dashboard looks. From here, you can manage hosts and databases remotely.
 Manage mysql hosts
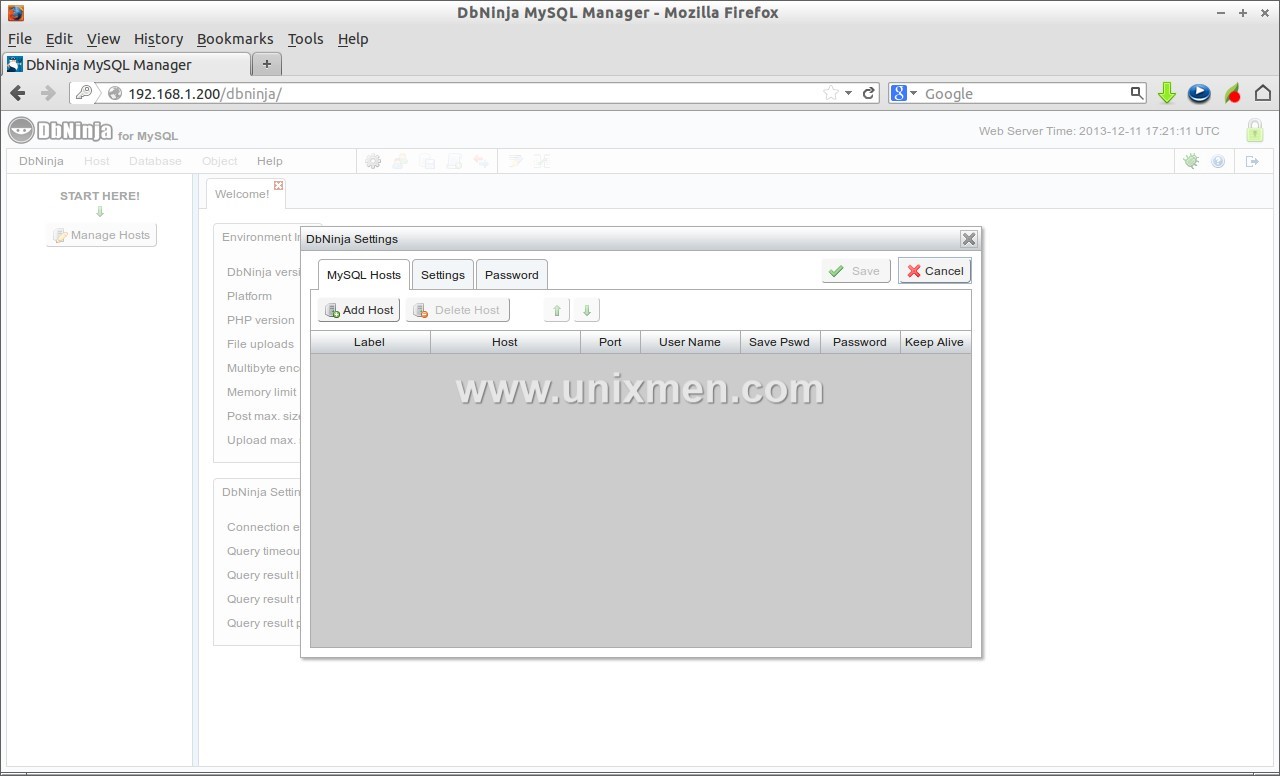
To Add a new mysql host, Click on the link Manage Hosts on the left In the administrative dashboard. A new window will appear. Click Add host.
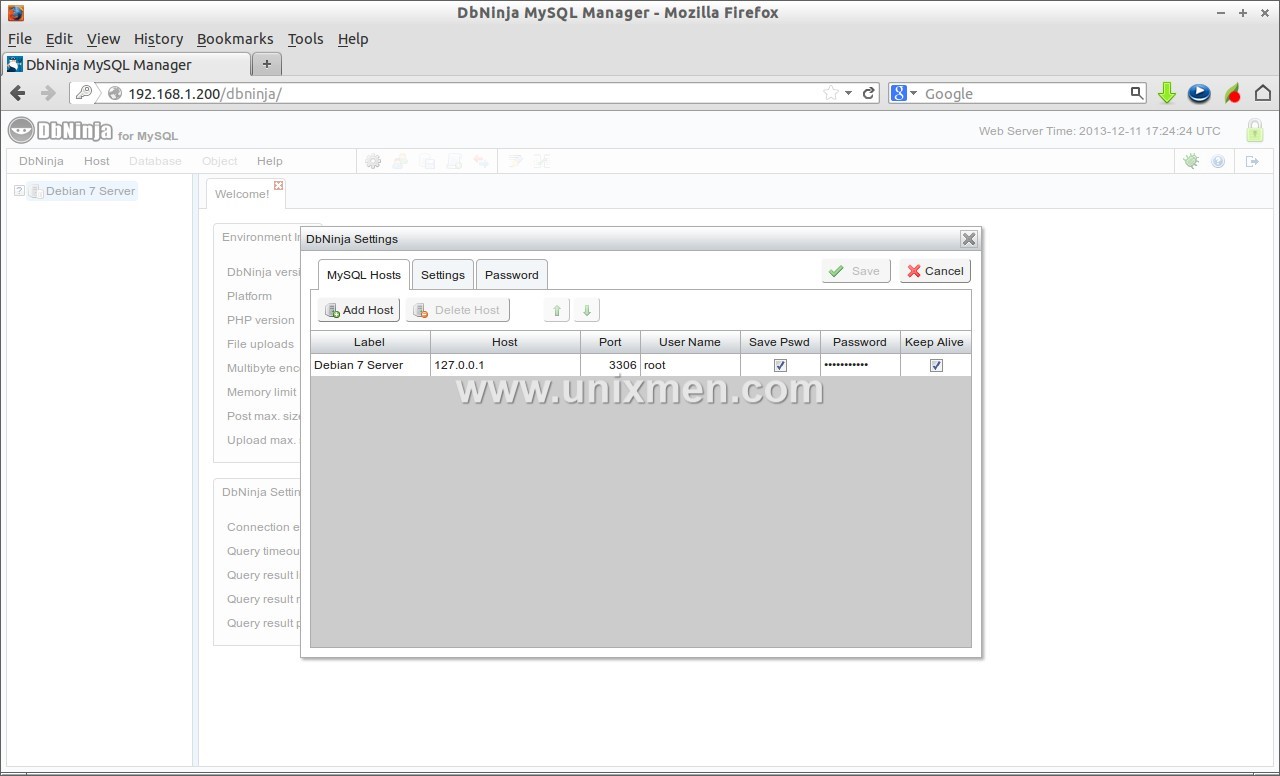
 Enter the database server hostname, ip address, database user name and password details in the respective columns and click Save.
 The added hosts will be found on the left pane of administrative dashboard. Just double click it connect or right click and select Connect to connect to the database server.
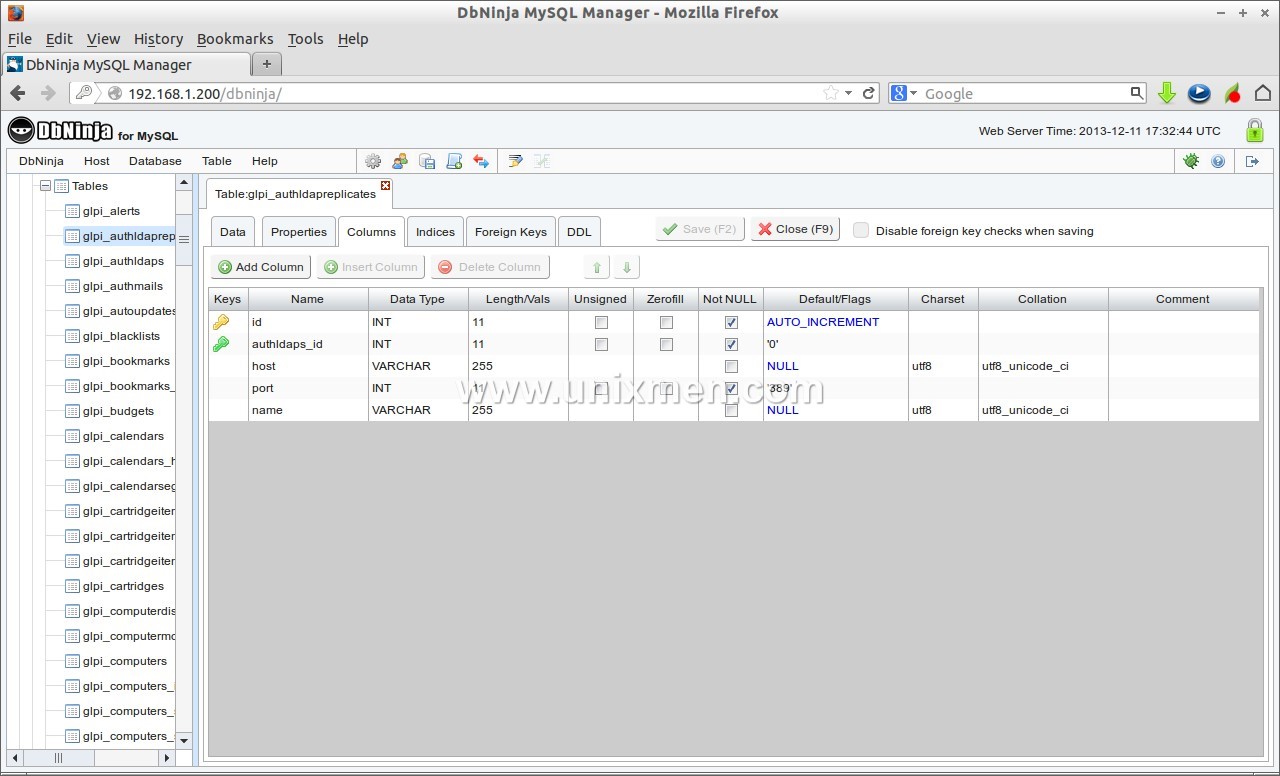
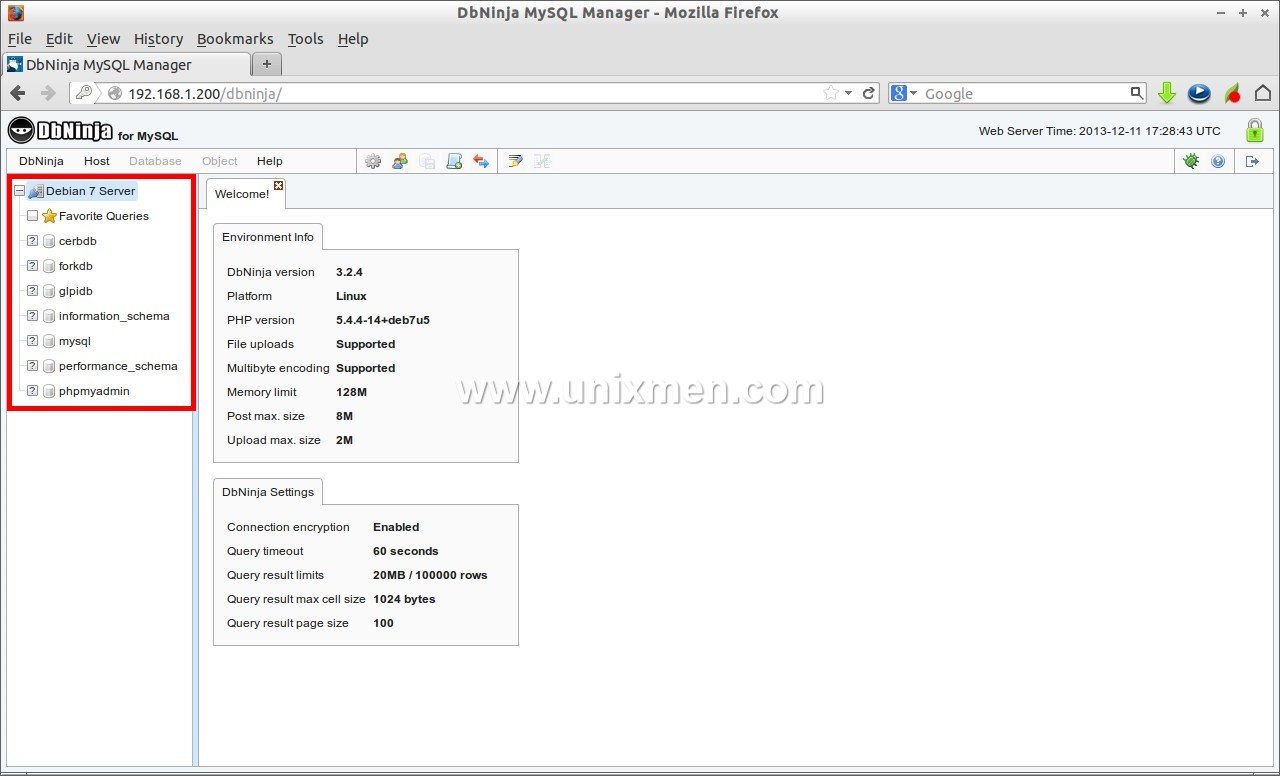 As you see in the above screen shot, you can manage all the databases in the mysql host. To view a particular database details, just double click on it.
 By this way, you can add hosts as many as you have.
That’s it. Happy managing mysql databases.
References:


