There are many novice users that want to get their hands dirty with CentOS maybe because they want to learn something new or maybe because their default operating system does not fit their needs anymore so I thought to write this detailed guide on how to install CentOS on a machine.
I will install the latest version of CentOS which is CentOS 7.0 we we can stay updated with latest security fixes, updates and cool features from this operating system.
What is CentOS?
CentOS is a community-supported distribution functionally compatible with RHEL with the main goal of providing a transparent rich base platform for open source communities to build upon. It is developed by a core team of developers but there is alot of help from all linux users all over the world, some help with adminstering the network and others are part of core Linux contributors.
Install CentOS 7.0
Before going any further we have to download the CentOS 7.0 DVD ISO which you can download here by using a torrent client. Once the download is finished feel free to continue reading.
There are many ways to install a linux distro on your machine and it is for sure that CentOS operating system can be installed via a DVD or usb stick but for the purpose of this tutorial I will use VirtualBox.
Once the installation of the dvd iso is finished boot your computer and select the option Install CentOS 7 like is shown in the following screenshot.
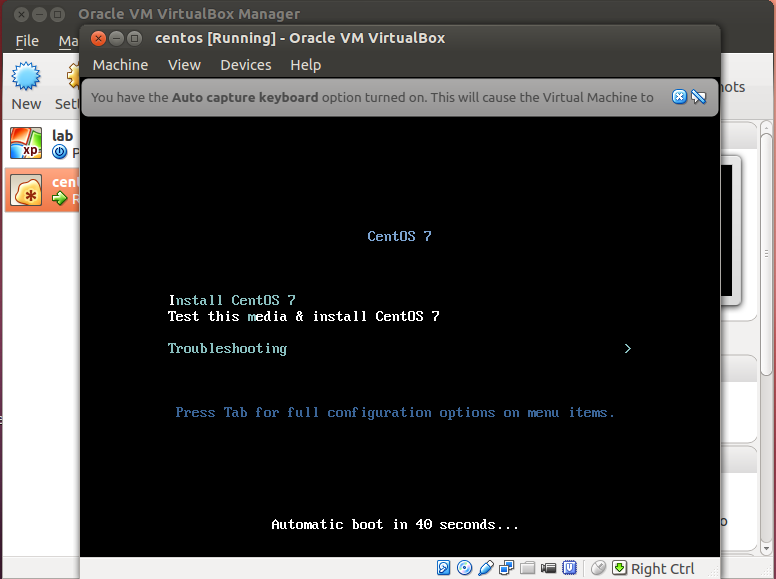
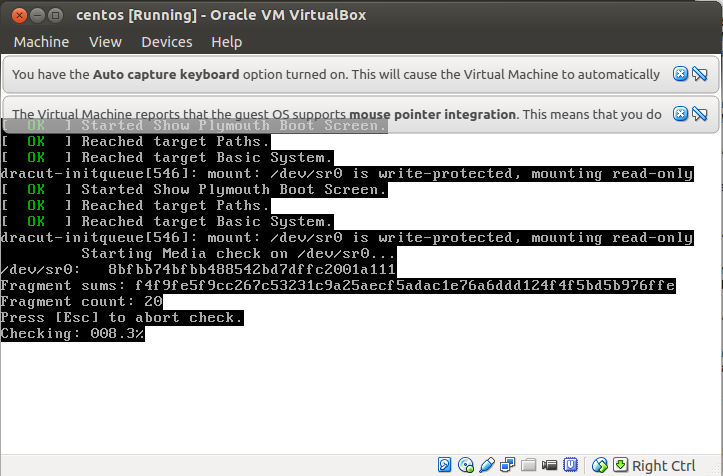
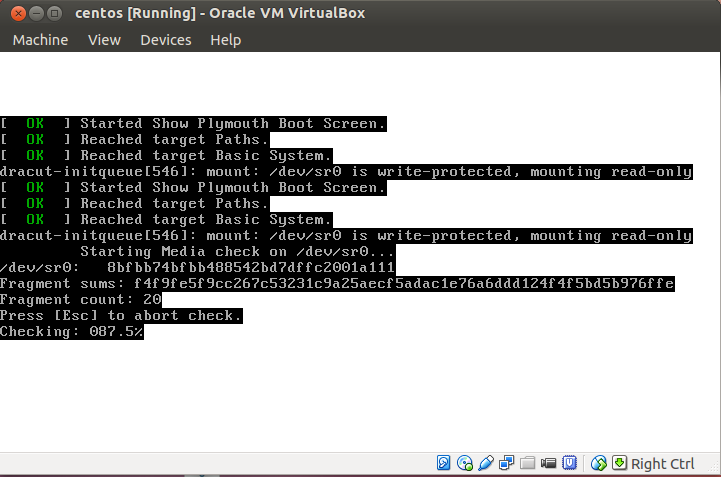
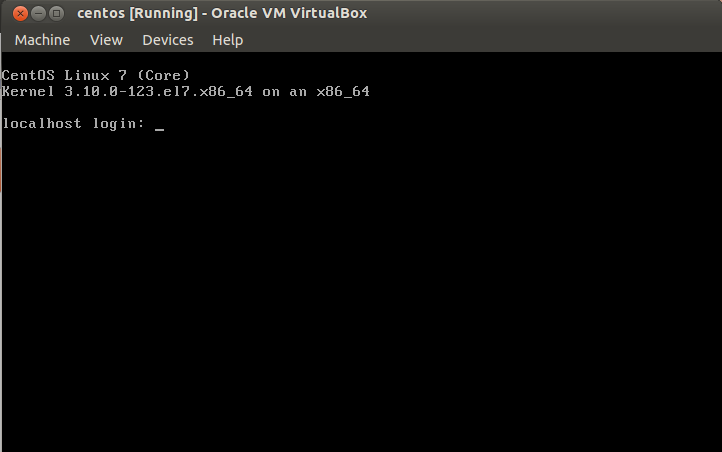
Then hit the Enter key on your keyboard and wait for some seconds. You will see the following output displayed. Do not worry about it, just wait.
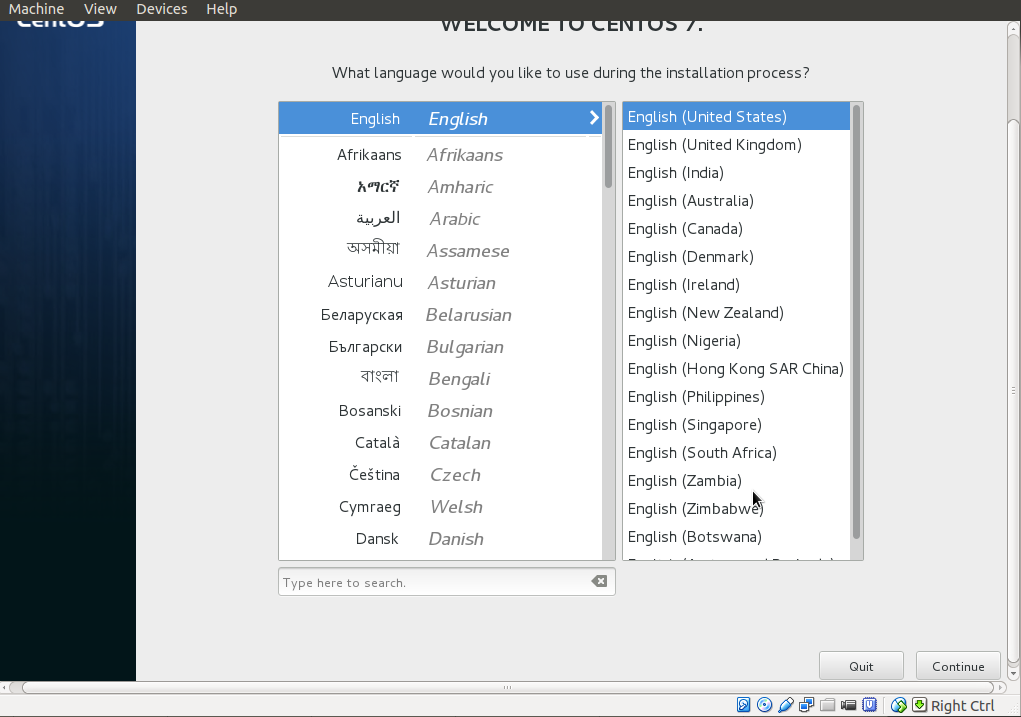
Once the above process is finished the CentOS installation window will appear. It will ask for the language you want to use during the installation and since I know english I will leave it as default. Feel free to choose the language you know better.

Once you are sure about which language you want to use then scroll down and click on the button Continue like shown in the following screenshot.
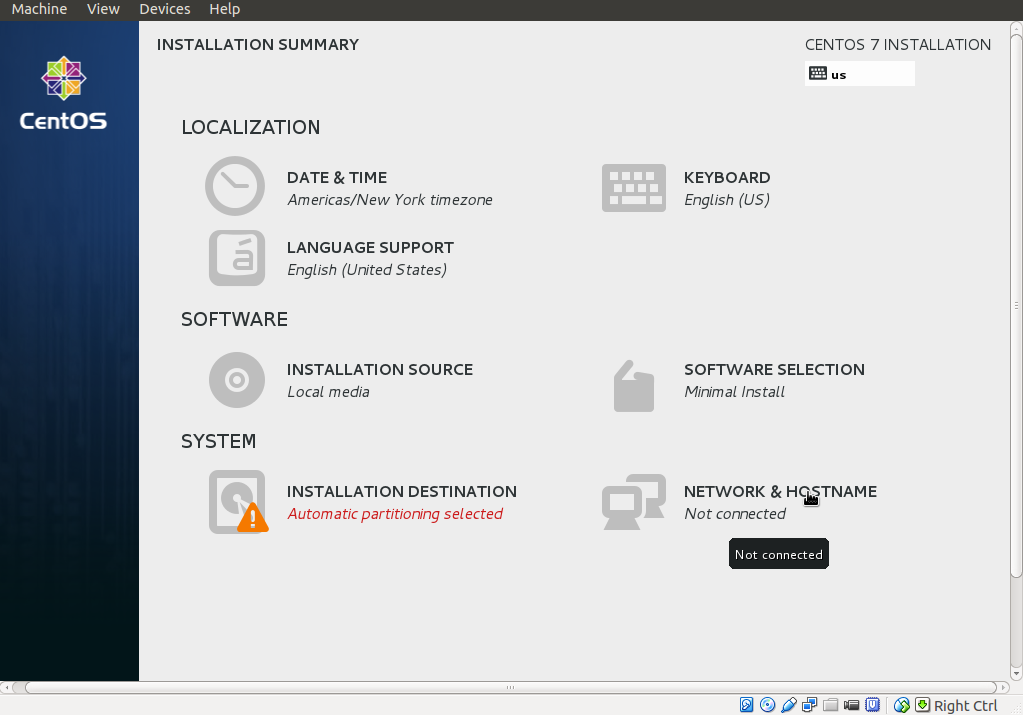
Then the installation summary will come up. Here we will take care about the Language Support, Keyboard, Date and Time, Installation Destination,and Software Selection.
You can add the Keyboard Layout you like. To do this just click on the KEYBOARD under LOCALIZATION and use the button plus to add a keyboard layout you want. I would like to use English(UK) on my system so I added it like shown in the following screenshot.
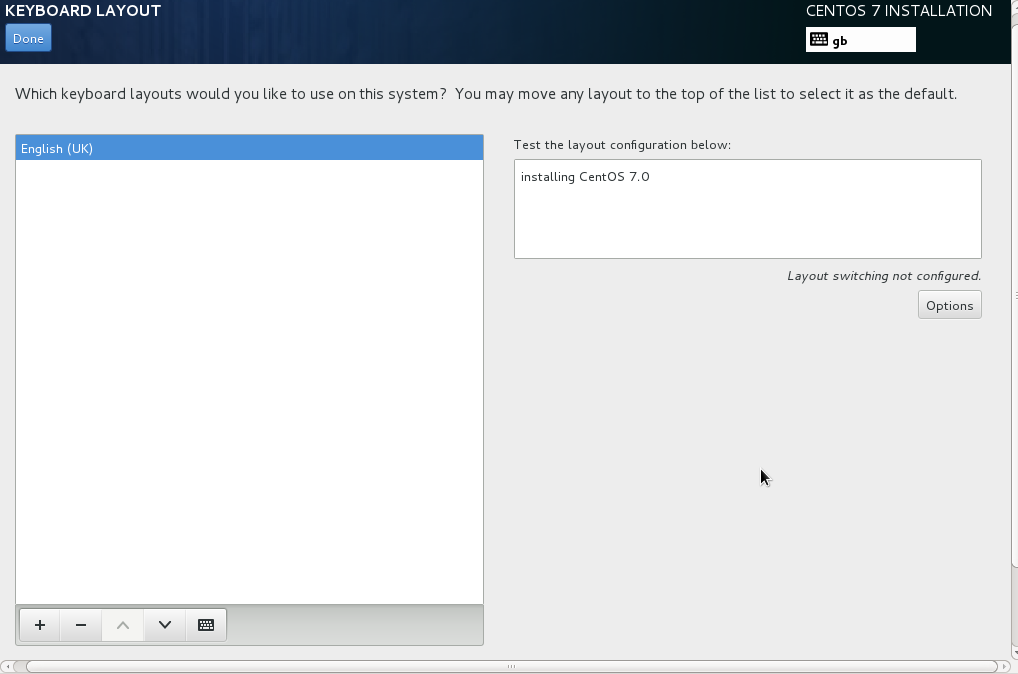
Once you have finished with this click on the button Done which is located on the top of the window. After configuring our Keyboard Layout for this installation we have to select the devices we would like to install to. They will be untouched until you click the button Begin Installation.
Now select the device like shown in the following screenshot. CentOS does automatic partitioning by default so you don’t have to do any extra step but if you like you can also select manual partitioning. To do this tick on I will configure partitioning like shown in the following screenshot.
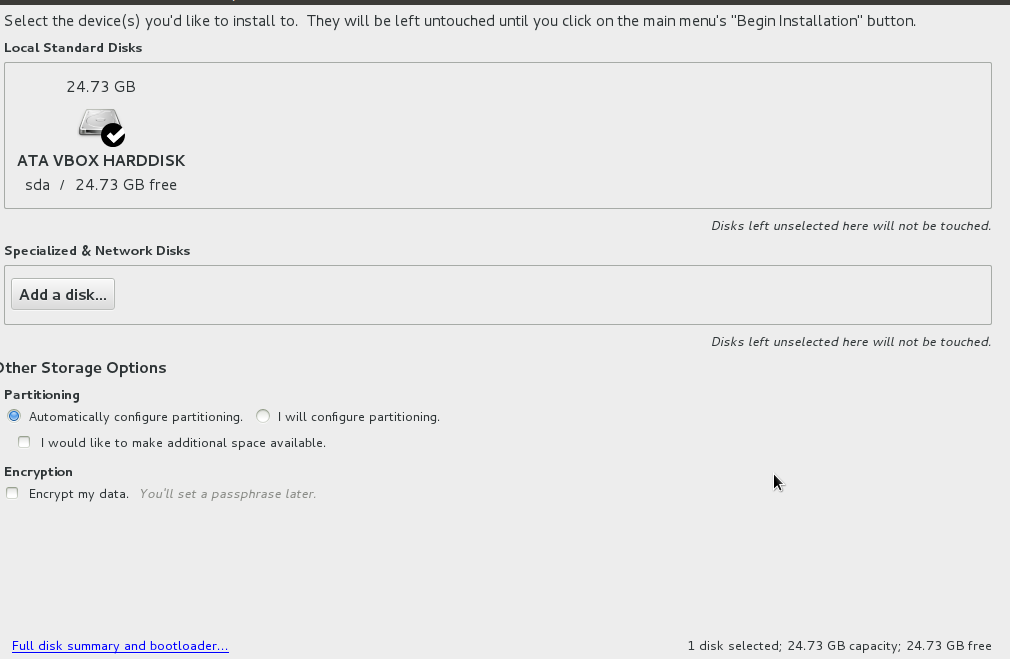
Then click on the button Done like you did before. Then click on Begin Installation and wait for it to start.
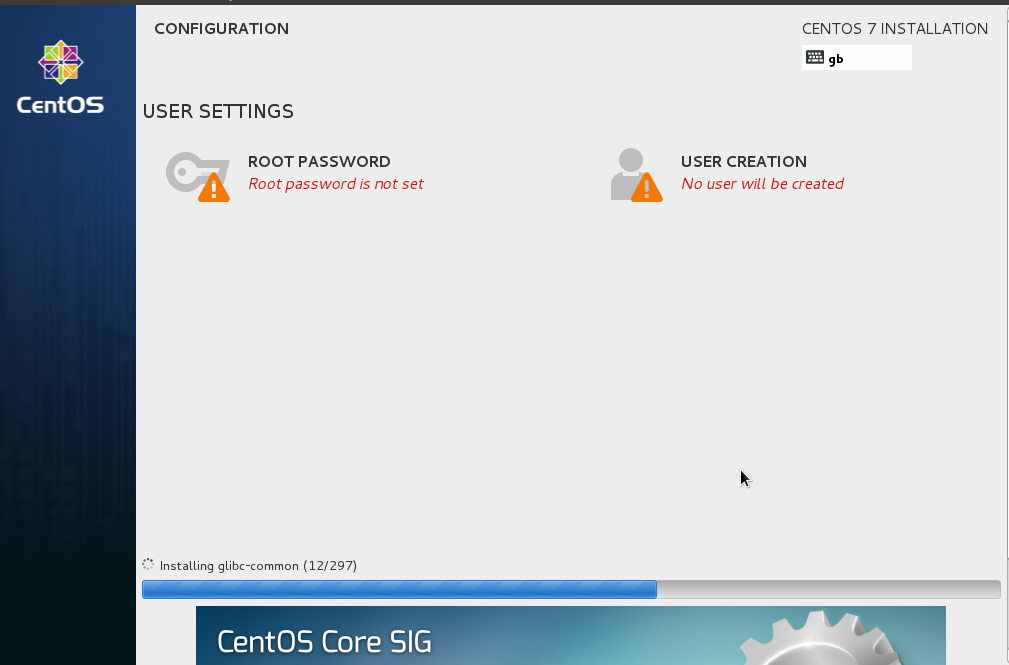
It is time to configure user settings. Now we will set up the password of the root and also create a new user. It is not hard to do, the following screenshots demonstrate how to do it.
The root account will help to administer the system. To create a password for the root account just click on the ROOT PASSWORD like shown in the following sreenshot.
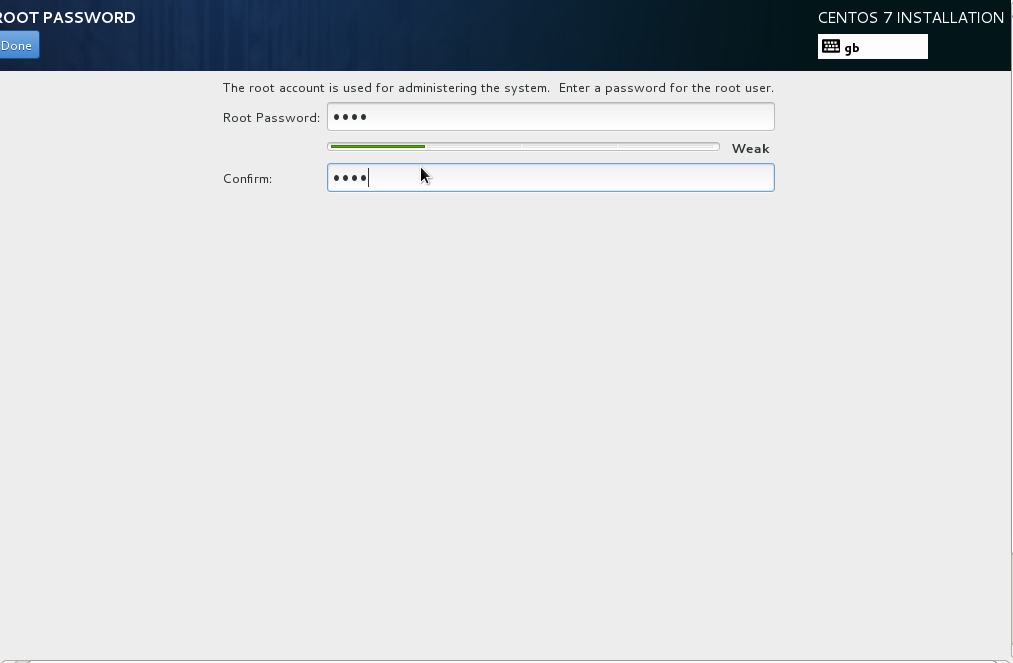
My password for the root account is very simple, just root and I do not recommend it using in a real machine because if someone wants to hack your machine I am very sure the first password they try on a linux machine is root. This weak password I am using is only for the purpose of this tutorial.
Then again Done.
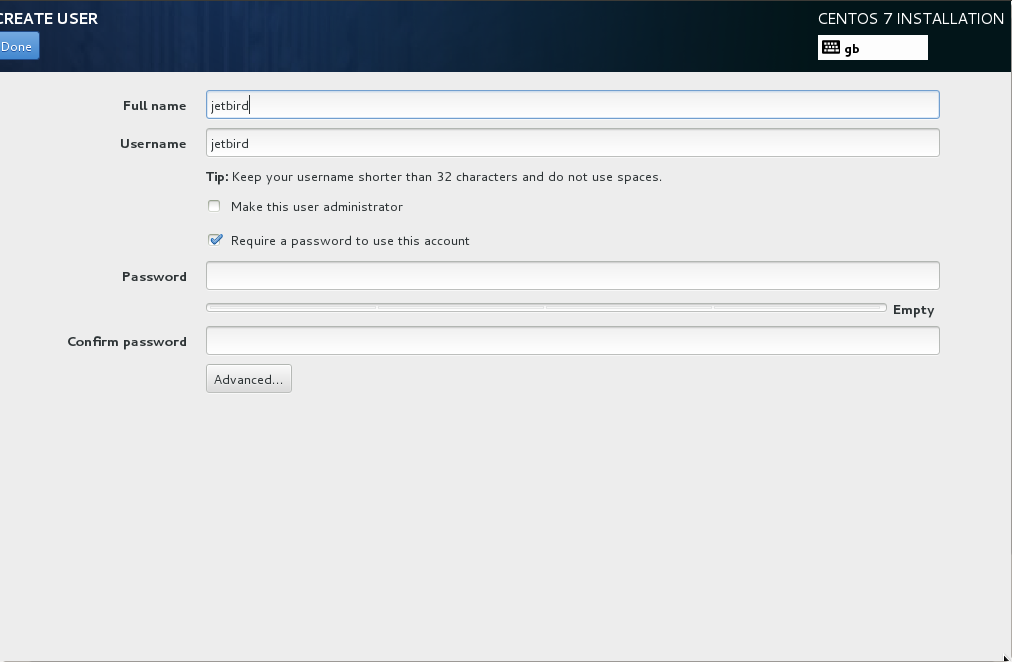
Once you have finished creating the password for the root account it is time to create a new user on the system. Just go on USER CREATION and then take a look at the following screenshots.
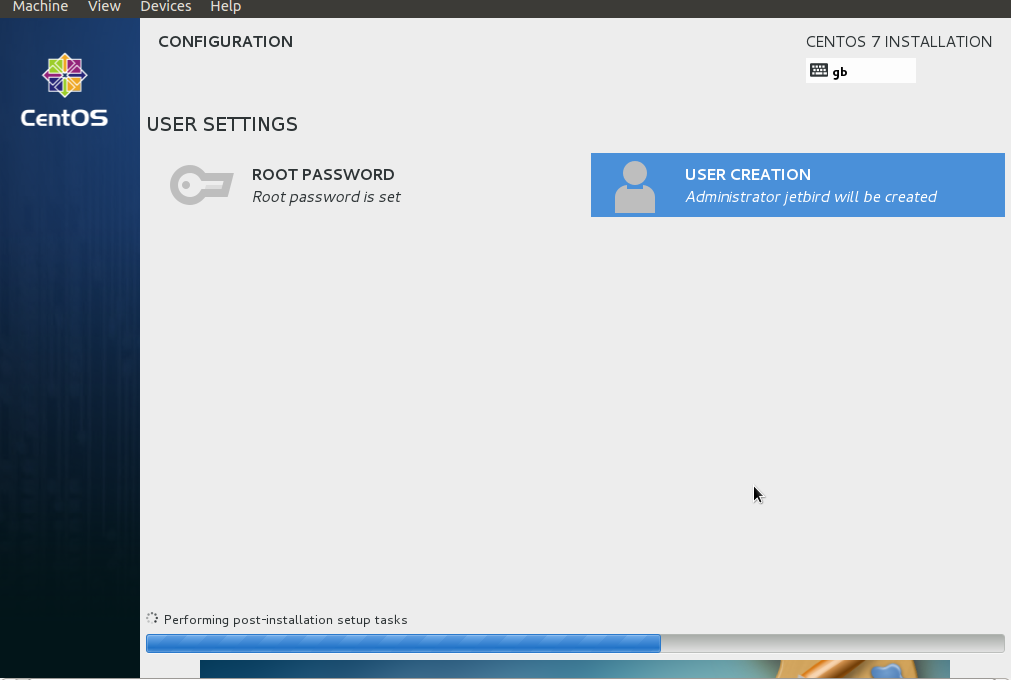
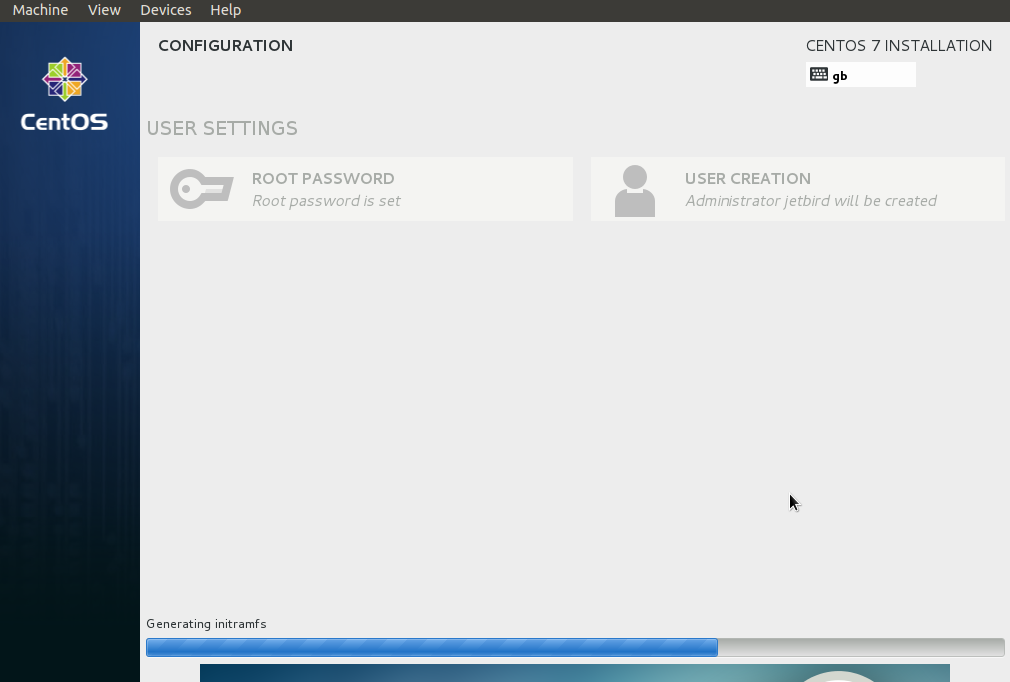
Now that the administrator user is created wait for the installation to complete.
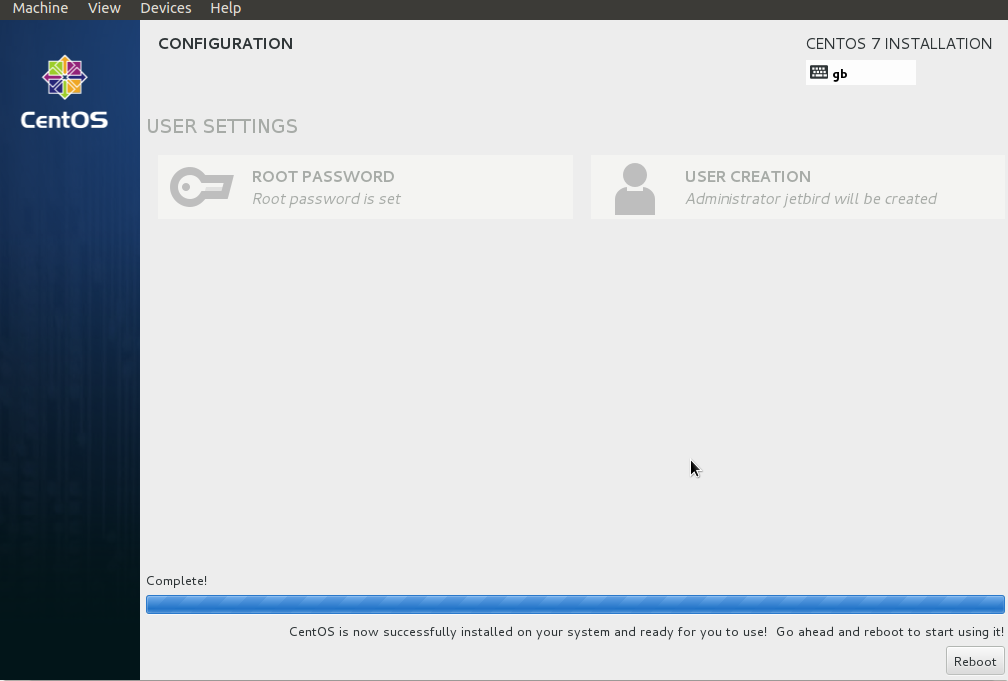
Once the installation of the CentOS is finished you will get a nice message displayed at the end of the Installatio Window telling you that the operating system is now successfully installed on your system and ready for you to use.
Now reboot the machine and you can start using it.
Conclusion
In this installation guide of CentOS 7 I took a very simple approach so it can be easy to understand by everyone even by novice users that never heard about Linux or don’t have any idea about what CentOS 7 is.


