Are you looking for a best alternative to Microsoft Exchange server? Then Zarafa is the one you should try. Zarafa, previously known as Connectux, is a groupware application that provides an integration with your existing email server and Microsoft Outlook Access via a propriety client-side plugin. Zarafa offers its own Ajax based email clients called Webaccess and a HTML5 based Webapp, both mail clients has the same look and feel of Microsoft Outlook and we can keep using the features in Outlook. Seems cool, isn’t it?
Also Zarafa offers all features that are existing in Outlook such as Personal address book, Calender, Shared calender, Public folder, notes and tasks etc. Using Zarafa we can view/send/delete mails, calender and contacts via a web browser like Microsoft OWA (Outlook Web Access). It comes with different editions, you can read the detailed comparison of all editions here.
Features
Here is the list of Zarafa features.
– Addressbook.
– Calendar.
– Notes.
– Tasks.
– Personal Folders / Public Outlook Folders.
– Permissions for every User and Folder configurable.
– Meeting invitation and free/busy option.
– Resources planning.
– POP3.
– IMAP.
– iCalendar.
– CalDAV.
– PDA synchronization via Z-push.
– BlackBerry integration over BES.
– Out-of-office message.
– Brick-level backup.
– Single sign-on.
– Hierarchical storage management (Zarafa Archiver).
– Server-side message indexing (version 6.40.0 and higher).
It is time to end up the conversation and let us start to setup a basic email system using Zarafa community edition on CentOS 6.5. Here is my test box details:
Operating System : CentOS 6.5
Ip Address : 192.168.1.101/24
Hostname: server.unixmen.local
Prerequisites
Before installing, we have to setup Postfix mail server and let us integrate Zarafa to Postfix later. To install and configure Postfix mail server, refer the following link.
– Setup Mail Server Using Postfix On CentOS 6
Please note: Do not install Dovecot or anyother pop3/imap server or stop it’s service permanently, otherwise you can’t use the built-in IMAP/POP3 server of Zarafa.
Hence Zarafa depends on MySQL and Apache, it is must to have a working LAMP stack. To install LAMP server, refer the following link.
– Install LAMP server on CentOS 6
We have completed all the prerequisites, now start installing Zarafa.
Install Zarafa
Zarafa is not found in the CentOS official repositories, but found in EPEL Repository. So let us install it on our server.
– Install EPEL Repository On CentOS 6
Now install necessary Zarafa packages using the following commands:
# yum install zarafa zarafa-webaccess
The above command will install all zarafa packages.
Configure Postfix
Zarafa doesn’t send/receive mail alone, we have to integrate it to any existing mail server. In this case, i already installed and configured Postfix mail server as described in the above link.
Now let us integrate Zarafa to Postfix. To do that, edit the file /etc/postfix/main.cf,
# vi /etc/postfix/main.cf
Add the following line at the end.
mailbox_command = /usr/bin/zarafa-dagent “$USER”
Save and close the file. Restart postfix service to take effect the saved changes.
# service postfix restart
Create MySQL Database for Zarafa
Let us create a database called “zarafadb” and database user “zarafauser” with password “centos”. Change these values with your own values.
Log in to mysql server using command:
# mysql -u root -p
Create database “zarafadb” and assign the full permission to the user “zarafauser” over zarafadb.
mysql> create database zarafadb;
mysql> GRANT ALL ON zarafadb.* TO zarafauser@localhost IDENTIFIED BY 'centos';
mysql> flush privileges;
mysql> exit
Add the database details to the zarafa server configuration file.
Edit file /etc/zarafa/server.cfg,
# vi /etc/zarafa/server.cfg
Find the following lines and Change the zarafa database values.
[...]

# The user under which we connect with MySQL
mysql_user              = zarafauser

# The password for the user (leave empty for no password)
mysql_password          = centos

# Override the default MySQL socket to access mysql locally
# Works only if the mysql_host value is empty or 'localhost'
mysql_socket            =

# Database to connect to
mysql_database          = zarafadb

[...]
Now start all zarafa services.
# service zarafa-server start
# service zarafa-dagent start
# service zarafa-gateway start
# service zarafa-spooler start
# chkconfig zarafa-server on
# chkconfig zarafa-dagent on
# chkconfig zarafa-gateway on
# chkconfig zarafa-spooler on
Wait, We didn’t finish yet, we have to create public store where all emails stored and mail users.
Create Public store and users
Create public store using command:
# zarafa-admin -s
Then create users. For example, here i am going to create two users called “senthil” and “kumar”.
# useradd senthil
# useradd kumar
# passwd senthil
# passwd kumar
Now let us assign mail id’s to them as shown below.
# zarafa-admin -c senthil -p centos -e senthil@unixmen.local -f "senthil"
# zarafa-admin -c kumar -p centos -e kumar@unixmen.local -f "kumar"
Where,
-c – Create user
-p – password
-e – email
-f – full name
To create administrative user, you should use -a parameter with value “1”.
# zarafa-admin -c sk -p centos -e sk@unixmen.local -f "sk" -a 1
Where,
-a – administrative user
1 – describes administrative user, You can use 0(zero) for non-administrative users.
To delete users, use -d parameter.
Ex.
# zarafa-admin -d sk
Access Zarafa webmail
We have done with configuration, Let us log in to Zarafa webmail. Navigate to http://ip-address/webaccess or http://domainname/webaccess.
Enter the username and password to log in.
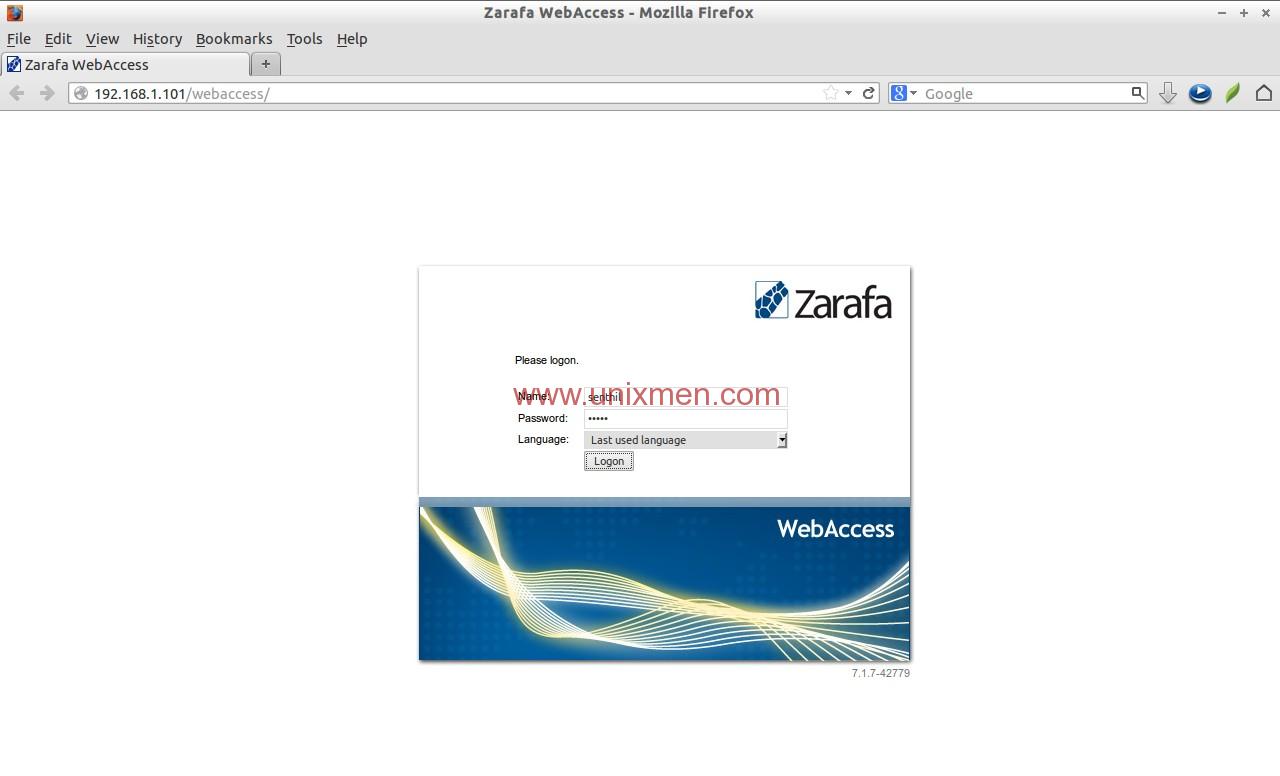
Now you’ll be able to access the email box of the user.
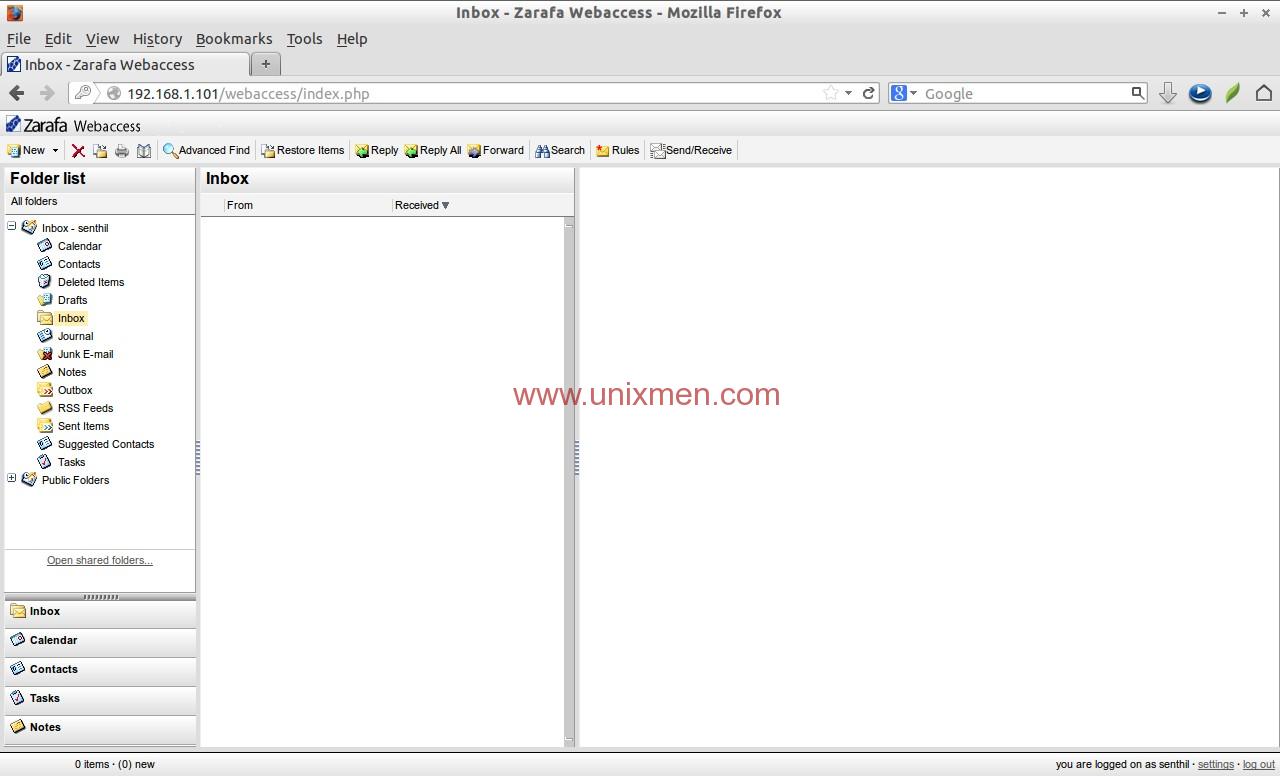
As you see in the above screenshot, the interface is somewhat similar to Microsoft Outlook. From here, you can send/receive/delete mails.
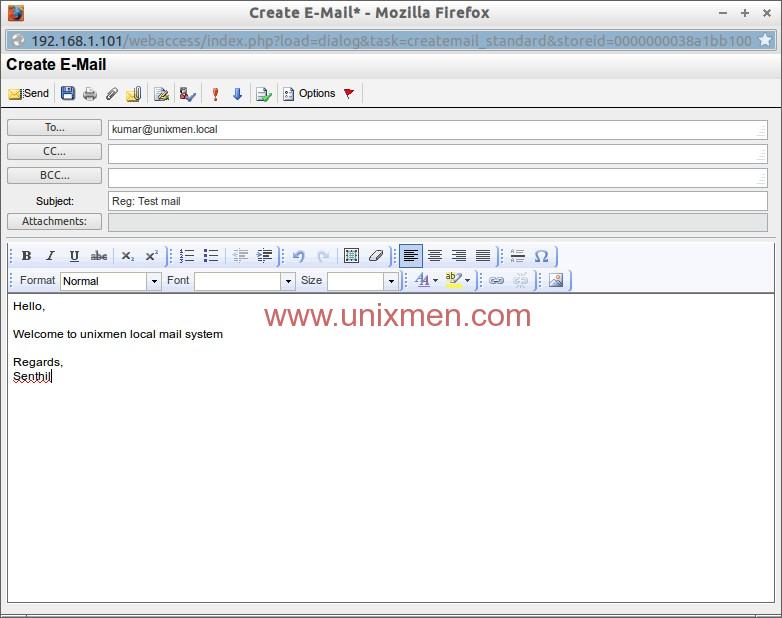
Let us compose a test message and sent it to user kumar.
Click on the New button on the left top corner. A window will open. Enter the recipient mail address and type the message. Click Send button after composing your email.
Log out from the current user. The log out will be found in the lower right corner and log in back to Kumar user.
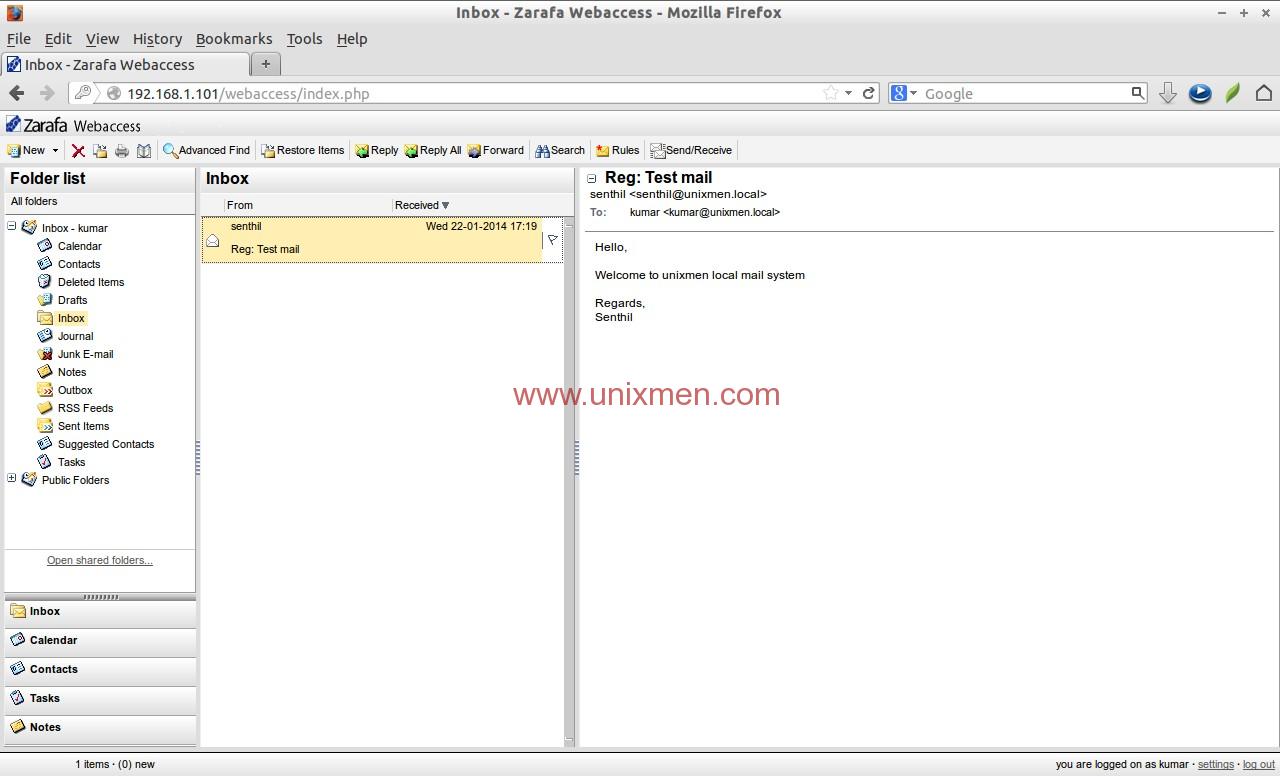
Congratulation! We have got a new mail from user senthil. Like this way you can create as many users as you want in your server and start mailing to them.
Install Z-push
Z-Push is an implementation of the ActiveSync protocol which is used synchronize emails, personal contacts to multi platform ActiveSync devices, including Windows Mobile, iPhone, Android, Sony Ericsson and Nokia mobile devices. With Z-Push any groupware can be connected and synced with these devices.
Z-push is not available in EPEL repository, because Exchange ActiveSync is patented by Microsoft in several regions including the United States. But Z-Push is available in RPM Fusion, a third party repository legally located in Europe.
To install RPMFusion repository, follow the below link.
– Install RPMFusion On CentOS/RHEL/Scientific Linux And Fedora
Next install Z-push using command:
# yum install zarafa-z-push
Then log in to the Z-push with URL http://server-ip/Microsoft-Server-ActiveSync from your browser. You will be asked to enter the username and password. You can use your normal user credentials to log in.
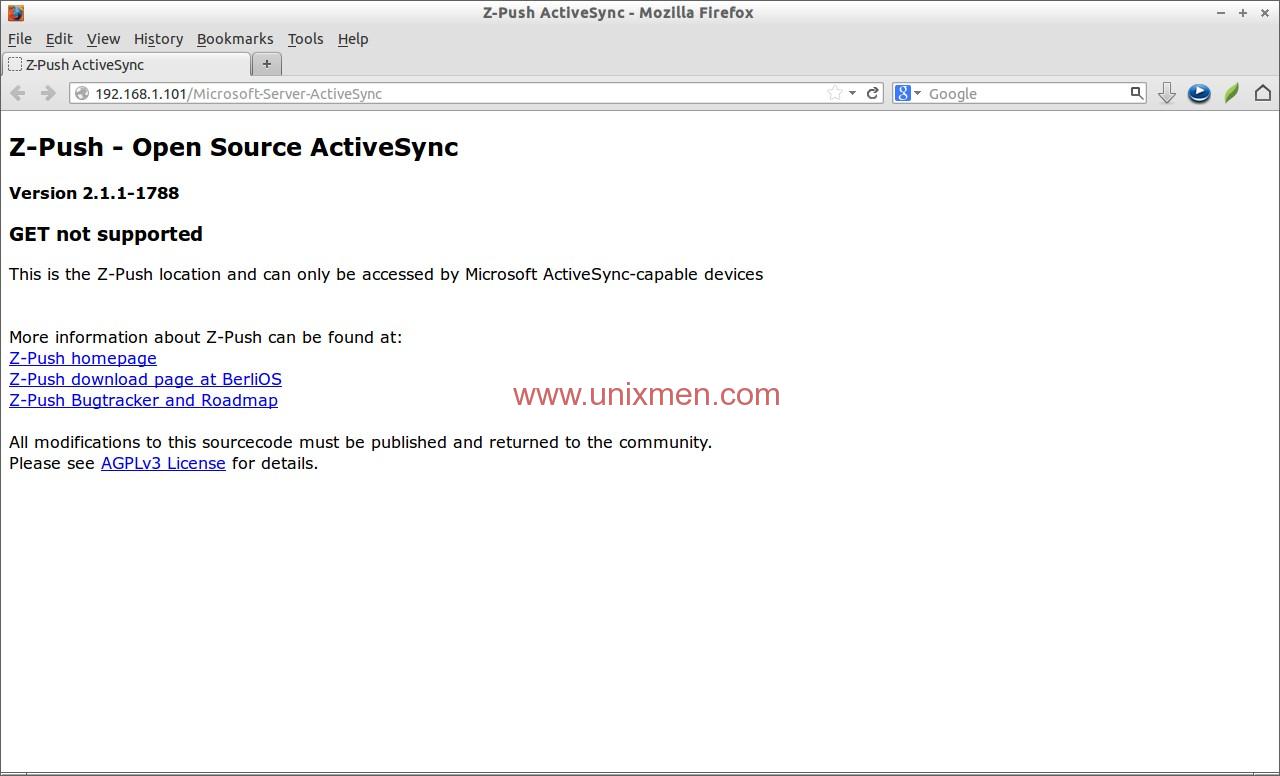
If the authentication dialog isn’t shown, something is wrong with your installation.
We came to the end of this article. What we discussed here is only the installation part with basic configuration. It is far from completion. But i hope this tutorial will give you some insights about Zarafa and show you how to use it in real time. You can find more useful resources in the project documentation page.
Good luck! Happy mailing with Zarafa!
Reference Links:


