
Introduction
Joomla is very popular CMS (Content management system), used to build online applications and websites. Joomla is purely open source and required basic skills to mange and configure the contents.
Installation
LAMP stalk is required to install joomla application.
Update System and install required dependencies:
# yum update
Install LAMP stack:
# yum install httpd mariadb mariadb-server php php-mysql -y
Configure firewall
Allow access from outside to port 80 and 443.
# firewall-cmd --permanent --zone=public --add-service=https

# firewall-cmd --permanent --zone=public --add-service=http

# firewall-cmd --reload
Create Database
Start and mariadb services:
# systemctl start mariadb
# systemctl enable mariadb
Create a password for root database user.
# mysqladmin -u root password password
Create database:
MariaDB [(none)]> create database joomla;
Query OK, 1 row affected (0.00 sec)
MariaDB [(none)]> grant all privileges on joomla.* to 'unixmen'@'localhost' identified by 'password';
Query OK, 0 rows affected (0.00 sec)
MariaDB [(none)]> flush privileges;
Query OK, 0 rows affected (0.00 sec)
MariaDB [(none)]> exit
Bye
Install and configure joomla
# cd /tmp && wget https://github.com/joomla/joomla-cms/releases/download/3.4.5/Joomla_3.4.5-Stable-Full_Package.zip
Create a directory named ‘joomla’ under /var/www/html/ and extract the contents to that directory.
# mkdir /var/www/html/joomla
# unzip Joomla_3.4.5-Stable-Full_Package.zip -d /var/www/html/joomla/
Give appropriate permission to that web directory:
# chown -R apache:apache /var/www/html/joomla/
# chmod -R 755 /vat/www/html/joomla
Start apache service:
# systemctl start httpd
# systemctl enable httpd
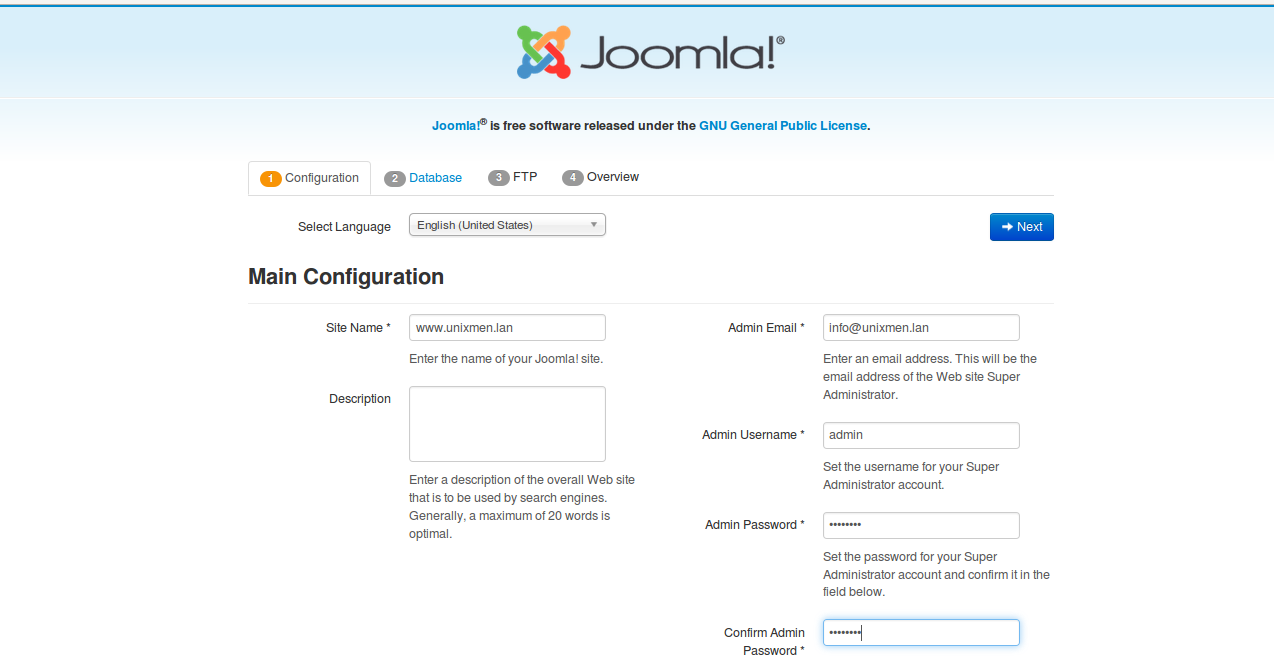
Joomla Configuration
Open Browser and type:
<ip address>/joomla
Give site name, admin user name, admin password and proceed for next step:
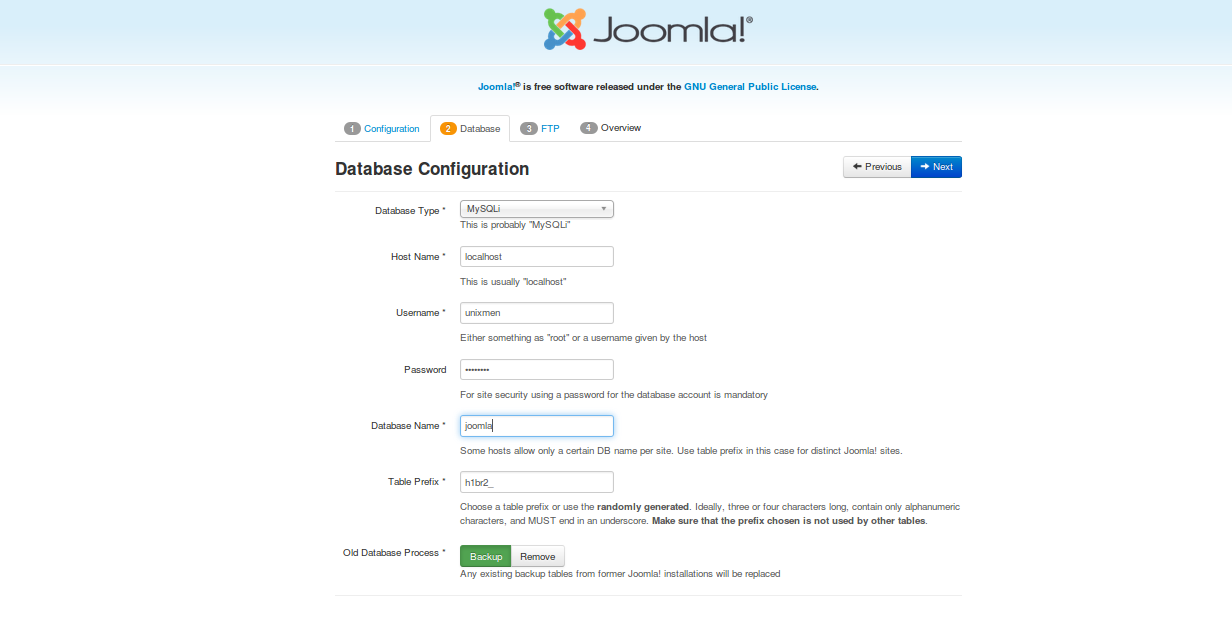
Provide database credentials
Database name : joomla
Database user: unixmen
Password: password
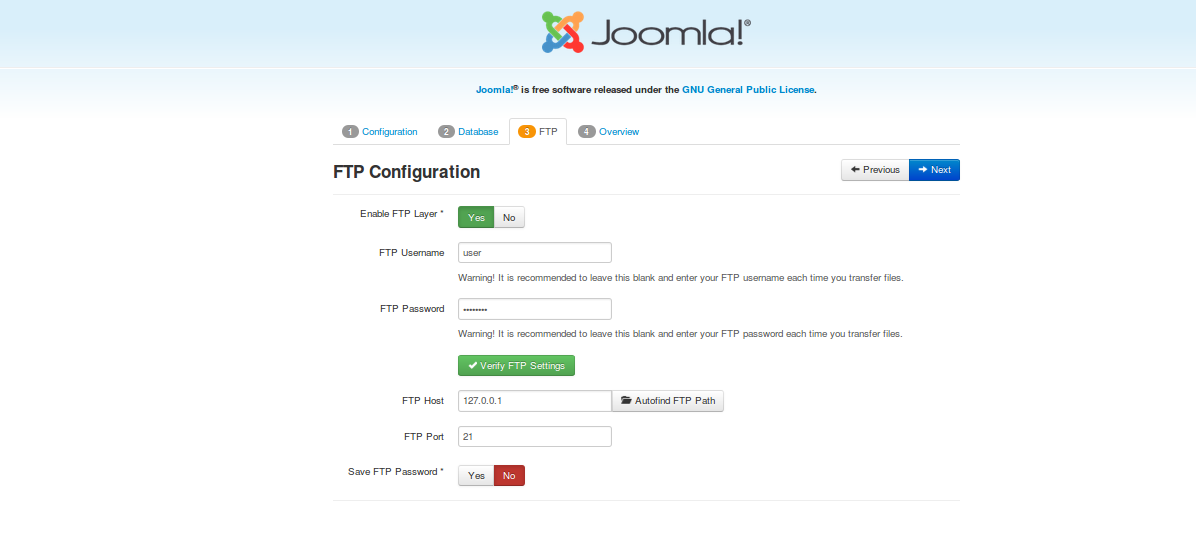
Configure FTP user, ftp port (default) and click next:
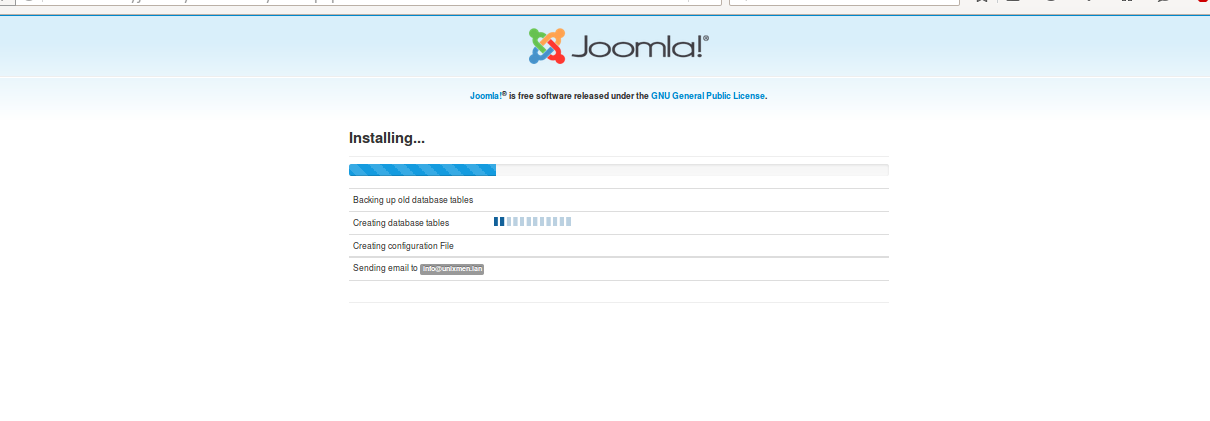
Finalize Installation process:
Joomla will ask to remove installation directory which some times not get removed automatically, so will remove that directory manually:

Additionally, you will get some notice that copy auto generated content and save as configuration.php under web root directory, content will be something like:
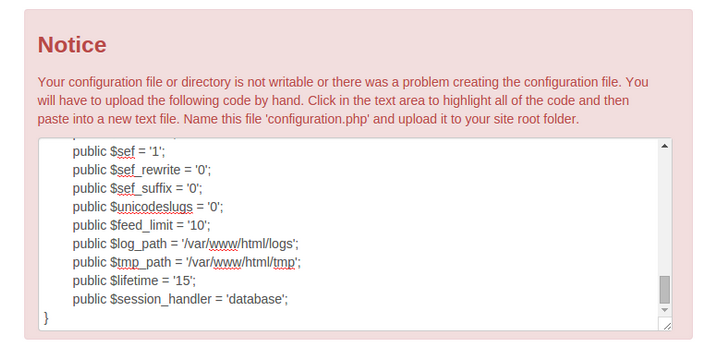
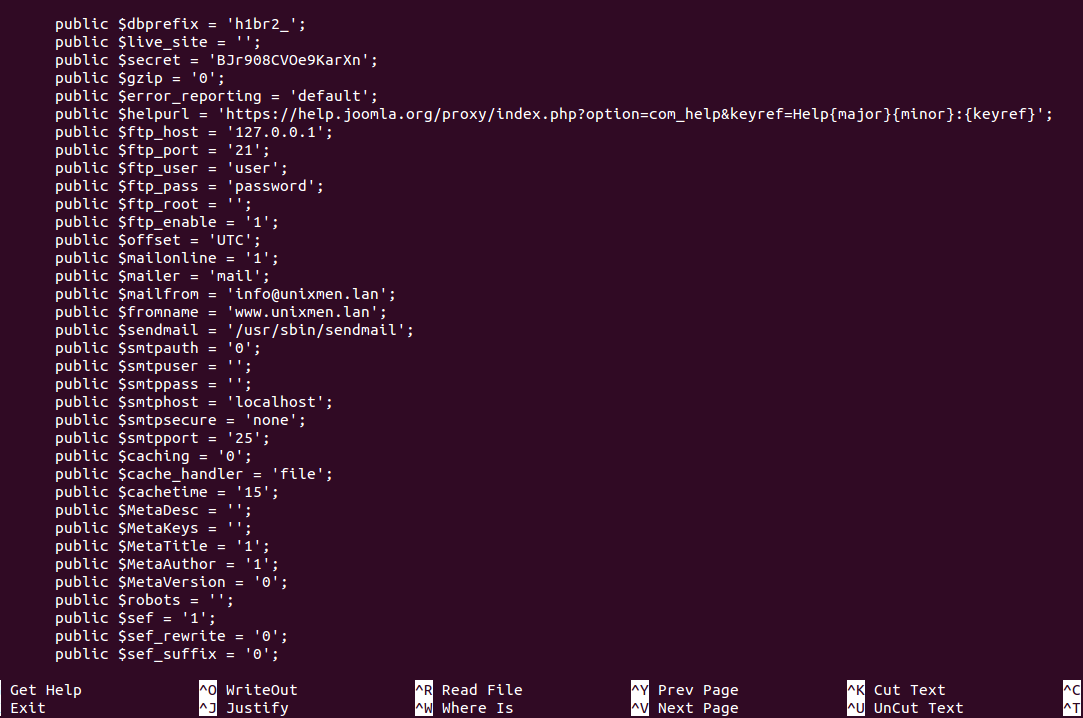
Let us reslove bot h of the issue, copy all of the content from notice section, create a file named configuration.php under /var/www/html and copy content in that file:
# cd /var/www/html
# rm -rf installation/
#nano /var/www/html/configuration.php
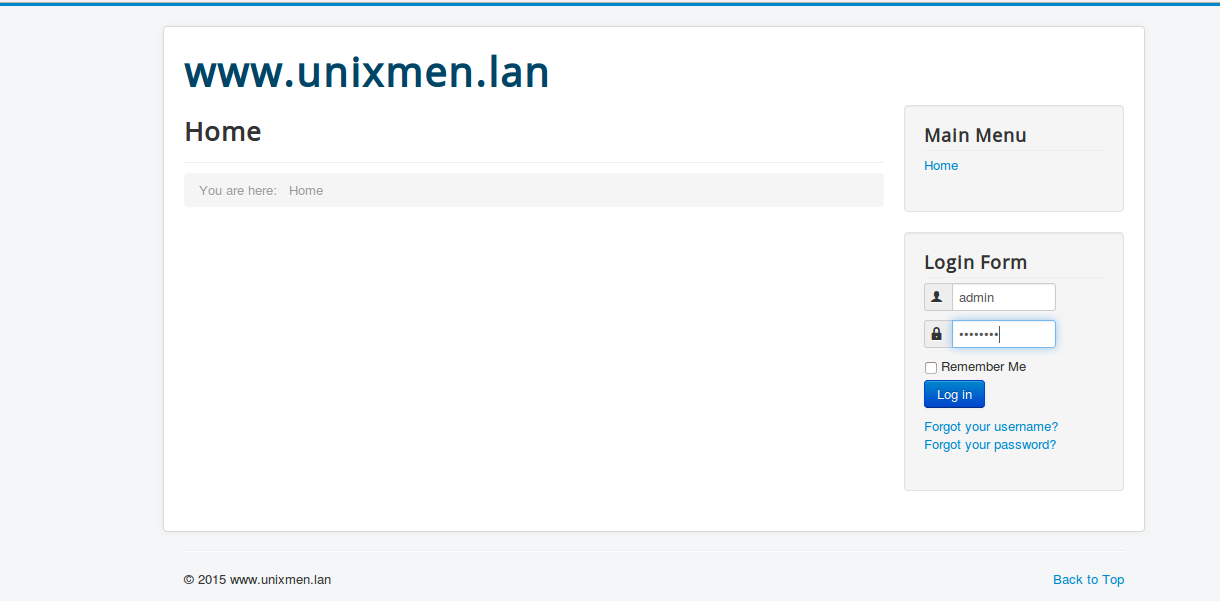
Type in browser
<ip address>/index.php
This is how your home page will look like:
Type in browser <ip address>/administrator
Login with admin user and password
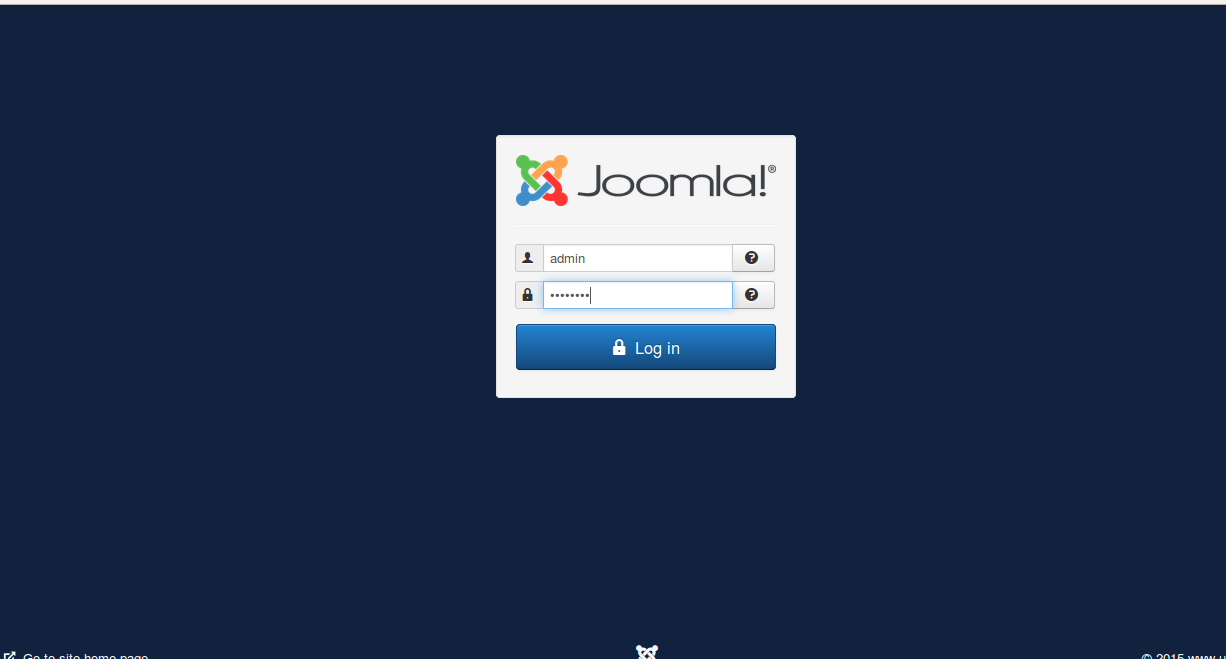
Login and manage all of your services with the help of control panel
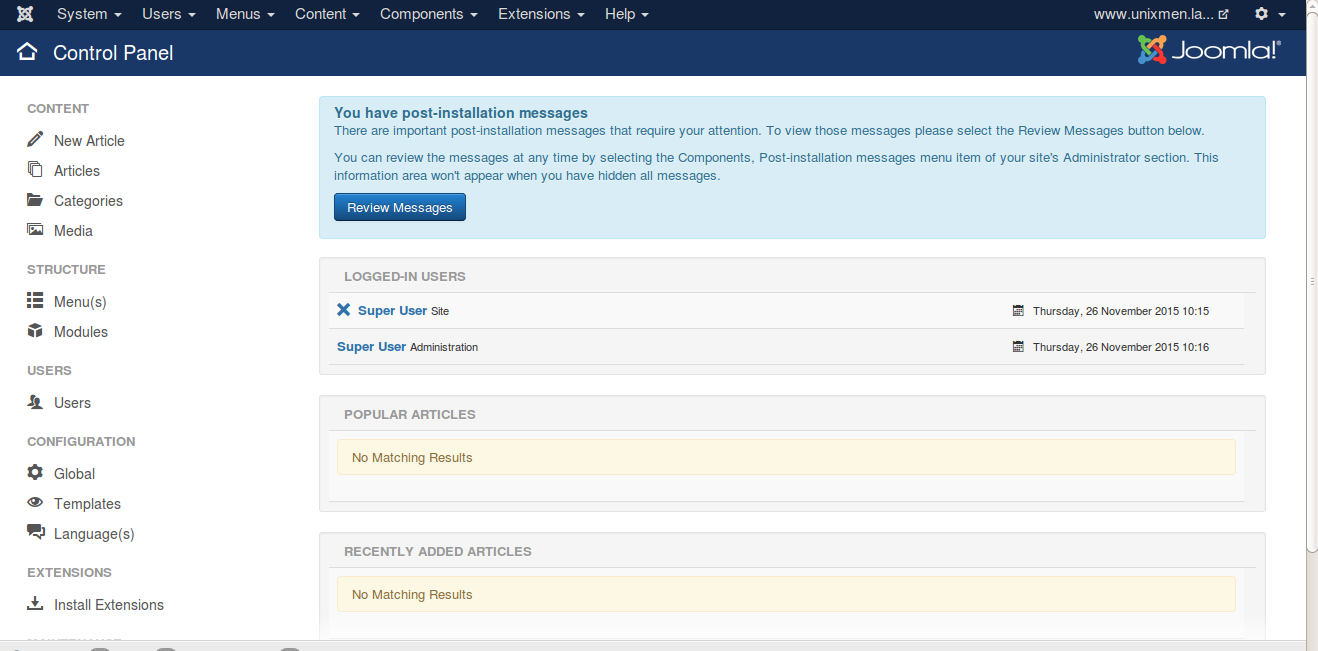
Installation process is over with this step let us try to put some content with Joomla.
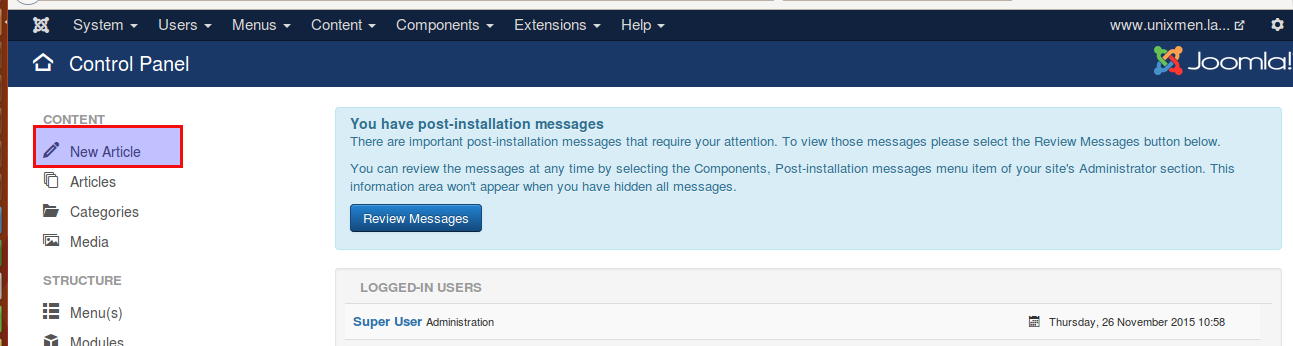
Example
Let us publish some content, go to admin panel-> click to new article:
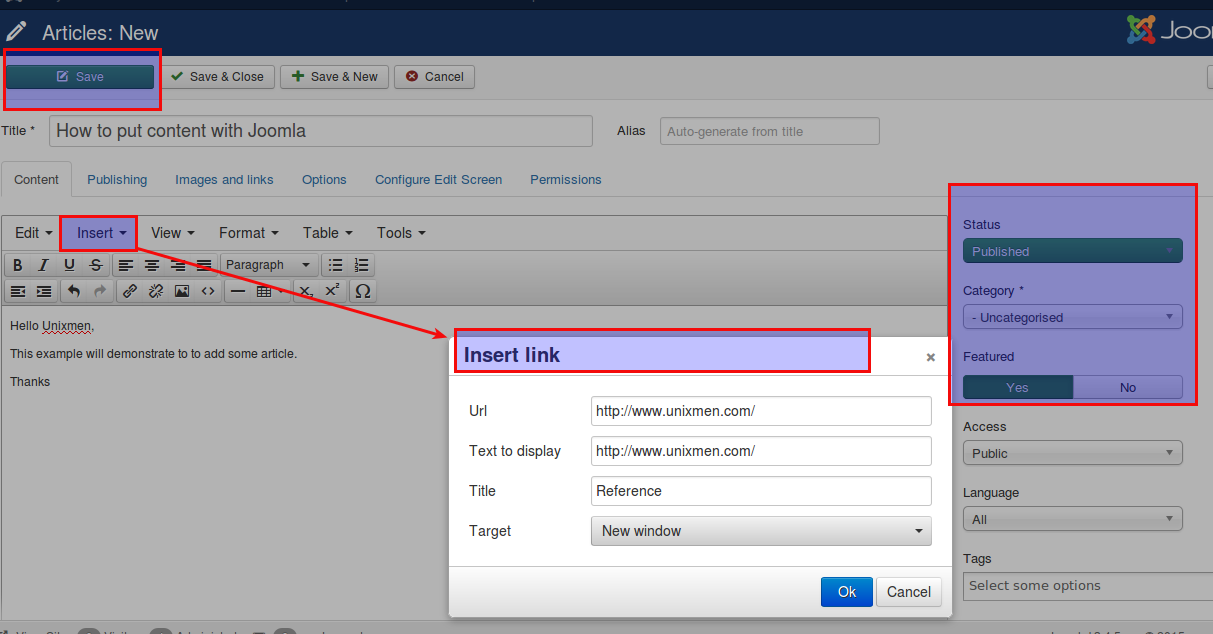
Type content, define status or other settings, you can insert images or external links, click on save and close:
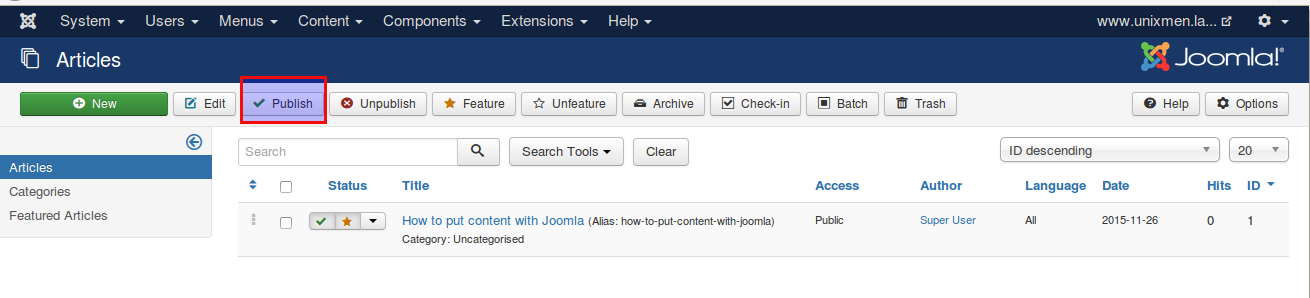
Now, this article will be available for admin, he can edit ,delete or publish the contents, select the article and click publish:
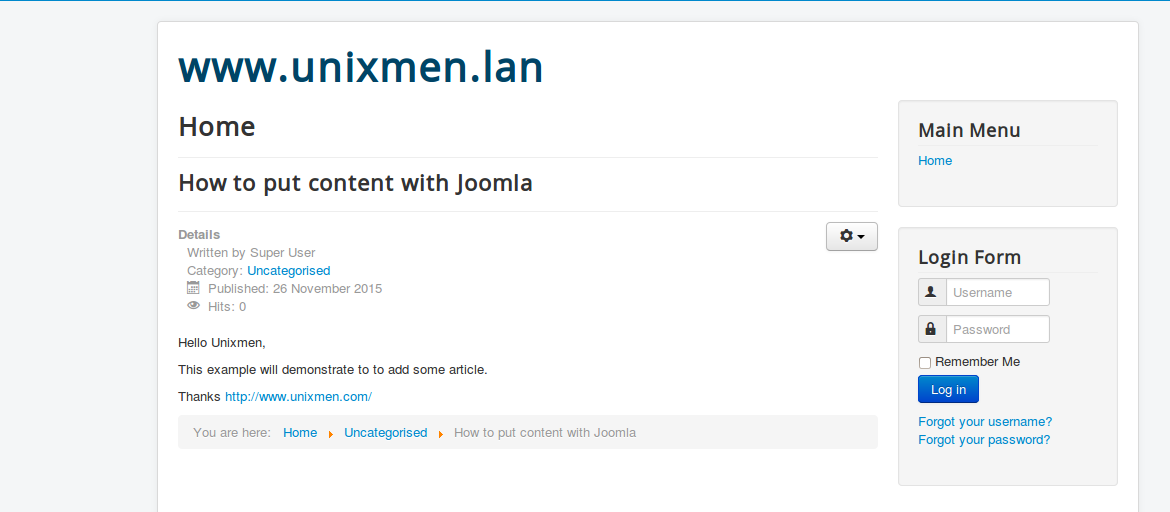
 Let us have a look whether this article is published or not, Type <ip address>/index.php
We will see that the content published by admin is available to our website:
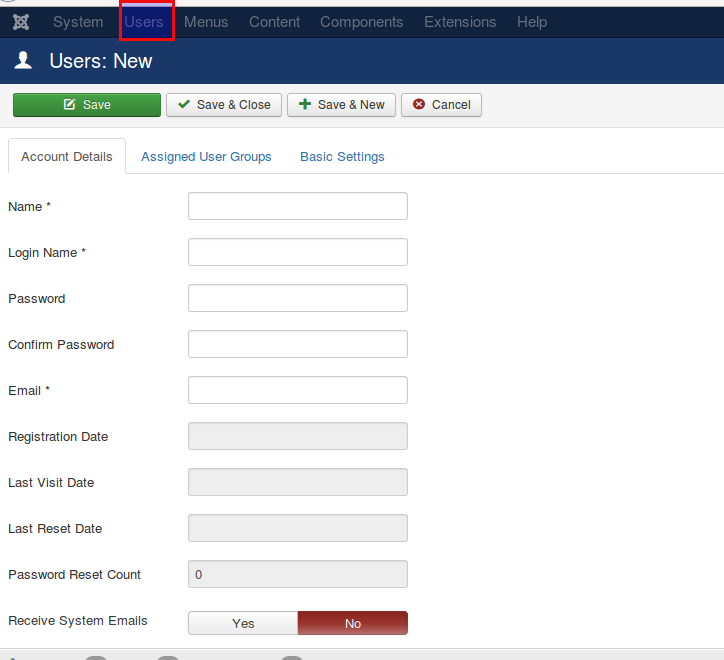
Similarly Admin can add some users so that they can put contents from their own account:
That’s all for now. Stay tuned with us for more interesting articles.


