
Preface
We give a brief introduction of Hadoop in previous tutorial, for today we will learn to install Hadoop on multiple nodes, in demonstration scenario we will be using Ubuntu 15.10 as Desktop, we will create 2 Slave or Data Nodes along with 1 Name node. Make sure you have shared ssh public keys with Data nodes and assign appropriate IP addresses, host name and other Hadoop services (we will mention in tutorial) required to run Hadoop multiple cluster node.
Prerequisites
we will be using Ubuntu 15.10 as 1 master node, 2 Slave/data nodes. hostname for namenode will be masternode, datanodes will have hostname slave1 and slave2 respectively.
masternode IP address:192.51.10.10
Slave1 IP Address:192.51.10.11
Slave2 IP Address:192.51.10.12
Configuration
Instillation process is similar to previous tutorial except few changes. First of all let us configure master node .
Define hostname of Namenode
# vim /etc/hostname

Define hosts in /etc/hosts file
# vim /etc/hosts
Sample output
127.0.0.1       localhost
192.51.10.10    masternode
192.51.10.11    slave1
192.51.10.12    slave2
Configure Hadoop Services
# cd /usr/local/hadoop/etc/hadoop/
Edit hdfs-site.xml
# vim /usr/local/hadoop/etc/hadoop/hdfs-site.xml
File will look like below, change replication value to 3.
<configuration>
<property>
 <name>dfs.replication</name>
 <value>3</value>
</property>
<property>
  <name>dfs.namenode.name.dir</name>
  <value>file:///usr/local/hadoop/hadoopdata/hdfs/namenode</value>
</property>
</configuration>
Make sure that you possess a namenode directory under /usr/local/hadoop
# mkdir -p /usr/local/hadoop/hadoopdata/hdfs/namenode
# sudo chown -R hadoop:hadoop /usr/local/hadoop/
Similarly edit yarn-site.xml, it will look like below, make sure you have assigned hostname of masternode appropriately
# vim yarn-site.xml
Sample output
<configuration>
<property>
 <name>yarn.nodemanager.aux-services</name>
 <value>mapreduce_shuffle</value>
</property>
<property>
 <name>yarn.resourcemanager.scheduler.address</name>
 <value>masternode:8030</value>
</property>
<property>
 <name>yarn.resourcemanager.address</name>
 <value>masternode:8032</value>
</property>
<property>
  <name>yarn.resourcemanager.webapp.address</name>
  <value>masternode:8088</value>
</property>
<property>
  <name>yarn.resourcemanager.resource-tracker.address</name>
  <value>masternode:8031</value>
</property>
<property>
  <name>yarn.resourcemanager.admin.address</name>
  <value>masternode:8033</value>
</property>
</configuration>
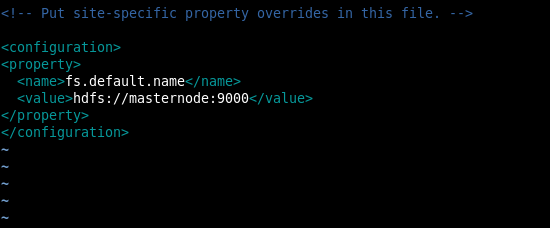
Make sure core-site.xml have appropriate hostname
Create a file named slaves under /usr/local/hadoop/etc/hadoop directory and assign hostnames of datanodes
# vim /usr/local/hadoop/etc/hadoop/slaves
Put following entries
slave1
slave2
Similarly create file named mastersunder same directory hierarchy
# vim /usr/local/hadoop/etc/hadoop/masters
Enter following
masternode
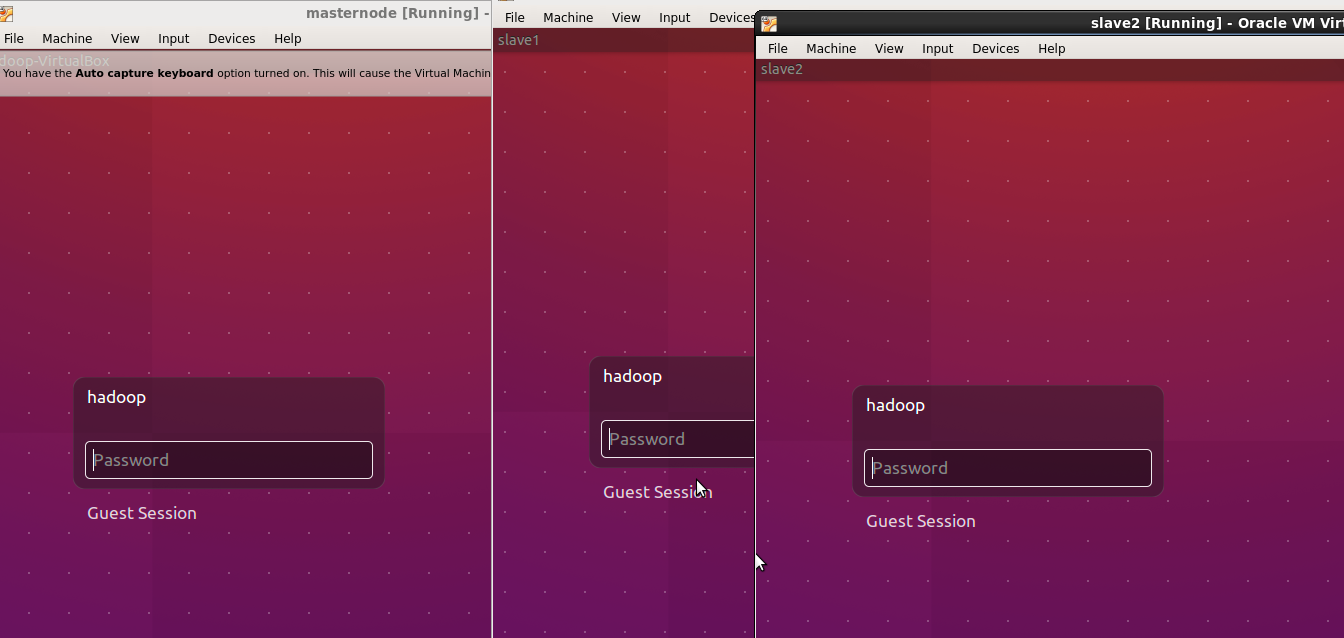
We have a working master node at this stage, let us create 2 slave nodes. We created two clone virtual machines using VirtualBox, first clone is slave1 and second cone is slave2, as this machine is clone of Masternode so we will be having all of the hadoop configuration files (.xml) in ready to use form.

Similarity create another clone for slave2 datanode.
Change IP address to 192.51.10.11
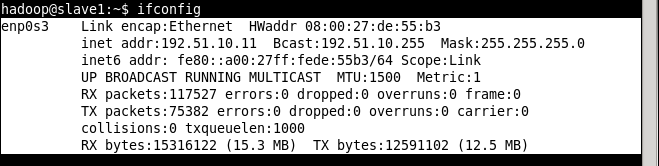
Change hostname to slave1 and reboot the system. Replete the process for another VirtualBox Clone which will be used as slave2,assign IP address 192.51.10.12 to slave2.
Name we have one NameNode (masternode) with IP address 192.51.10.10 and two datanodes (slave1, slave2).
Now switch back to master node and share ssh rsa keys with slave1 and slave2, so that there is no need for ssh passwords.
# ssh-keygen -t rsa
# ssh hadoop@192.51.10.11 "chmod 755 .ssh; chmod 640 .ssh/authorized_keys"

# cat .ssh/id_rsa.pub | ssh hadoop@192.51.10.12 'cat >> .ssh/authorized_keys'

# ssh hadoop@192.51.10.12 "chmod 755 .ssh; chmod 640 .ssh/authorized_keys"
Reboot all three systems to make sure all things are going smooth.
Edit hdfs-site.xml file of slave1 and slave2 data nodes make sure you have following entries
<configuration>
<configuration>
<property>
  <name>dfs.data.dir</name>
   <value>file:///usr/local/hadoop/hadoopdata/hdfs/datanode</value>
</property>
</configuration>
Create /usr/local/hadoop/hadoopdata/hdfs/datanode directory on both data nodes
# mkdir -p /usr/local/hadoop/hadoopdata/hdfs/datanode
# chown -R hadoop:hadoop /usr/local/hadoop/
Go to Masternode and run start node services
# cd /usr/local/hadoop/sbin && ls

Run all node services
# ./start-all.sh

We can see that both of datanodes (slave1, slave2) are working properly.
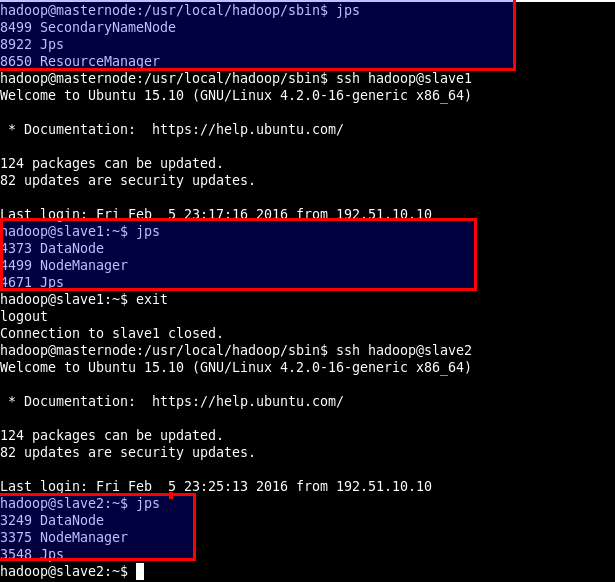
Run jps command on Masternode
# jps
Sample output
8499 SecondaryNameNode
8922 Jps
8650 ResourceManager
Swith to Slave1 and run jps command again
# ssh hadoop@slave1
# jps
Sample output, datanode is working
4373 DataNode
4499 NodeManager
4671 Jps
Similarly in slave2 datanode is working perfectly
Multinode Hadoop Cluster installation process is over at that stage.
Open browser and type
http://192.51.10.10:8088/cluster/nodes <change IP addr in your scenario>
Taht 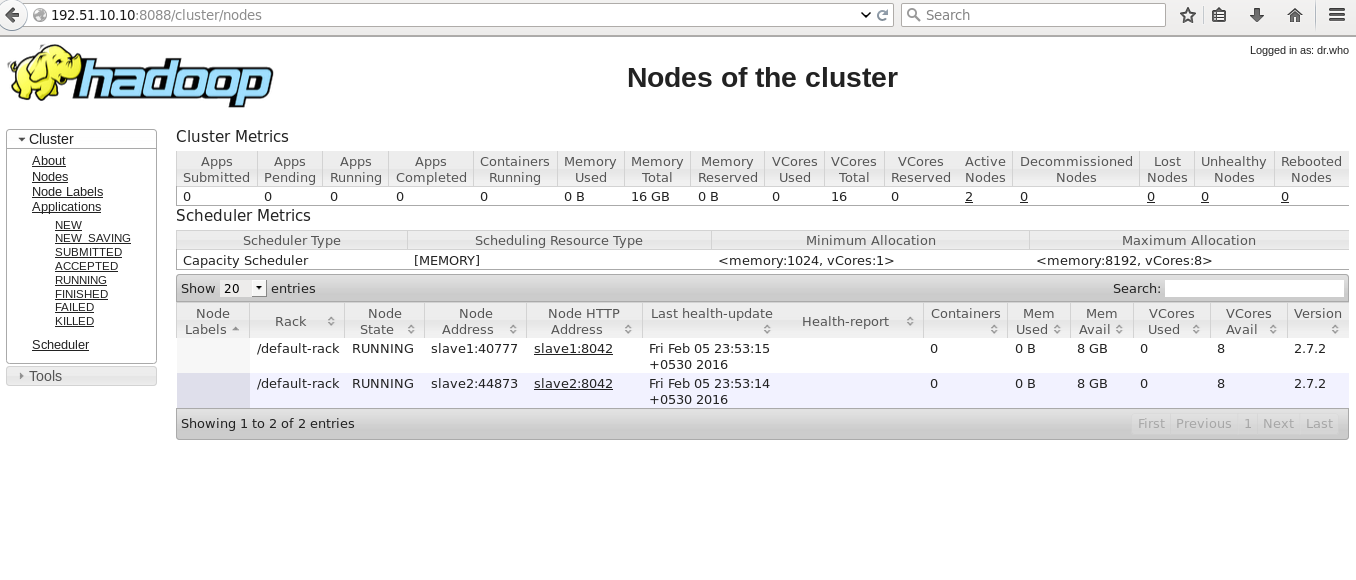
Thats it! Have Fun!!


