Introduction
FreeNAS is a Network Attached Storage operating system. It is freeBSD based and support CIFS, NFS, iSCSI, FTP, RSYN along with RAID support. It is a web based, open source and one of the well known central data storage management tool.
Features
Replication
It supports ZFS File systems. ZFS snapshots can be used to create remote backup, or additional snapshot of the same file system can be created incremental. In case of any local disk failure any ZFS snapshot can be sent to the new ZFS file system to recover data.
Data Security
RAID-Z is a part of RAID in ZFS file system. ZFS file system make sure data integrity throughout. Every file system is verified with checksums from top to bottom.
Data Encryption
FreeNAS has a unique feature of data encryption with ZFS file system, which is not available with another Ope Source NAS projects, even a full-volume data encryption is also available. Encrypted volume is readable to FreeNAS only which possess the master key for that particular volume. Optionally pass-phrase can also be used by the user to put an extra layer of security.
File Sharing
You can share data with FreeNAS like a pro. It supports every major operating system with SMB, CIFS (MS Windows), NFS (Unix/Linux), AFP (Apple) along with FTP or iSCSI data sharing methods. Additionally it also supports VMware VAAI, MS ODX, MS Server 2008 and 2012 R2 based Clustering.
Web based Management
Every aspect of FreeNAS can be managed with available Web Based Management system. Everything can be managed with web admin panel including volume creation, user based permission setting or updating software. ssh is also available with FreeNAS.
Plugins
A lots of third party plugins are also available with FreeNAS to enhance utility of FreeNAS, user can use various applications as per their need.
Some of the available plugins are:
- Bacula – for Network based backup.
- Couchpotato – automatic torrent downloader.
- Crashplan – Backup data to remote server or computers.
- Owncloud – Manage your personal cloud.
Installation
Requirements
- A x64 bit processor based Hardware
- 4 GB RAM
- Minimum 1 TB Storage
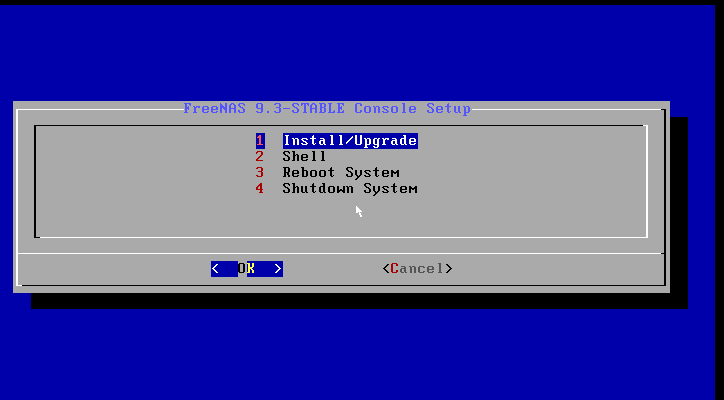
Step 1
Download FreeNAS from this link. Burn ISO image to DVD or make a Bootable usb.
Power on your system and start installation process, Select option 1 and press enter.
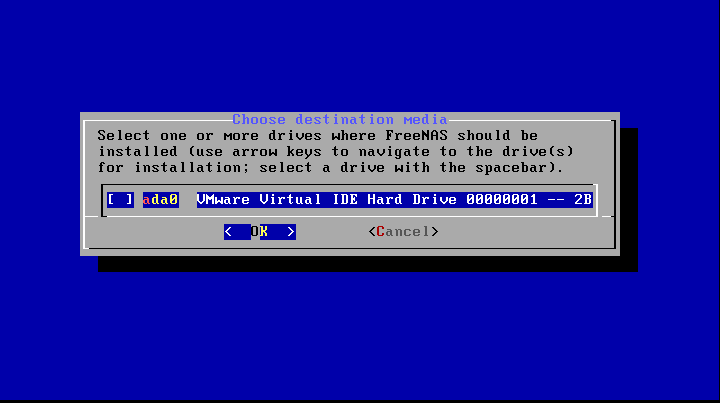
Step 2
Select Storage device and press ok.
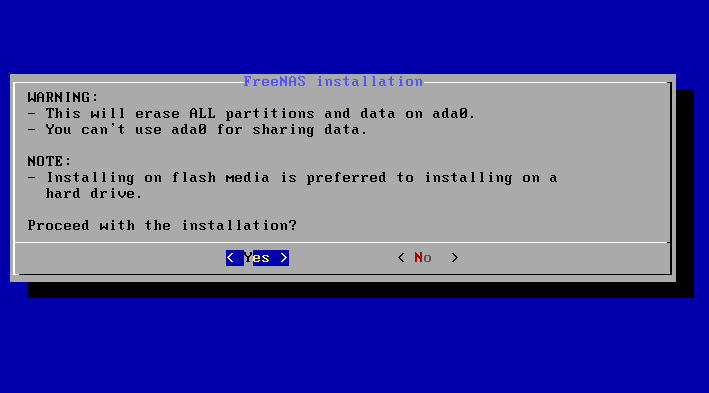
Step 3
Press ‘Yes’ to confirm installation process.
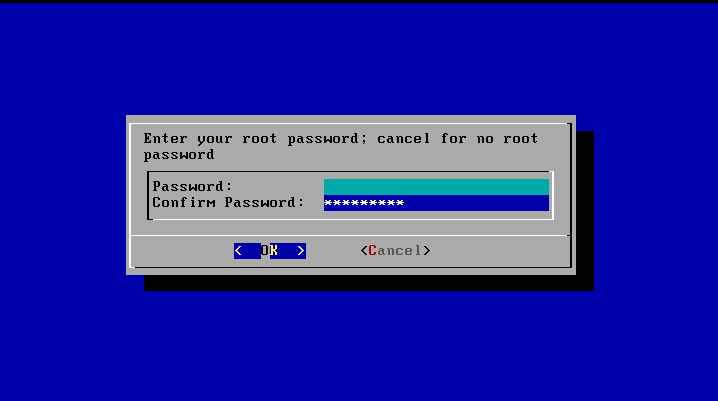
Step 4
Provide Admin password and retype password and press ok.
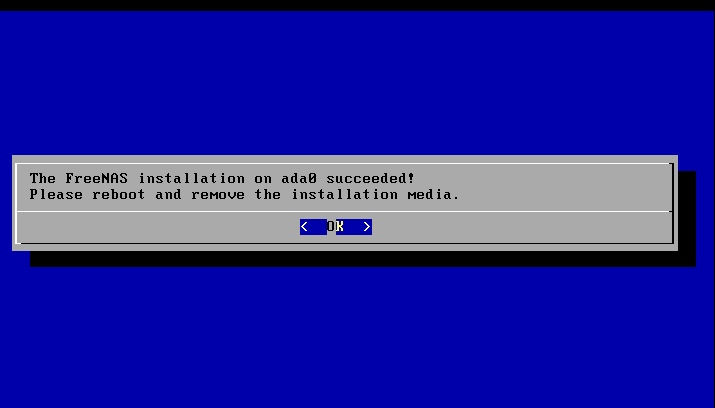
Step 5
After installation process is over, system will ask to reboot, press ok and remove boot media.
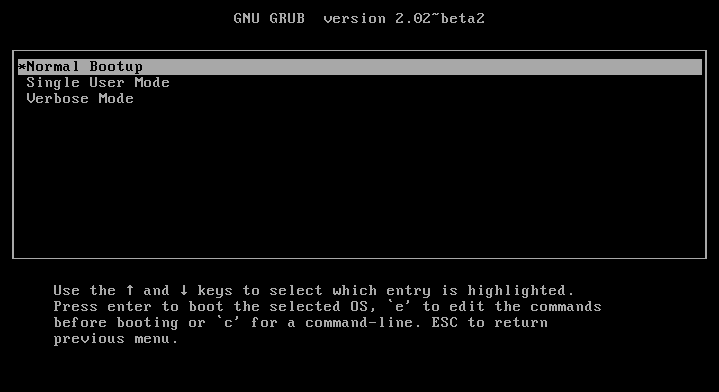
Step 6
Select Normal boot and press enter.
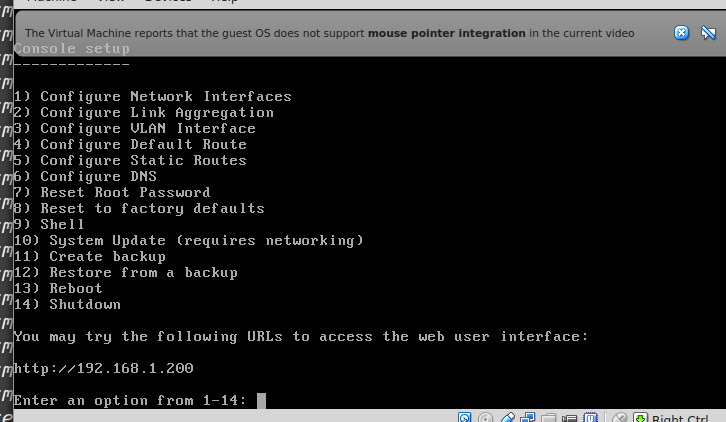
Step 7
After boot process is over a menu will be listed which include all of the management tool, note the ip address listed below which we will use to manage our FreeNAS.
Step 8
Open Browser in remote system and navigate to http://IP-address/.
Login as ‘root’ user and password which was configured in installation process.
Now, FreeNAS management wizard will appear where number of options are available to manage your backup.
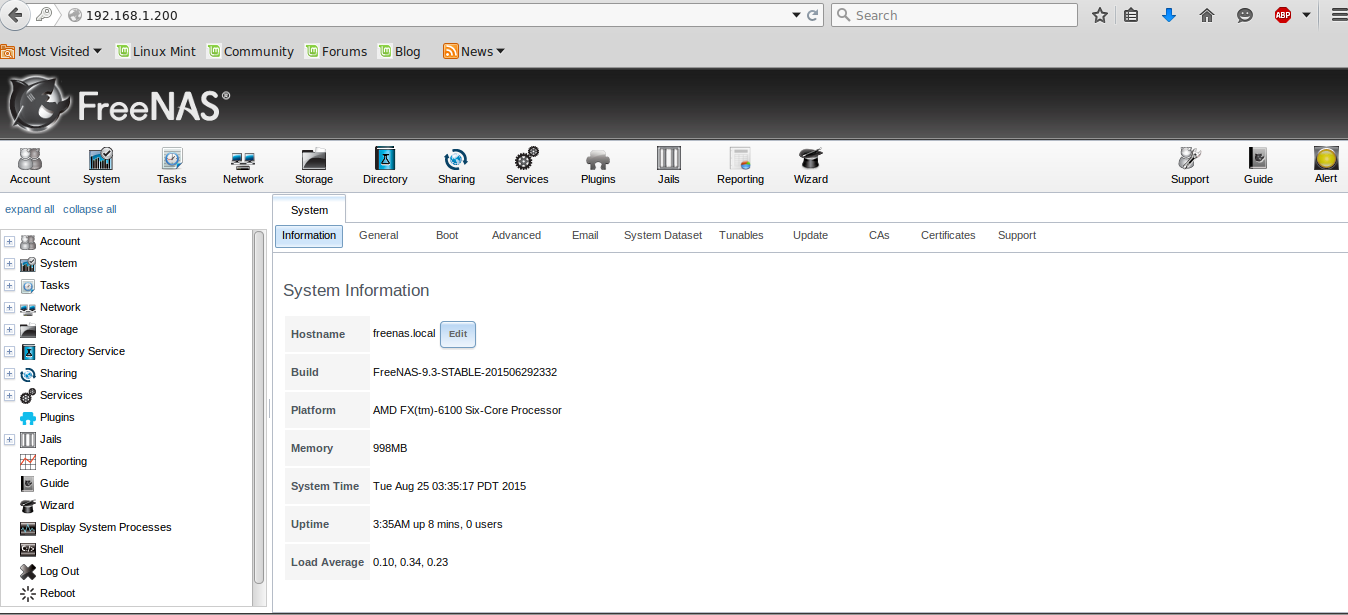
Using the FreeNAS management console, you can setup and configure your storage systems easily.
For more details, I recommend you to refer the official documentation page.
Good luck!
Reference link:


