
As you may know, WordPress is the most popular free and open source Content management system that can be used to create single or multiple websites and blogs in just a couple of minutes. There are millions of websites are currently running using WordPress.
The recent version WordPress 4.0, code named “Beeny” has been released few days ago. This recent version brings you a smoother writing and management experience. Check out the release announcement page to know more about this new version.
This tutorial describes how to install and configure WordPress 4.0 using LAMP stack on a CentOS 7 server. My test box hostname is server.unixmen.local, and IP address is 192.168.1.101/24.
Prerequisites
First of all, set up LAMP stack as described in the following link.
Edit ‘/etc/hosts’ file:
vi /etc/hosts
Add the following lines. Replace with your own values.
192.168.1.101 server.unixmen.local server
Download WordPress 4.0
Download the latest version of WordPress.
wget http://WordPress.org/latest.zip
Extract the zip file and move it’s contents to Apache root document folder.
unzip latest.zip
cp -R wordpress/. /var/www/html/
Now, you can access your wordpress site using URL “http://domain-name/”.
Adjust SELinux to avoid “403 forbidden error” while installing WordPress. To do that, run the following commands from the Terminal:
setsebool -P httpd_enable_homedirs true
chcon -R -t httpd_sys_content_t /var/www/html/
Create Database and Database user for WordPress
Login to MySQL with root user:
mysql -u root -p
Create a database and database user of your choice. In my case, my database name is wpdb, and database user is wpuser.
MariaDB [(none)]> create database wpdb;
Query OK, 1 row affected (0.00 sec)

MariaDB [(none)]> GRANT ALL ON wpdb.* TO wpuser@localhost IDENTIFIED BY 'centos';
Query OK, 0 rows affected (0.03 sec)

MariaDB [(none)]> flush privileges;
Query OK, 0 rows affected (0.01 sec)

MariaDB [(none)]> exit
Bye
Replace the database user, database name and password with your own values.
Configure WordPress
Edit WordPress config.php file,
cp /var/www/html/wp-config-sample.php /var/www/html/wp-config.php
vi /var/www/html/wp-config.php
Find and update the database name, database username, mysql root password as follows:
[...]
// ** MySQL settings - You can get this info from your web host ** //
/** The name of the database for WordPress */
define('DB_NAME', 'wpdb');
/** MySQL database username */
define('DB_USER', 'wpuser');
/** MySQL database password */
define('DB_PASSWORD', 'centos');
/** MySQL hostname */
define('DB_HOST', 'localhost');
[...]
Install WordPress
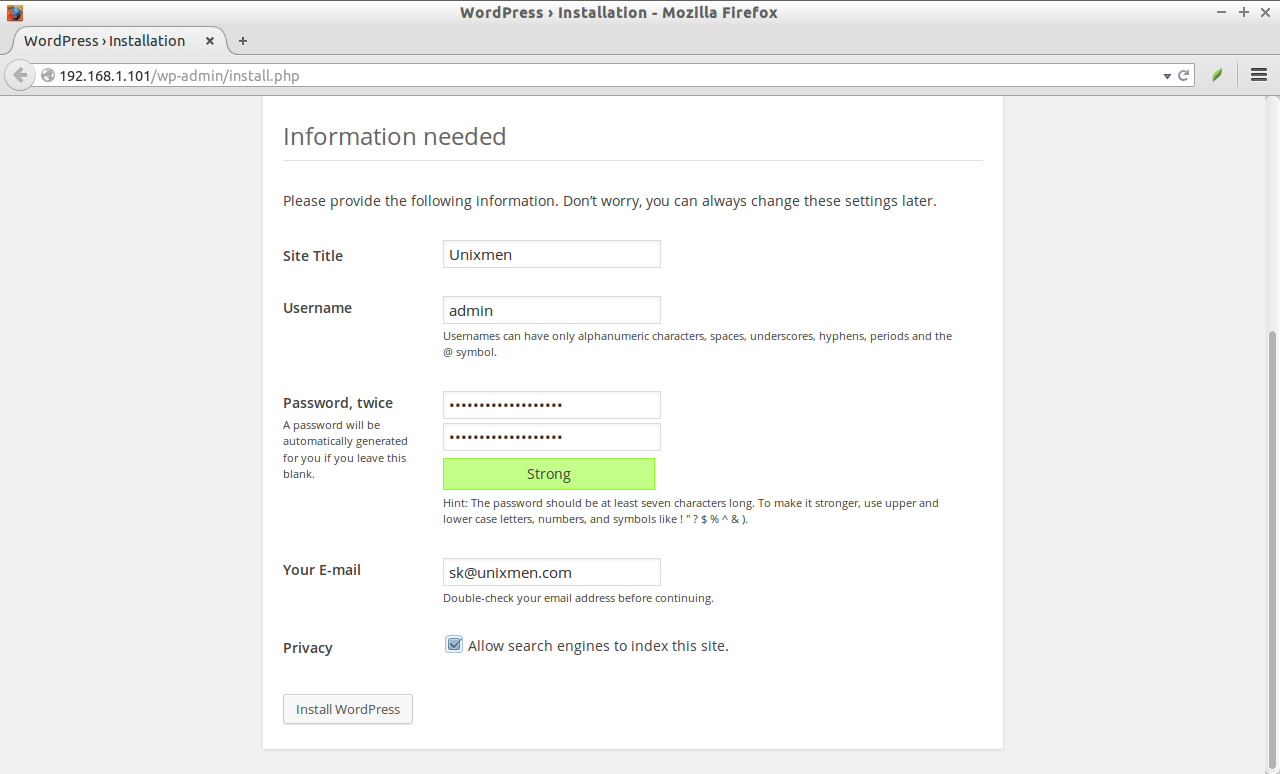
Now, start the WordPress installation by pointing your browser with “http://your-ip-address/” or “http://domain-name/”. You should see the following WordPress welcome page.
Enter the blog name, password and email ID and click Install WordPress:
Congratulations! WordPress has been installed successfully.
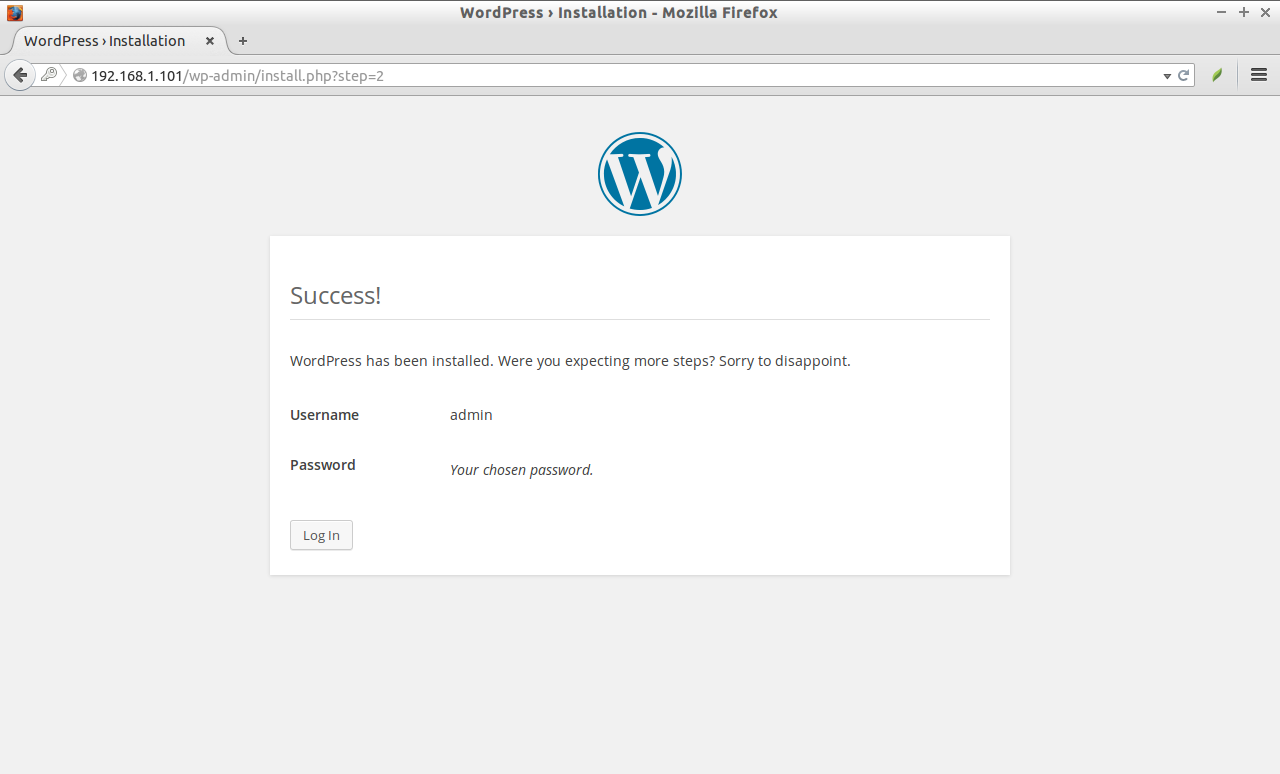
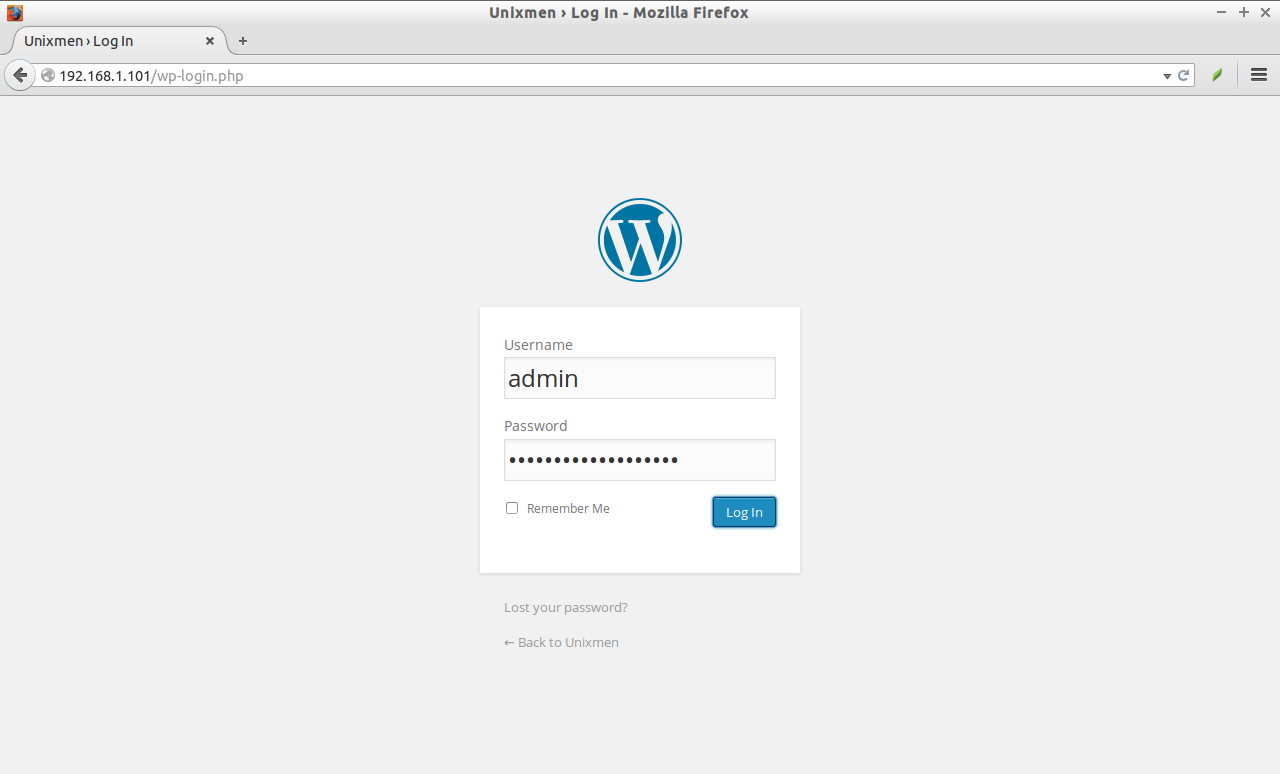
Click Login button, and enter the username/password which we have created in the above steps.
Voila! Your WordPress dashboard will appear now. From here, you can add blogs/sites, and create new posts and so on.
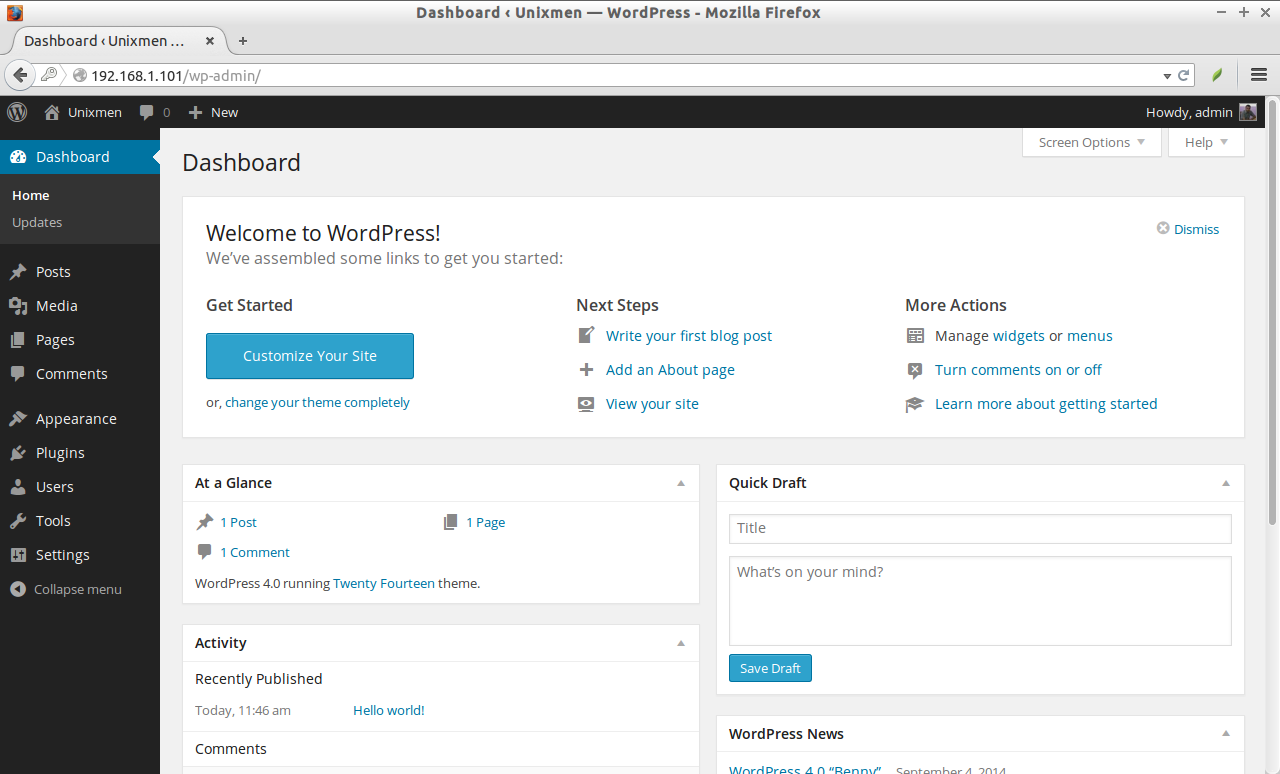
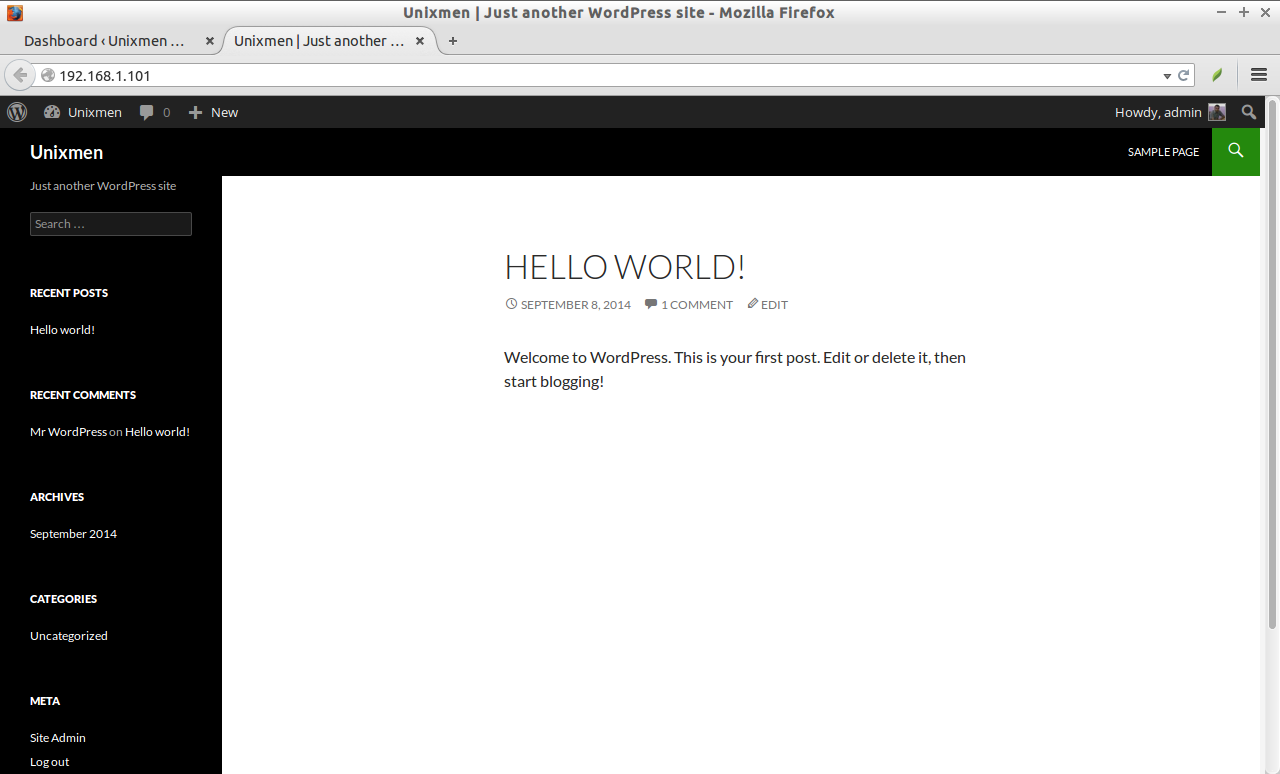
This is how my demo unixmen site looks.
That’s it. Happy blogging!
Cheers!


