
About Squid Proxy
Squid Proxy is a a great proxy server mainly used for caching frequently requested web content in order to speed up response time and also save network bandwidth. It supports many different protocols such as HTTP, FTP, TLS, SSL, Internet Gopher and HTTPS. Although it was originally designed to run as a daemon on Unix-like systems there have been several ports to windows, but according to wikipedia more current versions are not being developed.
Squid Proxy is released under the GNU General Public License.
In this tutorial you will learn how to install and setup Squid Proxy on Ubuntu and Debian Linux distributions. Just follow each step of this guide carefully and everything will be ok.
How To Install Squid Proxy
There are many ways to install Squid Proxy on Ubunu and Debian systems, one of them is to use the command apt-get install since there is a package of this proxy available in the default repo. First open a new terminal emulator (CTRL+ALT+T) and update the package index like shown below.
sudo apt-get update
Once the update is finished installing Squid Proxy server on Ubuntu and Debian computers is very easy. All you have to do is run the following command.
sudo apt-get install squid
Then you will be asked if you want to continue with the installation. Type Y.
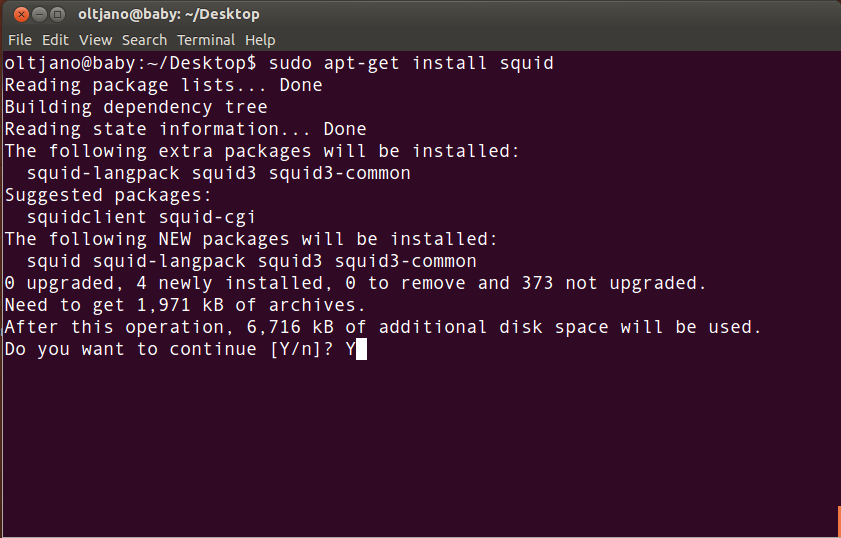
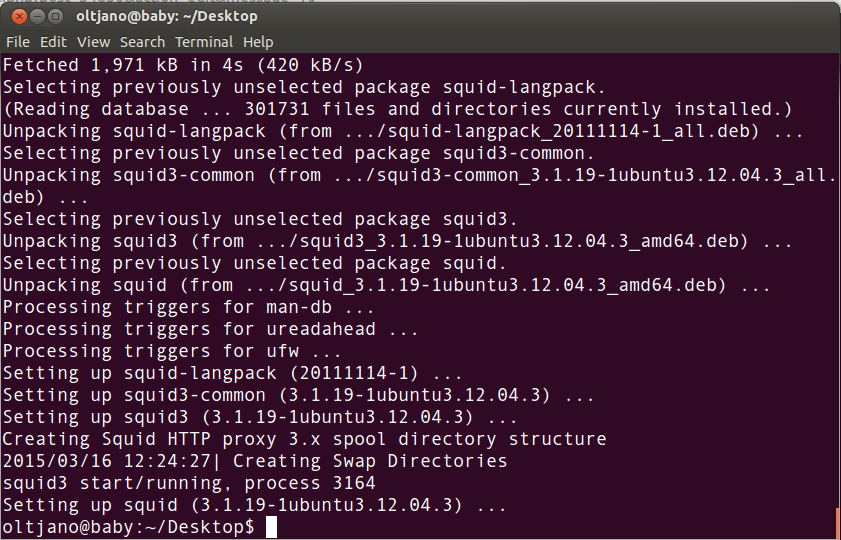
Wait for the download and installation to finish.
Squid Configuration
Before playing with this proxy there is something we need to do. Open the configuration file of Squid Proxy which is located under the directory /etc.
Depending on the version installed on your system you have to look for a specific path. Try to look for /etc/squid3/squid.conf or /etc/squid/squid.conf. Once you know where your squid.conf configuration file is located then use your favorite text editor to edit it.
I use vim for text editing.
vim /etc/squid3/squid.conf
Once you have opened the squid.conf file you will see something similar to the following.
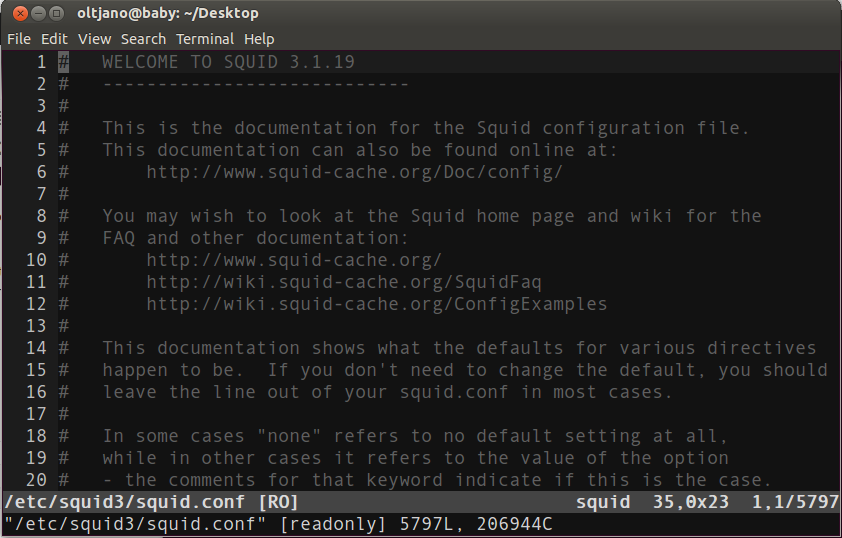
Look for http_access. Nobody can access the Squid Proxy server by default as http_access is set to deny all.
The line will look like shown below.
http_access deny all
In order to start using the Squid Proxy change http_access to allow.
http_access allow

Save the file but do not close it yet. We need to setup a hostname for our proxy server. You can use any name you like as Squid Proxy server allows to do that. The default one is localhost.
Find visible_hostname and give the name you want.
Now use the following command to restart the Squid Proxy.
sudo service squid3 restart
If the above command does not work for you just try the other one shown below.
sudo service squid restart

I get the following output.
oltjano@baby:~/Desktop$ sudo service squid3 restart
squid3 stop/waiting
squid3 start/running, process 4025
It is time to test if our proxy server is working or not. Go to your web browser’s settings and configure it to use a proxy server. I use Mozilla Firefox so I am going to show you how to do it for this browser. In case you are using Google Chrome or another web browser just google on how to configure your browser to use a proxy server.
Client Side Configuration
For Firefox:
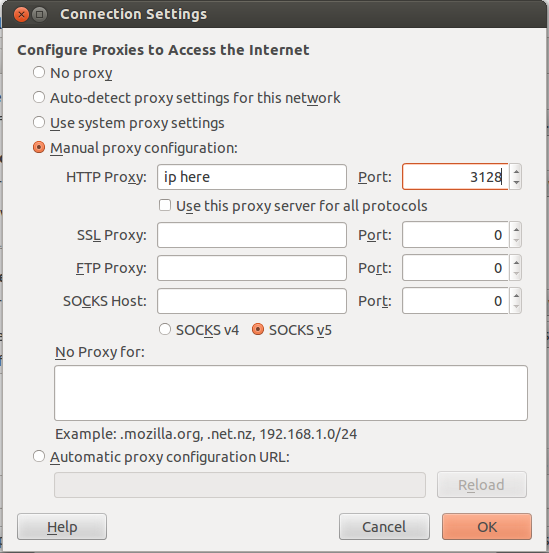
Go to Preferences -> Advanced -> Network and click on Settings under Connection. And click on Manual Proxy Configuration like shown below.
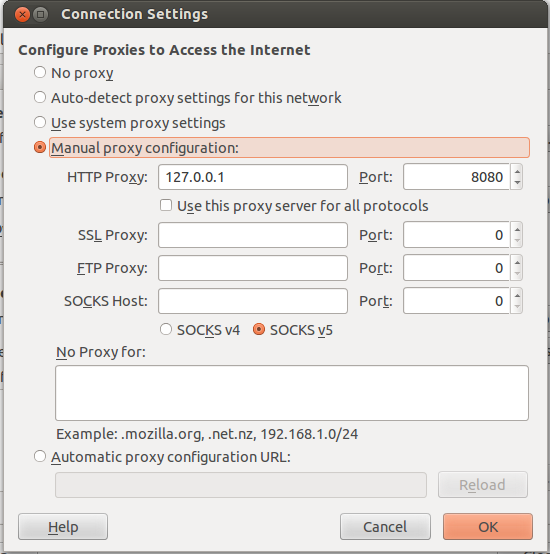
Inside HTTP Proxy pus the ip address of the Squid server and port 3128 which is the default port being used by Squid Proxy. You can also change the default port by editing it in squid.conf.
Click on Ok and the proxy should work.
Enjoy it!


