
Introduction
DreamFactory is an Open Source REST API Platform that can be used to develop modern applications for phones, tablets, and desktop without writing any server software. We can install it on any standalone server, VPS, in the Cloud, or on premises. Also, DreamFactory installers are available for Bitnami, Amazon, Azure, VMWare, OS X, RHEL, CentOS, Debian, and Ubuntu, so that you can use your preferred platform to manage and deploy the mobile applications. DreamFactory can connect to the popular BLOB storage systems including Amazon S3, Azure BLOB, Rackspace Cloud Files, and OpenStack Object Storage.
Features
- Built-in Admin console that can be used to create and manage users, develop applications more easily.
- You can define which application or data a user can access and use.
- Can host any number of applications that share access to the same REST API.
- Each applications acts as a mini website, so that the users can easily upload and manage files and folders.
- DreamFactory supports almost all modern databases applications such as MySQL, DB2, PostGreSQL, and SQL Server. Also,
- It provides wide support for popular NoSQL databases including Amazon DynamoDB, Amazon SimpleDB, Azure Tables, MongoDB, MongoHQ, and CouchDB. The platform works well with both new and existing databases.
- And more.
Installation
In this tutorial, let us see how to install and configure it on a local CentOS 7 server. Hence manual installation using Github is bit difficult, let us install it using the ready-made Bitnami stacks.
For those who don’t know, from the Bitnami site;
Bitnami stacks automate the setup of a Bitnami application stack on Windows, OS X or Linux. Each installer includes all of the software necessary to run out of the box. The installation is absolutely simple. Just download, click next-next-next and you are done! Bitnami stacks are completely self contained and will not interfere with other software on your system.
Ok, now let us download the latest DreamFactory Bitnami installer from this link.
Go to the download location, and apply the executable permission to the installer.
chmod 777 bitnami-dreamfactory-1.7.8-0-linux-x64-installer.run
Then, double click the installer to install DreamFactory. If you’re using CentOS minimal server without any graphical desktop environment, run the following command from your Terminal.
./bitnami-dreamfactory-1.7.8-0-linux-x64-installer.run
Sample Output:
----------------------------------------------------------------------------
Welcome to the Bitnami DreamFactory Stack Setup Wizard.

----------------------------------------------------------------------------
Select the components you want to install; clear the components you do not want
to install. Click Next when you are ready to continue.

DreamFactory : Y (Cannot be edited)

PhpMyAdmin [Y/n] :y     ## If you want phpMyAdmin, type Y, and press Enter ##

Is the selection above correct? [Y/n]: y     ## Type Y, and press Enter ##

----------------------------------------------------------------------------
Installation folder

Please, choose a folder to install Bitnami DreamFactory Stack

Select a folder [/opt/dreamfactory-1.7.8-0]:     ## Select the installation folder, and Press Enter. Here I go with defaults ##

----------------------------------------------------------------------------
MySQL Credentials

Please enter your database root user password

MySQL Server root password :     ## Enter your MySQL root user password ##
Re-enter password :     ## Re-enter the password ##
----------------------------------------------------------------------------
Setup is now ready to begin installing Bitnami DreamFactory Stack on your
computer.

Do you want to continue? [Y/n]: y     ## Type Y and press Enter ##

----------------------------------------------------------------------------
Please wait while Setup installs Bitnami DreamFactory Stack on your computer.

 Installing
 0% ______________ 50% ______________ 100%
 #########################################

----------------------------------------------------------------------------
Setup has finished installing Bitnami DreamFactory Stack on your computer.

Launch Bitnami DreamFactory Stack [Y/n]: y     ## Type Y and press Enter ##
We haven’t finished yet.
Accessing DreamFactory Web Console
Make sure you have allowed the http service in your firewall.
firewall-cmd --permanent --add-service=http
systemctl restart firewalld
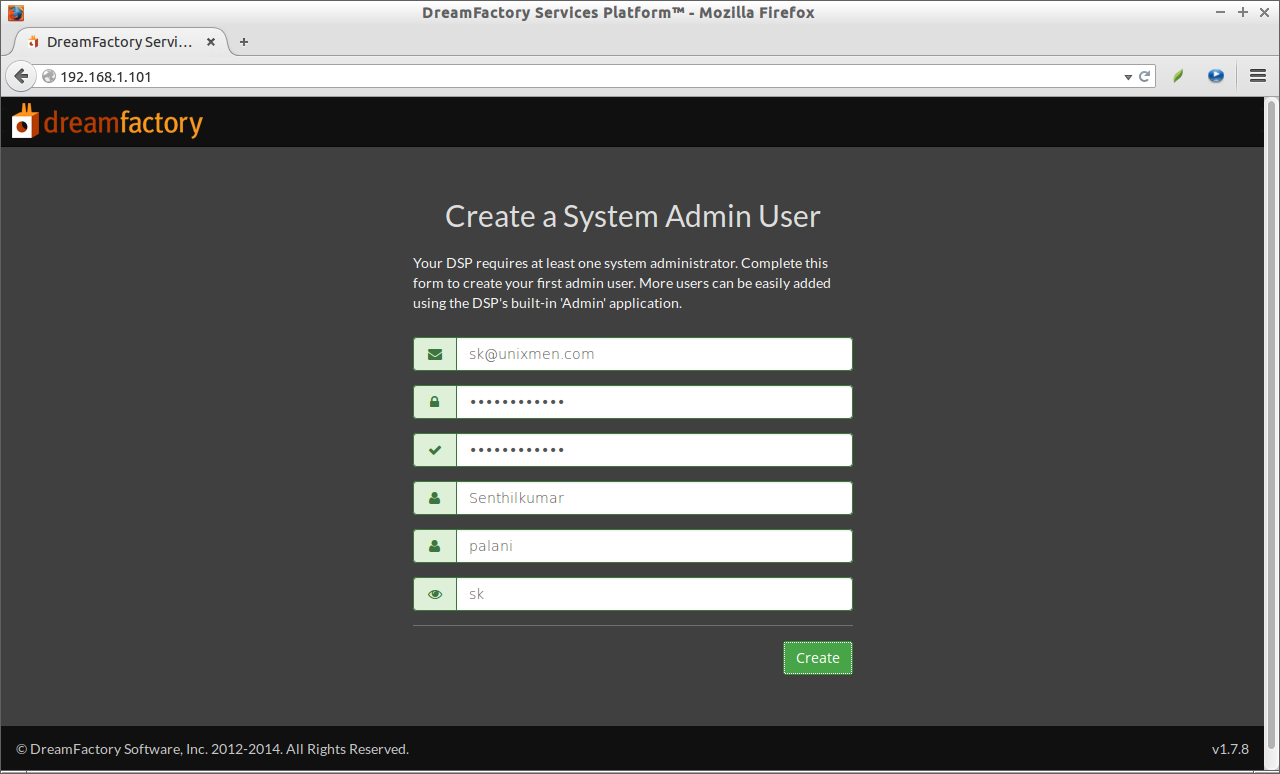
Now, open up your web browser, and point it to http://ip-address/. The following screen should appear. Enter your Email ID, first name, last name, etc.. and click on the Create button.
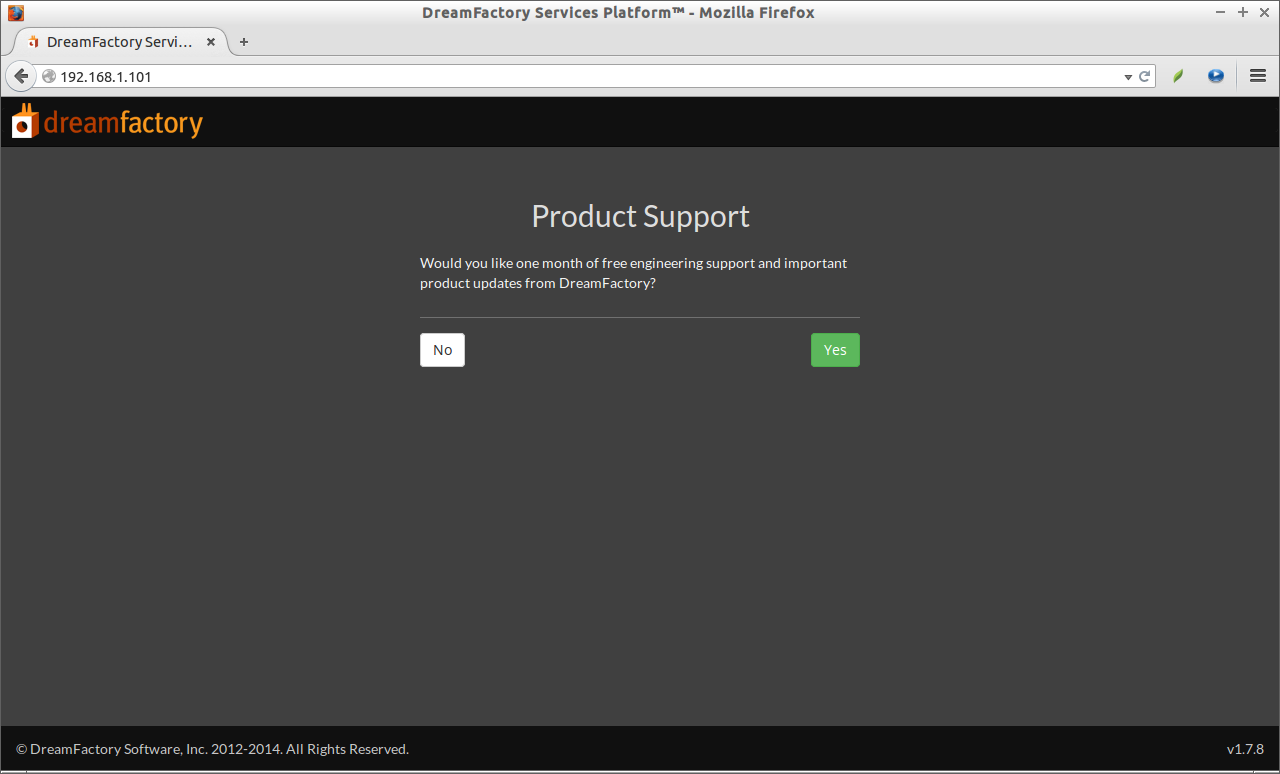
You’ll be asked to subscribe one month free support, and product updates from DreamFactory site. If you want them, click Yes, else click No.
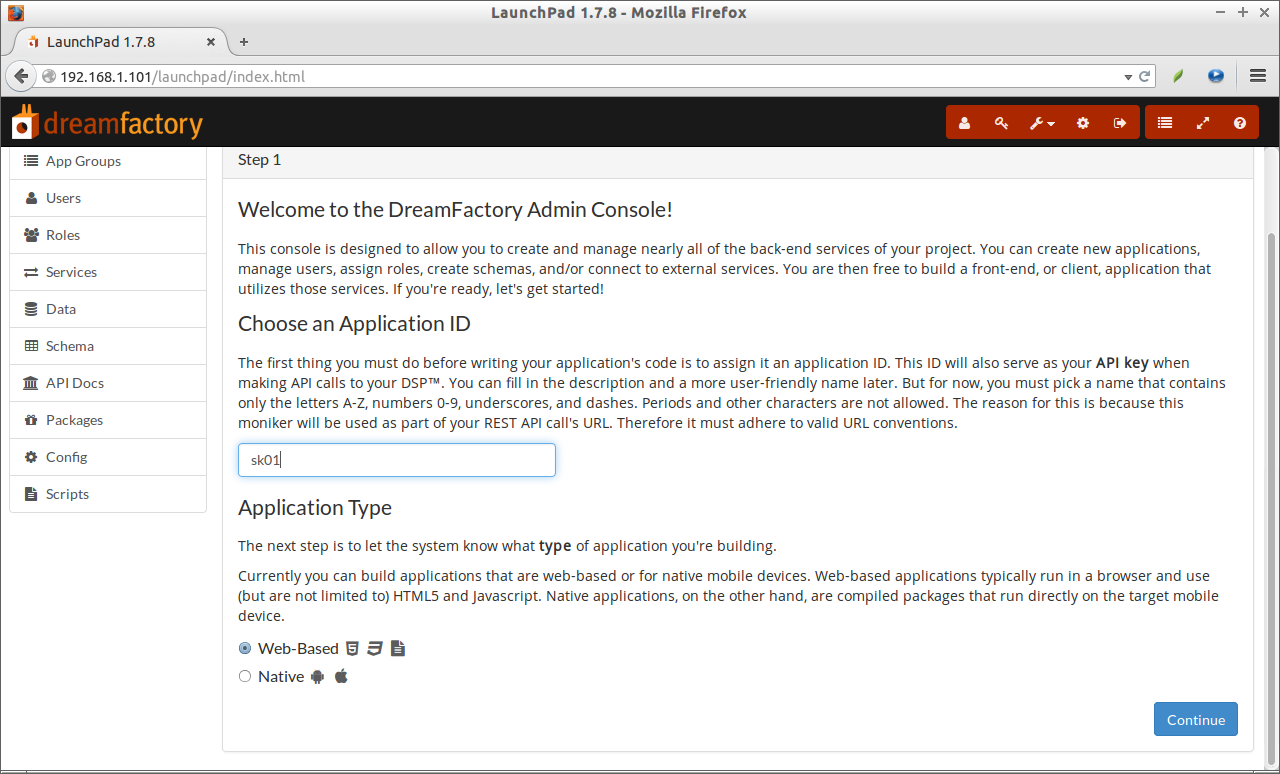
That’s it. We’ve reached to the DreamFactory admin console. From here, you can create new applications, manage users, assign roles, and more.
At the top, the dashboard has the Quickstart page that helps you to create your first application. Enter your application ID, select the application type (web-based or native), and click Continue.
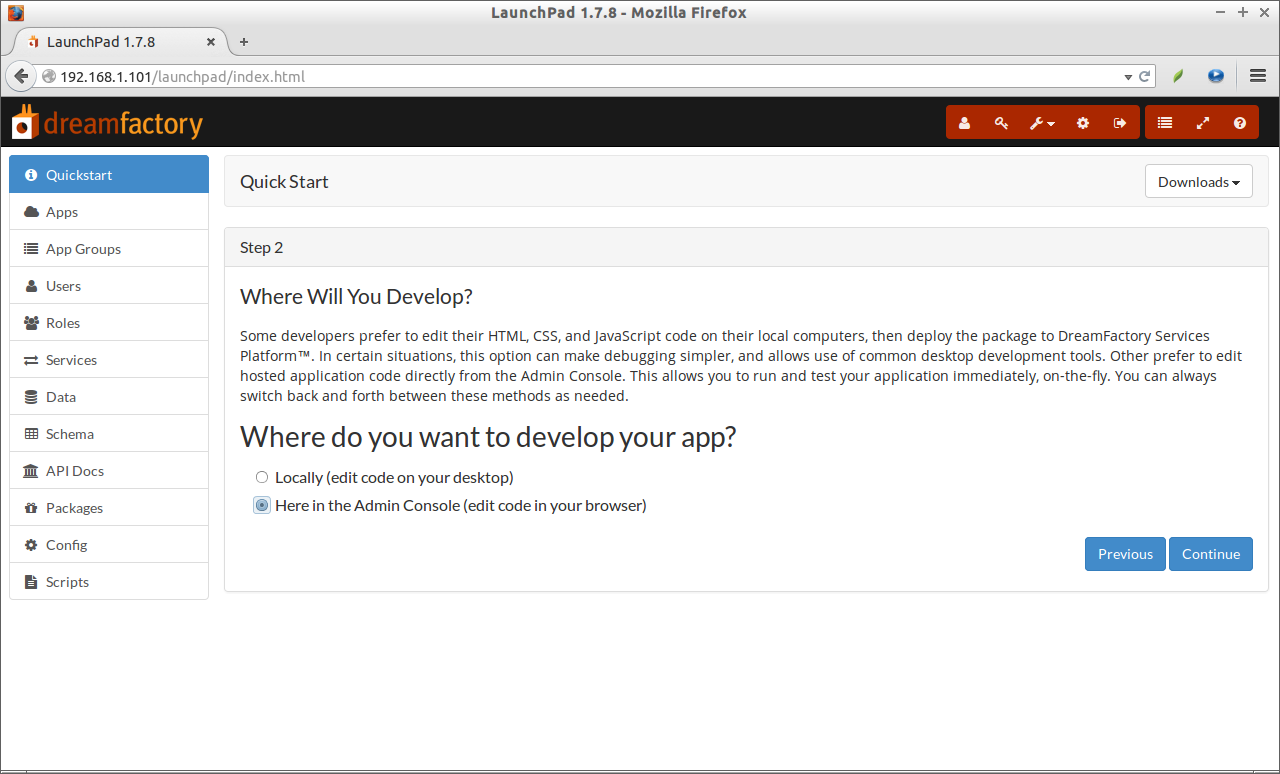
You can choose whether you want to develop your app locally or in the Admin console itself.
Congratulations! The new application has been successfully created. Now, download the SDK, and start to write to code.
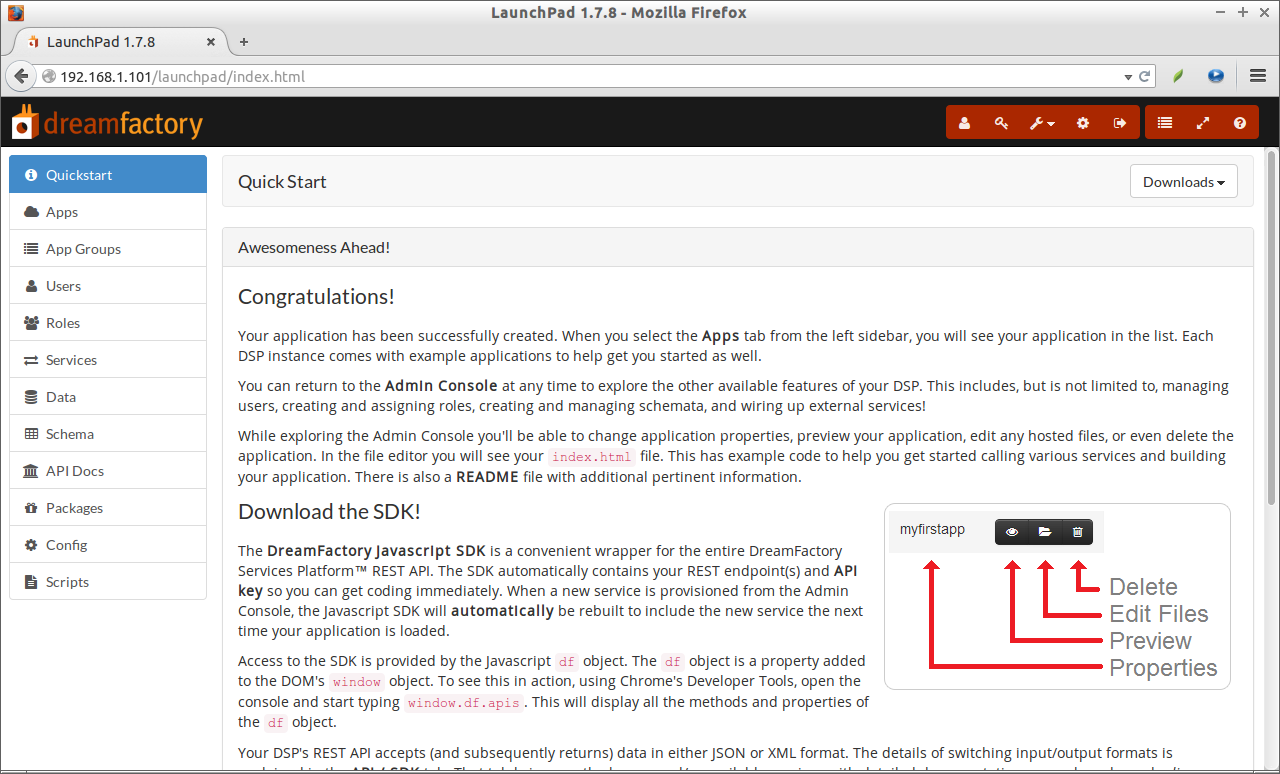
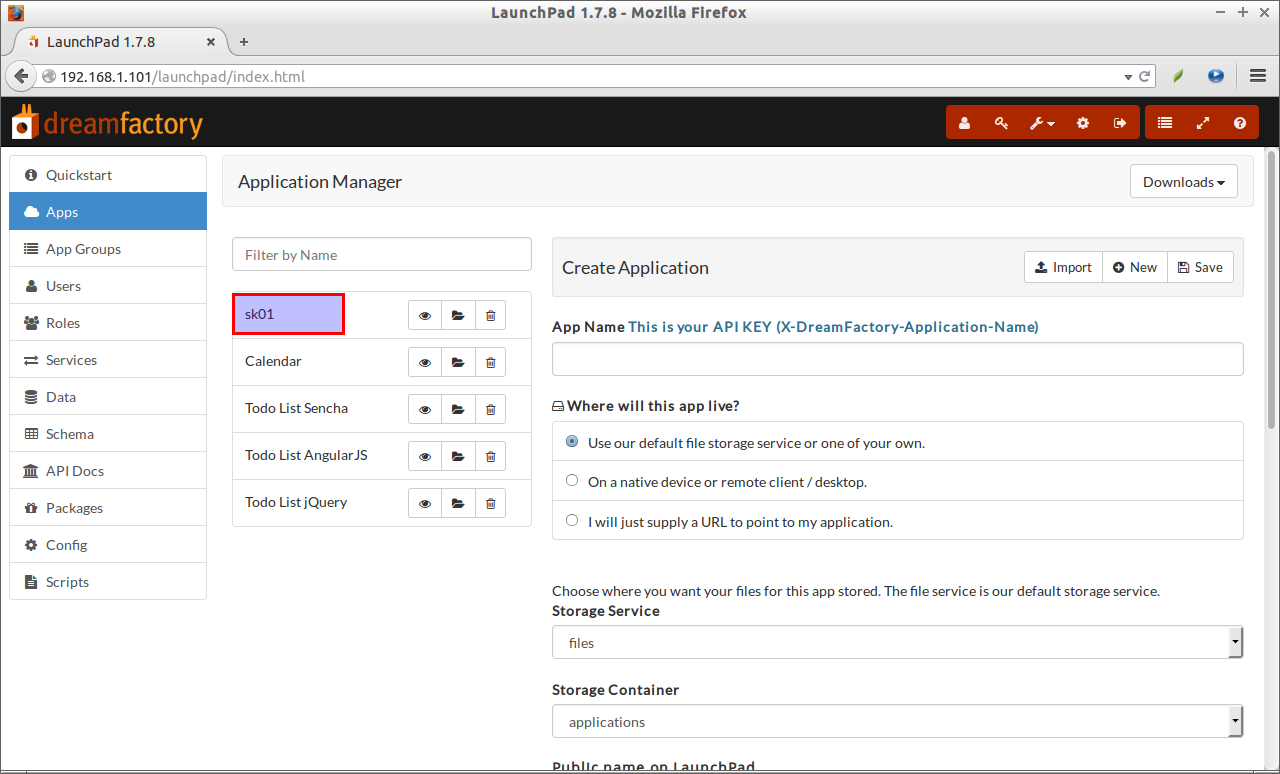
When you select the Apps tab from the left sidebar, you will see your application in the list. Each DSP instance comes with example applications to help get you started as well.
You can return to the Admin Console at any time to explore the other available features of your DSP.
Start/Stop/Restart DreamFactory Application
DreamFactory will be installed in /opt/ folder by deafult. You can stop/start/restart the dreamfactory service as shown below.
To stop this application, go the installation folder, and run the following commands.
./ctlscript.sh start
./ctlscript.sh stop
./ctlscript.sh restart
Note: As mentioned above, we don’t have to manually install any extra packages. All required softwares are bundled and preconfigured in the bitnami stack itself. Here are the details of user names and passwords used in the DreamFactory bitnami stack.
MySQL admin user is called ‘root’, and its password is the same as the DreamFactory administrative user password. The default MySQL non-root account used to access the database is named bitnami, and its password is also bitnami. The phpMyAdmin administrative user is ‘root’.
That’s all for now. Start creating your applications for your favourite devices using DreamFactory.
Enjoy!
Source & Reference Links:


