
LEMP is a combination of the operating system and open-source software stack. The acronym LEMP came from the first letters of Linux, Nginx(engine-x) HTTP Server, MySQL/MariaDB database, and PHP/Perl/Python.
In this tutorial, let us see how to install lemp stack on Ubuntu 16.04, and its previous versions such as Ubuntu 15.1015.04,14.10, 14.04, and 13.10 etc.
Install LEMP Stack On Ubuntu 16.04
1. Install Nginx
Nginx (pronounced as engine-x) is a free, open-source, high-performance HTTP server and reverse proxy, as well as an IMAP/POP3 proxy server written by Igor Sysoev.
To install Nginx enter the following command in your terminal:
Note: If another web server like apache2 was installed in your system, remove it first to avoid conflicts. To uninstall apache, run the following commands:
sudo service apache2 stop
sudo apt-get remove --purge apache2 apache2-utils apache2.2-bin apache2-common -y
sudo apt-get autoremove -y
sudo apt-get autoclean -y
Find the apache2 configuration directories and files using command:
whereis apache2
Then, permanently delete them with command:
sudo rm -Rf /etc/apache2 /usr/lib/apache2 /usr/include/apache2
Now, install nginx using command:
sudo apt-get install nginx
Start Nginx service using the following command.
On Ubuntu 15.10/15.04/16.04/16.10:
sudo systemctl start nginx
On Ubuntu 14.10 and previous versions:
sudo service nginx start
To check whether nginx service is started, run:
sudo systemctl status nginx
Or
sudo service nginx status
Sample output:
● unixmen@ubuntu:~$ sudo systemctl status  nginx
● nginx.service - A high performance web server and a reverse proxy server
   Loaded: loaded (/lib/systemd/system/nginx.service; enabled; vendor preset: enabled)
   Active: active (running) since Tue 2016-03-01 13:18:54 PST; 1min 38s ago
 Main PID: 12940 (nginx)
   CGroup: /system.slice/nginx.service
           ├─12940 nginx: master process /usr/sbin/nginx -g daemon on; master_process on
           └─12942 nginx: worker process

Mar 01 13:18:53 ubuntu systemd[1]: Starting A high performance web server and a reverse proxy server...
Mar 01 13:18:54 ubuntu systemd[1]: nginx.service: Failed to read PID from file /run/nginx.pid: Invalid argument
Mar 01 13:18:54 ubuntu systemd[1]: Started A high performance web server and a reverse proxy server.
Mar 01 13:20:21 ubuntu systemd[1]: Started A high performance web server and a reverse proxy server.
unixmen@ubuntu:~$
2. Test nginx
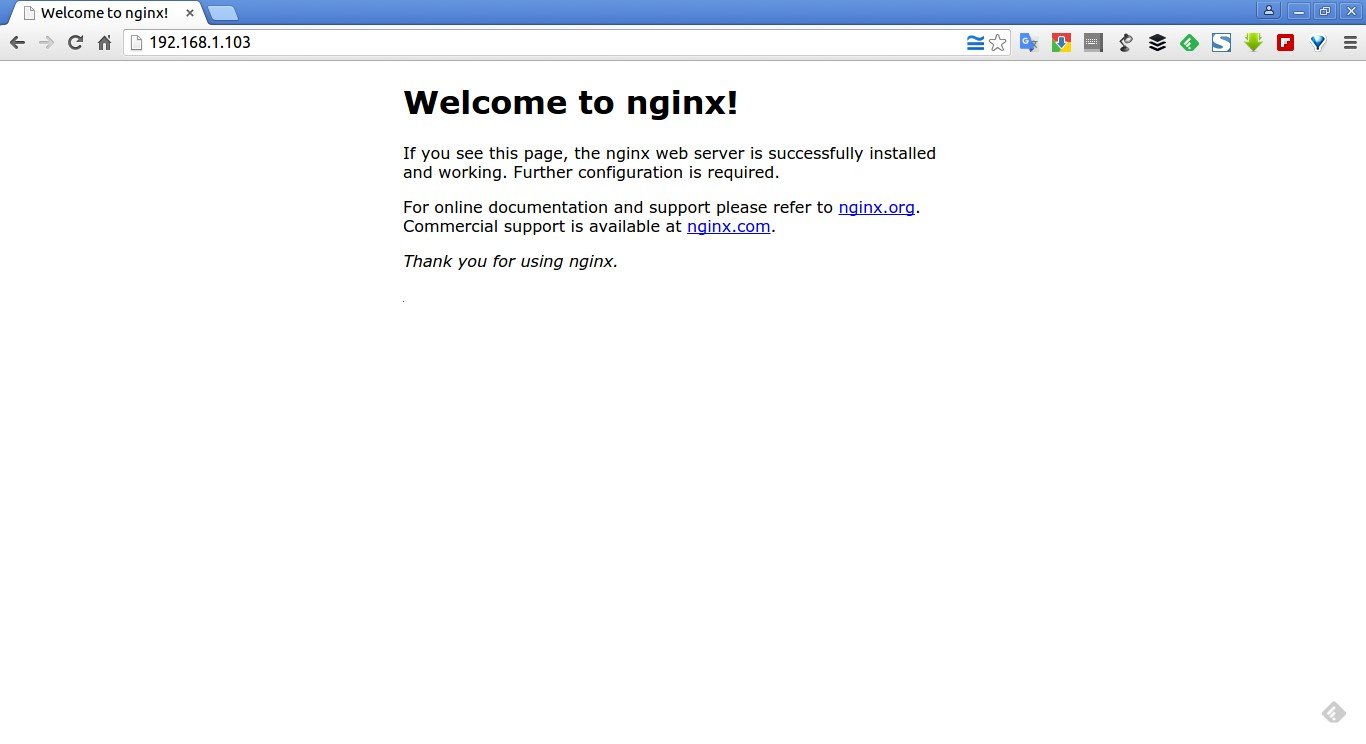
Open up your web browser and navigate to http://ip-address/ or http://localhost/. You will see a screen something like below.
3. Configure Nginx
Open the file /etc/nginx/nginx.conf in any editor:
sudo nano /etc/nginx/nginx.conf
Set the worker_processes (i.e No. of CPU’s in your system). To see the no. of CPU’s, use the command “lscpu”. In my case it’s “1″. So I set this as ’1′.
worker_processes 1;
Or, just leave it as ‘auto’ to automatically find the number cores of your Ubuntu server.
Restart Nginx service:
sudo systemctl restart nginx
Or
sudo service nginx restart
The default vhost(server block) is defined in the /etc/nginx/sites-available/default file.
Open the file /etc/nginx/sites-available/default in any editor.
sudo nano /etc/nginx/sites-available/default
Under the Server section, set the server FQDN or IP address as shown below. Make sure you’ve added a index.php line.
[...]
server {
      listen 80 default_server;
      listen [::]:80 default_server;
      [...]
      root /var/www/html;
      # Add index.php to the list if you are using PHP
      index index.php index.html index.htm index.nginx-debian.html;
      server_name server.unixmen.local;
[...]
Here,
- listen 80; –> listen for ipv4
- listen [::]:80 default_server ipv6only=on; –> listen for ipv6
- root /var/www/html; –> document root directory.
- server_name server.unixmen.local; –> Server FQDN.
Now, scroll down further and find the section #location ~ \.php$. Uncomment and modify the following lines as shown below.
 location ~ \.php$ {
         try_files $uri =404;   ---------> Add this line
         #       include snippets/fastcgi-php.conf
         #
         #       # With php5-cgi alone:
         #       fastcgi_pass 127.0.0.1:9000;
         #       # With php5-fpm:
         fastcgi_pass unix:/var/run/php5-fpm.sock;
         fastcgi_index index.php;
         include fastcgi.conf;
    }
Here, I added an extra line ‘try_files $uri =404;’ to prevent zero day exploits.
Save and exit the file.
4. Test nginx configuration
Test the nginx configuration for any syntax errors using command:
sudo nginx -t
Sample output:
nginx: the configuration file /etc/nginx/nginx.conf syntax is ok
nginx: configuration file /etc/nginx/nginx.conf test is successful
Restart nginx service.
sudo systemctl restart nginx
Or
sudo service nginx restart
5. Install MySQL
MySQL is a relational database management system (RDBMS) that runs as a server providing multi-user access to a number of databases, though SQLite probably has more total embedded deployments
unixmen@ubuntu:~$ sudo apt-get install mysql-server mysql-client
Reading package lists... Done
Building dependency tree
Reading state information... Done
The following additional packages will be installed:
  libaio1 libcgi-fast-perl libcgi-pm-perl libdbd-mysql-perl libdbi-perl libencode-locale-perl libfcgi-perl
  libhtml-parser-perl libhtml-tagset-perl libhtml-template-perl libhttp-date-perl libhttp-message-perl
  libio-html-perl liblwp-mediatypes-perl libmysqlclient18 libperl5.22 libterm-readkey-perl libtimedate-perl
  liburi-perl mysql-client-5.6 mysql-client-core-5.6 mysql-common mysql-server-5.6 mysql-server-core-5.6 perl
  perl-modules-5.22 rename
Suggested packages:
  libclone-perl libmldbm-perl libnet-daemon-perl libsql-statement-perl libdata-dump-perl libipc-sharedcache-perl
  libwww-perl mailx tinyca perl-doc libterm-readline-gnu-perl | libterm-readline-perl-perl make
The following NEW packages will be installed:
  libaio1 libcgi-fast-perl libcgi-pm-perl libdbd-mysql-perl libdbi-perl libencode-locale-perl libfcgi-perl
  libhtml-parser-perl libhtml-tagset-perl libhtml-template-perl libhttp-date-perl libhttp-message-perl
  libio-html-perl liblwp-mediatypes-perl libmysqlclient18 libperl5.22 libterm-readkey-perl libtimedate-perl
  liburi-perl mysql-client mysql-client-5.6 mysql-client-core-5.6 mysql-common mysql-server mysql-server-5.6
  mysql-server-core-5.6 perl perl-modules-5.22 rename
0 upgraded, 29 newly installed, 0 to remove and 0 not upgraded.
Need to get 27.4 MB of archives.
After this operation, 196 MB of additional disk space will be used.
Do you want to continue? [Y/n]
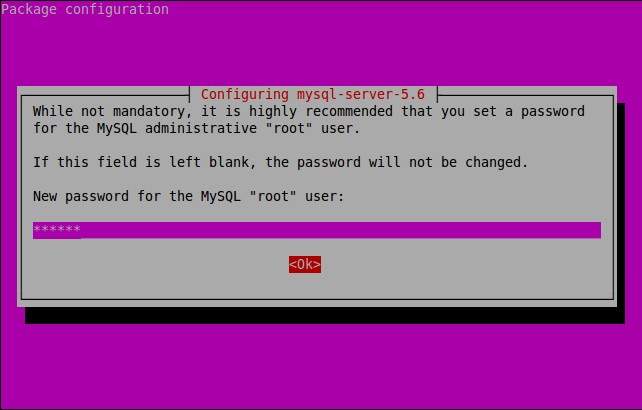
During installation, you’ll be asked to setup the MySQL “root” user password. Enter the password and click Ok.
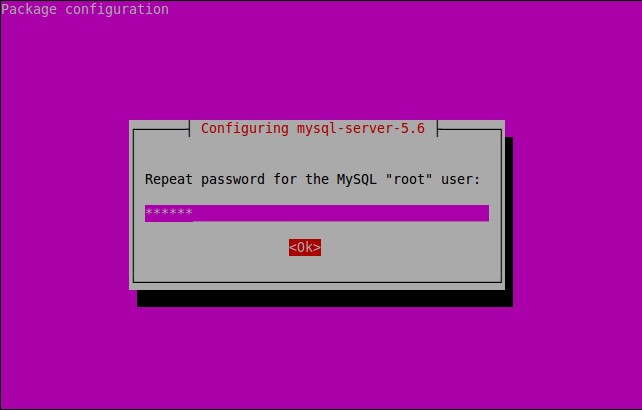
Re-enter the password.
MySQL is installed now.
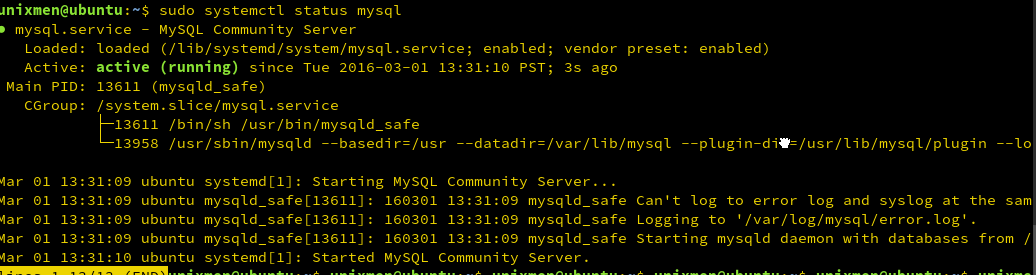
You can verify the MySQL server status using command:
On Ubuntu 16.04/15.10/15.04/
sudo systemctl status mysql
On Ubuntu 14.10 and previous versions:
sudo service mysql status
Sample output:
● unixmen@ubuntu:~$ sudo systemctl status mysql
● mysql.service - MySQL Community Server
   Loaded: loaded (/lib/systemd/system/mysql.service; enabled; vendor preset: enabled)
   Active: active (running) since Tue 2016-03-01 13:31:10 PST; 3s ago
 Main PID: 13611 (mysqld_safe)
   CGroup: /system.slice/mysql.service
           ├─13611 /bin/sh /usr/bin/mysqld_safe
           └─13958 /usr/sbin/mysqld --basedir=/usr --datadir=/var/lib/mysql --plugin-dir=/usr/lib/mysql/plugin --lo

Mar 01 13:31:09 ubuntu systemd[1]: Starting MySQL Community Server...
Mar 01 13:31:09 ubuntu mysqld_safe[13611]: 160301 13:31:09 mysqld_safe Can't log to error log and syslog at the sam
Mar 01 13:31:09 ubuntu mysqld_safe[13611]: 160301 13:31:09 mysqld_safe Logging to '/var/log/mysql/error.log'.
Mar 01 13:31:09 ubuntu mysqld_safe[13611]: 160301 13:31:09 mysqld_safe Starting mysqld daemon with databases from /
Mar 01 13:31:10 ubuntu systemd[1]: Started MySQL Community Server.
6. Install MariaDB
In case you want to use MariaDB instead of MySQL community edition, follow the steps given below.
MariaDB is a drop in replacement for MySQL. It is a robust, scalable and reliable SQL server that comes rich set of enhancements.
First you have to remove existing MySQL packages if any. To completely uninstall MySQL along with its configuration files, enter the following commands one by one:
sudo systemctl stop mysql
sudo apt-get remove --purge mysql-server mysql-client mysql-common -y
sudo apt-get autoremove -y
sudo apt-get autoclean -y
sudo rm -rf /var/lib/mysql/ sudo rm -rf /etc/mysql/
After removing MySQL, run the following command to install MariaDB.
sudo apt-get install mariadb-server
Alternatively, you can install it using MariaDB repository if you want to try most recent version of MariaDB. Run the following commands to add PPA. As of writing this, MariaDB PPA is not yet updated to Ubuntu 15.04. However, we can use the repository of Ubuntu 14.10 instead.
sudo apt-get install software-properties-common
sudo apt-key adv --recv-keys --keyserver hkp://keyserver.ubuntu.com:80 0xcbcb082a1bb943db
sudo add-apt-repository 'deb http://download.nus.edu.sg/mirror/mariadb/repo/10.1/ubuntu vivid main'
Update the software sources list and install MariaDB using following commands:
sudo apt-get update
sudo apt-get install mariadb-server

During installation you will be asked to set mysql ‘root’ user password. Enter the password twice, and complete the installation.
Note: In Ubuntu 16.04/15.10/15.04, MariaDB won’t ask you to set root user password during installation.
Also, you can’t set password using command:
mysql_secure_installation
It will throw the following error.
NOTE: RUNNING ALL PARTS OF THIS SCRIPT IS RECOMMENDED FOR ALL MariaDB
 SERVERS IN PRODUCTION USE! PLEASE READ EACH STEP CAREFULLY!

In order to log into MariaDB to secure it, we'll need the current
password for the root user. If you've just installed MariaDB, and
you haven't set the root password yet, the password will be blank,
so you should just press enter here.

Enter current password for root (enter for none):
ERROR 1698 (28000): Access denied for user 'root'@'localhost'
Enter current password for root (enter for none):
To fix this error, log in to mysql prompt without password as root user:
sudo mysql -u root
Then, run the following commands one by one in the mysql prompt:
use mysql;
update user set plugin='' where User='root';y
flush privileges;
\q
That’s it. Now, set database administrative “root” user password using command. Press Enter and go with the default settings.
mysql_secure_installation
Sample output:
NOTE: RUNNING ALL PARTS OF THIS SCRIPT IS RECOMMENDED FOR ALL MariaDB
      SERVERS IN PRODUCTION USE!  PLEASE READ EACH STEP CAREFULLY!

In order to log into MariaDB to secure it, we'll need the current
password for the root user.  If you've just installed MariaDB, and
you haven't set the root password yet, the password will be blank,
so you should just press enter here.

Enter current password for root (enter for none):
OK, successfully used password, moving on...

Setting the root password ensures that nobody can log into the MariaDB
root user without the proper authorisation.

Set root password? [Y/n] y
New password:
Re-enter new password:
Password updated successfully!
Reloading privilege tables..
 ... Success!

By default, a MariaDB installation has an anonymous user, allowing anyone
to log into MariaDB without having to have a user account created for
them.  This is intended only for testing, and to make the installation
go a bit smoother.  You should remove them before moving into a
production environment.

Remove anonymous users? [Y/n]
 ... Success!

Normally, root should only be allowed to connect from 'localhost'.  This
ensures that someone cannot guess at the root password from the network.

Disallow root login remotely? [Y/n]
 ... Success!

By default, MariaDB comes with a database named 'test' that anyone can
access.  This is also intended only for testing, and should be removed
before moving into a production environment.

Remove test database and access to it? [Y/n]
 - Dropping test database...
ERROR 1008 (HY000) at line 1: Can't drop database 'test'; database doesn't exist
 ... Failed!  Not critical, keep moving...
 - Removing privileges on test database...
 ... Success!

Reloading the privilege tables will ensure that all changes made so far
will take effect immediately.

Reload privilege tables now? [Y/n]
 ... Success!

Cleaning up...

All done!  If you've completed all of the above steps, your MariaDB
installation should now be secure.

Thanks for using MariaDB!

Check if mariadb is running or not, using the following command:
sudo service mysql status
Sample output:
● unixmen@ubuntu:~$ sudo service mysql status
● mysql.service - LSB: Start and stop the mysql database server daemon
   Loaded: loaded (/etc/init.d/mysql; bad; vendor preset: enabled)
   Active: active (running) since Tue 2016-03-01 13:41:21 PST; 7min ago
     Docs: man:systemd-sysv-generator(8)
   CGroup: /system.slice/mysql.service
           ├─16763 /bin/bash /usr/bin/mysqld_safe
           ├─16764 logger -p daemon err -t /etc/init.d/mysql -i
           ├─16908 /usr/sbin/mysqld --basedir=/usr --datadir=/var/lib/mysql --plugin-dir=/usr/lib/mysql/plugin --user=mysql --skip-log-error --pid-file=/var/run
           └─16909 logger -t mysqld -p daemon error

Mar 01 13:41:21 ubuntu /etc/mysql/debian-start[16960]: mysql.columns_priv                                 OK
Mar 01 13:41:21 ubuntu /etc/mysql/debian-start[16960]: mysql.db                                           OK
Mar 01 13:41:21 ubuntu /etc/mysql/debian-start[16960]: mysql.event                                        OK
Mar 01 13:41:21 ubuntu /etc/mysql/debian-start[16960]: mysql.func                                         OK
Mar 01 13:41:21 ubuntu /etc/mysql/debian-start[16960]: mysql.gtid_slave_pos                               OK
Mar 01 13:41:21 ubuntu /etc/mysql/debian-start[16960]: mysql.help_category                                OK
Mar 01 13:41:21 ubuntu /etc/mysql/debian-start[16960]: mysql.help_keyword                                 OK
Mar 01 13:41:21 ubuntu /etc/mysql/debian-start[16960]: mysql.help_relation                                OK
Mar 01 13:41:21 ubuntu /etc/mysql/debian-start[17011]: WARNING: mysql.user contains 2 root accounts without password or plugin!
Mar 01 13:41:21 ubuntu /etc/mysql/debian-start[17012]: Triggering myisam-recover for all MyISAM tables and aria-recover for all Aria tables
7. Install PHP
PHP (recursive acronym for PHP: Hypertext Preprocessor) is a widely used open-source general purpose scripting language that is especially suited for web development and can be embedded into HTML.
Install PHP with following command:
sudo apt-get install php5 php5-fpm php5-mysql
Open php.ini file in any editor:
Edit /etc/php5/fpm/php.ini
Find the line ‘cgi.fix_pathinfo=1′, uncomment it and change the value 1 to 0.
cgi.fix_pathinfo=0
Now restart php-fpm service.
sudo systemctl restart php5-fpm
Or
sudo service php5-fpm restart
To check whether php5-fpm is running or not using command:
sudo systemctl status php5-fpm
Or
sudo service php5-fpm status
Sample output:
● unixmen@ubuntu:~$ systemctl status php5-fpm
● php5-fpm.service - The PHP FastCGI Process Manager
   Loaded: loaded (/lib/systemd/system/php5-fpm.service; enabled; vendor preset: enabled)
   Active: active (running) since Tue 2016-03-01 14:31:10 PST; 32s ago
  Process: 23563 ExecStartPre=/usr/lib/php5/php5-fpm-checkconf (code=exited, status=0/SUCCESS)
 Main PID: 23570 (php5-fpm)
   Status: "Processes active: 0, idle: 2, Requests: 0, slow: 0, Traffic: 0req/sec"
    Tasks: 3 (limit: 512)
   CGroup: /system.slice/php5-fpm.service
           ├─23570 php-fpm: master process (/etc/php5/fpm/php-fpm.conf)
           ├─23573 php-fpm: pool www
           └─23574 php-fpm: pool www

Mar 01 14:31:10 ubuntu systemd[1]: Starting The PHP FastCGI Process Manager...
Mar 01 14:31:10 ubuntu systemd[1]: Started The PHP FastCGI Process Manager.
unixmen@ubuntu:~$
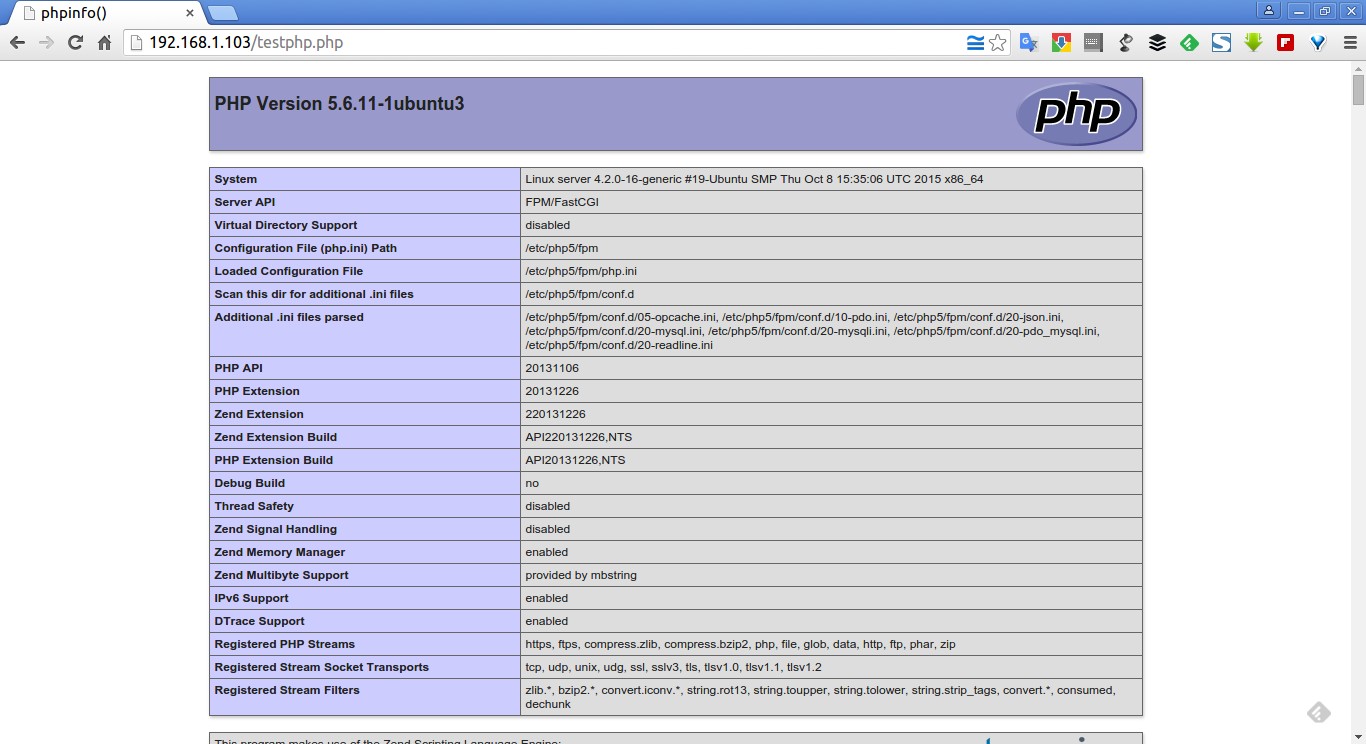
9. Test PHP
Create a sample “testphp.php” file in nginx document root folder.
sudo nano /var/www/html/testphp.php
Add the following lines in it.
<?php
 phpinfo();
?>
Save and exit the file.
Navigate to http://server-ip-address/testphp.php. It will display all the details about php such as version, build date and commands etc.
PHP-FPM listens on the socket /var/run/php5-fpm.sock by default. If you want to make PHP-FPM use a TCP connection, open the file /etc/php5/fpm/pool.d/www.conf,
sudo nano /etc/php5/fpm/pool.d/www.conf
Find the line listen = /var/run/php5-fpm.sock,
listen = /var/run/php5-fpm.sock
and modify it to listen = 127.0.0.1:9000.
listen = 127.0.0.1:9000
Save and exit the file. Restart php5-fpm service.
sudo systemctl restart php5-fpm
Or
sudo service php5-fpm restart
Now open the nginx configuration file:
sudo nano /etc/nginx/sites-available/default
Find the line fastcgi_pass unix:/var/run/php5-fpm.sock; and change it to fastcgi_pass 127.0.0.1:9000; as shown below.
location ~ \.php$ {
        try_files $uri =404;
        fastcgi_split_path_info ^(.+\.php)(/.+)$;fastcgi_pass 127.0.0.1:9000;
        #       # NOTE: You should have "cgi.fix_pathinfo = 0;" in php.ini
        #
        #       # With php5-cgi alone:
        fastcgi_pass 127.0.0.1:9000;
        #       # With php5-fpm:
        #        fastcgi_pass unix:/var/run/php5-fpm.sock;
        fastcgi_index index.php;
        include fastcgi.conf;
   }
Save and exit the file. Finally restart nginx service.
sudo systemctl restart nginx
Or
sudo service nginx restart
10. Manage MySQL Databases Using phpMyAdmin (Optional)
phpMyAdmin is a free open-source web interface tool used to manage your MySQL databases.
It is available in the Official Debian repositories. So install it with command:
sudo apt-get install phpmyadmin
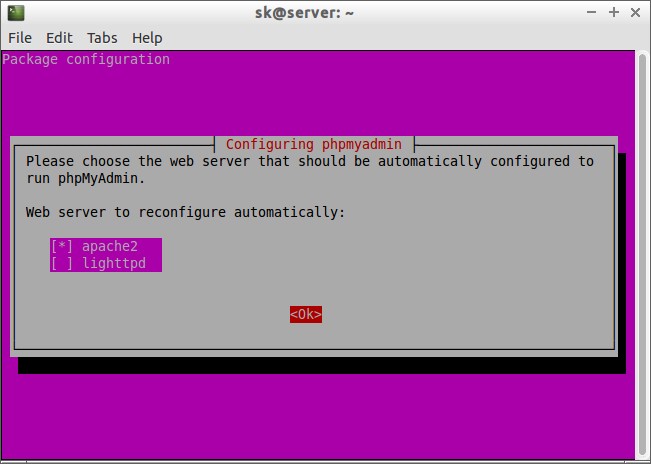
Select the web server that should be automatically configured to run phpMyAdmin.
By default, nginx will not be displayed here. So, select apache or lighttpd, and we will configure phpmyadmin to work with nginx webserver later.
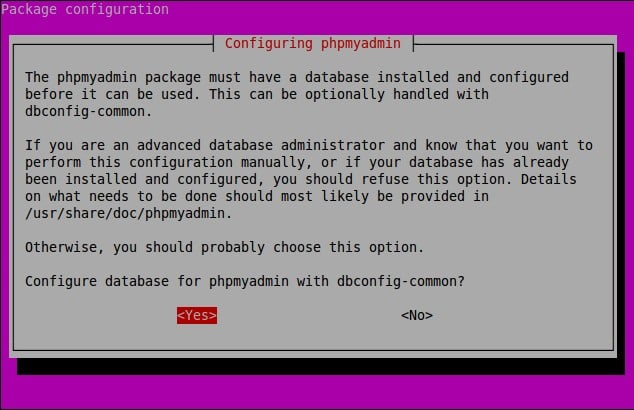
Select Yes to configure database for phpmyadmin with dbconfig-common.
Enter MySQL application password phpmyadmin.
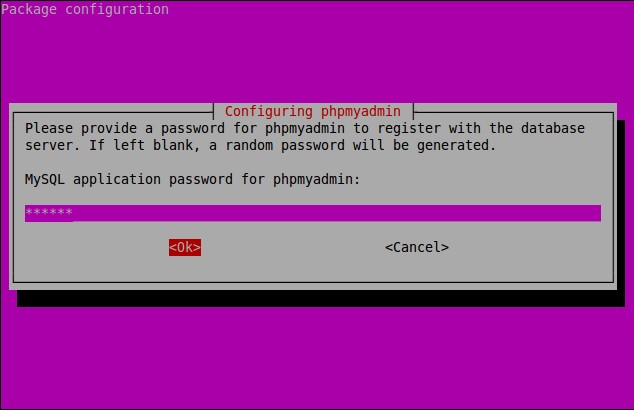
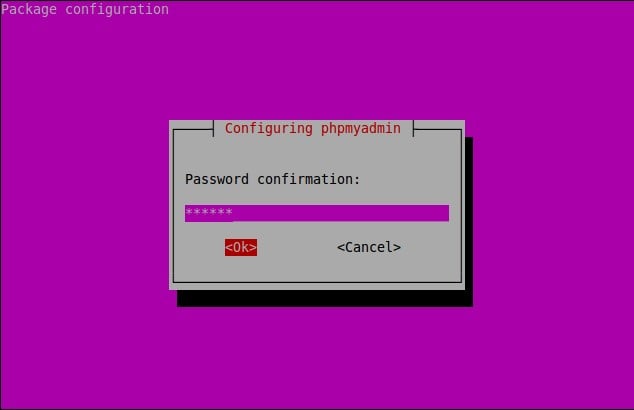
Re-enter the password.
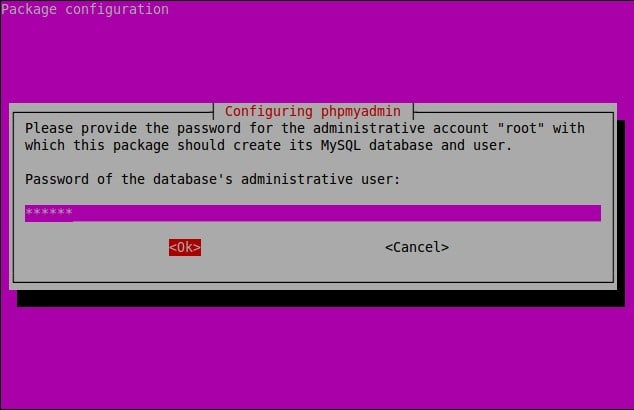
Enter password of the database’s administrative user (i.e MySQL root user password).
phpMyAdmin has been installed now.
Create a symbolic link between phpMyAdmin and the website root directory. Here our website root document directory is /usr/share/nginx/html/.
sudo ln -s /usr/share/phpmyadmin/ /var/www/html/
Restart nginx server.
sudo systemctl restart nginx
Or
sudo service nginx restart
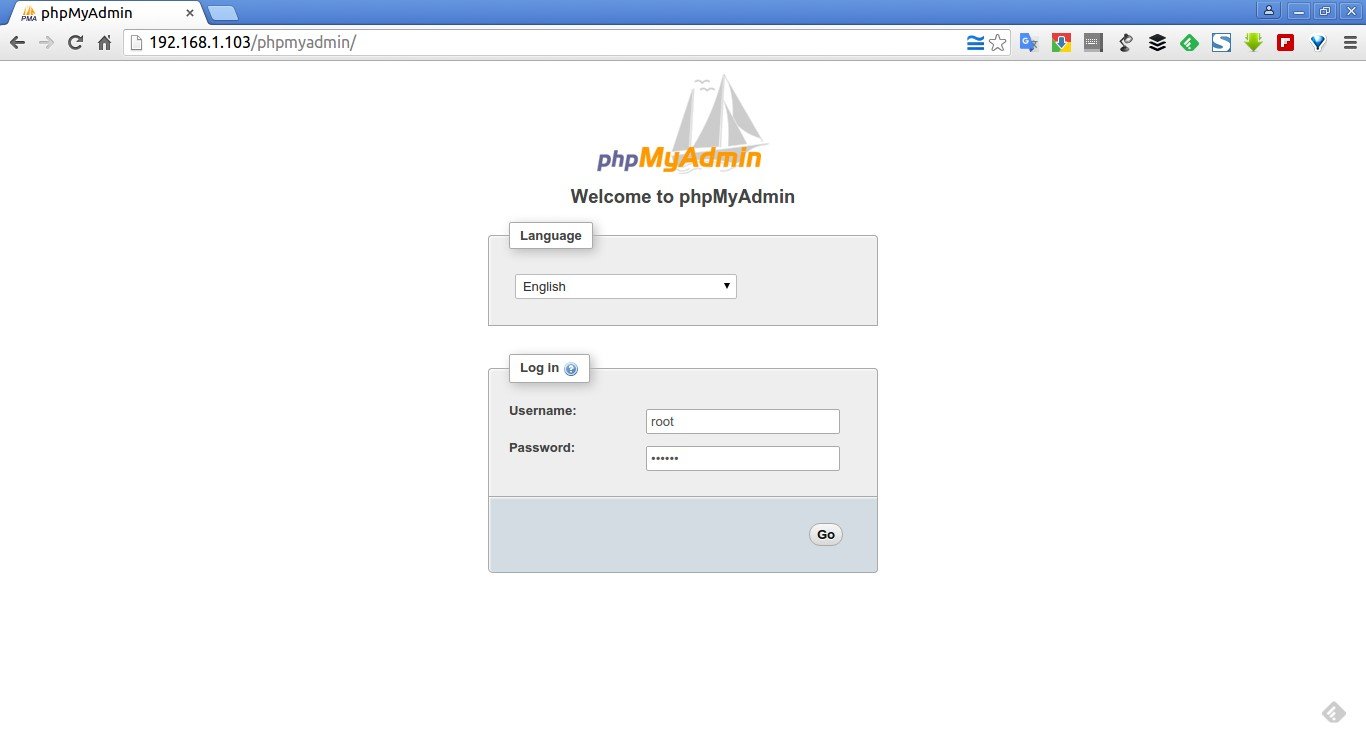
11. Access phpMyAdmin Web Console
Now you can access the phpmyadmin console by navigating to http://server-ip-address/phpmyadmin/ from your browser.
Enter your MySQL username and password which you have given in previous steps. In my case its “root” and “ubuntu”.
You will be redirected to PhpMyAdmin main web interface. This is how my phpMyAdmin dashboard looks.
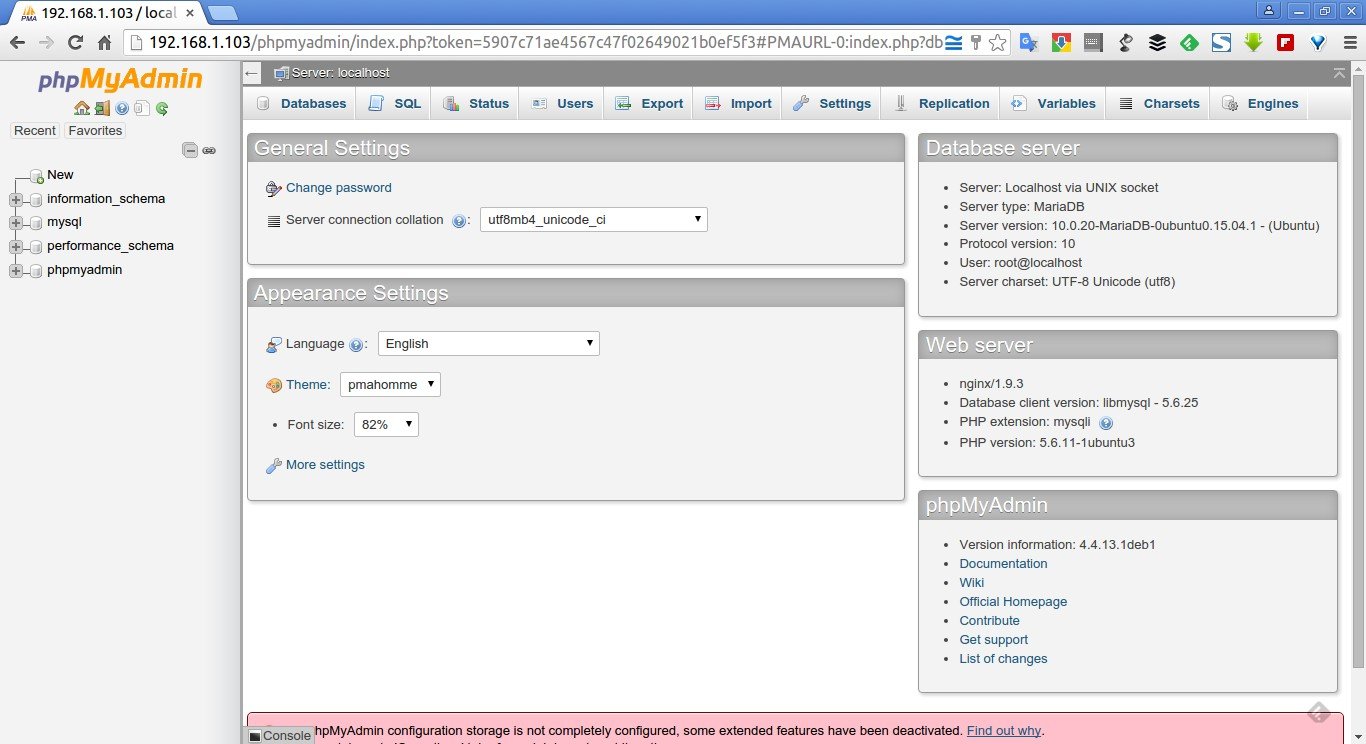
Now you can manage your MySQL databases from phpMyAdmin web interface.
That’s it. Your LEMP server is ready to use.
Cheers!


