
About CentOS Web Panel
There are so many free and paid Control panels available nowadays. We will, today, discuss about CentOS Web panel(CMP), specially designed for RPM based distributions like CentOS, RHEL, Scientific Linux etc. CWP is a free, Open Source control panel that can be widely used for deploying a Web hosting environment easily. Unlike other Control panels, CWP is automatically deploy the LAMP stack with Varnish Cache server.
Features
CWP comes with lot of features and free services. As I mentioned before, CWP automatically installs full LAMP stack (apache, php, phpmyadmin, webmail, mailserver etc.) on your server.
Here is the complete list of features and software that will be automatically installed and configured during CWP installation.
List of softwares to be installed and configured during CWP installation:
- Apache Web Server
- PHP 5.4
- MySQL + phpMyAdmin
- Postfix + Dovecot + roundcube webmail
- CSF Firewall
- File System Lock (no more website hacking, all your files are locked from changes)
- Backups; AutoFixer for server configuration
3rd Party Applications:
- CloudLinux + CageFS + PHP Selector
- Softaculous – Script Installer (Free and Premium)
Web Server:
- Varnish Cache server
- Compiles Apache from source
- Apache reCompiler + Additional modules
- Apache server status, configuration
- Edit apache vhosts, vhosts templates, include configuration
- Rebuild all apache Virtual hosts
- suPHP & suExec
- Mod Security + OWASP rules
- Tomcat 8 server management
- DoS protection
- Perl cgi script support
PHP:
- Compiles PHP from source
- PHP Switcher (switch between PHP versions like: 5.2, 5.3, 5.4, 5.5)
- PHP Selector select PHP version per user or per folder (PHP 4.4, 5.2, 5.3, 5.4, 5.5, 5.6)
- Simple php editor
- Simple php.ini generator in the users panel
- PHP addons
- PHP.ini editor & PHP info & List modules
- php.ini per user account
- FFMPEG, For Video streaming websites
- CloudLinux + PHP Selector
User Management
- Add, List, Edit adn Remove Users
- User Monitoring
- Shell access management
- User Limit Managment
- Limit Processes
- Limit Open Files
- User FTP & File Manager
- CloudLinux + CageFS
- Dedicated IP per account
DNS:
- FreeDNS
- Add, Edit, List and Remove DNS zones
- Edit nameserver IPs
- DNS zone template editor
- New Easy DNS Zone Manager (with ajax)
- New DNS Zone list with Additional resolving information using google (also checking rDNS, nameservers….)
Email:
- Postfix & dovecot
- MailBoxes, Alias
- Roundcube webmail
- Postfix Mail queue
- rDNS Checker Module
- AntiSPAM
- SPF & DKIM Integration
- Re-Build Postfix/Dovecot Mail server with AntiVirus, AntiSpam Protection
- Email Auto Responder
System:
- CPU core and clock info
- Memory usage info
- Detailed Disk status
- Software Info like kernel version, uptime etc.
- Services Status
- ChkConfig Manager
- Network port usage
- Network configuration
- SSHD configuration
- Auto-Fixer (checks important configuration and tries to auto-fix issues)
Monitoring:
- Monitor services eg. top, apache stats, mysql etc.
- Use Java SSH Terminal/Console within panel
- Services Configuration (eg. Apache, PHP, MySQL etc)
- Run shell commands in screen/background
Security:
- CSF Firewall
- SSL generator
- SSL Certificate Manager
- CloudLinux + CageFS
SQL:
- MySQL Database Management
- Add local or remote access user
- Live Monitor MySQL process list
- Create, Remove database
- Add additional users per database
- MySQL server configuration
- PhpMyAdmin
- PostgreSQL, phpPgAdmin Support
Additional options:
- TeamSpeak 3 Manager
- Shoutcast Manager
- Auto-update
- Backup manager
- File Manager
- Virtual FTP users per domain
- cPanel Account Migration (restores files, databases and database users)
- And many more.
Install CentOS Web Panel In CentOS 6
At the time writing this tutorial, CWP only supports upto CentOS 6.x versions. It doesn’t work on CentOS 7 and later versions.
Prerequisites:
Before installing CWP, you must know the following information:
- CWP only supports static IP addresses. It does not support dynamic, sticky, or internal IP addresses.
- CWP doesn’t has an uninstaller. After you install CWP, you must reinstall the server to remove it.
- Only install CWP on a freshly installed operating system without any configuration changes.
- Need atleast 512MB RAM for 32 bit systems.
- 1024MB for 64 bit systems.
- Need 4GB RAM or more to deploy all modules.
- At least 20GB or hard disk space is required.
For testing purpose in VirtualBox, 640MB RAM and 10GB hdd space is enough.
Update server:
Install wget package first. This is needed to download CWP.
yum install wget -y
Update your server using command:
yum update -y
Reboot once to take effect the changes.
Install CWP:
Change to /usr/local/src/ directory:
cd /usr/local/src
Download latest CWP version with command:
wget http://centos-webpanel.com/cwp-latest
If the above URL doesn’t work, use the following link instead.
wget http://dl1.centos-webpanel.com/files/cwp-latest
Then, start CWP installer using command:
sh cwp-latest
Sample output:
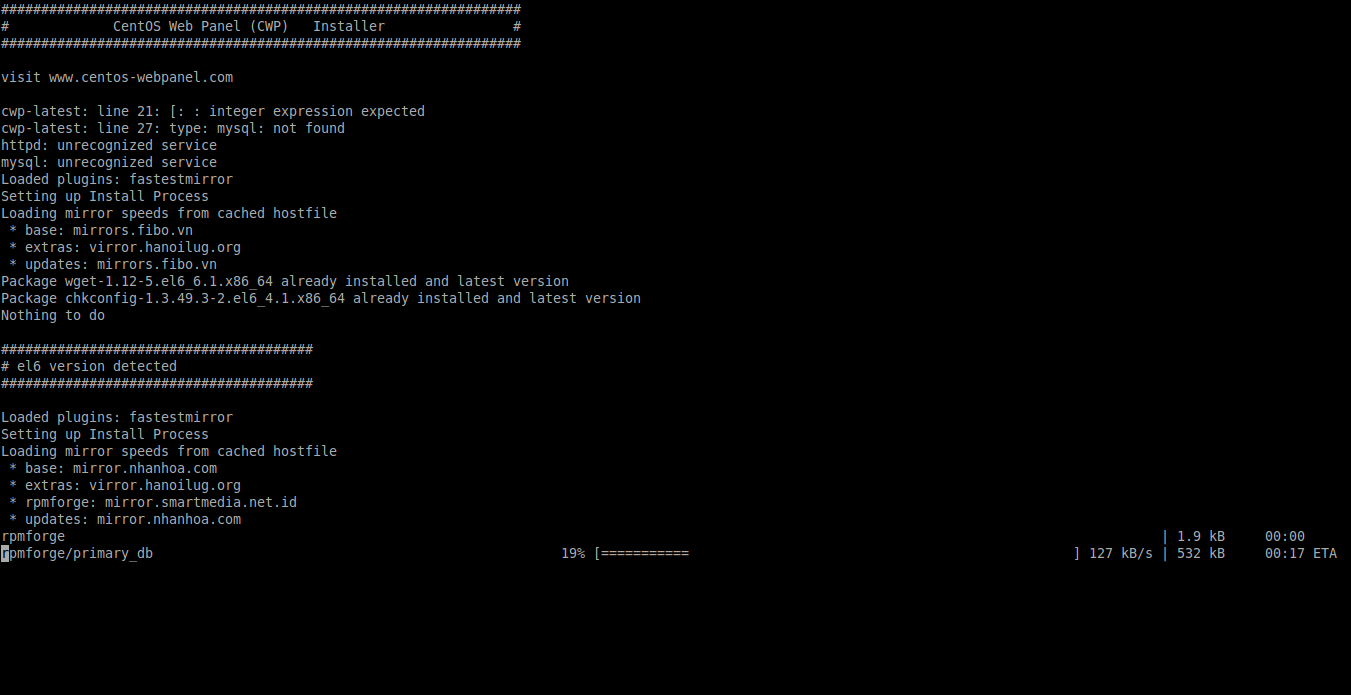
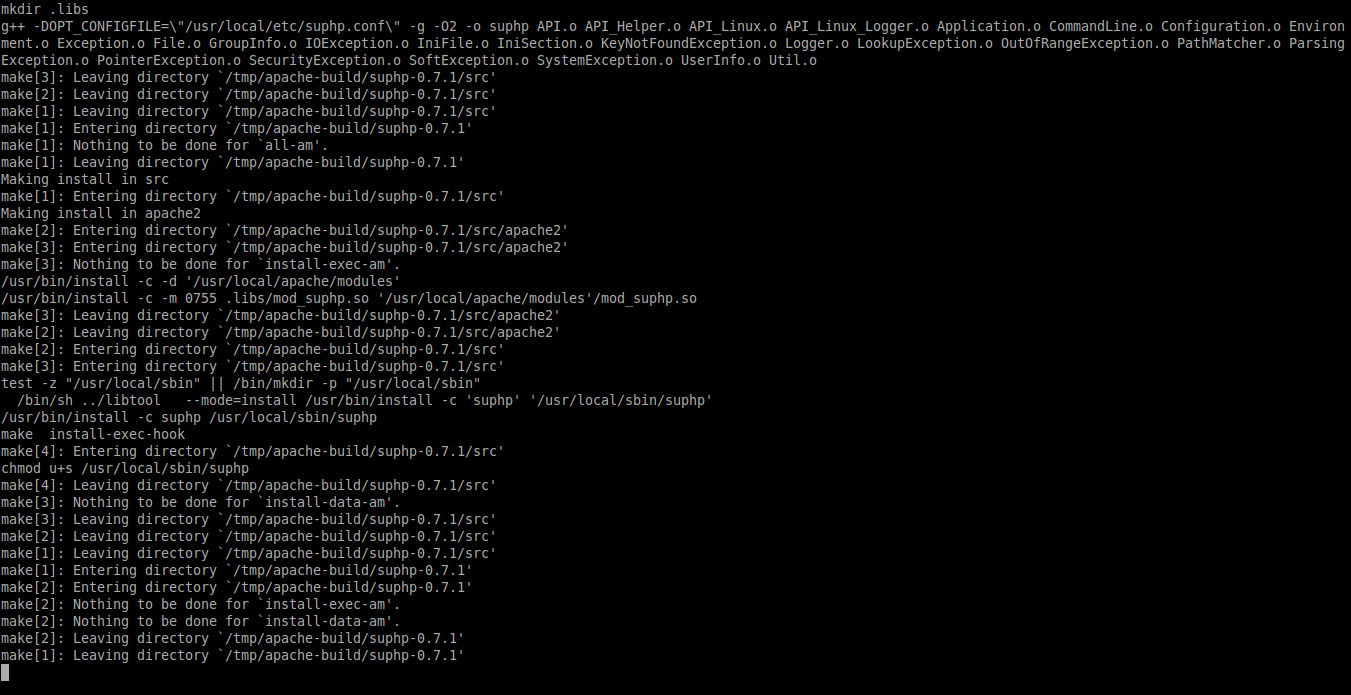
The installation will take upto 30 minutes or more depending upon your Internet speed.
Finally, you’ll see the installation completed message like below. Note down the details such as mysql root user password and login URLs of CWP. You”ll need them later. Then Press Enter key to reboot your system.
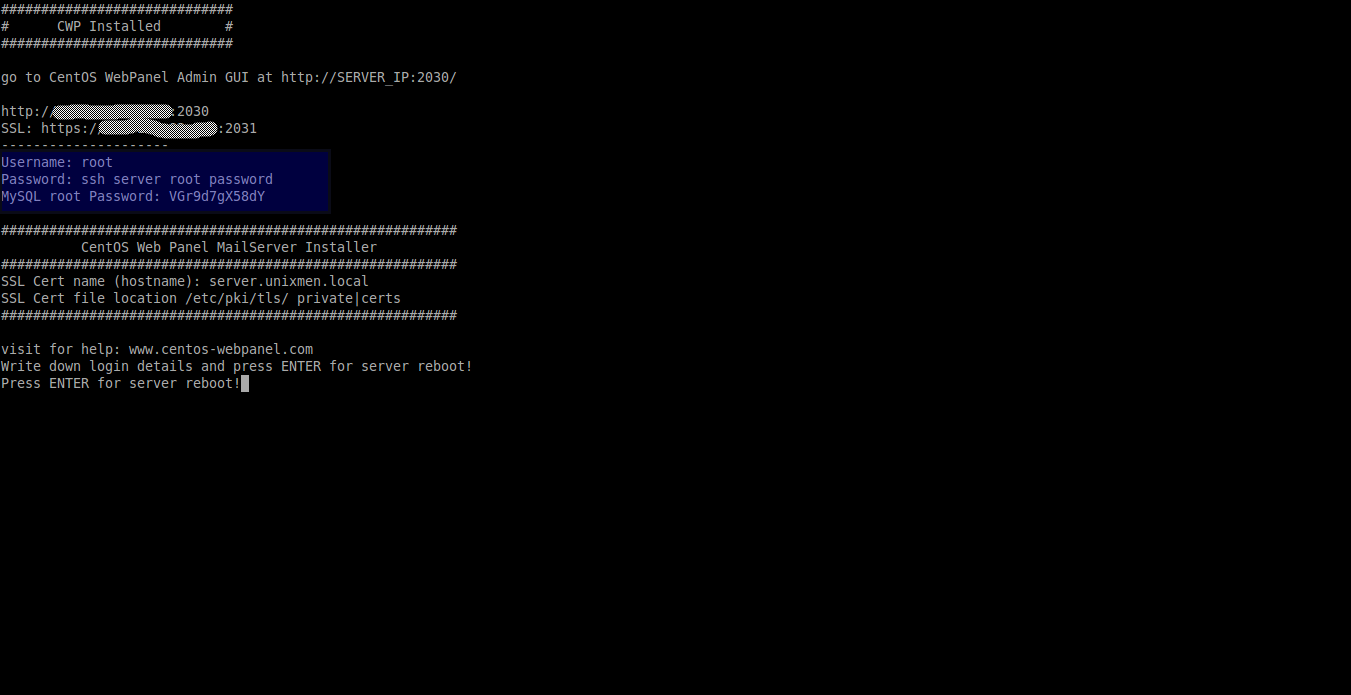
After booting into the system, you will see the CWP welcome login message.
![CentOS 6.5 Minimal [Running] - Oracle VM VirtualBox_006](http://unixmen.com/wp-content/uploads/2015/04/CentOS-6.5-Minimal-Running-Oracle-VM-VirtualBox_006.png)
Adjust Firewall/Router:
The CWP default web console ports are 2030(http) and 2031(https). You should allow the both ports through firewall/Router in order to access the CWP web console from a remote system.
To do that, edit:
vi /etc/sysconfig/iptables
Add the following lines:
[...]
-A INPUT -p tcp -m state --state NEW -m tcp --dport 2030 -j ACCEPT
-A INPUT -p tcp -m state --state NEW -m tcp --dport 2031 -j ACCEPT
[...]
Save and close the file. Restart iptables service to take effect the changes.
service iptables restart
Accessing CWP Web Console
Open up your browser and type:
http://IP-Address:2030/
Or
https://IP-Address:2031/
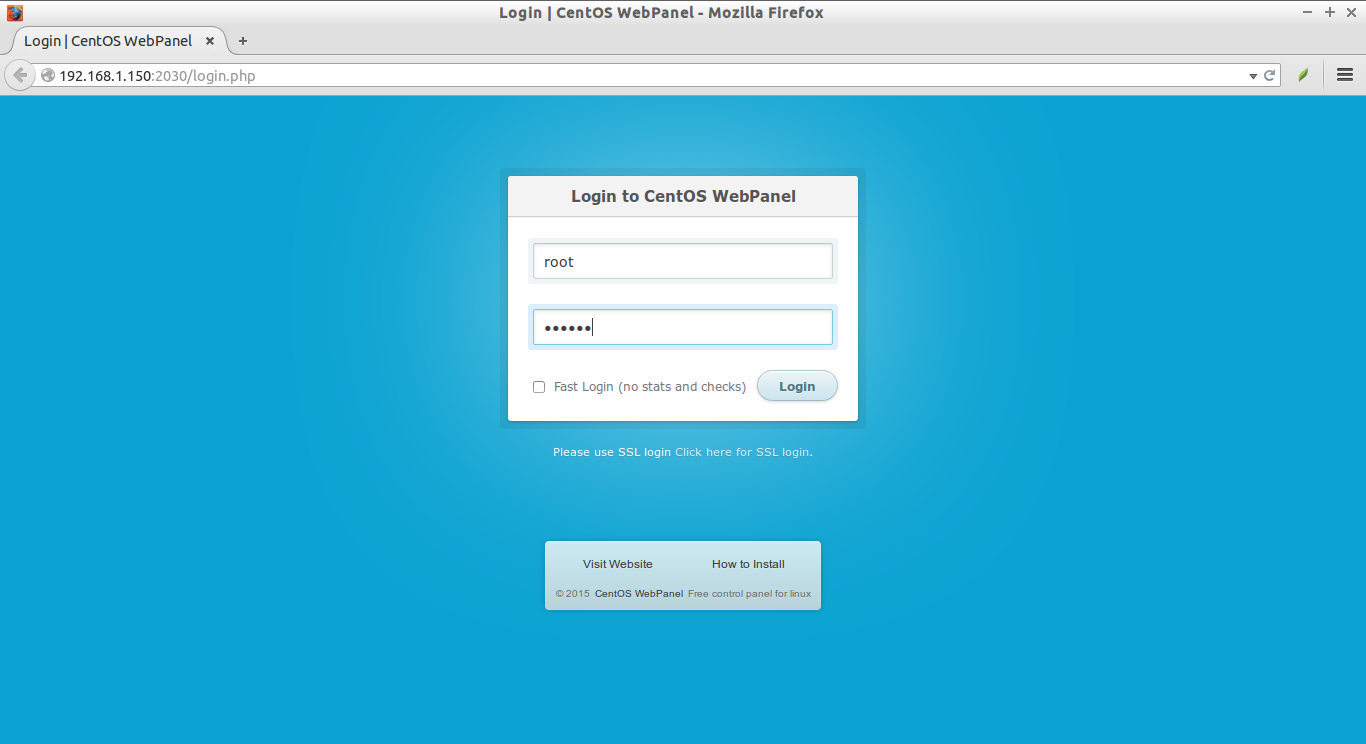
You will see the following like screen.
The login credentials are:
- Username: root
- Password: your root password
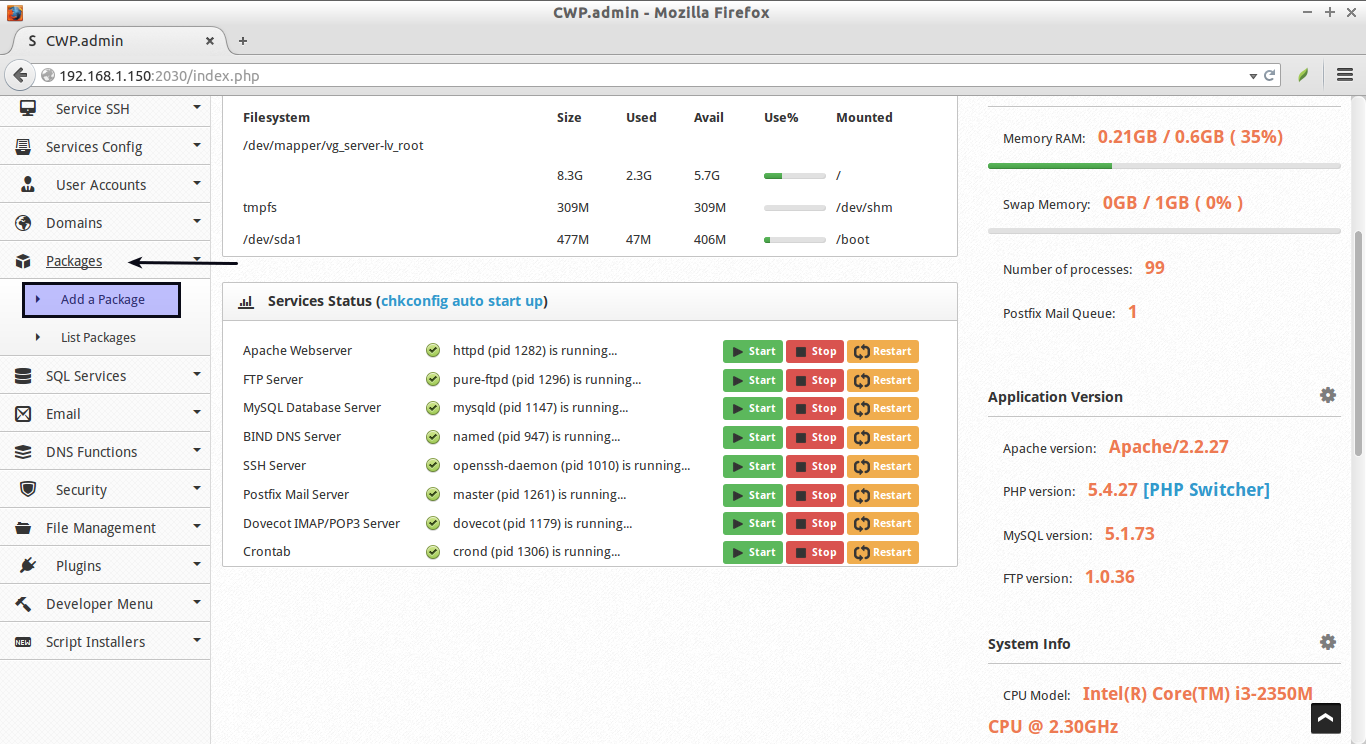
This is how CWP dashboard will look:
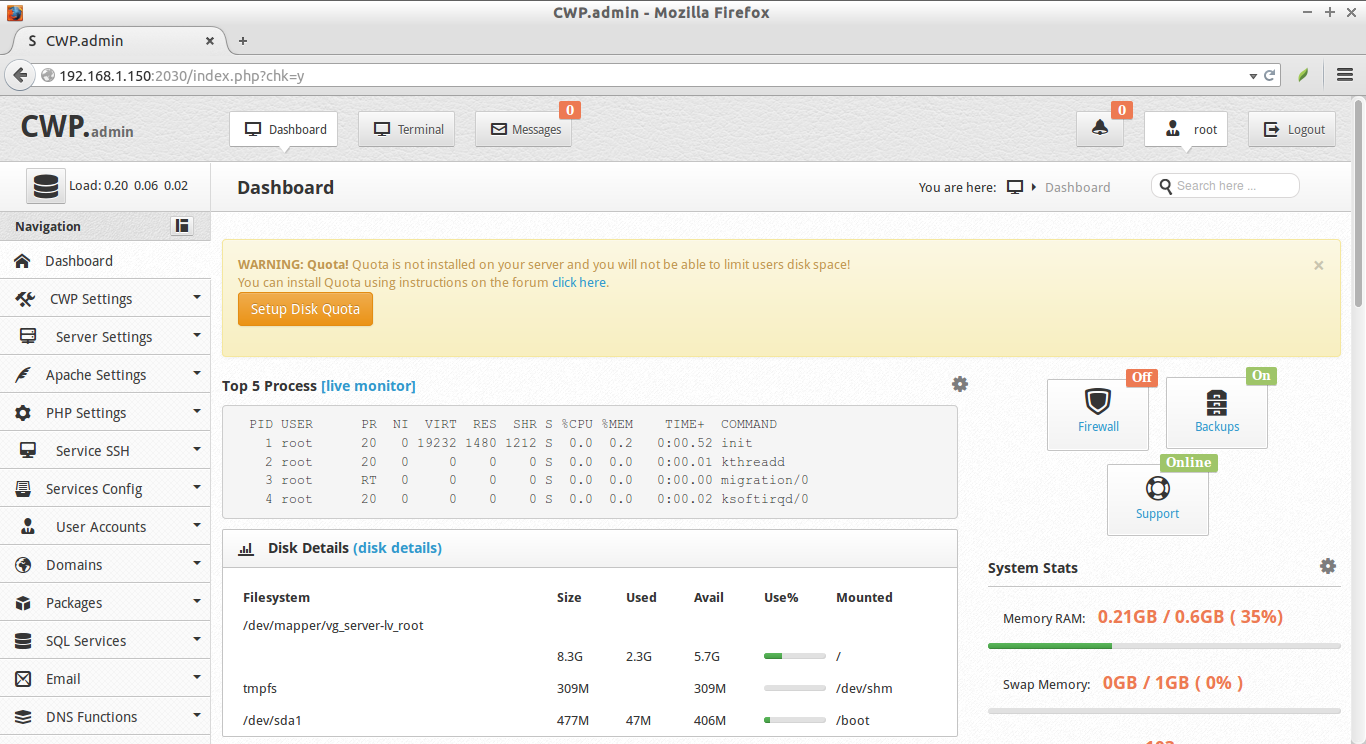
Congratulations! CWP has been successfully has been installed.
CWP Basic Configuration
Next, we have to do couple of things such as:
- Setup nameservers
- Setup shared ip (must be your public IP address)
- Setup at least one hosting package (or edit default package)
- Setup root email, etc.
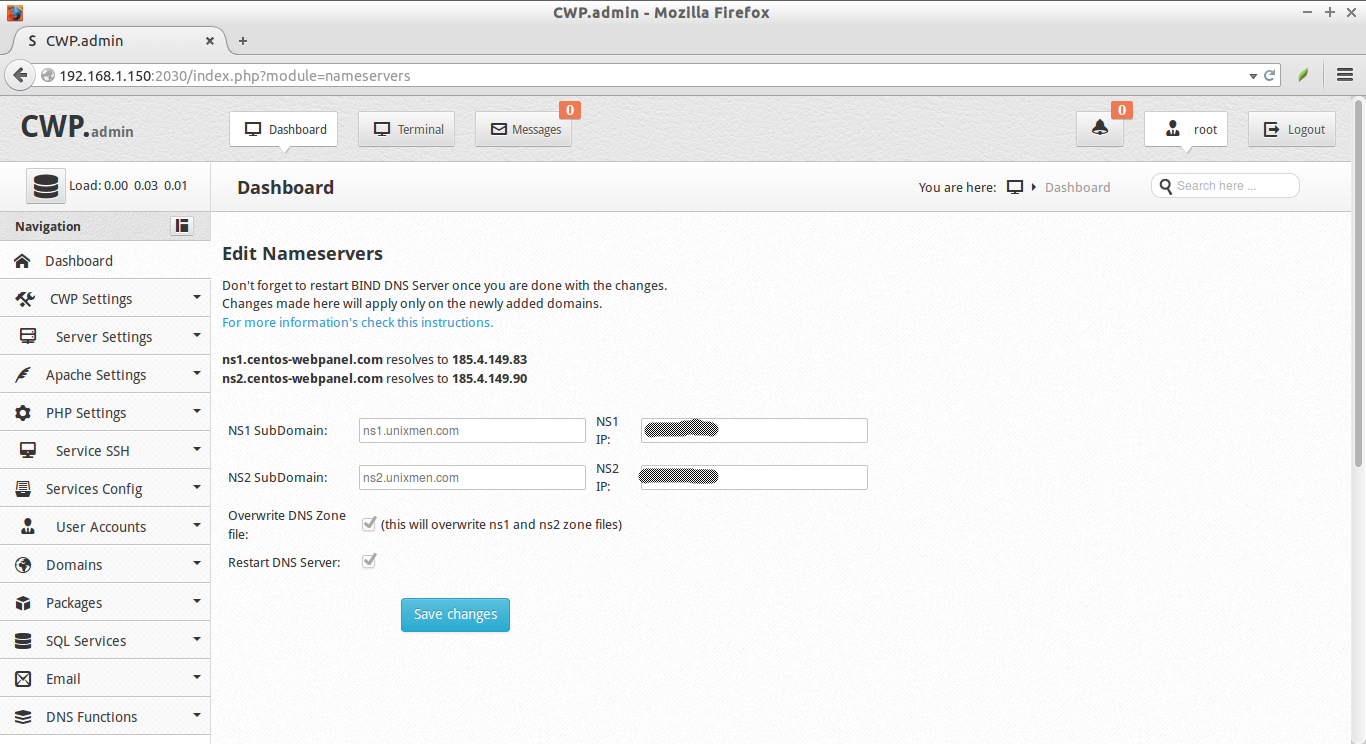
Setup nameservers:
To setup nameservers, go to DNS Functions -> Edit nameservers IPs.
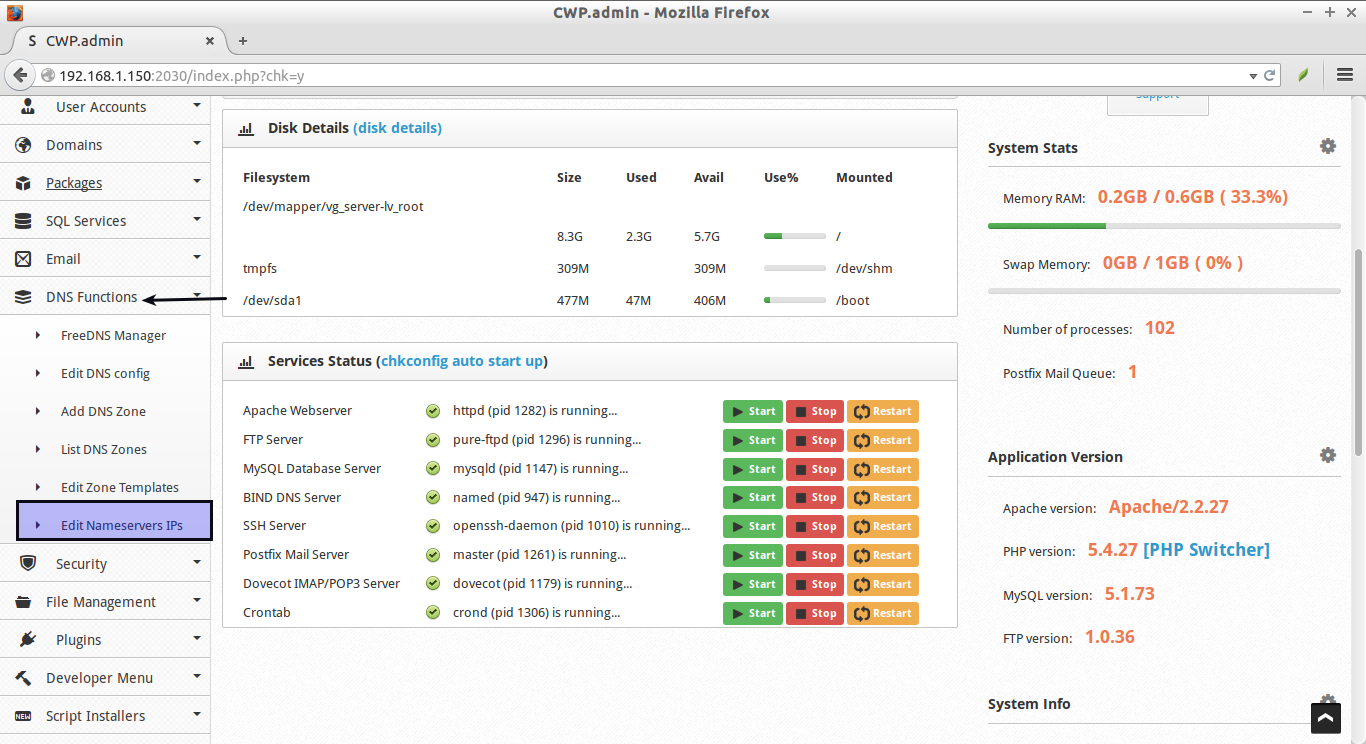
Set your nameservers and click Save changes button.
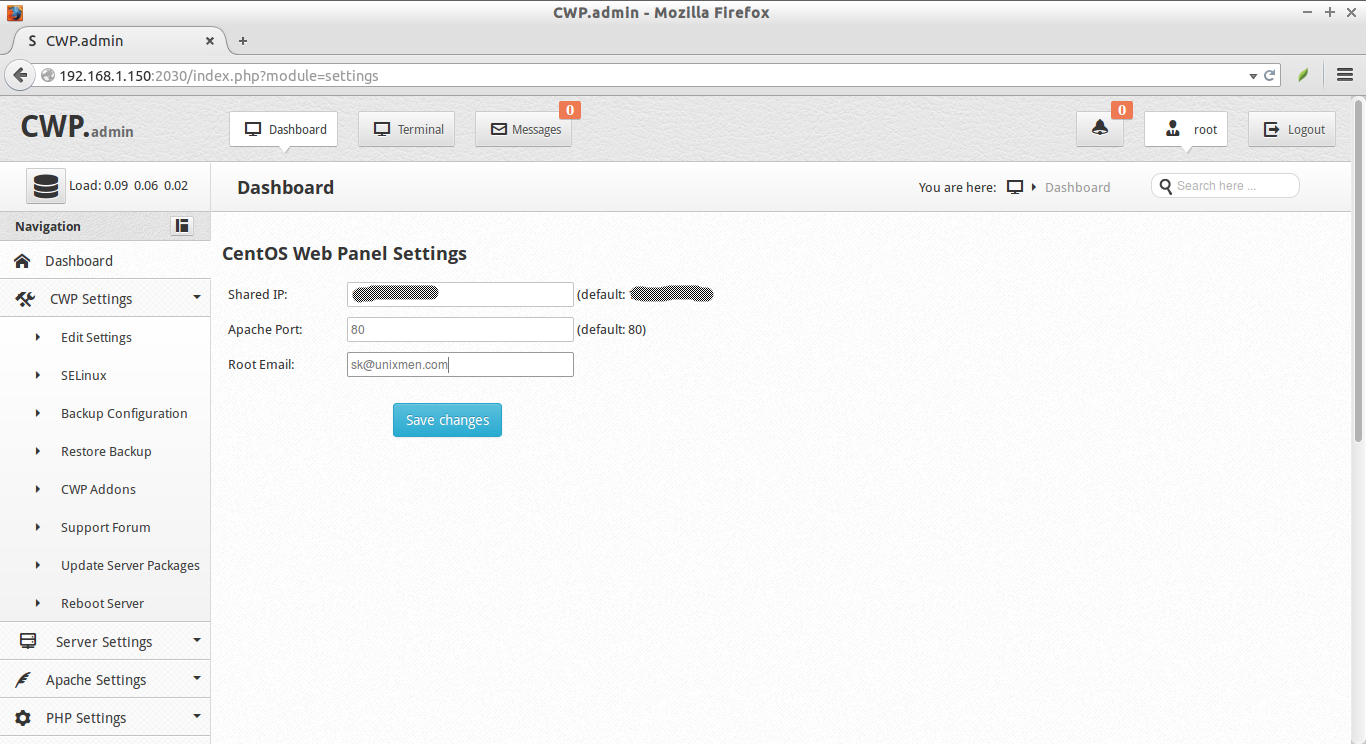
Setup Shared IP And Root mail ID:
This is important step to host websites on your host. To setup shared IP, go to CWP Settings -> Edit settings.
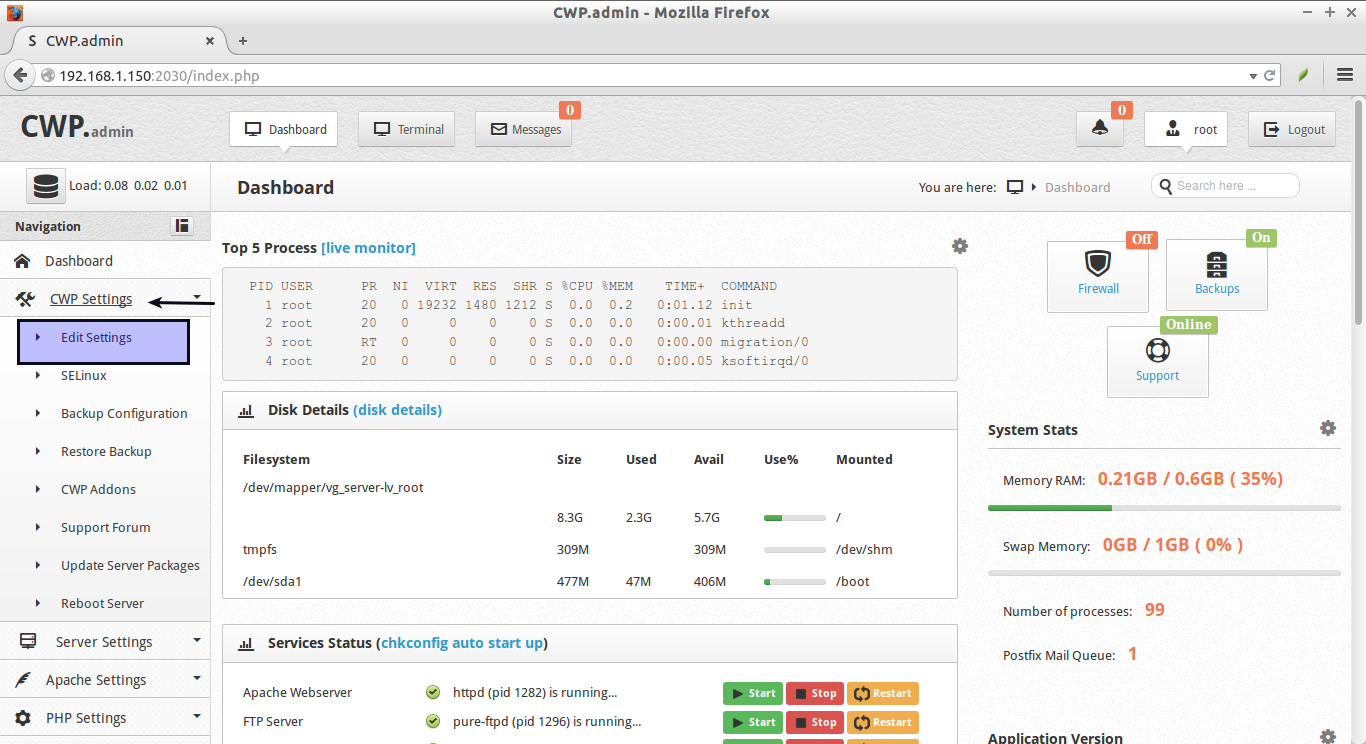
Enter your Static IP and Email ID, and Click Save settings button.
Now, CWP is ready to host websites.
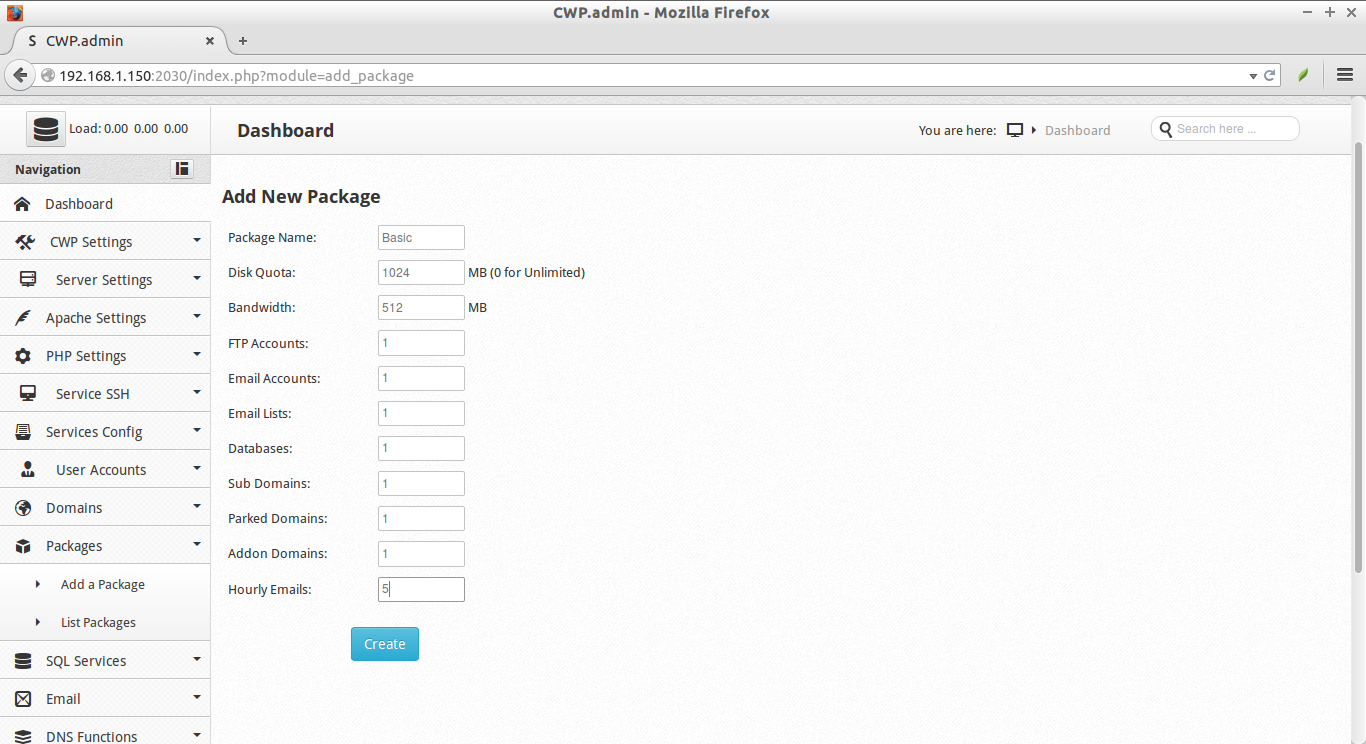
Setup hosting package:
A hosting package is nothing but a Web hosting plan that consists of allowed diskspace, bandwidth, no of FTP accounts, no of email ids, and no of databases etc. You can setup any number of web hosting plans as your wish.
To add a package, go to Packages – Add a Package from the CWP console.
Enter the name of the package, amount of Diskquota/RAM allowed, FTP/Email accounts, Databases, and subdomains etc. Click Save settings button to create the web hosting plan.
Now, CWP is ready to host your domains.
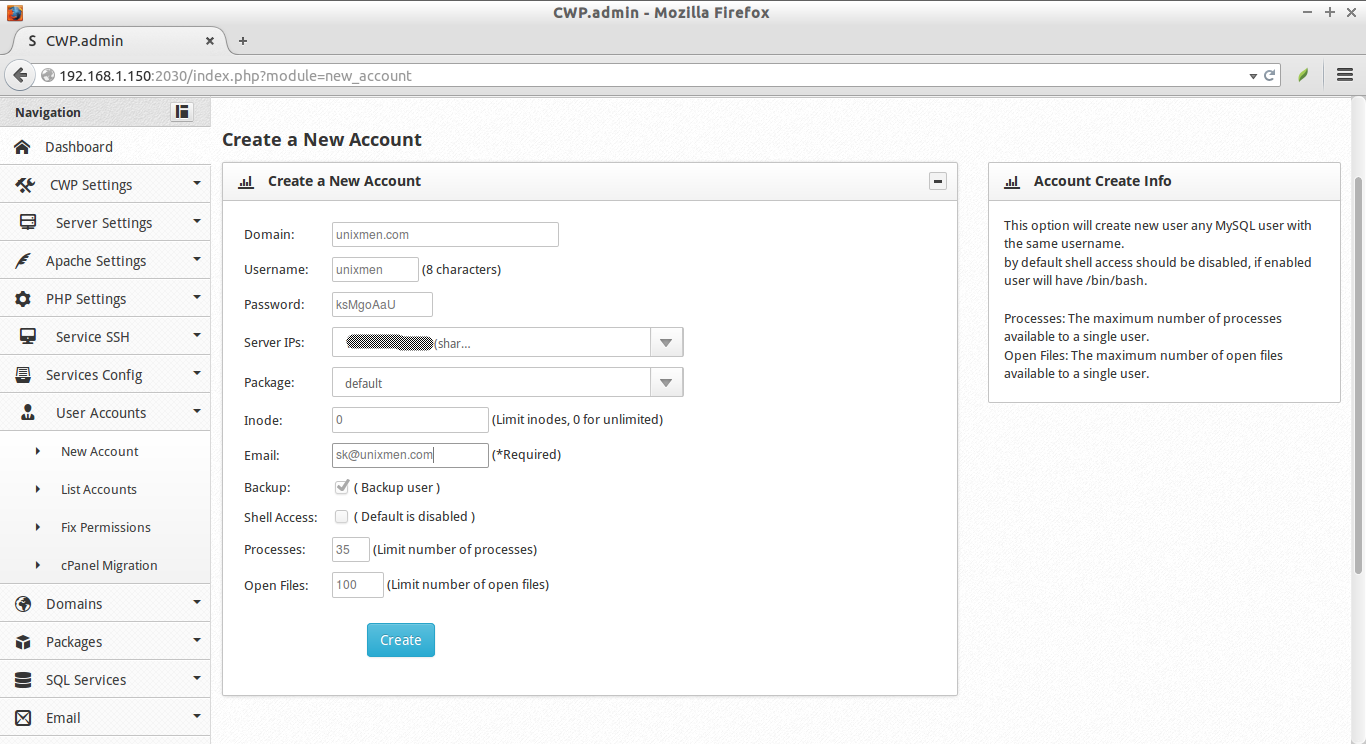
Adding Domains:
To create a new Domain, you to have at least one user account.
To add a user, go to User Accounts -> New Account.
Enter the domain(ex.unixmen.com), username, password and Email id etc. Finally, click Create.
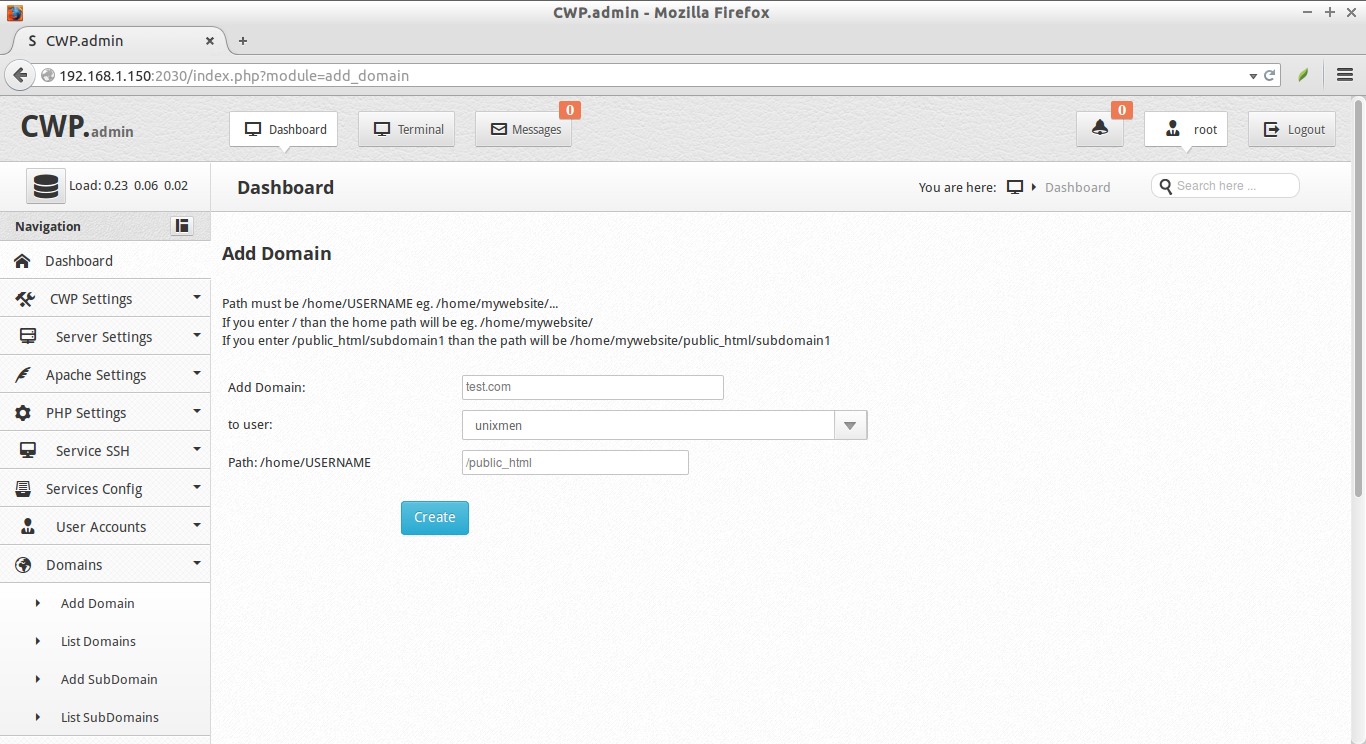
Now, let us add a new domain.
To add a domain, go to Domains -> Add Domain.
Enter the Domain and assign the domain the users of your choice.
Conclusion
In this tutorial, we have seen how to install and configure CentOS Web Panel to create a simple web hosting environment. CWP is very simple to install and use. Even a novice user can create a basic web hosting server in a couple of hours. Also, CWP is completely free to use and open source. Give it a try! You won’t be disappointed.
You can find the more details about CWP in the CentOS Web Panel Wiki page.
Cheers!


