
NGINX FFMPEG Camera recording and live streaming
We will install and configure FFMpeg on FreeBSD 10.1 x64 server and will learn how to convert video/audio files.
FFmpeg — this is set of libraries which, helps to write digital audio and video files and convert them to different formats. It includes libavcodec library for audio/video code/decode works and libavformat to mediacontainer for multiplexing/demultiplexing. Its name is based from MPEG and FF.
ffmpeg consists of the following components:
ffmpeg — CLI utilit for convertiong one video file to another. With the help of utilit you can also capture video in real time from TV-card.
ffserver — HTTP(RTSP is being used now) radio broadcasting and video streaming server.
ffplay — Simple media player based on SDL and FFmpeg libraries.
libavcodec — Library with all audio/video codecs. Most of codecs are prepared for the best productivity prepared from scratch.
libavformat — Multiplexer and demultipexer Library for different audio,video formats.
libavutil — Assistant library with standart sub programs for different components of ffmpeg. Adler-32, CRC, MD5, SHA1, LZO-decompressor, Base64 – coder/decoder, DES – crypter/decrypter, RC4 – crypter/decrypter and AES – crypter/decrypter is included.
libpostproc — It is a library of standart sub programs of video processing.
libswscale — It is library for scaling.
libavfilter — is the substitute for vhook which allows the video/audio to be modified or examined between the decoder and the encoder.
RTSP – Real Time Streaming Protocol streaming protocol, it was prepared in 1998 by IETF and was described in RFC 2326. Applied protocol, it was aimed to use controlling streaming information in multimedia worked systems. By RTSP you can use “Start” “Stop” commands and also entry by the time for files that are placed in server.
RTMP – Real Time Messaging Protocol it is a major protocol to send stream informations. Basically it is used for sending video and audio streams from web cameras over the internet.
# portsnap fetch extract update => Update ports
# cd /usr/ports/multimedia/ffmpeg => Go to the Ffmpeg port
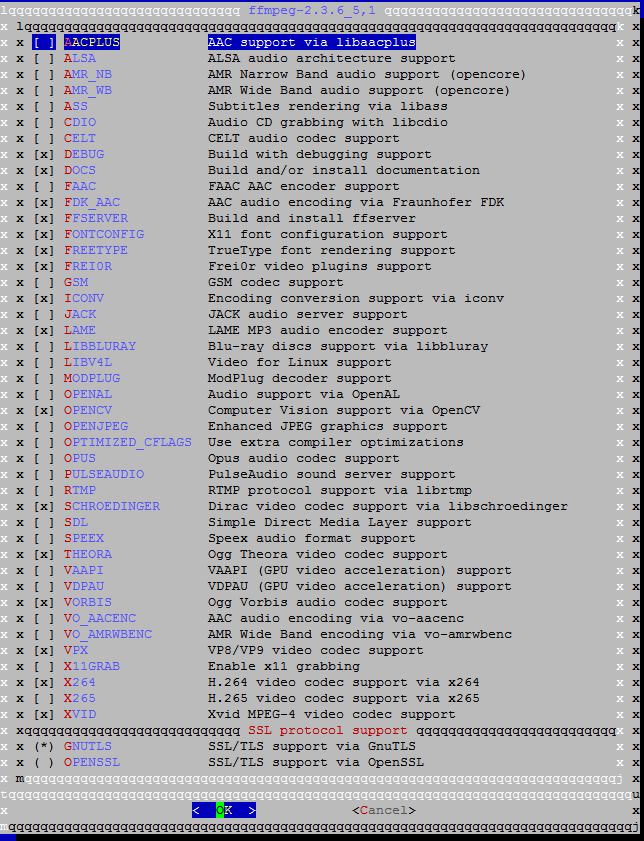
# make config => Chooshe modules
# make install clean –DBATCH => install from the ports
# rehash => Reupdate binary files
We can see the list of video and audio codecs are supported bye FFMPEG:
# ffmpeg –codecs
We can see the list of video and audio formats are supported bye FFMPEG:
# ffmpeg –formats
We can change a video format(for example .mp4) to another one(.avi) as follows:
# ffmpeg -i test.mp4 test.avi
Lets take the sound from the video in the format .mp3:
# ffmpeg -i test.avi -vn -ar 44100 -ac 2 -f mp3 test_ses.mp3
-i – the name of input file
-vn – stop the video recording
-ar – set the frequency audio copy
-ac – set the number of audio channel
-f – set the format of output file
Convert the .WAV file to .mp3 format
# ffmpeg -i test.wav -vn -ar 44100 -ac 2 -f mp3 test.mp3
Setting certain size and converting .avi format to .flv format
# ffmpeg -i test.avi -ab 56 -ar 44100 -b 200 -r 15 -s 320×240 -f flv test.flv
-r – It sets the number of frames of input/output files per second
-s – Set the screen size of output file
Saving live video stream from the IP camera by openRTSP and FFMpeg
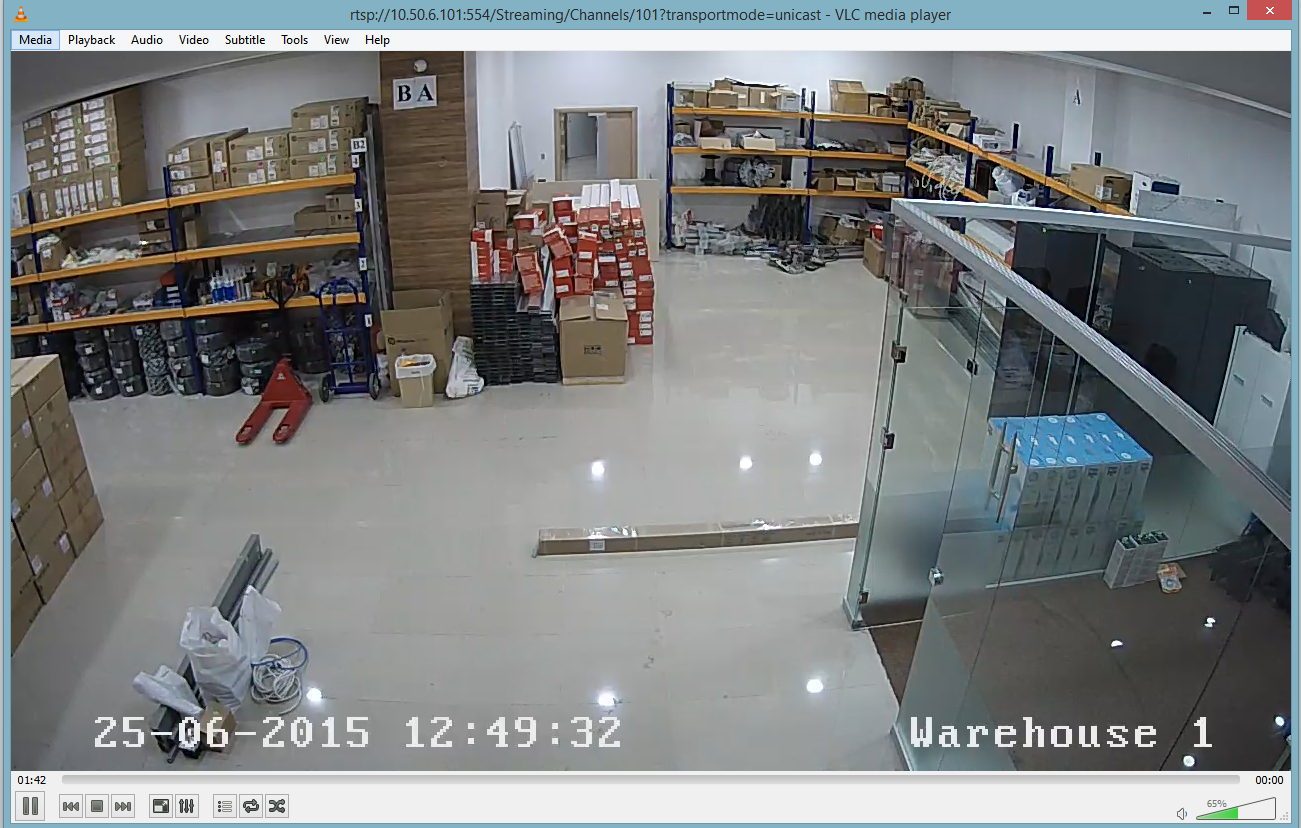
To watch the view of any IP cameras in VLC player by RTSP protocol we install the VLC player to our Windows desktop and look documentation of IP camera for using RTSP URL syntax. For example we watch the live stream by RTSP of HikVision camera from our network with IP:10.50.6.101, Login:admin and Password:12345. The documentation of HikVision said RTSP syntax must be as follows:
rtsp://admin:12345@10.50.6.101:554/Streaming/Channels/101?transportmode=unicast
Open the VLC meda player Media->Open Network Stream enter the URL and push the Play.
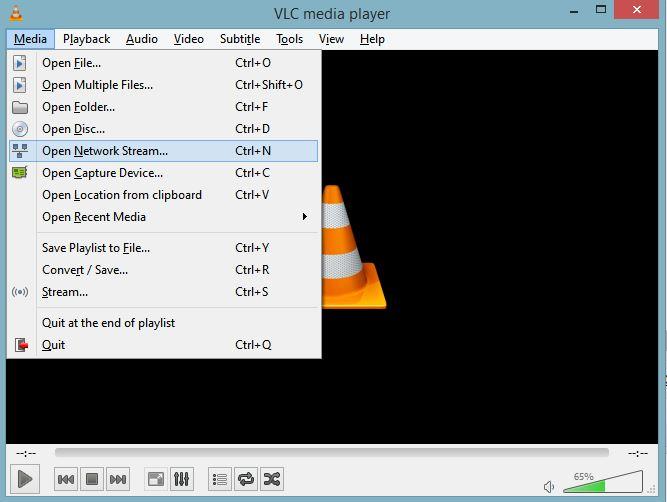

And after seing the result we can be sure that RTSP URL works.
Then come back to the FreeBSD server.
# cd /usr/ports/net/liveMedia => Go to the port folder
# make install clean => Install OpenRTSP(LiveMedia) from the ports
# rehash => Rehash the binaary files
Then write a minutes view with the format .avi from our camera to our server by the following command:
# openRTSP -v -t -d 60s “rtsp://admin:12345@10.50.6.101:554/Streaming/Channels/101?transportmode=unicast” | ffmpeg -i – -y -r 20 -b 1000k -vcodec h264 -f avi test.avi
openRTSP
-v – Play only video stream
-t – Play RTP/RSTP stream via TCP(by default is UDP)
-d – Set playbaack time
ffmpeg
-y – Write output file without asking
-vcodec – Set the video codec of output file
After finishing of recording we can download “test.avi” file from our server by the “winscp.exe” program and play this file in Windows player.
You can see the result of this example.

Sending live broadcast and video files from cameras to web server by FFserver
Send video file with voice to web server as flv format
FFserver is the component of FFMPEG distro and when installing FFmpeg this comes with working FFserver.
# cd /usr/local/etc/ => Go to the FFserver configuration folder
# ee ffserver.conf => Open the configuration file and change as follow
Port 8090 # Set listen port of FFserver
BindAddress 0.0.0.0 # Listen on all IPs
MaxHTTPConnections 2000 # Maximum number of HTTP connections
MaxClients 1000 # Maximum number of clients
MaxBandwidth 20480 # Maximum bandwidth per user (kbit/s)
CustomLog /var/log/ffserver.log # Path for log file
<Feed feed1.ffm> # Main translation for each source translation
File /tmp/feed1.ffm # Path for main translation
FileMaxSize 500M # The limit of main translation
</Feed> # Close the main translation
<Stream video.flv> # The latest broadcast which is published to users
Format flv # The format of the latest broadcast
Feed feed1.ffm # To ühich main broadcast belongs(define the source)
VideoCodec libx264 # Set the last video stream codec
VideoFrameRate 30 # Frame count per second of last video stream
VideoBitRate 800 # Set the bit rate of last video broadcast(kb/s)
VideoSize 720×576 # Set the screen size of last video broadcast
# The following “AVoption” variables directly communicated with
# libavformat, libavdevice and libavcodec libraries and they have 2 types
# Generic (can be used for each codec) and Private (Can only be used for
# specified codec).
AVOptionVideo crf 23
AVOptionVideo preset medium
AVOptionVideo me_range 16
AVOptionVideo qdiff 4
AVOptionVideo qmin 10
AVOptionVideo qmax 51
AVOptionVideo flags +global_header
AudioCodec aac # Set the voice codec
Strict -2 # It is used to force start experimental codecs
AudioBitRate 128 # Set the bit rate of voice codec(kb/s)
AudioChannels 2 # Set the amount of voice channels during the broadcast
AVOptionAudio flags +global_header
</Stream> # It is used to finish the broadcasting
<Stream index.html> # Set the index page
Format status # Give information about the broadcasting on index page
</Stream> # It is used to stop the broadcast
Add the daemon to startup and start it:
# echo ‘ffserver_enable=”YES”‘ >> /etc/rc.conf
# service ffserver start
To analyze the Ffserver logs you can look at the /var/log/ffserver.log file which we have already configured:
root@live:~ # tail -f /var/log/ffserver.log
Mon Jun 29 15:22:39 2015 FFserver started.
And now lets send a video file to FFServer
# ffmpeg -i /root/test.video/team.mp4 http://localhost:8090/feed1.ffm
Then if we have suitable codec we can open in WEB browser or we can write http://ffserver.ip.add.ress:8090/video.flv link in our VLC player and watch it.
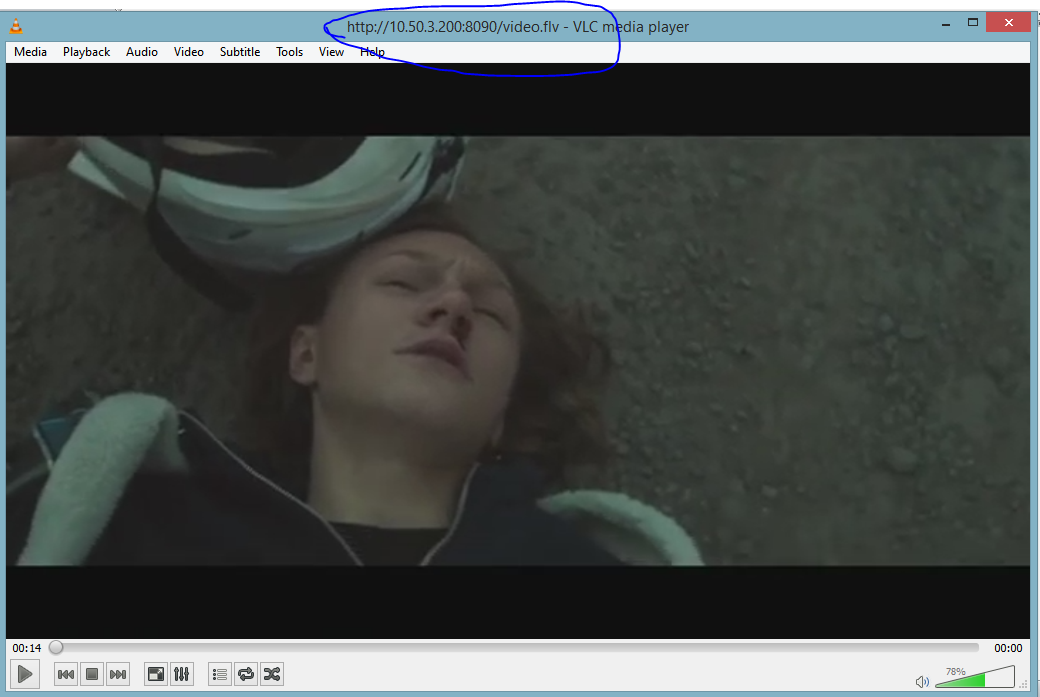
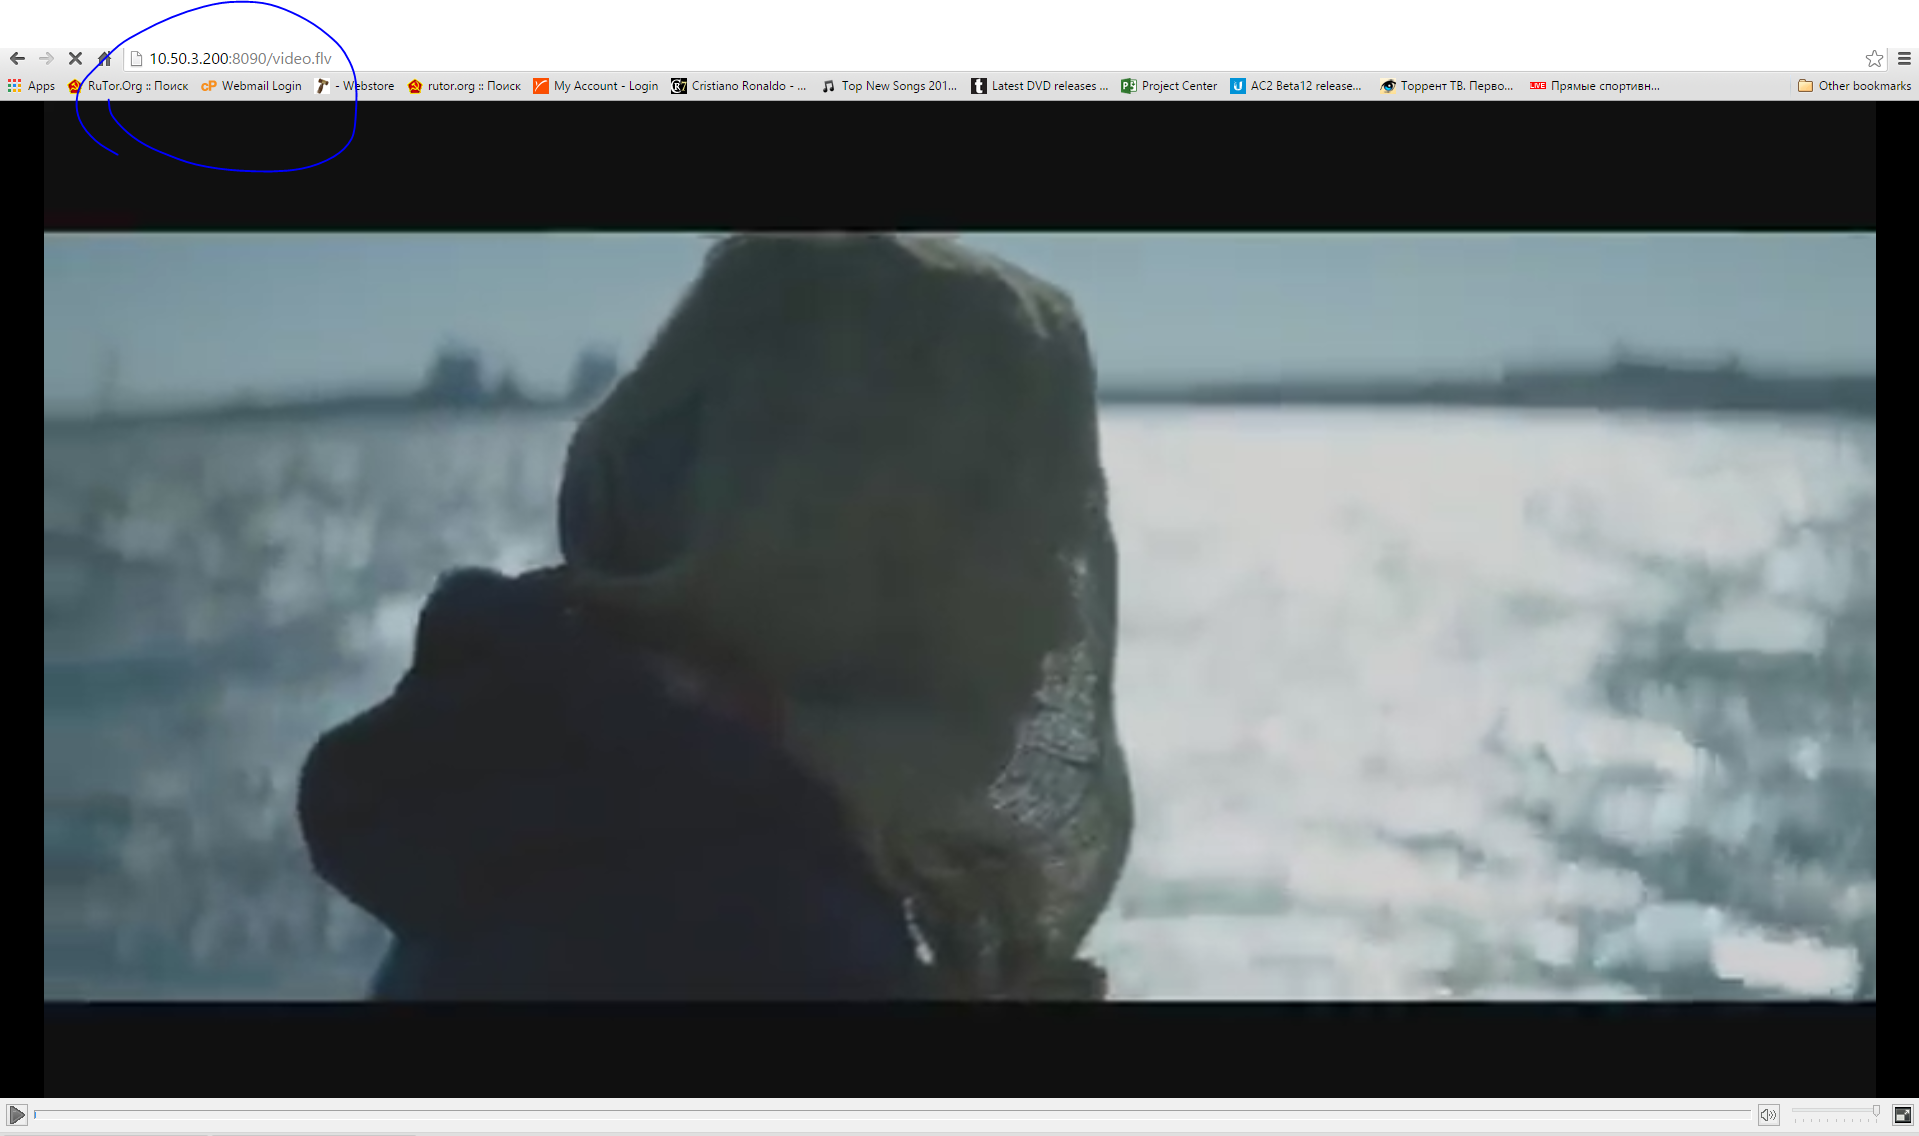
So, everything is working. Added lines to our ffserver.conf configuration file create index page for broadcasting.
<Stream index.html>
Format status
</Stream>
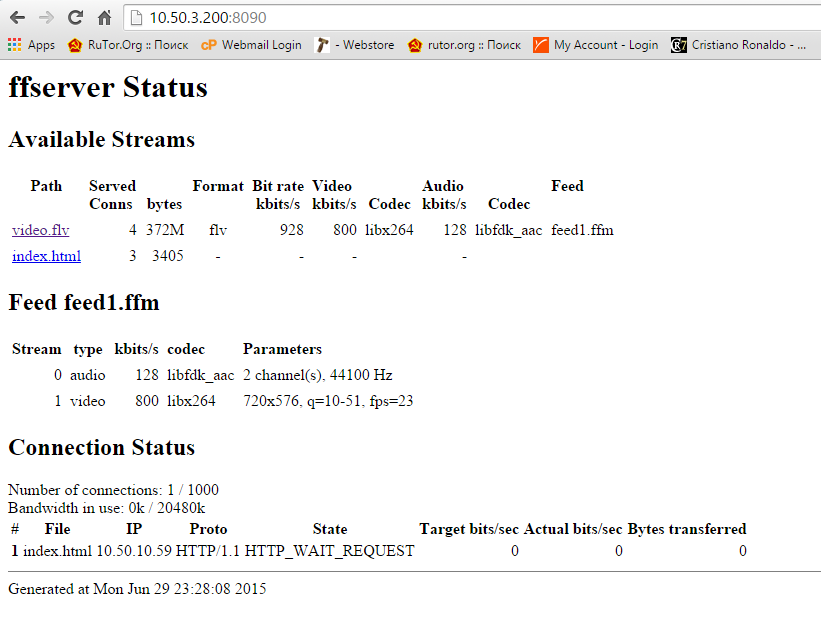
If you will open web page as http://ffserver.ip.add.ress:8090/ , you can see the following page.
And now lets send camera broadcast to ffserver server. Create the second “Feed” and send the video and the camera broadcast to our server.
For it add the following lines to the same configuration file. The old configurations will remain the same.
# ee /usr/local/etc/ffserver.conf => Enter the configuration file and add the following red lines
Port 8090
BindAddress 0.0.0.0
MaxHTTPConnections 2000
MaxClients 1000
MaxBandwidth 20480
CustomLog /var/log/ffserver.log
<Feed feed1.ffm>
File /tmp/feed1.ffm
FileMaxSize 500M
</Feed>
<Stream video.flv>
Format flv
Feed feed1.ffm
VideoCodec libx264
VideoFrameRate 30
VideoBitRate 800
VideoSize 720×576
AVOptionVideo crf 23
AVOptionVideo preset medium
AVOptionVideo me_range 16
AVOptionVideo qdiff 4
AVOptionVideo qmin 10
AVOptionVideo qmax 51
AVOptionVideo flags +global_header
AudioCodec aac
Strict -2
AudioBitRate 128
AudioChannels 2
AudioSampleRate 44100
AVOptionAudio flags +global_header
</Stream>
# Create the second main broadcast
<Feed feed2.ffm>
File /tmp/feed2.ffm
FileMaxSize 500M
</Feed>
# Create new broadcast and define it to the second main broadcast
<Stream camera.flv>
Format flv
Feed feed2.ffm
VideoCodec libx264
VideoFrameRate 25
VideoBitRate 800
VideoSize 1280×720
AVOptionVideo crf 23
AVOptionVideo preset medium
AVOptionVideo me_range 16
AVOptionVideo qdiff 4
AVOptionVideo qmin 10
AVOptionVideo qmax 51
AVOptionVideo flags +global_header
NoAudio
</Stream>
<Stream index.html>
Format status
</Stream>
# service ffserver restart => restart Ffserver again
Then to send video file to our machine enter the following command:
# ffmpeg -i /root/test.video/team.mp4 http://localhost:8090/feed1.ffm -loglevel debug
And the same time to send the camera broadcast add the following command:
# ffmpeg -i “rtsp://admin:12345@10.50.6.101:554/Streaming/Channels/101?transportmode=unicast” http://localhost:8090/feed2.ffm -loglevel debug
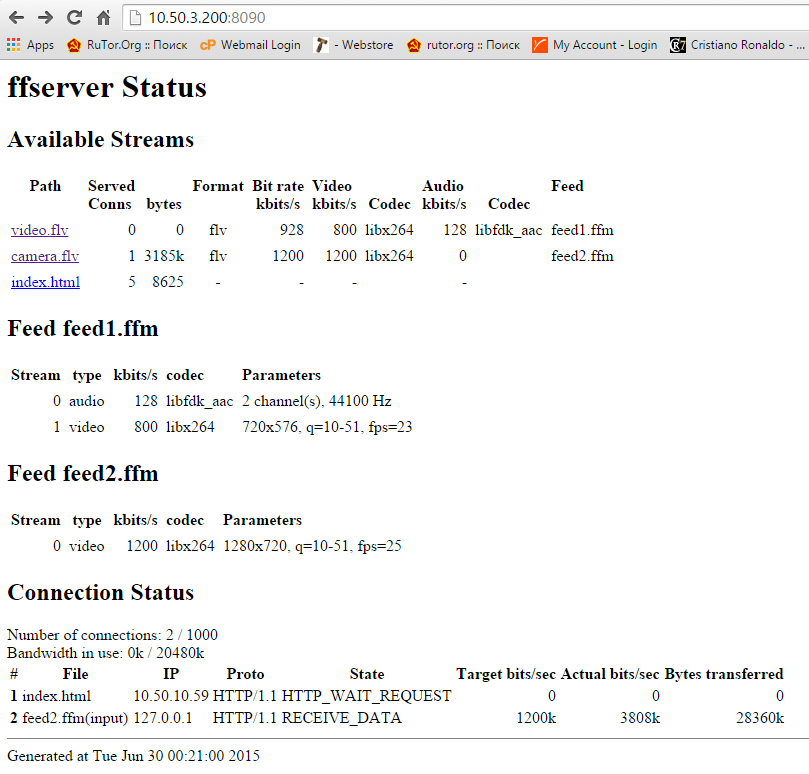
Go to the WEB browser and see the status page
If we enter again the video.flv vodeo broadcast we can see the video with voice. We can get this entering to VLC player too. We noted about it in our previous example.
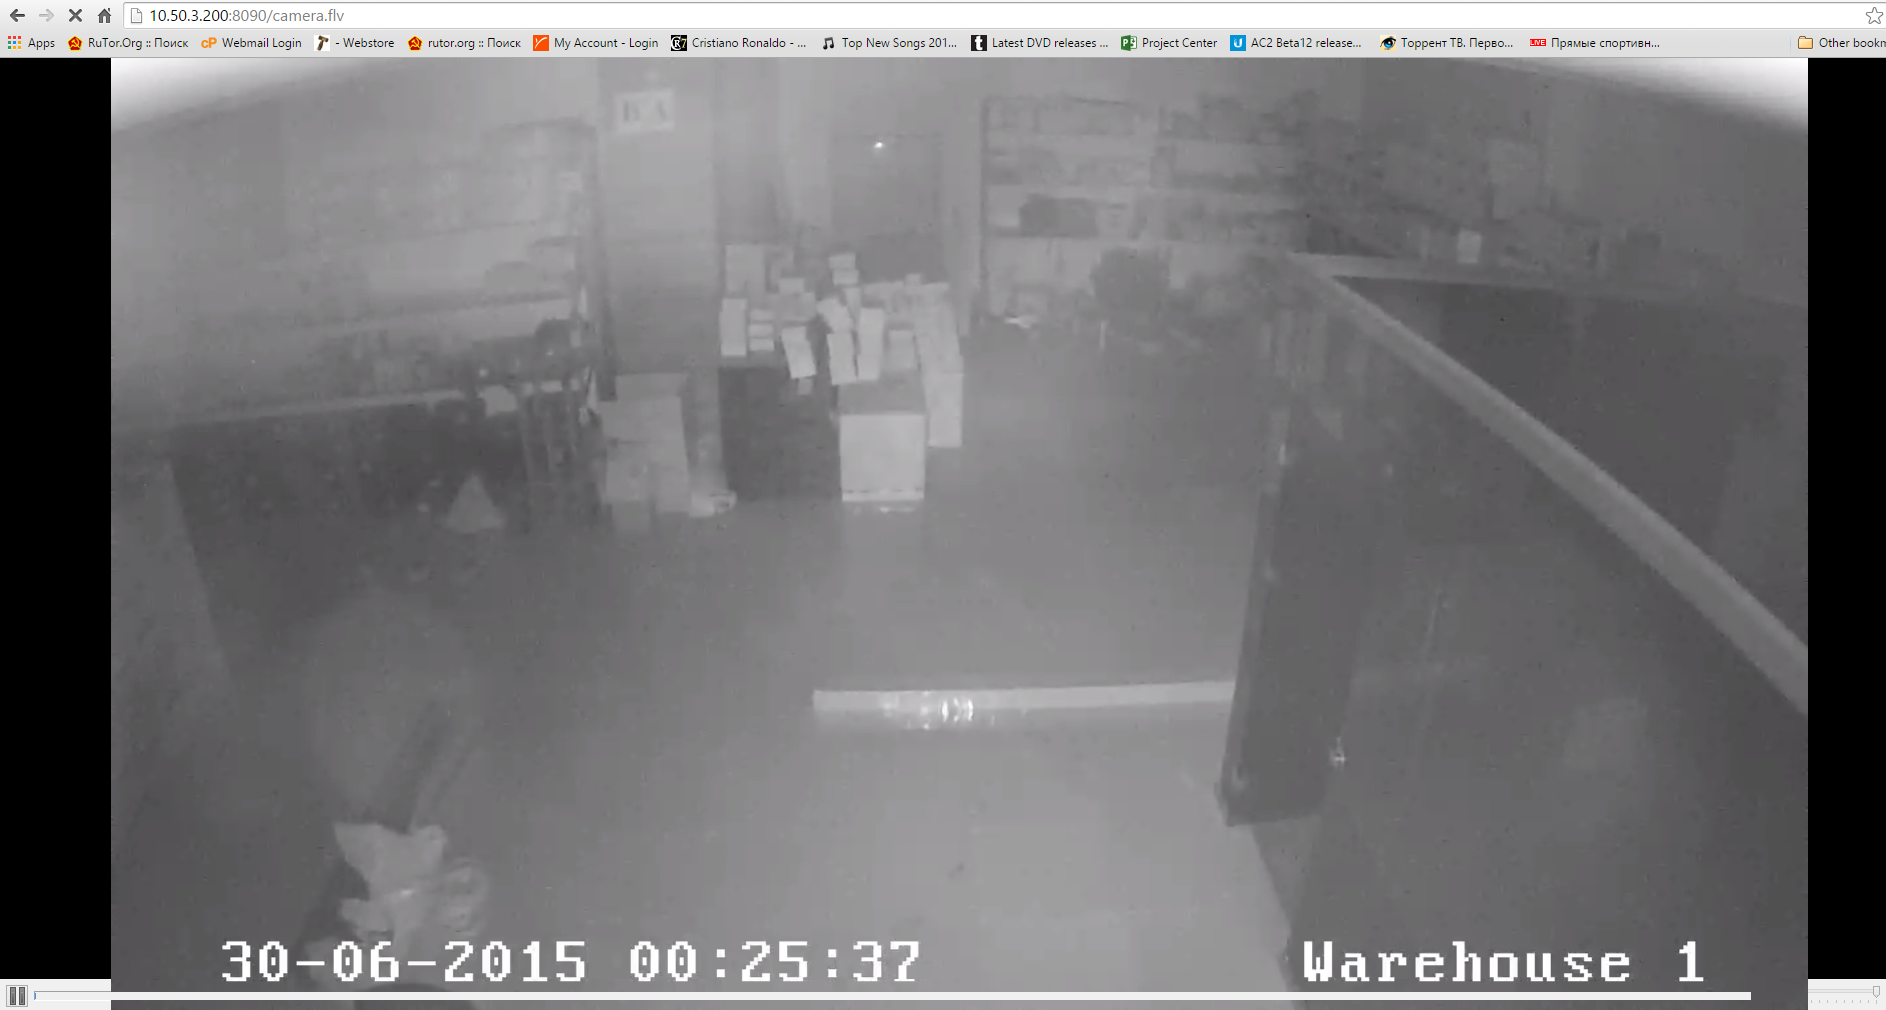
If we go to the Camera.flv we can see the live broadcasting. If your web browsers supports FLV codec you will get the following result.
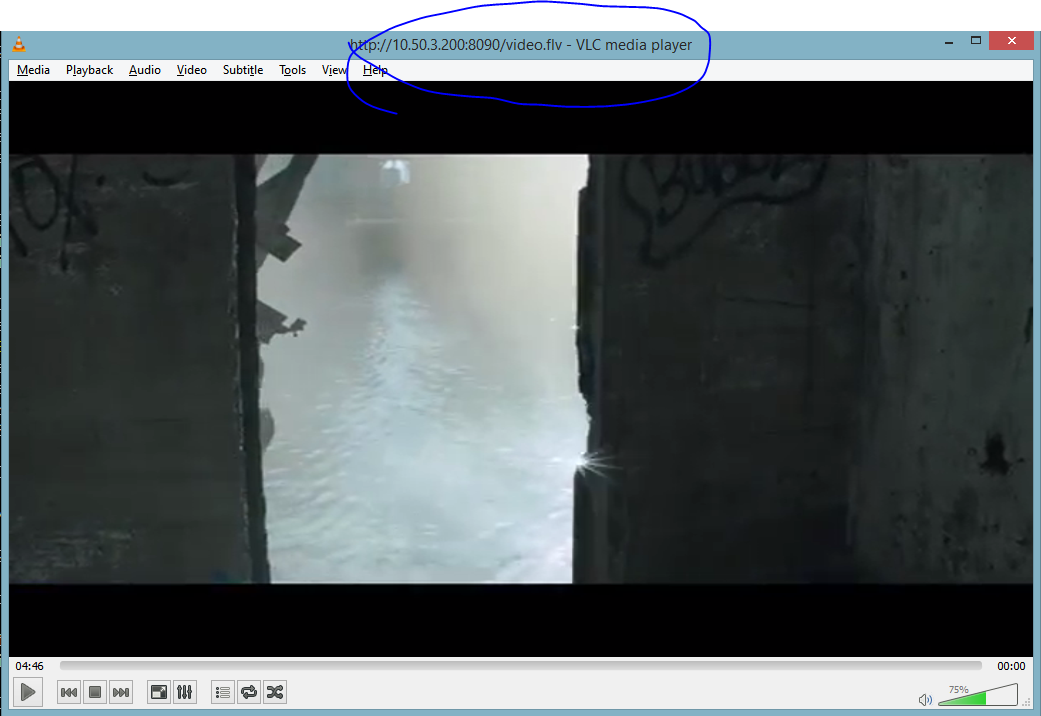
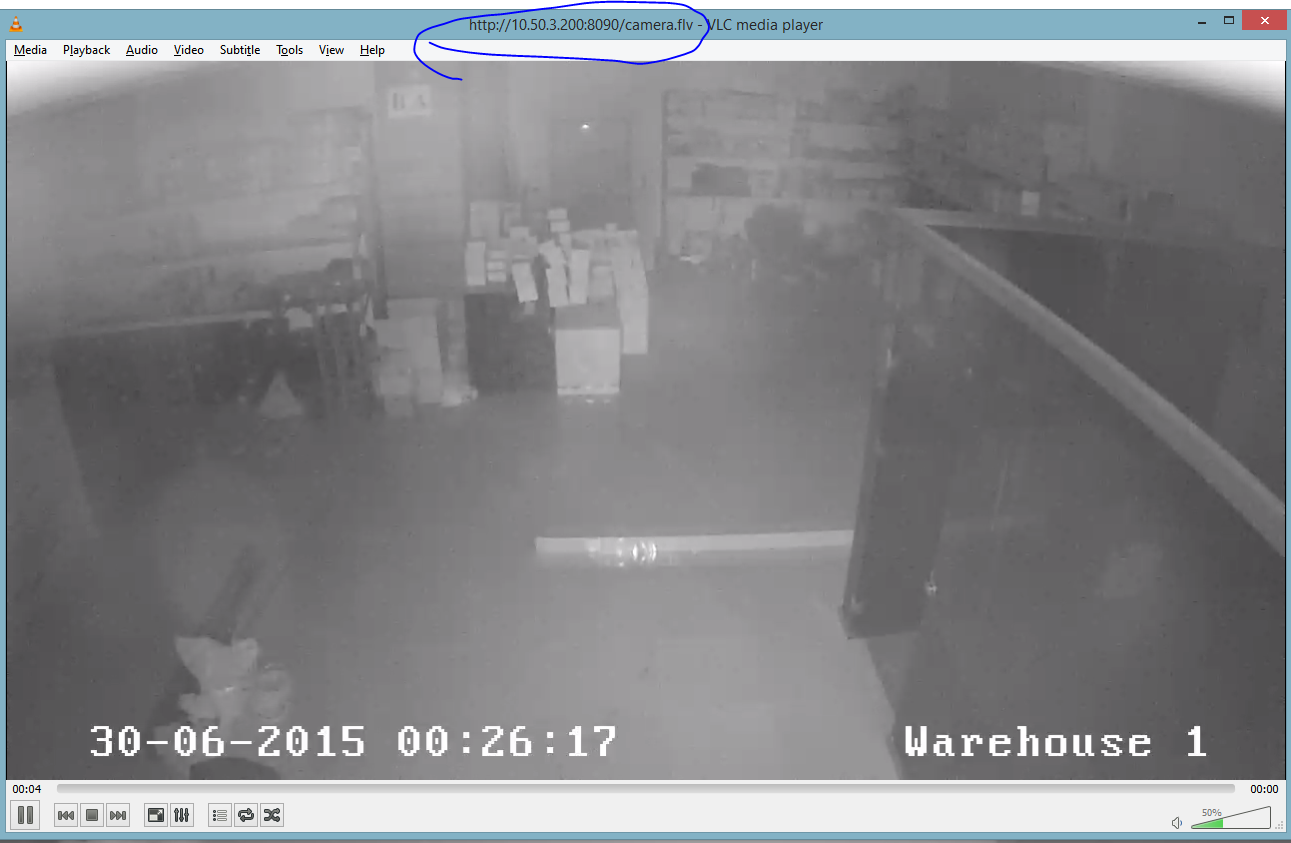
But in VLC player you will get the following result.
If you want to download camera broadcast automatically to your FFserver after starting, we do changes the following red changes in our /usr/local/etc/ffserver.conf configuration file:
Port 8090
BindAddress 0.0.0.0
MaxHTTPConnections 2000
MaxClients 1000
MaxBandwidth 20480
CustomLog /var/log/ffserver.log
<Feed feed1.ffm>
File /tmp/feed1.ffm
FileMaxSize 500M
</Feed>
<Stream video.flv>
Format flv
Feed feed1.ffm
VideoCodec libx264
VideoFrameRate 30
VideoBitRate 800
VideoSize 720×576
AVOptionVideo crf 23
AVOptionVideo preset medium
AVOptionVideo me_range 16
AVOptionVideo qdiff 4
AVOptionVideo qmin 10
AVOptionVideo qmax 51
AVOptionVideo flags +global_header
AudioCodec aac
Strict -2
AudioBitRate 128
AudioChannels 2
AudioSampleRate 44100
AVOptionAudio flags +global_header
</Stream>
<Feed feed2.ffm>
File /tmp/feed2.ffm
FileMaxSize 500M
# When FFserver will start it will execute the following command automatically and get source for “feed2” main broadcast from RTSP broadcast
Launch ffmpeg –i “rtsp://admin:12345@10.50.6.101:554/Streaming/Channels/101?transportmode=unicast”
</Feed>
<Stream camera.flv>
Format flv
Feed feed2.ffm
VideoCodec libx264
VideoFrameRate 25
VideoBitRate 800
VideoSize 1280×720
AVOptionVideo crf 23
AVOptionVideo preset medium
AVOptionVideo me_range 16
AVOptionVideo qdiff 4
AVOptionVideo qmin 10
AVOptionVideo qmax 51
AVOptionVideo flags +global_header
NoAudio
</Stream>
<Stream index.html>
Format status
</Stream>
# service ffserver restart => Restart Ffserver again
In the log file you will see the ffserver executing command:
# tail –f /var/log/ffserver.log
Tue Jun 30 00:31:02 2015 FFserver started.
Tue Jun 30 00:31:02 2015 Launch command line: /usr/local/bin/ffmpeg –i rtsp://admin:12345@10.50.6.101:554/Streaming/Channels/101?transportmode=unicast http://127.0.0.1:8090 feed2.ffm
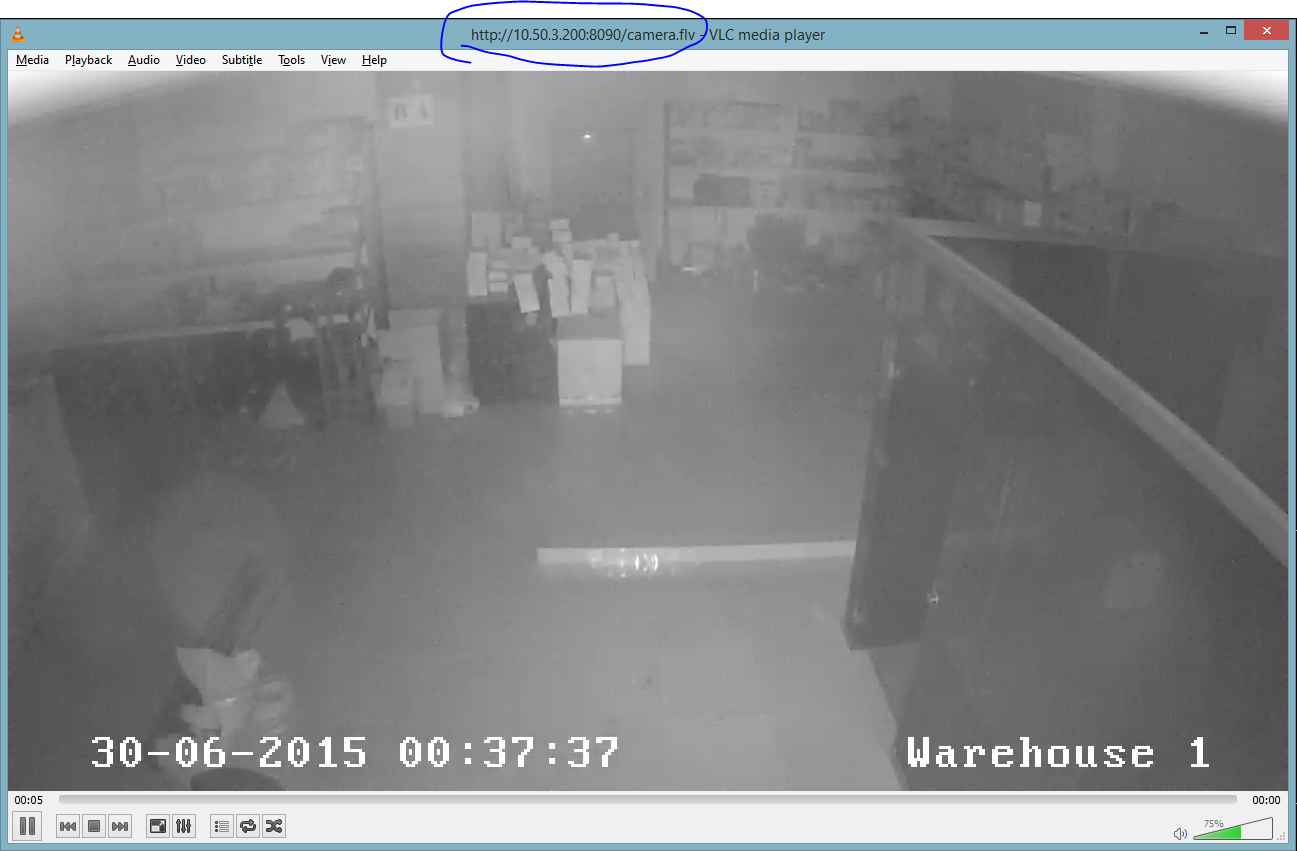
If we again enter http://ffserver.ip.add.ress:8090/camera.flv broadcast we will see the everything is working.
On nGinx web server by RTMP protocol and Ffmpeg to watch 2 camera’s broadcast by JWPlayer web player, recording broadcast and watch recorded files.
# cd /usr/ports/www/nginx => Go to the port
# make config => Choose modules below, except standarts
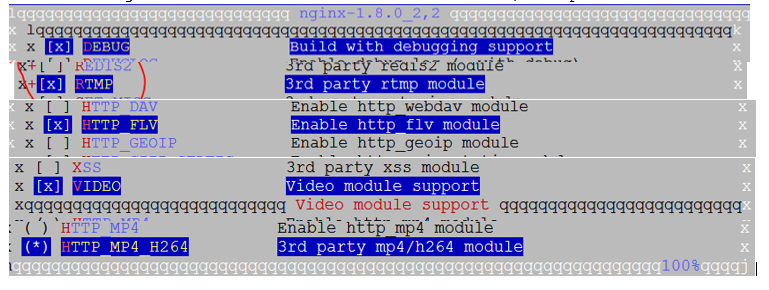
# make install clean –DBATCH => install (veersion 1.8.0_2,2)
# rehash => Update binary path’s
# cd /usr/local/etc/nginx/ => Go to the nGinx configuration folder
# ee nginx.conf => Open default nginx configuration file and add the red marked lines
#user nobody;
worker_processes 1;
#error_log logs/error.log;
#error_log logs/error.log notice;
#error_log logs/error.log info;
# Set the path of error log file
error_log /var/log/nginx/nginx-error.log debug;
#pid logs/nginx.pid;
events {
worker_connections 1024;
}
http {
include mime.types;
default_type application/octet-stream;
#log_format main ‘$remote_addr – $remote_user [$time_local] “$request” ‘
# ‘$status $body_bytes_sent “$http_referer” ‘
# ‘”$http_user_agent” “$http_x_forwarded_for”‘;
#access_log logs/access.log main;
sendfile on;
#tcp_nopush on;
#keepalive_timeout 0;
keepalive_timeout 65;
#gzip on;
# Include the virtual host configuration path’s
include sites-enabled/*;
include sites-available/*;
server {
listen 80;
server_name localhost;
#charset koi8-r;
#access_log logs/host.access.log main;
location / {
root /usr/local/www/nginx;
index index.html index.htm;
}
#error_page 404 /404.html;
# redirect server error pages to the static page /50x.html
error_page 500 502 503 504 /50x.html;
location = /50x.html {
root /usr/local/www/nginx-dist;
}
}
}
# Add the configuration for RTMP protocol
rtmp {
# Set the full path for access logs
access_log /var/log/nginx/rtmp_access.log;
server {
listen 1935; # Set the listen port
application live {
live on; # Turn on ‘Live’ mode
# When nGinx will start it will create “live” streaming for “camera1”
# and “camera2” 2 different channel with exec_static command
exec_static /usr/local/bin/ffmpeg -i rtsp://10.41.10.25:554/ -c copy -f flv rtmp://localhost/live/camera1;
exec_static /usr/local/bin/ffmpeg -i rtsp://10.41.10.4:554/ -c copy -f flv rtmp://localhost/live/camera2;
record all; # Recording videos
record_path /var/videos; # recorded video path
record_suffix _%d-%b-%y-%T.flv; # timestamp for recorded # .flv video files
record_interval 60m; # record file interval is 60 minutes
}
}
}
# mkdir /var/log/nginx/ => Create folder for log file
# mkdir /usr/local/etc/nginx/sites-enabled => Create folder
# mkdir /usr/local/etc/nginx/sites-available => Create folder
# mkdir /var/videos => Create folder to save videos
# chown www:www /var/videos/ => Add access for web server for recording
# nginx –t => check the configuration file
If output will be as follows then everything is OK:

# cd /usr/local/etc/nginx/sites-enabled/ => Go to the folder
# ee camera1.conf => Create configuration file for “camera1.lan” virtual host and add the following lines
server {
listen 80;
server_name camera1.lan; # Set the virtualhost name
# Set the PUBLIC_HTML folder and index extension
location / {
root /usr/local/www/camera1.lan;
index index.php index.html index.htm;
}
}
# mkdir /usr/local/www/camera1.lan => Create the folder for camera1.lan virtual host
# cd /usr/local/www/camera1.lan => Go to the folder
Download JWPLAYER from http://www.adrive.com/public/pN4j4w/jwplayer.zip link to our FreeBSD server to folder /usr/local/www/camera1.lan.
# ee index.html => Create index file and edit as follows
# Enter JWPLAYER to index page
<script type=”text/javascript” src=”jwplayer.js“></script>
<div id=”jwplayer.flash.swf“>Loading the player …</div>
<script type=”text/javascript”>
jwplayer(‘jwplayer.flash.swf’).setup({
# Set the file that will be read for Jwplayer. Here will be camera1 Live
# broadcast which, we did this in nginx global configuration file with
# exec_static command. It will be RTSP broadcast for 10.41.10.25 camera
# You can see this in nginx global configuration file
# In line below write the web server IP address
file: ‘rtmp://10.50.3.200/live/camera1’,
# Set the size for JWplayer
width: ‘1280‘,
height: ‘720‘,
aspectratio: ’16:9’
});
</script>
# cd /usr/local/etc/nginx/sites-enabled/ => Go to the folder
# cp camera1.conf camera2.conf => Copy camera1.conf virtualhost configuration file to “camera2.lan” virtualhost file
# ee camera2.conf => Change red marked lines
server {
listen 80;
server_name camera2.lan; # Set the name of VirtualHost
# Show the address where all files of virtualhost are settled and set
# the index files
location / {
root /usr/local/www/camera2.lan;
index index.php index.html index.htm;
}
}
# cd /usr/local/www/ => Go to the folder
# cp -r camera1.lan/ camera2.lan/ => Copy camera1.lan full folder to the camera2.lan folder
# cd camera2.lan/ => Go to the copied folder
# ee index.html => Open the index page and change the red lines
# Enter JWPLAYER to index page
<script type=”text/javascript” src=”jwplayer.js“></script>
<div id=”jwplayer.flash.swf“>Loading the player …</div>
<script type=”text/javascript”>
jwplayer(‘jwplayer.flash.swf’).setup({
# Set the file that will be read for Jwplayer. Here will be camera2 Live
# broadcast which, we did this in nginx global configuration file with
# exec_static command. It will be RTSP broadcast for 10.41.10.4 camera
# You can see this in nginx global configuration file
# In line below write the web server IP address
file: ‘rtmp://10.50.3.200/live/camera2’,
# Change size for Jwplayer index page
width: ‘1280‘,
height: ‘720‘,
aspectratio: ’16:9’
});
</script>
# cd /usr/local/etc/nginx/sites-enabled/ => Go to the folder
# cp camera1.conf play.conf => To see old recorded files we create “play.lan” virtualhost. For that we copy camera1.conf file to play.conf file
# ee play.conf => Change red marked lines
server {
listen 80;
server_name play.lan; # Set the VirtualHost name
# Show the address where all files of virtualhost are settled and
# delete index files and set the differen folder for auto indexing
location / {
root /var/videos;
autoindex on;
#index index.php index.html index.htm;
}
}
Add nGinx daemon to StartUP and start
# echo ‘nginx_enable=”YES”‘ >> /etc/rc.conf
# service nginx start
Open the log file on different page:
# tail -f /var/log/nginx/nginx-error.log
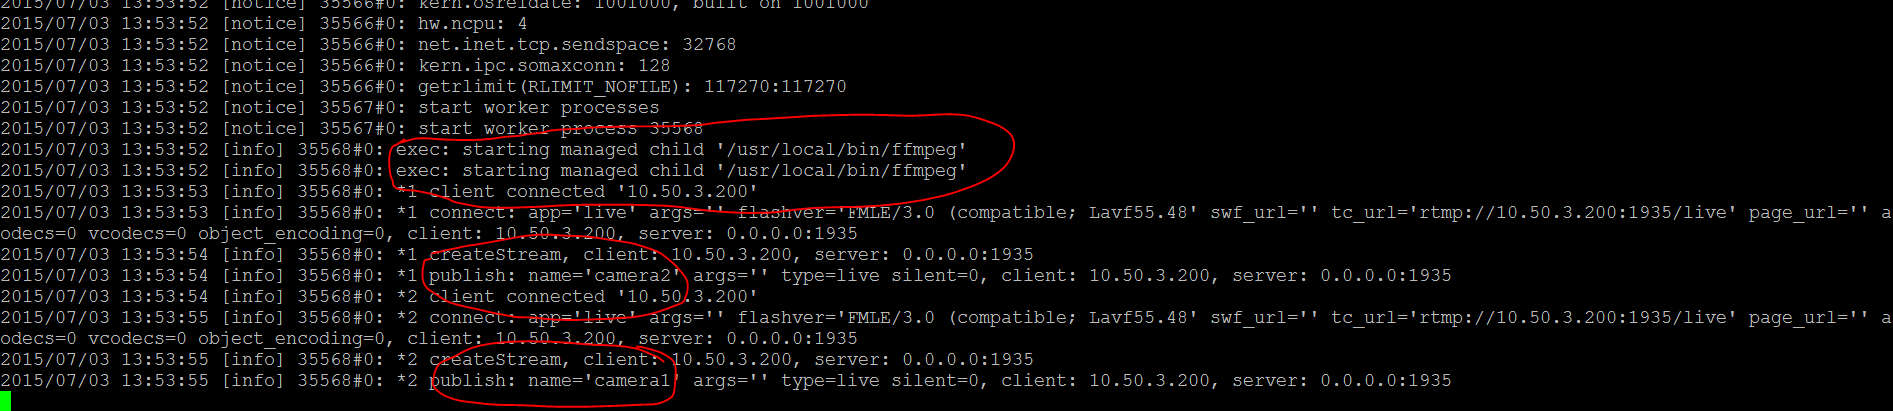
We can see starting “Exec” commands and creating 2 broadcasts(camera1 and camera2) automatically.
To watch the broadcasts first add the following lines to C:\Windows\System32\drivers\etc\hosts wile in our Windows machine:
10.50.3.200 camera1.lan
10.50.3.200 camera2.lan
10.50.3.200 play.lan
After saving changes open the web browser and push PLAY in JWplayer.
http://camera1.lan/
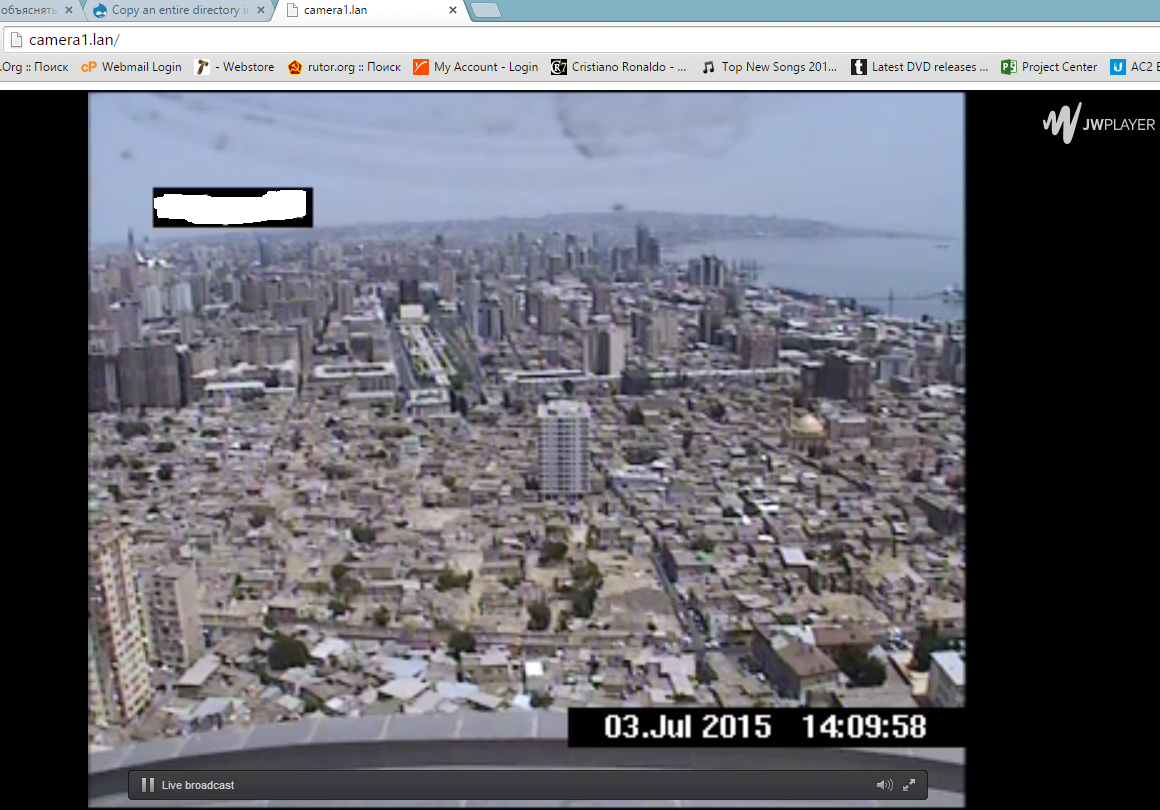
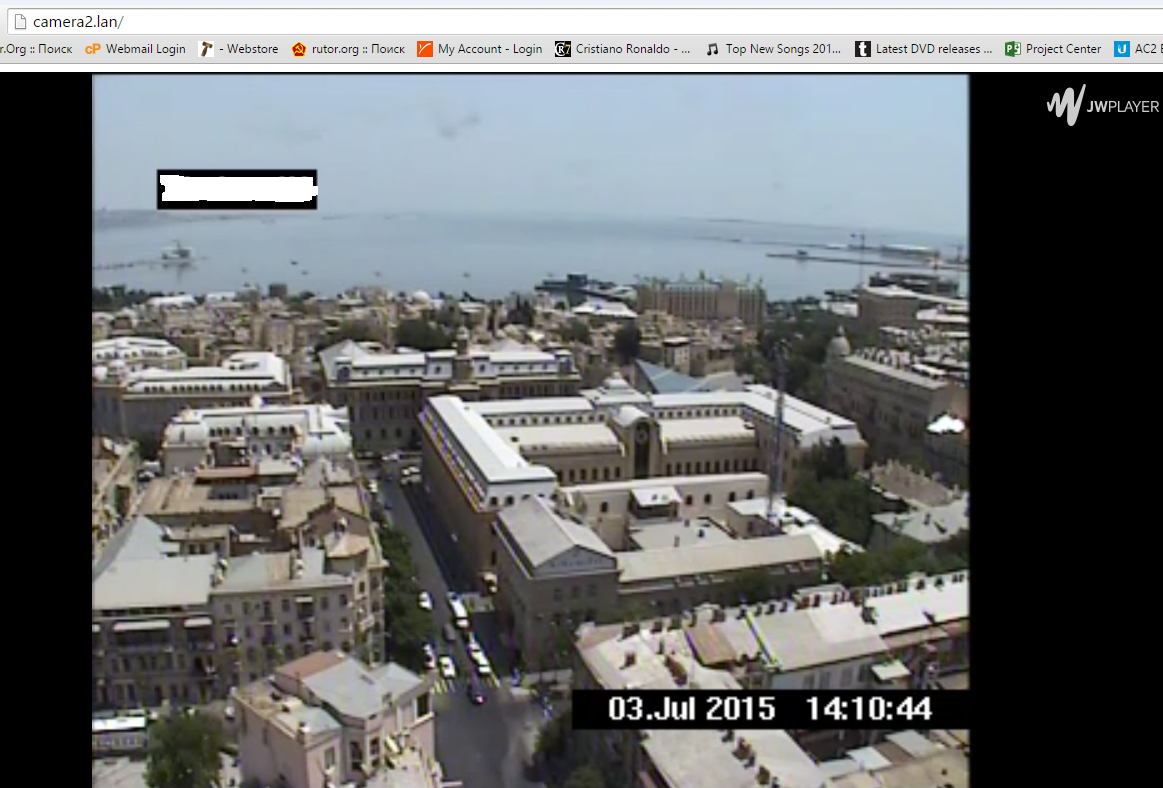
As you see we can see different live stream on different virtual names.
And now let’s see old recorded files of our camera broadcast
Open http://play.lan/ page in web browser. You will see the page as follows and there will be recroded .flv files for one hour.
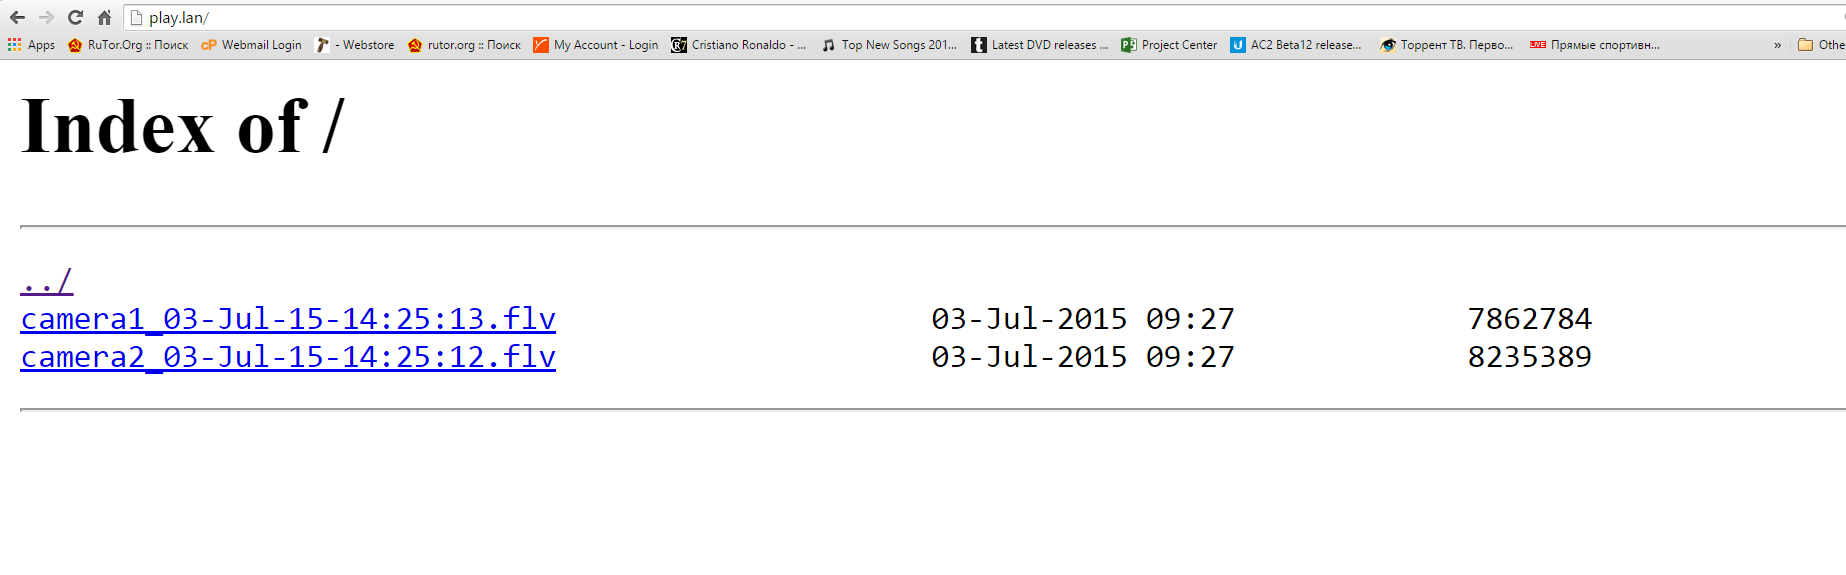
If we click one of them and if you web browser supports video codecs the page will be opened. If doesn’t the video file will be downloaded to your machine.
As you see everything is working


