Introduction
ejabberd is a free, Open Source Jabber/XMPP instant messaging server, written in Erlang/OTP. Using eJabberd, we can easily setup an instant messaging server in minutes.
Features
- Multi-platform – Runs under Linux, Mac OS X, BSD, and Windows;
- Can run on multiple systems, and all machines will run the same Jabber domain(s);
- Fault-tolerant;
- There is no need of expensive hardwares;
- There is no need of external database or web server. ejabberd has a built-in database and web server;
- supports all XMPP Core 1.0 and XMPP IM 1.0;
- Encryption of Server and Client communication;
- No need to add external software repositories. Several distributions have eJabberd in their default repositories;
- Multiple Jabber domains can be hosted on the same ejabberd instance;
- Supports IPv4, and IPv6;
- Both, Web and Commandline administration;
- LDAP authentication;
- And more.
Installation
On Ubuntu 14.10:
As I mentioned above, ejabberd is available in many distributions. In Ubuntu, we can install it using command:
sudo apt-get install ejabberd
On CentOS 7:
Add EPEL repository.
Then, run the following command to install it.
yum install ejabberd
Configuration
First, we have to setup the administrative user.
Edit /etc/ejabberd/ejabberd.cfg,
Find the following section, and make changes as shown below. Replace “sk” with your own user name.
[...]

%% Admin user
{acl, admin, {user, "sk", "192.168.1.101"}}.

%% Hostname
{hosts, ["localhost", "192.168.1.101"]}.

[...]
Now, register the admin user with password of your choice.
sudo ejabberdctl register sk 192.168.1.101 ubuntu
Here,
- sk – ejabberd web admin user;
- 192.168.1.101 – ejabberd system IP address;
- ubuntu – Password of user “sk”.
Restart ejabberd service.
sudo service ejabberd restart
Access ejabberd Web Interface
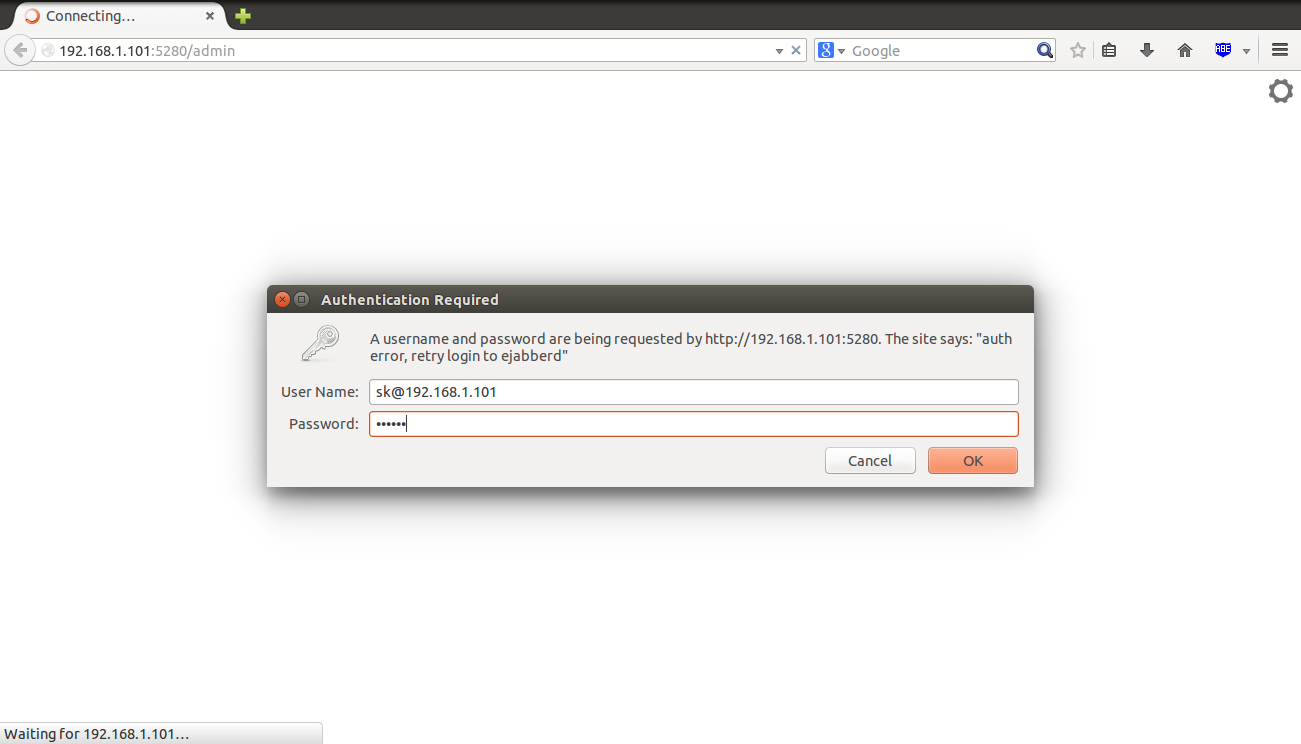
Open up the browser, and navigate to http://ip-address:5280/admin. Enter the admin username and password, which is sk and ubuntu in my case.
If you don’t want to use IP address with user id, you should have a resolvable FQDN, and the FQDN should be placed in the ejabberd.cfg file.
This is how my ejabberd web console looked.
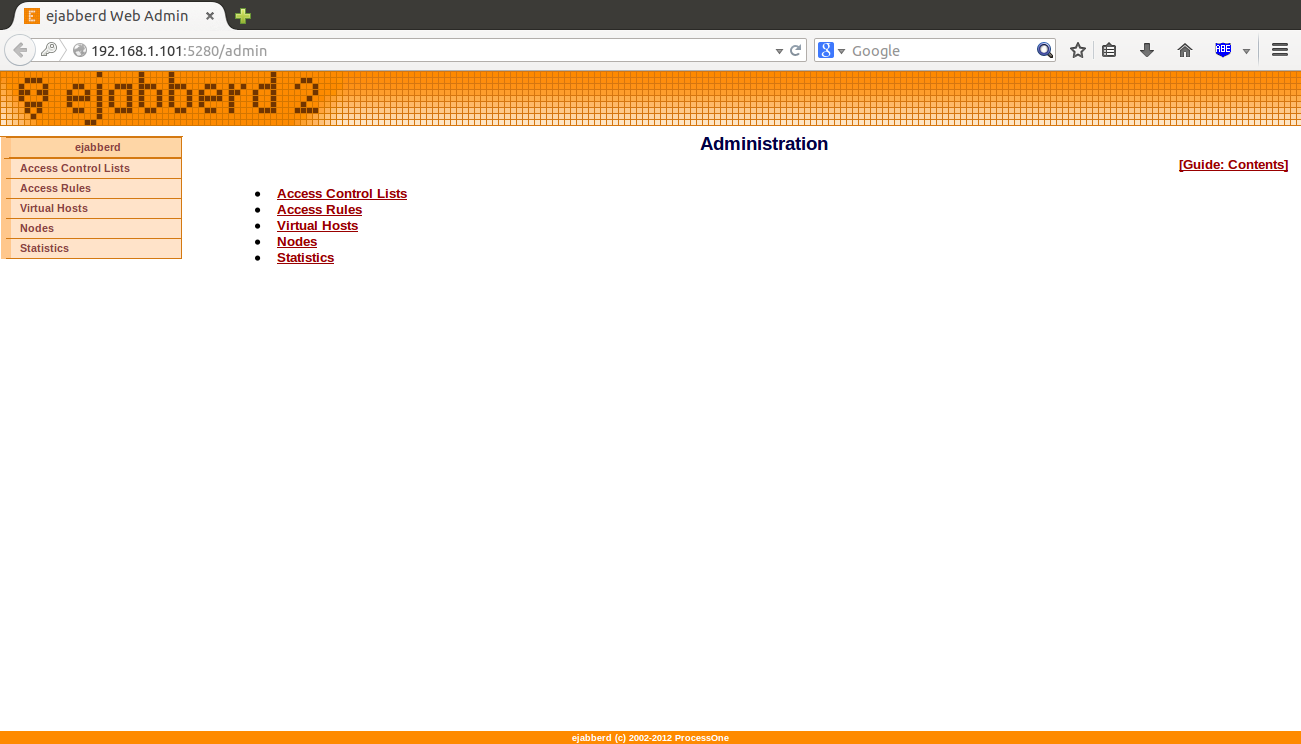
From here, you can create new users, virtual hosts, rules, access control lists etc.
To create a new user, go to Virtual Hosts -> IP-address(192.168.1.101, in my case) -> Users. Enter the new username and password, and click Add user button.
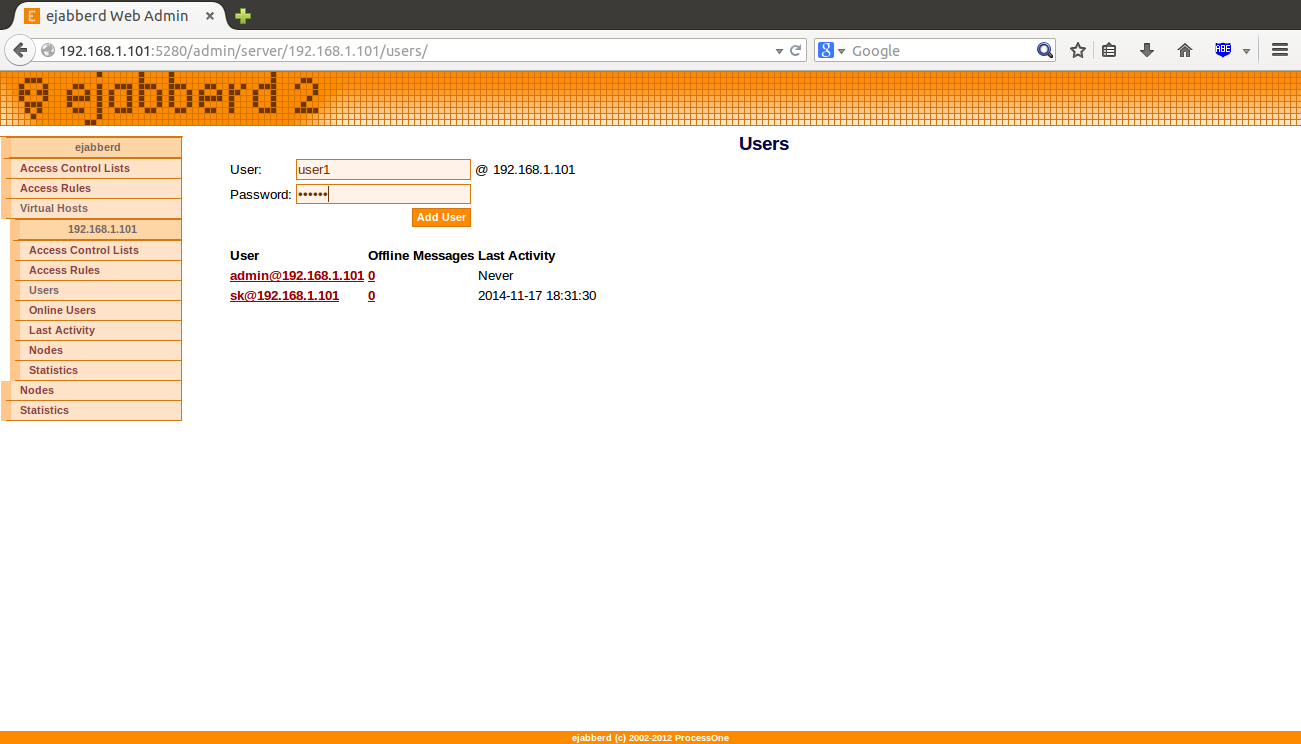
Similarly, you can create as many users as you want.
Setting Up Clients
Launch Pidgin applications from your client system. If you don’t have, install it using the following command in Ubuntu systems.
sudo apt-get install pidgin
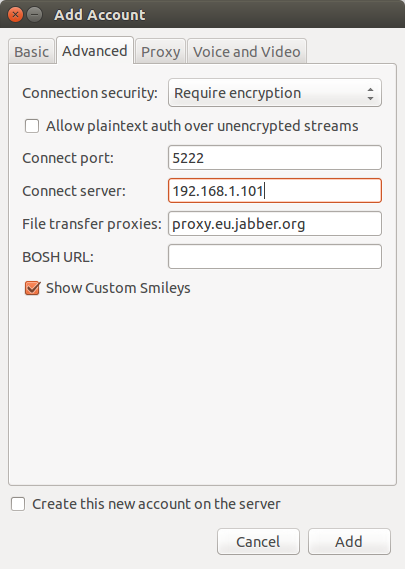
Go to Accounts -> Manage Accounts -> Add. Select XMPP from the Protocol drop down menu. Enter the user name, domain(192.168.1.101) in the Basic tab.
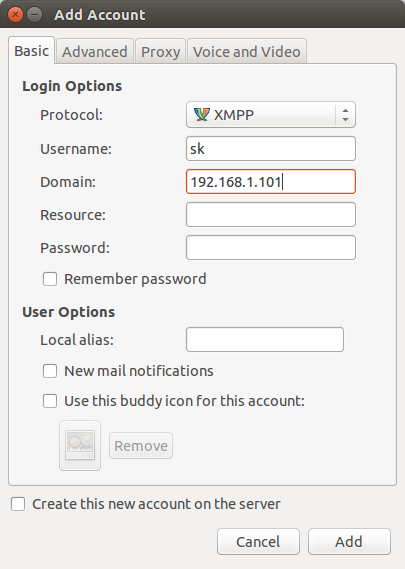
Then, go to Advanced tab, and Enter the IP address in the Connect server field, and click Add button.
Similarly, add all users. Then, go to Buddies -> Add Buddy from Pidgin to authorize the users. Enter the user name you want to authorize.

Click Authorize.

Like this way, authorize all users.
Now, start chatting.
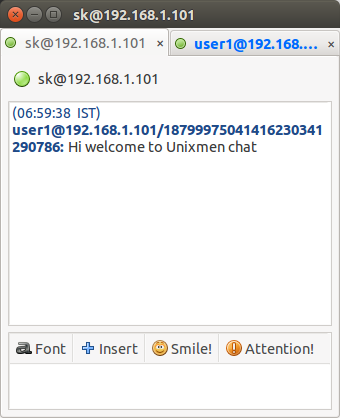
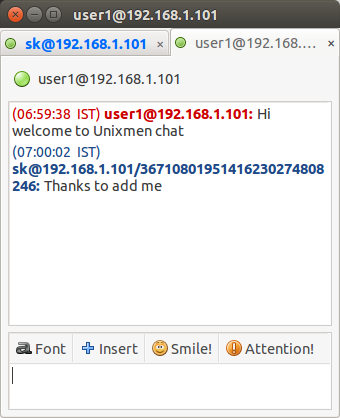
That’s it. Happy Chatting!!
Cheers.

")