
Hello everyone.
Today we will learn how we can setup & configure Pacemaker on two CentOS 7 Linux servers for high availability purposes. I will stuck with the very basic fundamental and I will not dive deep on it over here for this tutorial.
Let’s begin then.
First, we need to know what is CentOS, Pacemaker and High Availability and why we need them.
Why CentOS?
CentOS Linux is a community-supported distribution derived from sources freely provided to the public by Red Hat for Red Hat Enterprise Linux (RHEL). As such, CentOS Linux aims to be functionally compatible with RHEL. The CentOS Project mainly changes packages to remove upstream vendor branding and artwork. CentOS Linux is no-cost and free to redistribute. Each CentOS version is maintained for up to 10 years (by means of security updates — the duration of the support interval by Red Hat has varied over time with respect to Sources released). A new CentOS version is released approximately every 2 years and each CentOS version is periodically updated (roughly every 6 months) to support newer hardware. This results in a secure, low-maintenance, reliable, predictable and reproducible Linux environment.
You can download CentOS from here. You can directly download the ISO file format disk image of CentOS 7 from here.
What is Pacemaker?
Pacemaker is an open source high availability resource manager software used on computer clusters since 2004 for achieving high availability of systems. Till 2007, it was a part of the Linux-HA project and then it was split out to be it’s own project. It achieves maximum availability for your cluster services by detecting and recovering from node and resource-level failures by making use of the messaging and membership capabilities. Pacemaker provides a distributed Cluster Information Base (CIB) in which it records the configuration and the status of all cluster resources among it. The CIB automatically replicates to all cluster nodes from the Designated Coordinator. Designated Coordinator is one node that Pacemaker automatically elects from all available cluster nodes. In Pacemaker, the shell allows us to configure cluster resources. Pacemaker’s Policy Engine (PE) recurrently checks the cluster configuration against the cluster status and initiates actions as required
What is High Availability?
High availability refers to such a system which is continuously operational for a desirably long period of time without any down time or failure. It eliminates single points of failure with redundancy with a detection of failure. By implementing high availability system, uptime and availability can be make sure for your service. So by having high availability you can easily handle service outage.
Prerequisites
- You must have root user access for all the servers.
- For this tutorial, we will use two (2) CentOS 7 Linux servers where one will be the primary and the another one will be used as backup which in turns will work like a high availability system. These two (2) CentOS 7 Linux servers will form a cluster and these two (2) will be the two nodes for this cluster. You can use 3 or 4 whatever number of nodes that you need to serve your services as per your requirements.
- You need to assign IP address manually or static IP address need to be assign on your NIC / LAN card interface of your server. I am using 192.168.1.12 IP address for the primary and 192.168.1.13 IP address for the backup CentOS 7 Linux server. I am considering that, you know how you can assign IP address manually on your LAN / NIC card interface 🙂
- You need set up your host name accordingly for your two nodes. For this example, I am setting one server hostname as node1.unixmen.com and node2.unixmen.com where node1.unixmen.com will be the primary and node2.unixmen.com will be the backup.
Setting Up Hostname with local name resolution
To setup your hostname for both the CentOS 7 Linux servers with local name resolution ( we are not going to use any DNS / Name Server ), login into the first CentOS 7 Linux server and open the file /etc/hosts by your favourite file editor. Here, I am using vim as my file editor.
vim /etc/hosts
Now, copy & paste the below text into the /etc/hosts file.
192.168.1.12 node1.unixmen.com node1
192.168.1.13 node2.unixmen.com node2
Save & exit from the file.
Now, open the file /etc/hostname with vim file editor and type the following into the file and save & exit. After this, you need to reboot your server.
node1.unixmen.com
We are done setting up host name with local name resolution for the first one which is node1.unixmen.com where IP address is 192.168.1.12.
Perform the same operation to set the hostname as node2.unixmen.com for the second CentOS 7 Linux server with an IP address of 192.168.1.13.
Check Hostname
To see whether your hostname are OK or not, please issue the below command on a terminal from both the servers
sudo hostname
or
sudo uname -n
- Make sure your firewall / iptables or SELinux is not blocking any port(s) which is required over here or you don’t have any problem with proper user permission.
- To disable SELinux, type the following
setenforce 0
- Let’s update the CentOS 7 Linux server first. This is a good practise to keep your server up to date. To do so, issue the below command one after another and wait till it gets updated. It will depends on your internet speed and it will take a long. So, please have patience.
sudo yum clean all
sudo yum -y update
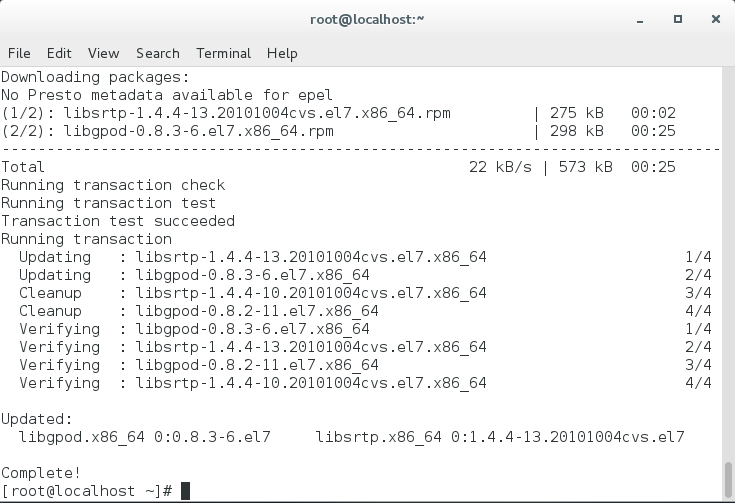
You will see something like below image once you are done with it. Depending on how old your system softwares are or which packages are needs to be updated. The below image indicates an successful update and may require to reboot system as well.
Installing Apache on both servers
To install Apache on your CentOS 7, issue the below command on your terminal.
sudo yum -y install httpd
This will download and install Apache as a web server on the system.
Let’s start Apache by issuing the below command.
sudo systemctl start httpd
Set Apache at start or booting time so after every reboot, it get started automatically without manual start.
sudo systemctl enable httpd
Test Apache
To test apache issue the below command.
sudo systemctl status httpd
This will show the status of Apache for you.
Or you can open a web browser and type “localhost” without the double quote in to the address bar. You will see something like this.
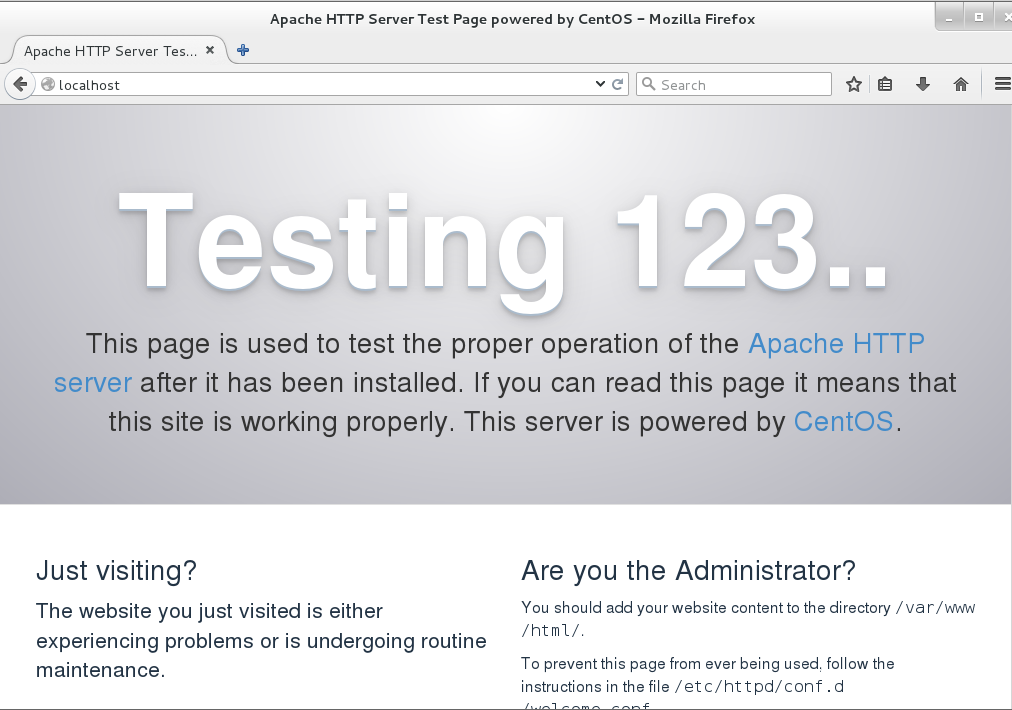
It indicates that our web server up and running 🙂
Configuring status.conf
Open the file /etc/httpd/conf.d/status.conf and paste the below code on this file so that you can check the health of the Apache service by the Apache resource agent.
<Location /server-status>
   SetHandler server-status
   Order Deny,Allow
   Deny from all
   Allow from 127.0.0.1
</Location>
Now, save & exit from the file.
Installing Pacemaker
To install Pacemaker, simply open a terminal and issue the below command. We need to install pacemaker on both the servers.
sudo yum install pacemaker pcs
This will download all the prerequisites so that pacemaker can be installed on our servers.
Starting pcs daemon
Let’s start the pcs daemon first by issuing the below command on the terminal.
sudo systemctl start pcsd.service
To start pcs on every reboot, issue the below command so that it start automatically every time your server starts.
sudo systemctl enable pcsd.service
Setting Password for the user hacluster
After installing pacemaker, a user will be created automatically named hacluster. We need to set a password for this user on both the servers which will be used later on. To do so, issue the below command.
sudo passwd hacluster
Configuring Pacemaker
To configure Pacemaker, first we need to make sure that firewall is running and cluster traffic is allowed through the firewall. Let’s check whether firewall is running or not.
sudo firewall-cmd --state
You will see something like below image which indicates that firewall in running.

Adding service to Firewall
To pass cluster through the firewall, we need to add it to the firewall by doing
sudo firewall-cmd --permanent --add-service=high-availability
This will add the service “high-availability” on the firewall so that it can pass through it.
You will see a echo message “success” on your terminal after putting the above command on the terminal.
Authorizing
To authorizing, issue the below command
sudo pcs cluster auth node1 node2
Now, it will ask you for the user name. Type the user name “hacluster” along with it’s password.
Then you will see a message like this.
node1: Authorized
node2: Authorized
Creating Cluster
To create a cluster, issue the below command on a terminal.
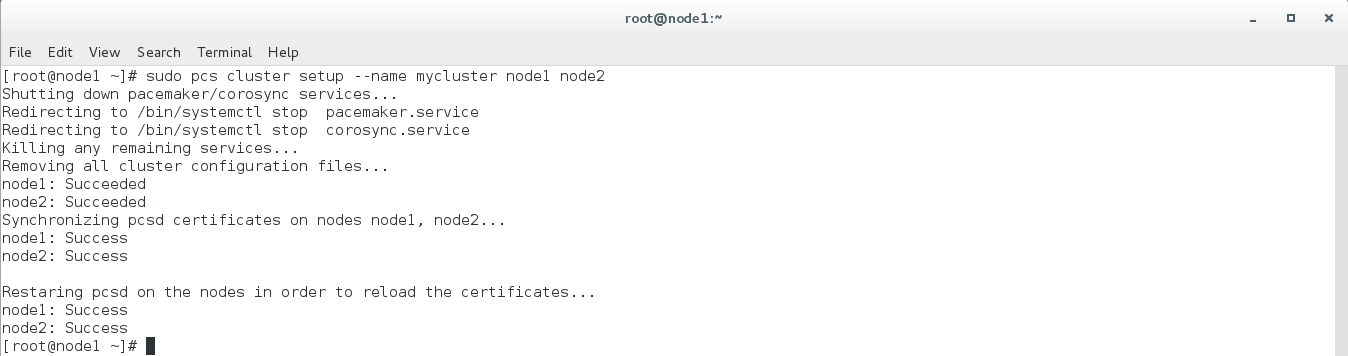
sudo pcs cluster setup --name mycluster node1 node2
Here, mycluster is the name of the cluster. After successful cluster creation, you will see something like below image.
Start the Cluster
Let’s start the cluster by issuing the below command on a terminal.
sudo pcs cluster start --all
If everything goes well, you will see a something like this as outputted on your terminal.
node1: Starting Cluster...
node2: Starting Cluster...
To check the pcs status, issue the below command to check.
pcs status
The above command will show the status of the pcs. You will see node1 & node2 are the two active nodes there on the cluster showing with online status.
Testing the Cluster
To test the cluster, let’s shutdown our second node which is node2.unixmen.com CentOS 7 Linux server. After shutting down the second node, issue the below command to test whether out cluster is operational or not.
pcs status
Now, you can see that node2 is down it is showing offline. You will see something like this.

We are done with our today’s tutorial.
Thanks for reading and have a great day.


