
XWiki
Xwiki is an open-source enterprise-ready wiki written in Java, runs on a servlet container like Tomcat, Jboss etc. which uses the relational database to store the information.
In this article we will know about how to install Xwiki in Linux using .war file usable for production.
Installing XWiki using .war package
Before we going to install Xwiki, we have to install and configure Java,Servlet(Glass Fish) and Relational database(PostgreSQL, MySQL).
JAVA Installation
First Change the directory to where the Java to be installed.
[root@localhost ~]# cd /opt/
[root@localhost opt]#wget http://download.oracle.com/otn-pub/java/jdk/8u91-b14/jdk-8u91-linux-x64.tar.gz
[root@localhost opt]#tar xzf jdk-8u91-linux-x64.tar.gz
[root@localhost opt]# cd jdk1.8.0_91/
[root@localhost jdk1.8.0_91]# alternatives --install /usr/bin/java java /opt/jdk1.8.0_91/bin/java 2
[root@localhost jdk1.8.0_91]# alternatives --config java

There are 4 programs which provide 'java'.

  Selection    Command
-----------------------------------------------
   1      /usr/lib/jvm/java-1.7.0-openjdk-1.7.0.101-2.6.6.1.el7_2.x86_64/jre/bin/java
*  2      /usr/lib/jvm/java-1.8.0-openjdk-1.8.0.91-0.b14.el7_2.x86_64/jre/bin/java
 + 3      /opt/jdk1.7.0_79/bin/java
   4      /opt/jdk1.8.0_91/bin/java

Enter to keep the current selection[+], or type selection number: 4
[root@localhost jdk1.8.0_91]#java -version
java version "1.8.0_91"
Java(TM) SE Runtime Environment (build 1.8.0_91-b14)
Java HotSpot(TM) 64-Bit Server VM (build 25.91-b14, mixed mode)
[root@localhost jdk1.8.0_91]#alternatives --install /usr/bin/jar jar /opt/jdk1.8.0_91/bin/jar 2
[root@localhost jdk1.8.0_91]#alternatives --install /usr/bin/javac javac /opt/jdk1.8.0_91/bin/javac 2
[root@localhost jdk1.8.0_91]#alternatives --set jar /opt/jdk1.8.0_91/bin/jar
[root@localhost jdk1.8.0_91]#alternatives --set javac /opt/jdk1.8.0_91/bin/javac
[root@localhost jdk1.8.0_91]#export JAVA_HOME=/opt/jdk1.8.0_91
[root@localhost jdk1.8.0_91]#export JRE_HOME=/opt/jdk1.8.0_91/jre
[root@localhost jdk1.8.0_91]#export PATH=$PATH:/opt/jdk1.8.0_91/bin:/opt/jdk1.8.0_91/jre/bin
Glassfish Installation
We can Download the Glassfish from their official site by uisng the following command
[root@localhost ~]#wget http://download.java.net/glassfish/4.1.1/release/glassfish-4.1.1.zip
Once the Download completed successfully, extract it by using tar command as follows
[root@localhost ~]#unzip glassfish-4.1.1*zip
Start the GlassFish server by using the following command as follows
[root@localhost ~]#glassfish4/bin/asadmin start-domain
We can access the glass fish web-interface by using the url: http://localhost:4848
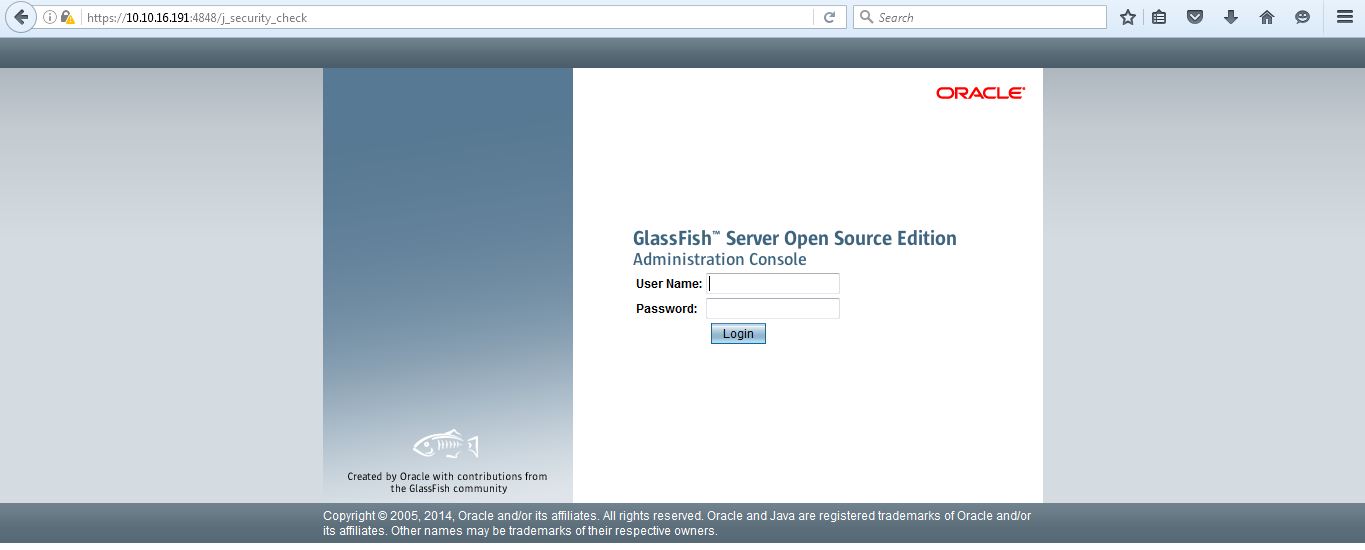
The Default username admin and password is blank. After login we get the homepage
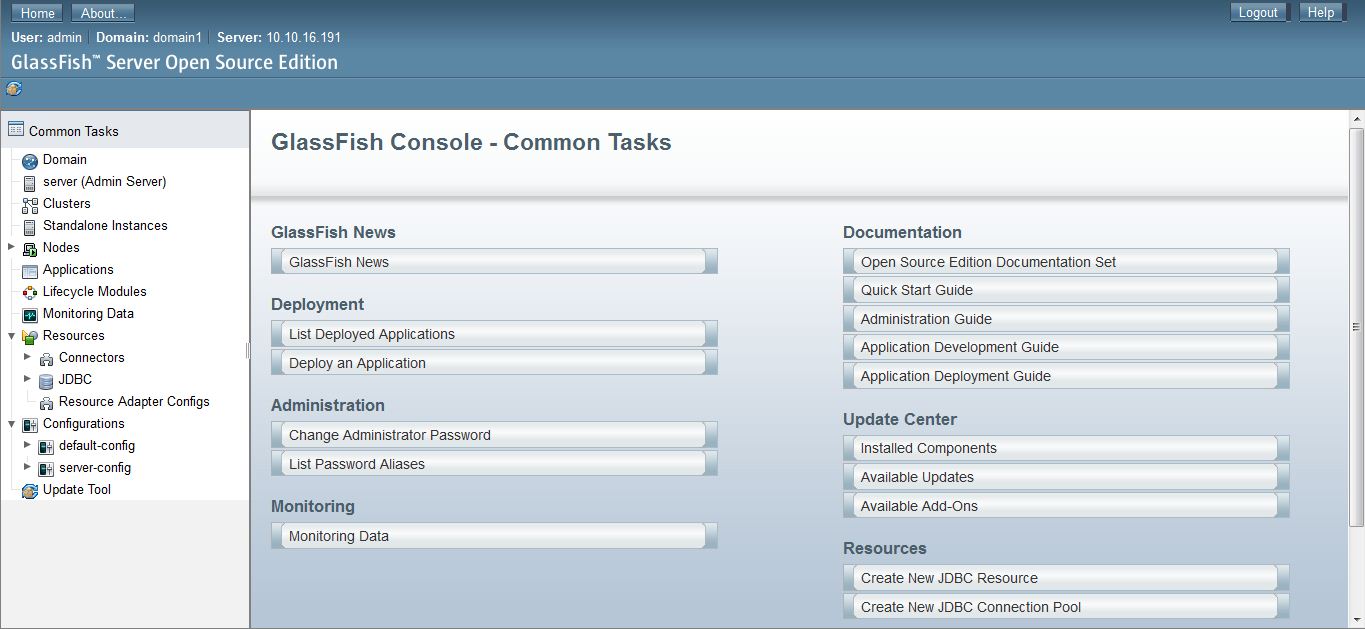
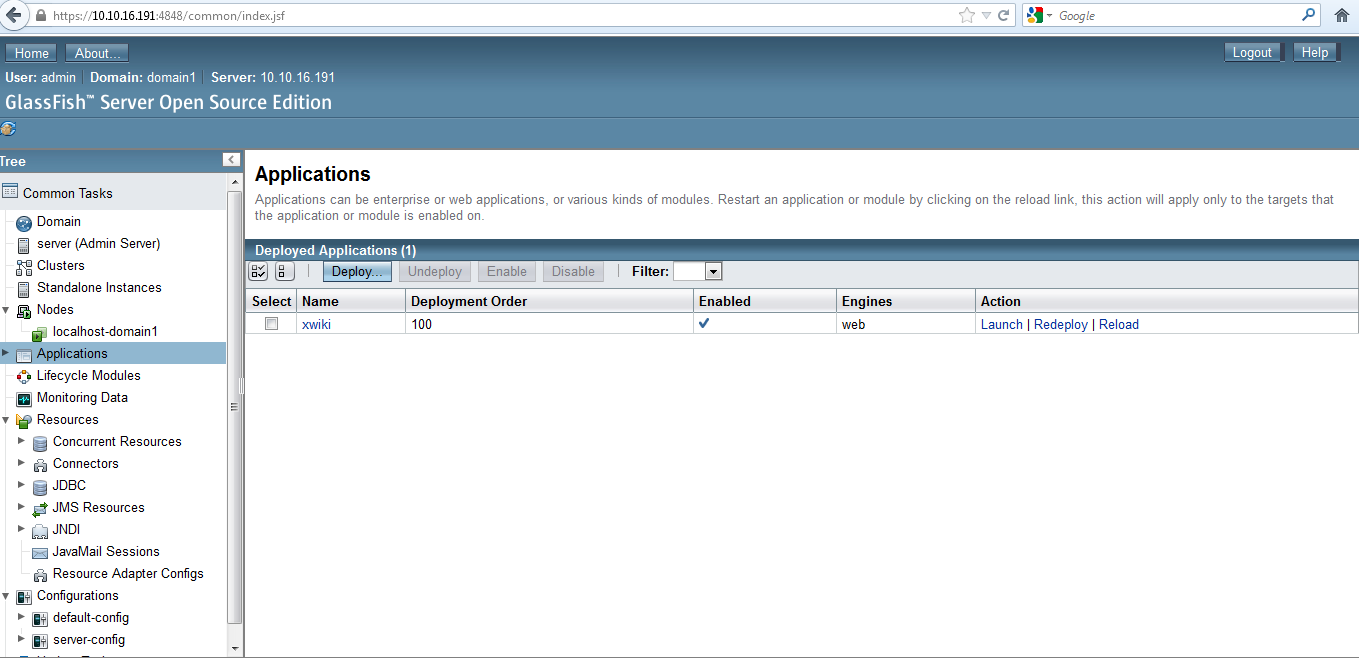
In the main windows click on Applications menu.
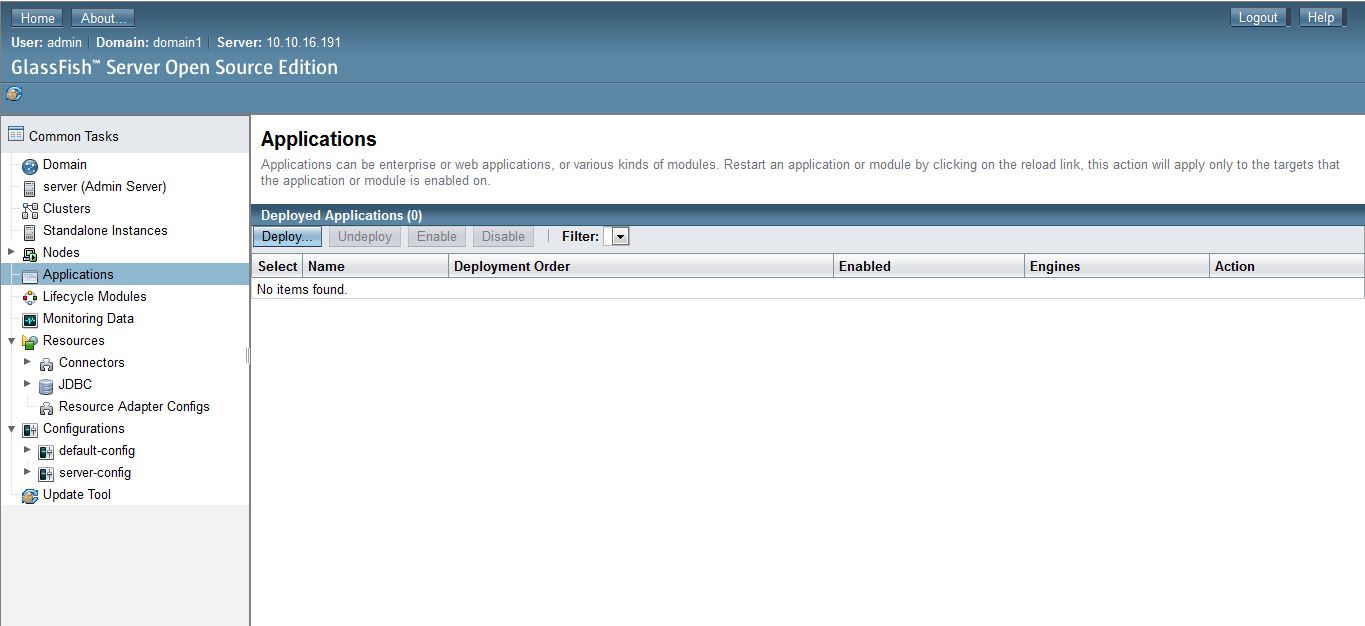
Click on deploy button, locate the xwiki.war file and set the context root to xwiki
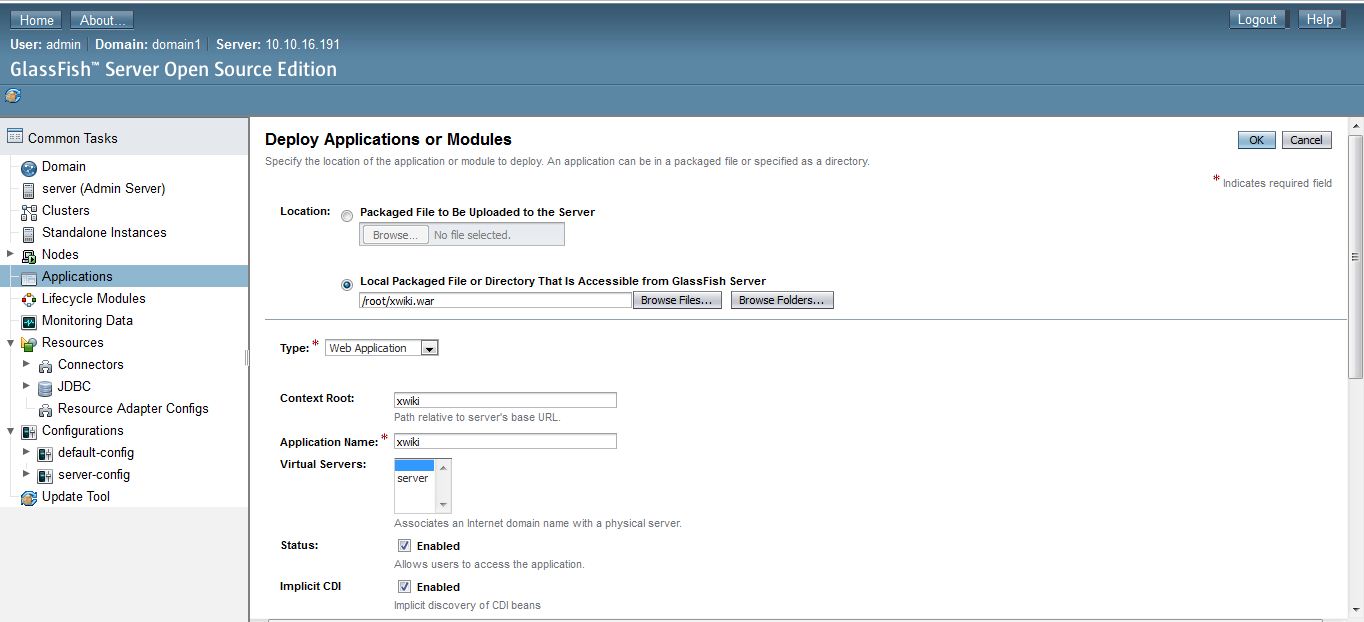
Then click on ok wait for a while when the process is completed. Once the deployment completes successfully, we will see the xwiki in applications menu as follows
Now we can access the xwiki by using the url http://localhost:8080/xwiki (or) https://localhost:8181/xwiki. But at this step our wiki is empty, i.e it doesn’t contain any wiki page. now we have to configure the database to store the wiki content.
Relational Database Installation
In this we uses the postgresql database. First we check the postgresql is installed or not by using rpm -qa|grep postgresql. If postgresql is not installed install it by using the yum command.
After the completion of postgresql installation edit the file /var/lib/pgsql/data/pg_hba.conf and change the instance of ident to trust in that file.
Configure and start the Postgresql by using the following commands
[root@localhost ~]#postgresql-setup initdb
[root@localhost ~]#systemctl start postgresql
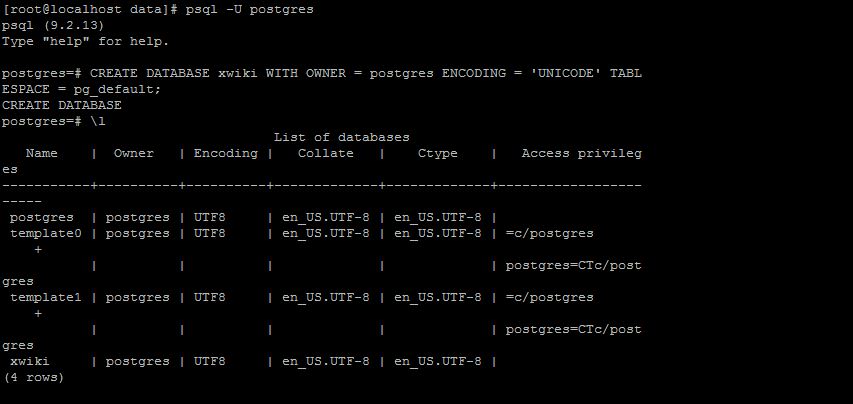
Once service started successfully create a database xwiki as follows
psql -U postgres
CREATE DATABASE xwiki WITH OWNER = postgres ENCODING = 'UNICODE' TABLESPACE = pg_default;
Now we have to connect the Glass fish server and PostgreSQL database by using appropriate JDBC Driver.
We can download it from their official site and copy it to the XWiki webapp (in WEB-INF/lib). we can locate xwiki folder in glash fish directory as follows.
/glassfish4/glassfish/domains/domain1/applications/xwiki/WEB-INF/lib
Now edit the file hibernate.cfg.xml file in WEB-INF Directory and comment the default database configuration and un comment the PostgreSQL database configuration.
Now once agian restart the postgresql database server by using systemctl restart postgresql.
Now Access the xwiki page by using the url http://ipaddress:8080/xwiki.
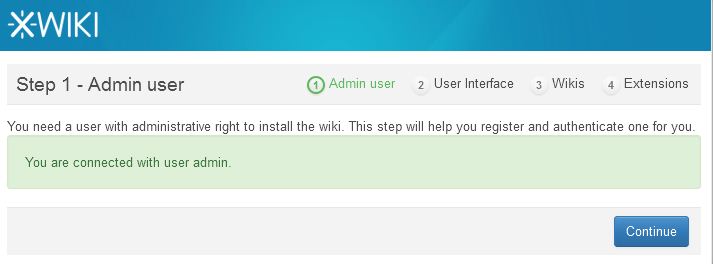
The Distribution wizard will be start to configure Xwiki
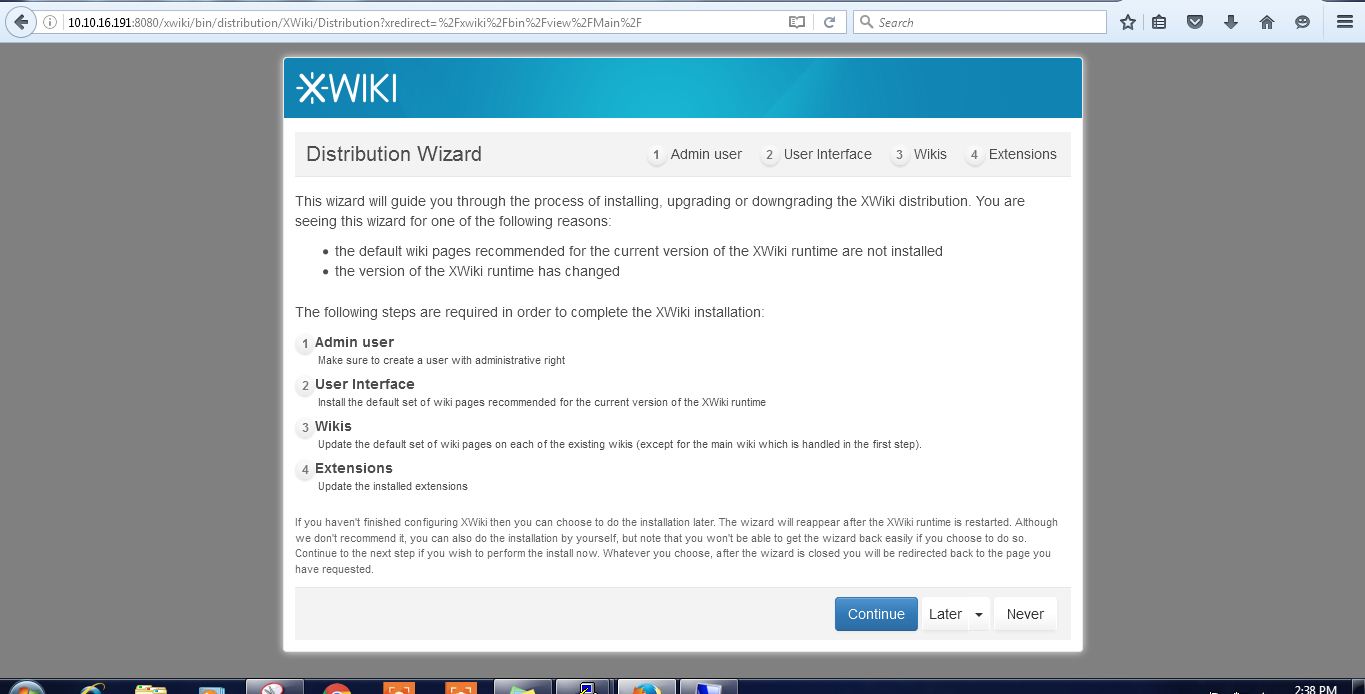
Click on continue button. The register and authentication windows will be started.
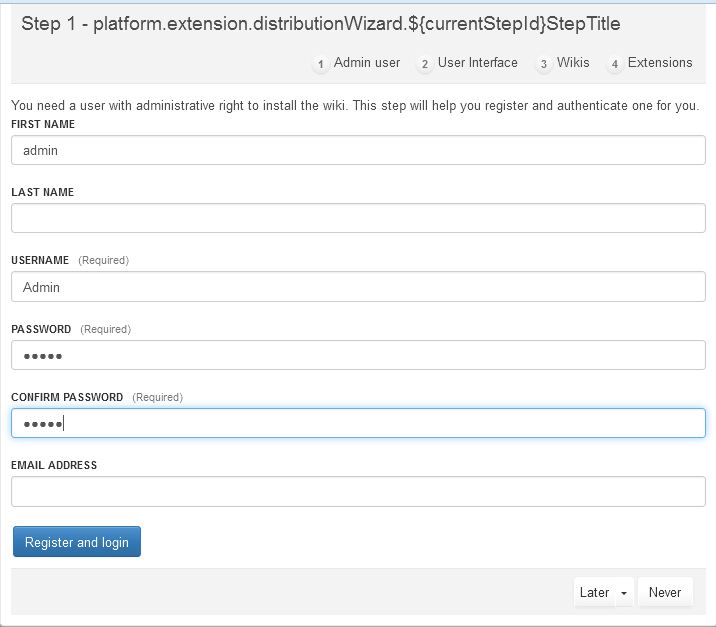
Fill the above details and then click on Register and login button.
Then it goes to the step-2 user interface
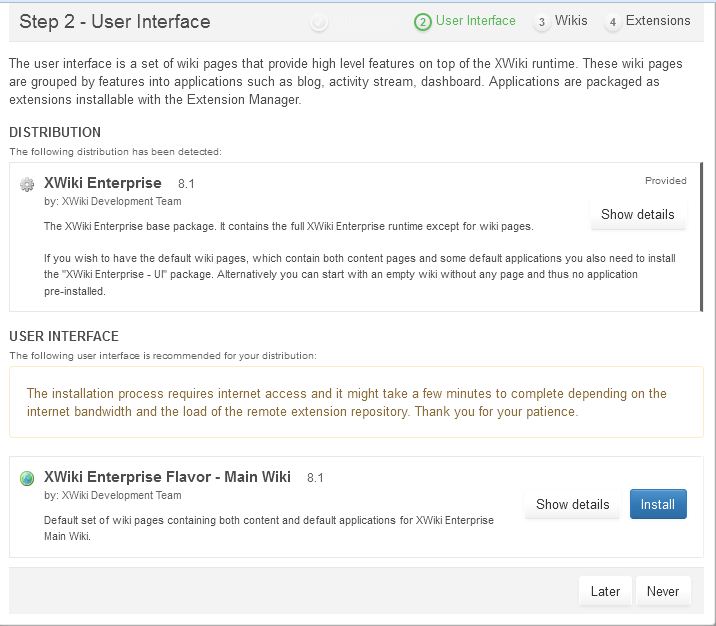
Cllick on Install button to install Main wiki.

Then click on Continue.
The login screen for xwiki as follows(http://ipaddress:8080/xwiki)
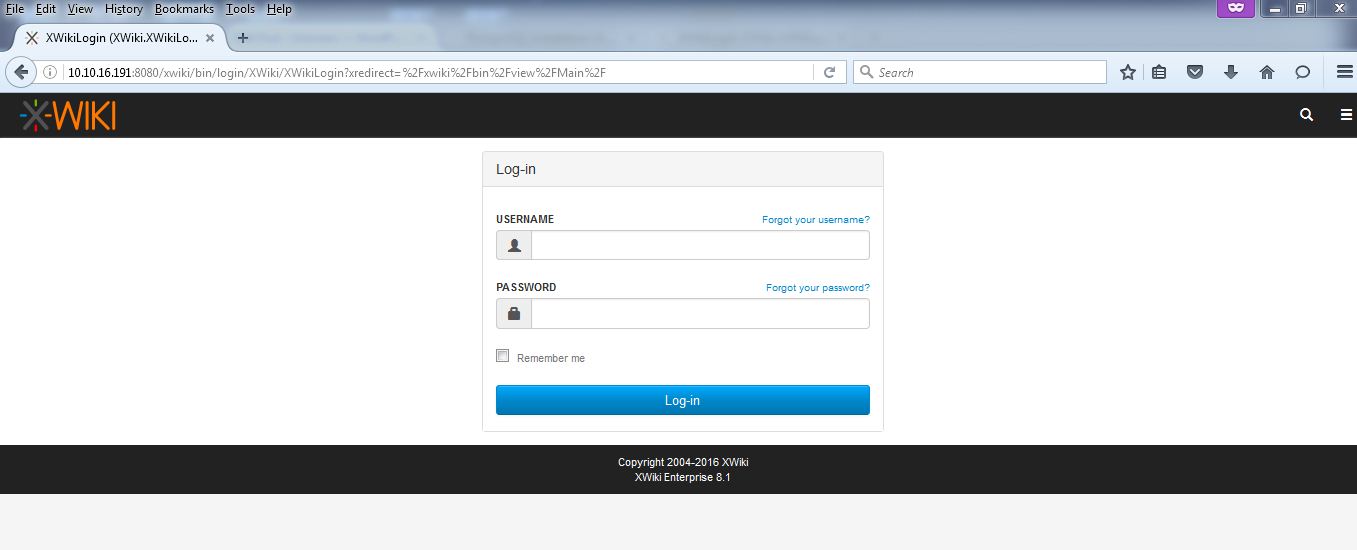
Login by using the credentials created at step1, we will get the wiki home page
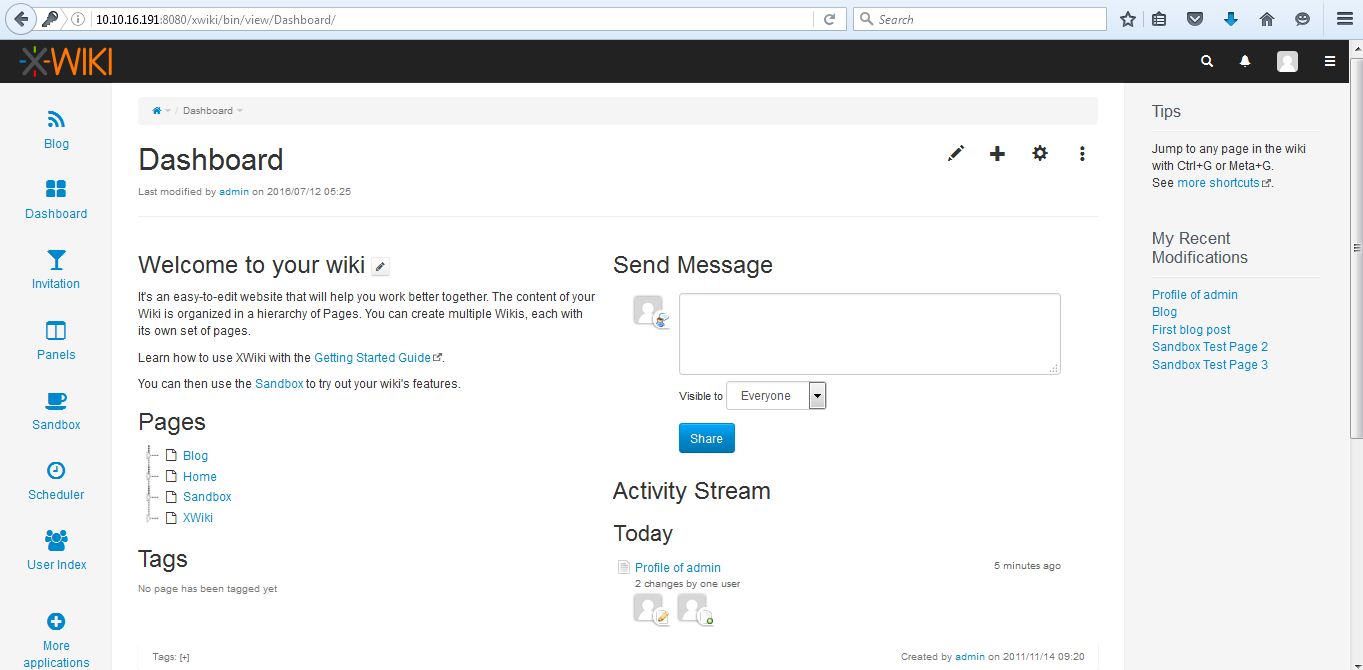
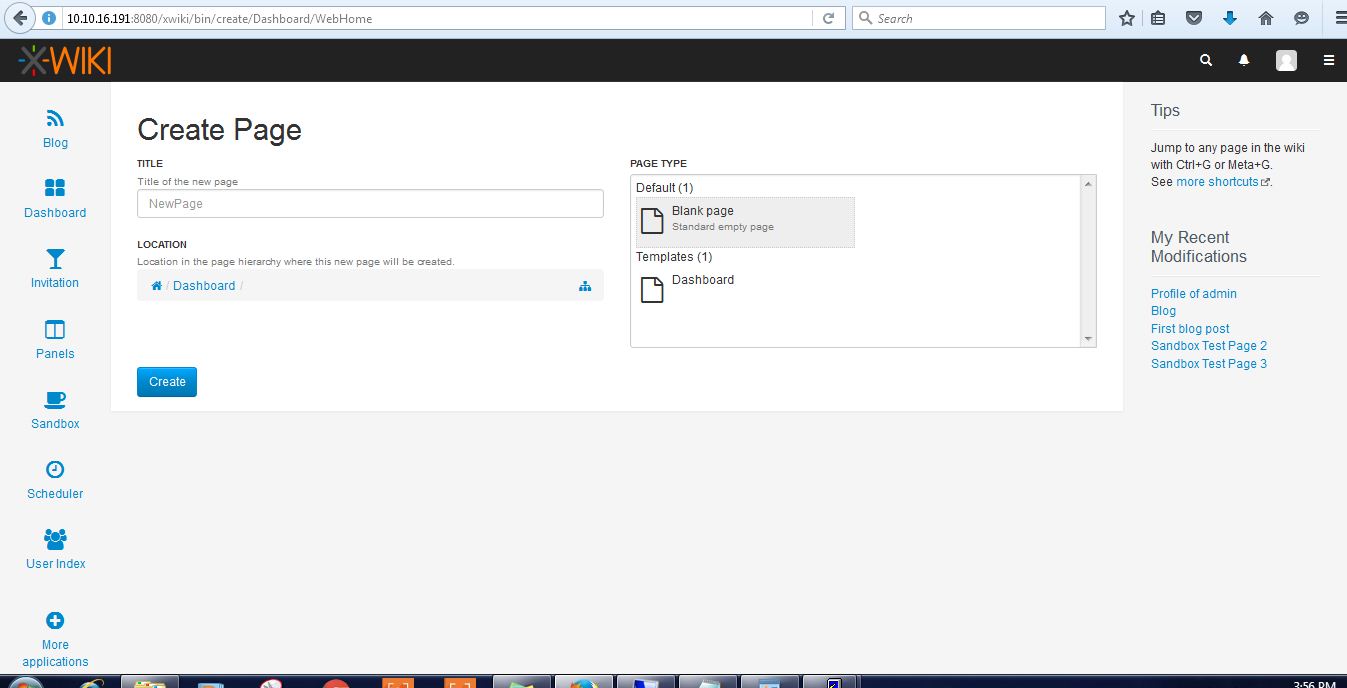
Now we can our own wiki pages as follows


