
Hello all.
Today we will go through how to upgrade from oracle 11g to Oracle 12c. Let’s start then.
For this, I will use CentOS 7 64 bit Linux distribution.
I am assuming that you have already installed Oracle 11g on your system. Here I will show what I did when I installed Oracle 11g.
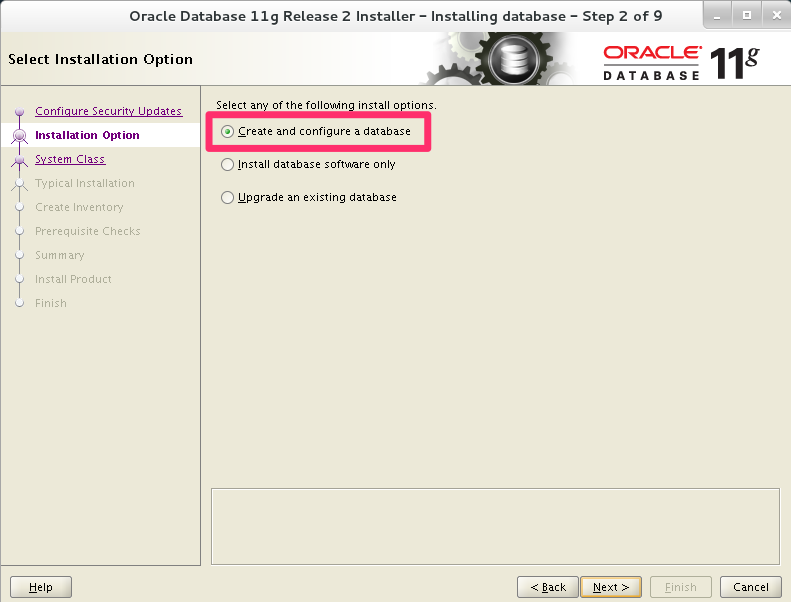
I select “Create and configure a database” for Oracle 11g just like below image.
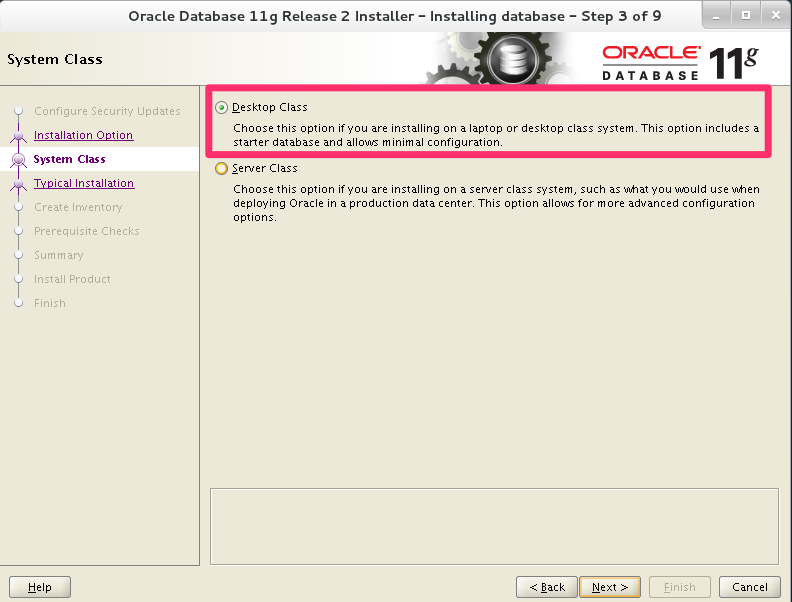
Then I select “Desktop Class” for my Oracle 11g installation. For production you must select “Server Class”.
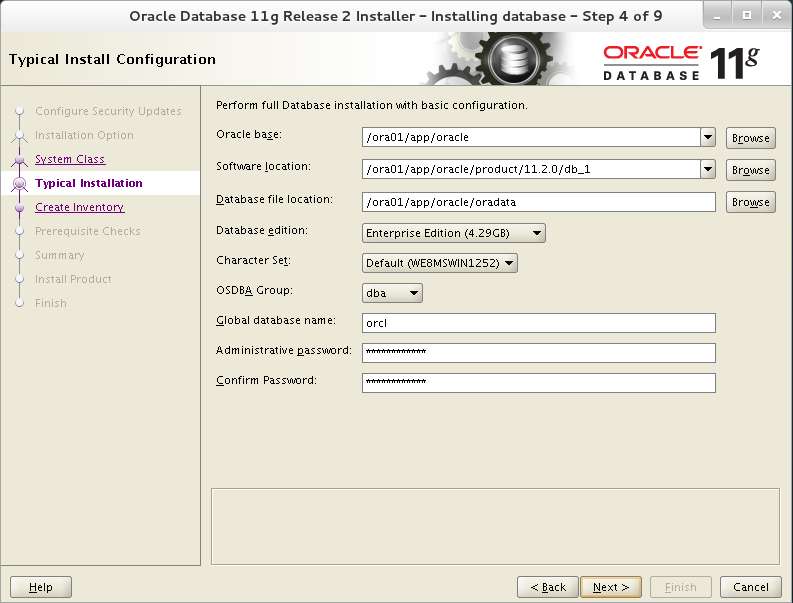
Then you must enter all the paths for the Oracle 11g and your password as well. Below is mine for my Oracle 11g installation. Make sure you meet the Oracle password methodology for placing your password.
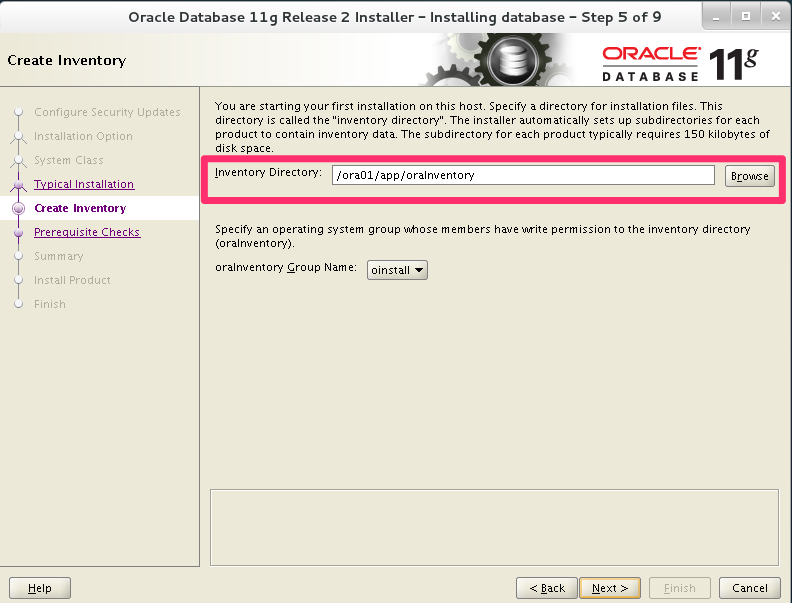
Next, I set Inventory Directory path as below.
Till now, I showed you what I had done to install Oracle 11g as we are going to upgrade to 12c.
Let’s upgrade to Oracle 12c from Oracle 11g.
You must download the two (2) zip files from this link. Download and unzip both files to the same directory. Files names are linuxamd64_12c_database_1of2.zip & linuxamd64_12c_database_2of2.zip respectively. After extracting or unzipping, It will create a folder called database.
Note: Before upgrading to 12c, make sure you have all the necessary packages installed for your CentOS and all the path variable are OK and all other prerequisites are done before beginning.
These are the following packages must be installed with correct version
- binutils
- compat-libstdc++
- gcc
- glibc
- libaio
- libgcc
- libstdc++
- make
- sysstat
- unixodbc
Search for your correct rpm version on the internet.
You can also combine a query for multiple packages, and review the output for the correct versions. For example:
Type the following command to check in the terminal
rpm -q binutils compat-libstdc++ gcc glibc libaio libgcc libstdc++ make sysstat unixodbc
The following packages (or later or earlier versions) must be installed on your system
- binutils-2.23.52.0.1-12.el7.x86_64
- compat-libcap1-1.10-3.el7.x86_64
- gcc-4.8.2-3.el7.x86_64
- gcc-c++-4.8.2-3.el7.x86_64
- glibc-2.17-36.el7.i686
- glibc-2.17-36.el7.x86_64
- glibc-devel-2.17-36.el7.i686
- glibc-devel-2.17-36.el7.x86_64
- ksh
- libaio-0.3.109-9.el7.i686
- libaio-0.3.109-9.el7.x86_64
- libaio-devel-0.3.109-9.el7.i686
- libaio-devel-0.3.109-9.el7.x86_64
- libgcc-4.8.2-3.el7.i686
- libgcc-4.8.2-3.el7.x86_64
- libstdc++-4.8.2-3.el7.i686
- libstdc++-4.8.2-3.el7.x86_64
- libstdc++-devel-4.8.2-3.el7.i686
- libstdc++-devel-4.8.2-3.el7.x86_64
- libXi-1.7.2-1.el7.i686
- libXi-1.7.2-1.el7.x86_64
- libXtst-1.2.2-1.el7.i686
- libXtst-1.2.2-1.el7.x86_64
- make-3.82-19.el7.x86_64
- sysstat-10.1.5-1.el7.x86_64
You will also need unixODBC-2.3.1 or later driver.
I hope you already have a user on your CentOS 7 named oracle when you installed Oracle 11g.
Let’s login onto CentOS by using user oracle.
After login to your CentOS by user oracle, open a terminal on your CentOS.
Now change directory and navigate to your extracted directory where you extracted both the zip files by using terminal. Now type the following in the terminal to begin installation of 12c.
./runInstaller
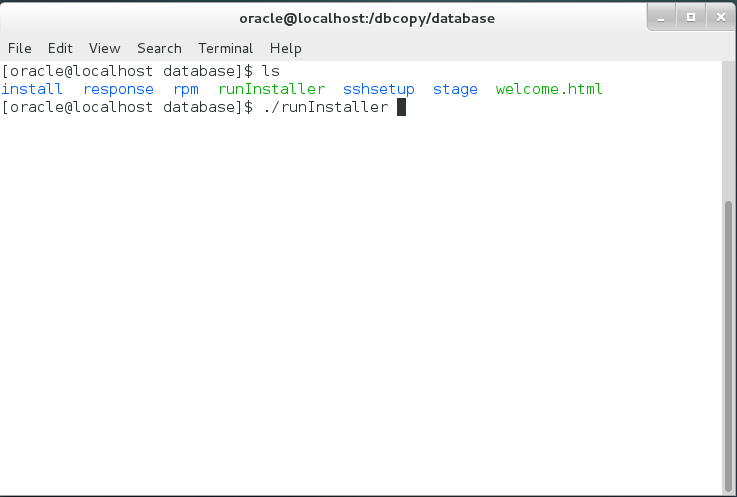
If everything goes right then you will see something like below which will start the installation process of 12c.

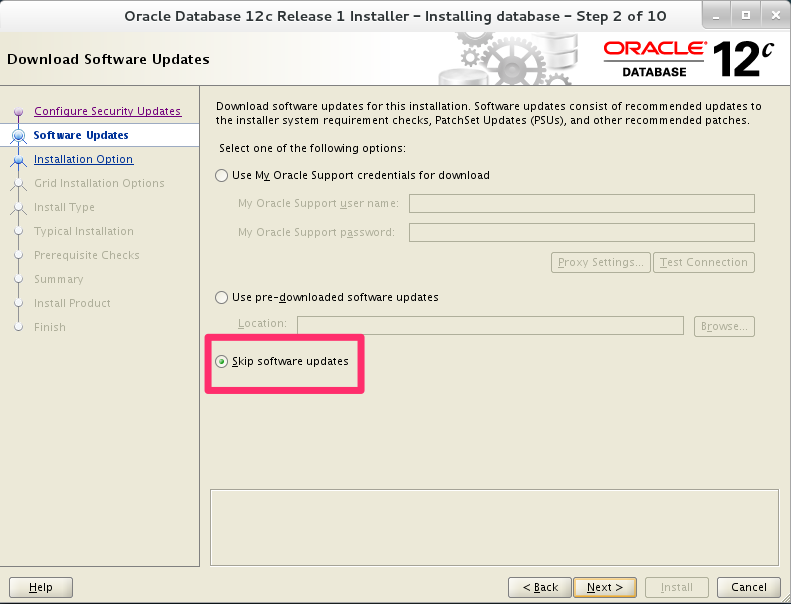
Then you can skip the updates or you can download the latest update. It is recommended that you must update it for production server. Though I am skipping it.
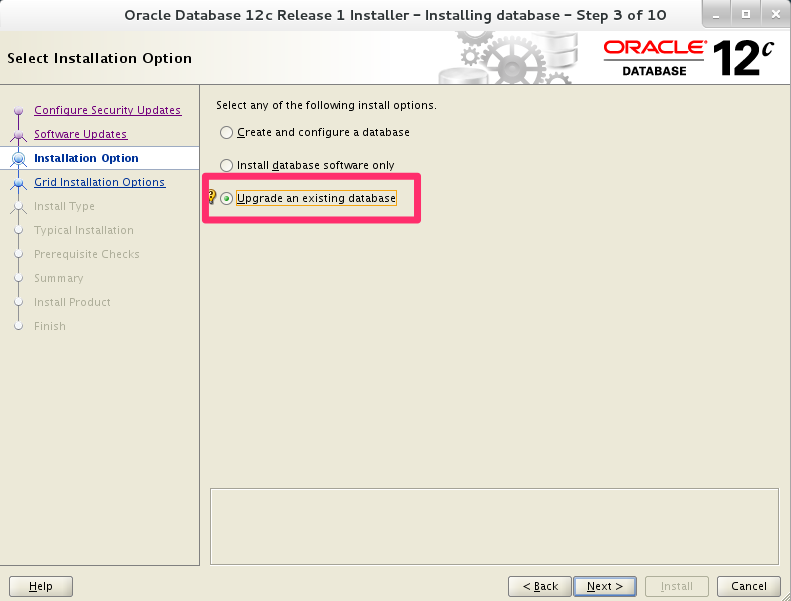
Now, select upgrade an existing database.
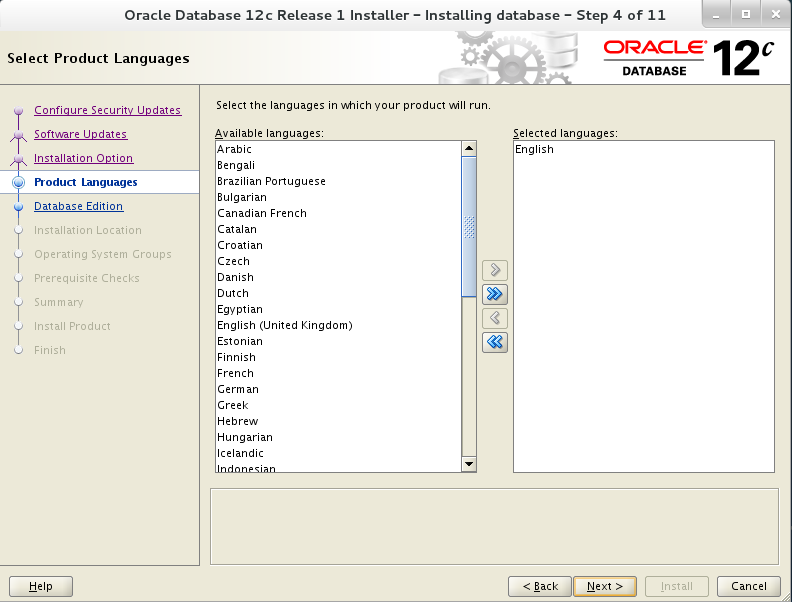
For language, English is already there. Click next to continue or you can add according to your need.
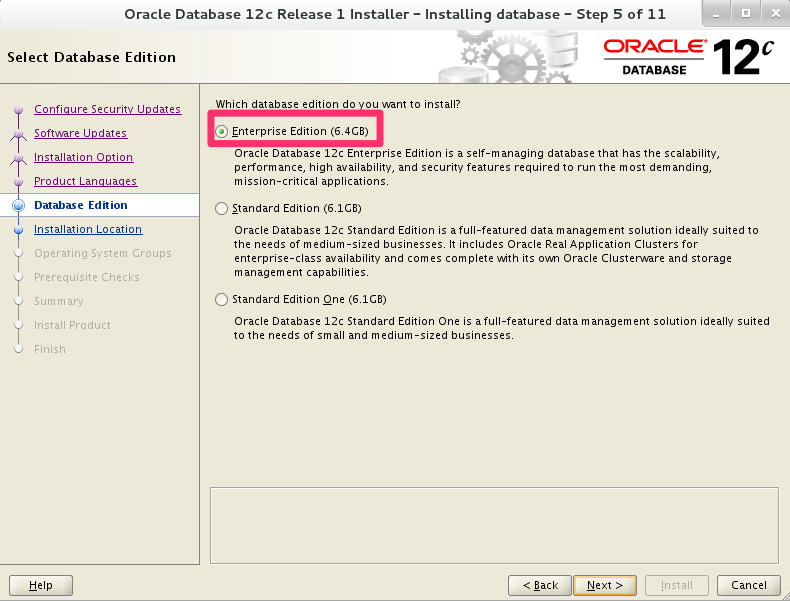
Now, select Enterprise Edition. You can select upon your requirements.
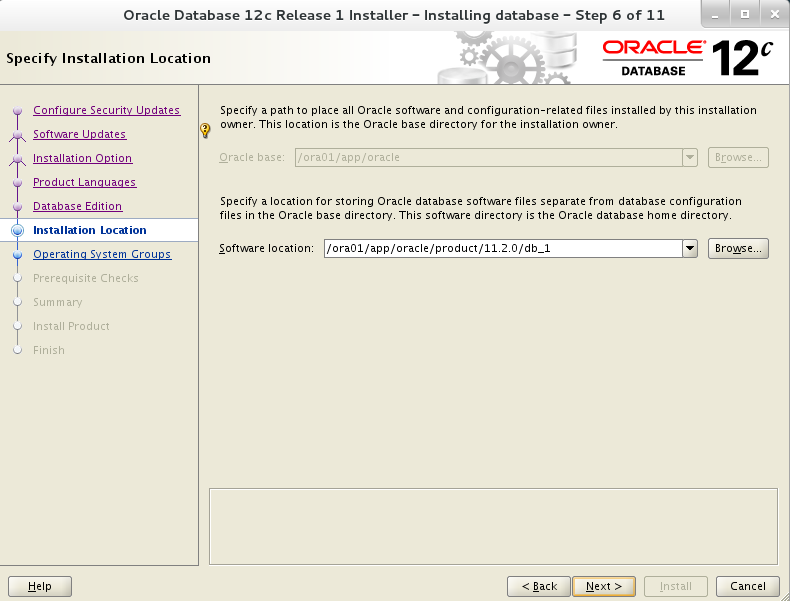
Then select your path for Software location. This is pretty much self-explanatory.
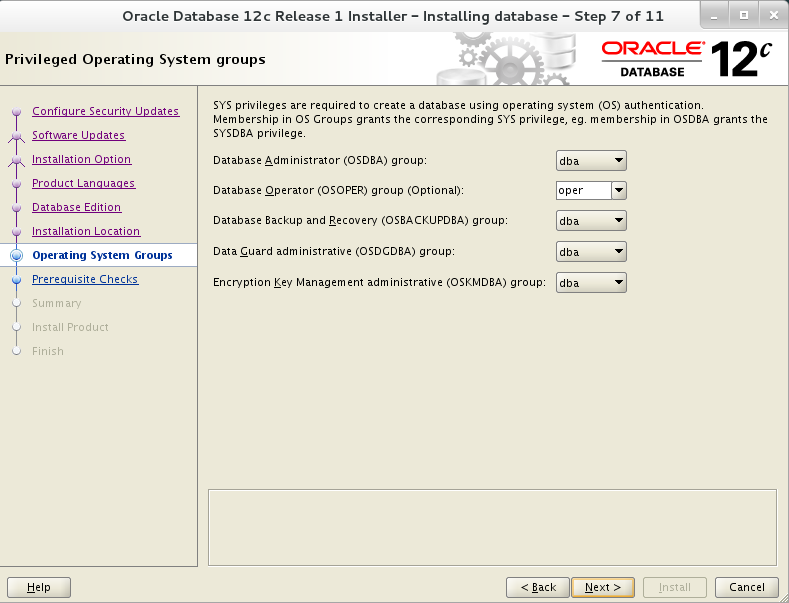
For step 7, keep moving with the default options just like below.
In step 9, you will get a summary report like below image.
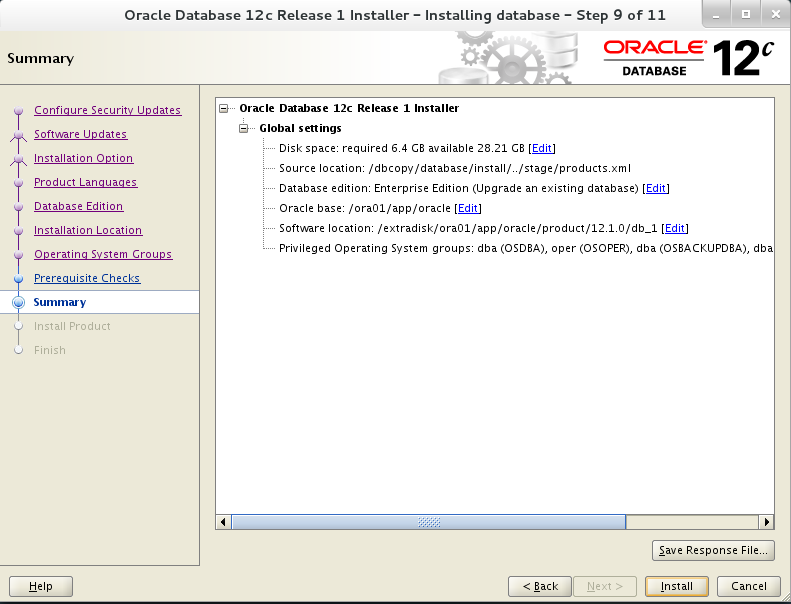
If everything is fine, you can start your installation by clicking install on step 9 and which will take you to step 10.
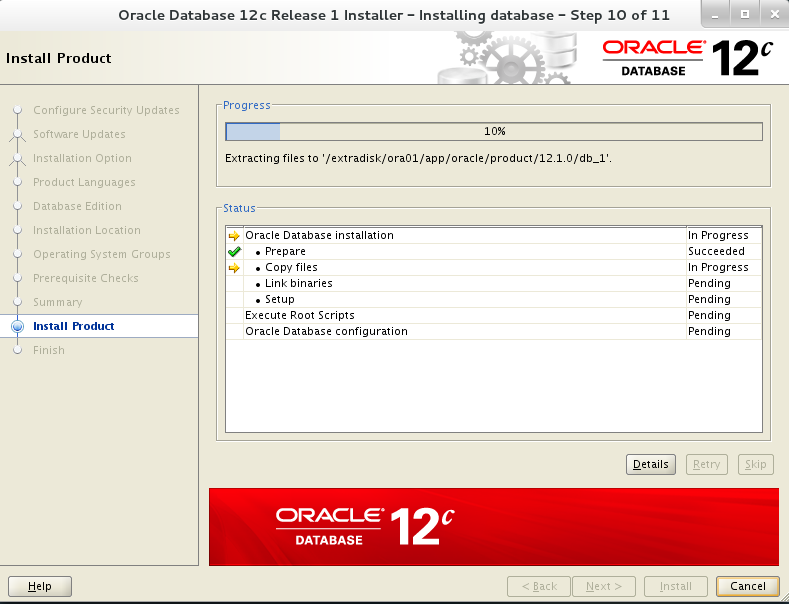
In the process you might encounter some errors and you need to Goggle it for fix those errors. There are a number of errors you may encounter and hence I am not covering those here.
Keep your patience and it will show Succeeded one by one for step 10. If not, search it on Google and do necessary steps to fix it. Again, as there are a number of errors you may encounter and I can’t provide all the details over here.
Now, configure the listener just simply following on screen instruction.
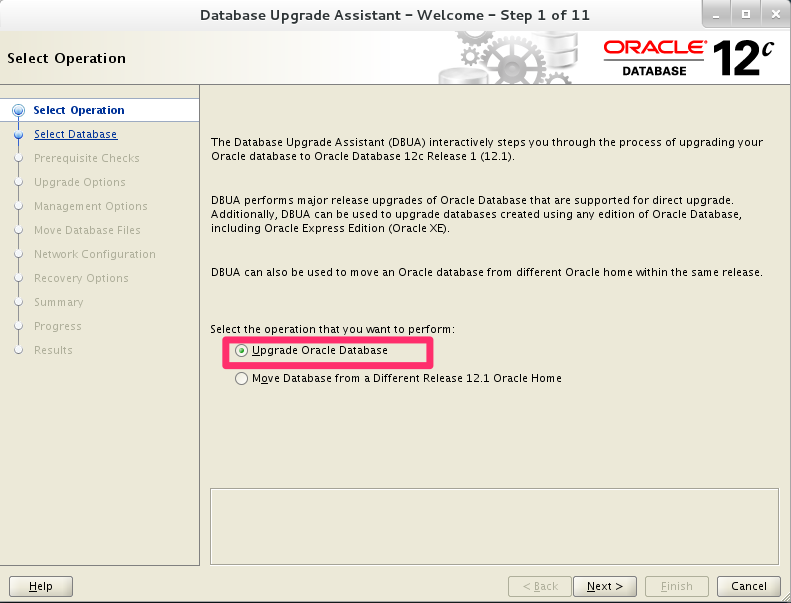
After finishing the process for listener, it will start the Database Upgrade Assistant. Select Upgrade Oracle Database.
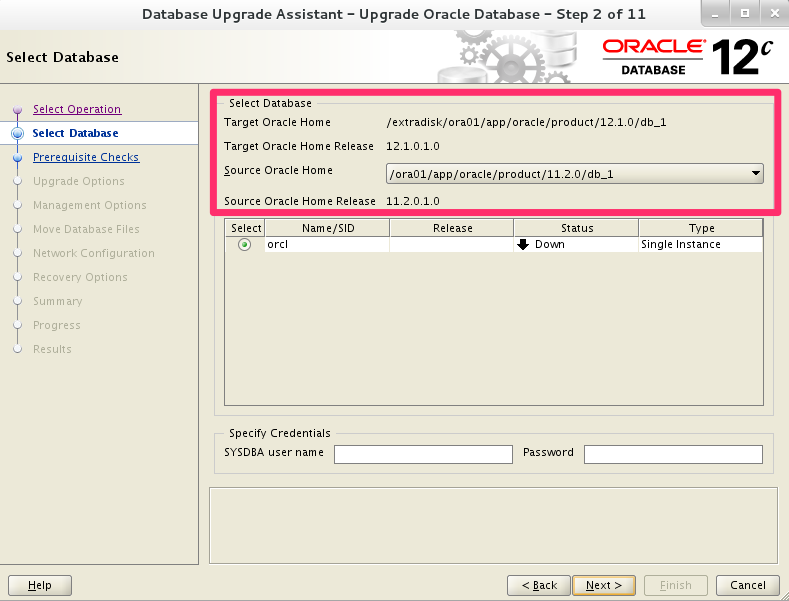
In step 2, you will find that it will show the 11g location path along with 12c location path. Also you will find that it is indicating Target Oracle Home Release 12 from Source Oracle Home Release 11. Click next step 2 and move to step 3.
Follow the on screen instructions and finished it.
In the last step, you will get a success window where you will find that the update of oracle database was successful.
A word of caution: Before upgrading to 12c for your production server, please make sure you have done it some other workstation so that you can fix all the errors, which you will encounter on the way of upgrading. Never try upgrading a production server without knowing all the details.


