
Transferring files and folders over network is becoming so easy nowadays. We already have featured an awesome, cross platform file transfer tool called “Dukto”.
Today, we would like to share two more tools that will help you to share files and folders over network.
- Nitroshare
- Retroshare
You don’t need to be an experienced Linux administrator to share files over LAN or WAN. These tools are really easy to setup, configure and use. And the good news is these are completely free and open source.
First, we will see about Nitroshare.
1. Nitroshare
NitroShare is a tool used to transfer files from one machine to another on the same network. Just install it on your Ubuntu systems and you will all set. NitroShare will instantly find each other systems in your network and start sharing files and folders. Nitroshare is written in C++ programming language, and it is completely free, and open source. This application was developed using the QT framework and therefore runs on any platform supported by QT, including Linux, Microsoft Windows, and Mac OS X.
Features
Some of the prominent features of NitroShare are listed below.
- Automatic discovery: Nitroshare will automatically discover all systems in your network.
- File transfer across network systems are really fast.
- Size is not limited. You can transfer files or folders of any size.
- It transfers anything. You can either transfer a file, folder, image or media.
- Dynamic file compress during transfer to decrease transfer time and bandwidth.
- CRC checksum generation to ensure file integrity during transfer.
- Full compatibility with clients running on other operating systems.
- A helpful configuration wizard to guide you through setting up the application on your machines.
Installing NitroShare
Head over to the Nitroshare download page and download the suitable version for your OS.
If you are suing Ubuntu, there is PPA available that will help you to easily install it.
Add the NitroShare PPA to your system using the following command:
sudo add-apt-repository ppa:george-edison55/nitroshare
Update source lists:
sudo apt-get update
Now, install Nitroshare in all systems in your network using command:
sudo apt-get install nitroshare
That’s it. Now, we will see how to use to send and files over network.
Usage
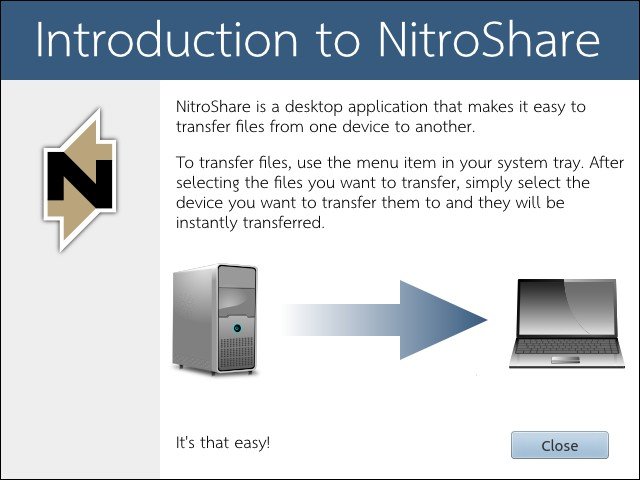
After installing, launch the NitroShare application either from menu or Dash.
An Introduction window will open at first launch. Just click Close.
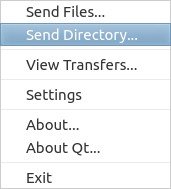
Now, select “Send Files…” or “Send Directory…” from the the AppIndicator or Tray icon menu in your Ubuntu system.
Refer the following screenshot.
![Ubuntu 15.04 Desktop [Running] - Oracle VM VirtualBox_003](http://unixmen.com/wp-content/uploads/2015/07/Ubuntu-15.04-Desktop-Running-Oracle-VM-VirtualBox_003.jpg)
Let us send a folder (Ex. My Share) from my home directory.
To do that, right click on the Nitroshare icon and select “Send Directory…” option.
Select the folder you want to share.

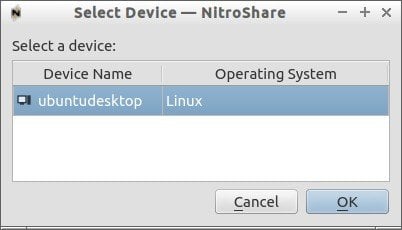
You don’t need to manually search all systems in your network. Nitroshare will automatically search and list the available system in your source system.
Select the destination system and click Ok.
After completing the transfer, a confirmation window will appear.
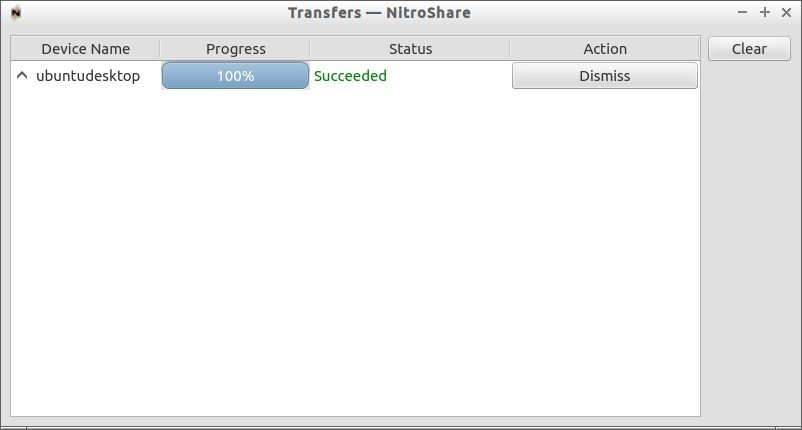
Close the ‘File Transfer complete’ window.
Go to the destination device and check the folder is really received or not.
By default, the received files or folders will be saved in the Desktop folder of your destination system.
![Ubuntu 15.04 Desktop [Running] - Oracle VM VirtualBox_010](http://unixmen.com/wp-content/uploads/2015/07/Ubuntu-15.04-Desktop-Running-Oracle-VM-VirtualBox_010.jpg)
![Ubuntu 15.04 Desktop [Running] - Oracle VM VirtualBox_012](http://unixmen.com/wp-content/uploads/2015/07/Ubuntu-15.04-Desktop-Running-Oracle-VM-VirtualBox_012.jpg)
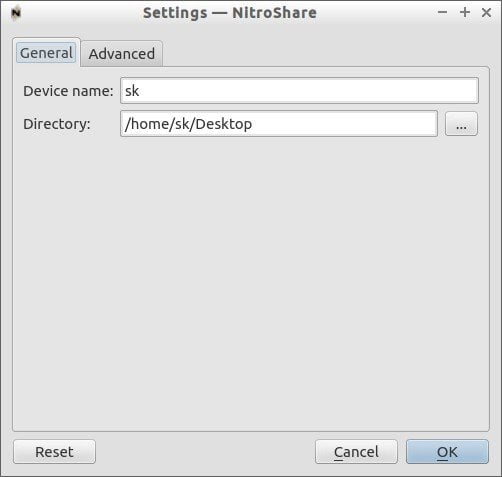
If you like, you can change the default download location from the Nitroshare Settings option.
Similarly, you can send and receive any files/folders of any size to any systems in the network. All you have to do is just launch the Nitroshare application in all systems and start sharing.
2. Retroshare
Retroshare is the next generation of peer to peer sharing networks. Unlike Nitroshare or any other classic peer to peer software, it only connects to trusted persons and not just anyone. Also, it not just a file sharing utility like Nitroshare, It is completely decentralized communication platform. It sends data over LAN and WAN.
Here is the list communication services in RetroShare:
- Private chat with friends
- Private or public chat lobbies, that allow chatting with friends and friends of friends
- Messages to friends
- Forums
- Voice over IP
The problem with existing filesharing networks is that you have no control over who you share information with. Retroshare is basically a platform that establishes encrypted connections between authenticated friends. This connection is used for various communication services and file sharing. It is independent of any corporate system or central servers, all data is only sent to friends and in some cases relayed by them to their friends, making Retroshare a decentralized Social Sharing Network designed For the People. Encrypted communication, ensures that all shared information is only known to you and your friends.
Installing Retroshare on Ubuntu
Download the latest version from the Retroshare official download page. It is available for all platforms such as Linux, Mac OS X and Windows.
Retroshare is currently available on all Ubuntu distributions up to vivid (15.04).
Or, you can use the following PPA to get the latest version.
sudo add-apt-repository ppa:csoler-users/retroshare
sudo apt-get update
sudo apt-get install retroshare06
Usage
Launch it from the Dash or Menu in your Ubuntu systems.
The following screen should appear.
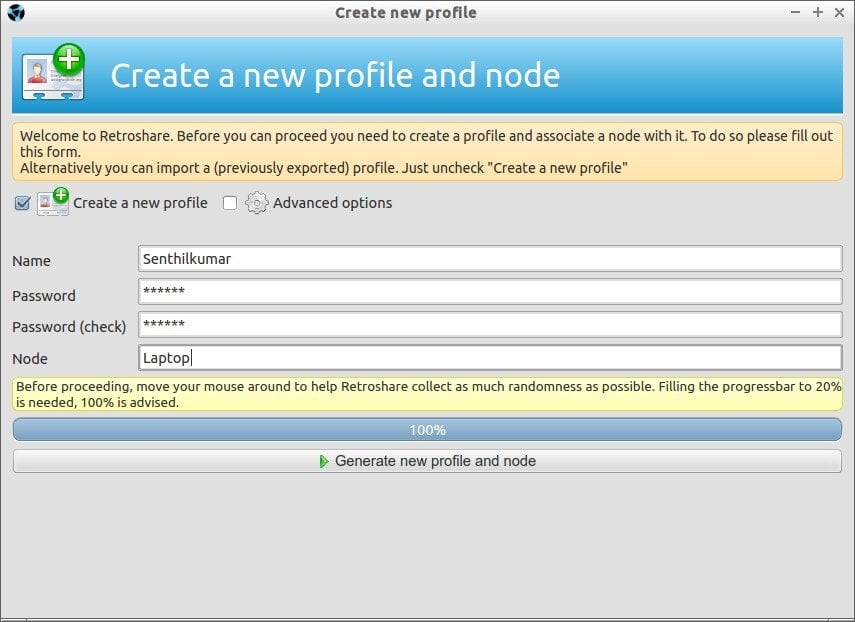
First of all, you need to create your identity. Enter your name, password and type of your node (Ex. Laptop or Desktop). You don’t have to use your valid email, just type e.g. “xxx” .
Note: Before proceeding, hover your mouse pointer over Retroshare window to help Retroshare collect as much as randomness as possible. Filling the progress bar to 20 % is needed. 100% is advised.
Then, Click Generate new profile and node.
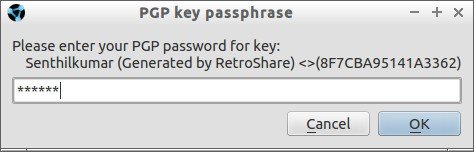
Enter your password for PGP key.
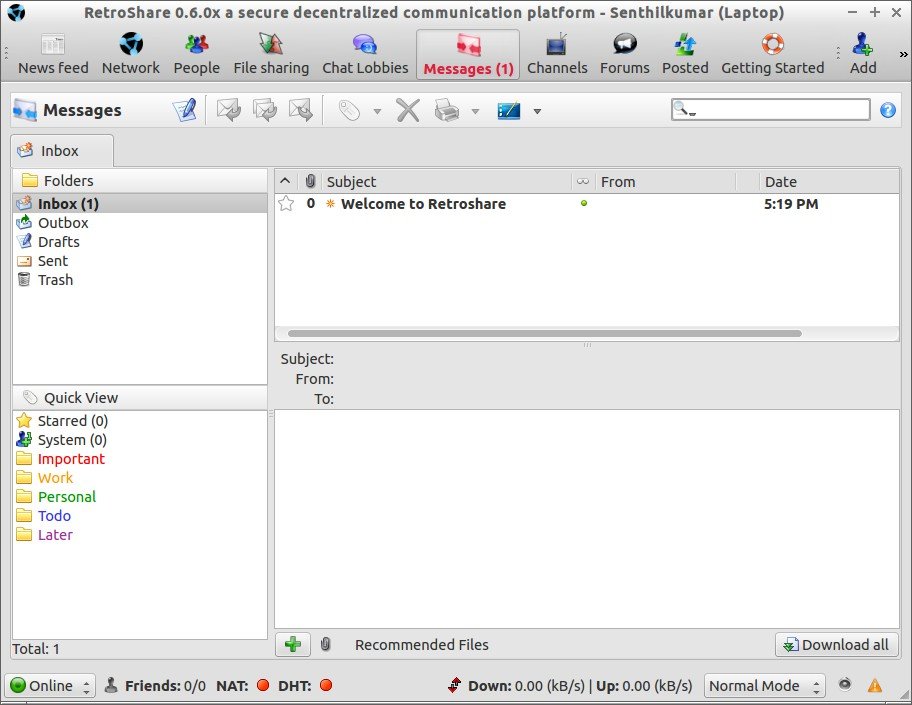
This is how my Retroshare page looks.
Now, you need to add friends to be able to connect to them. Once connected with them you can chat and share files.
Send Your Certificate to Friends:
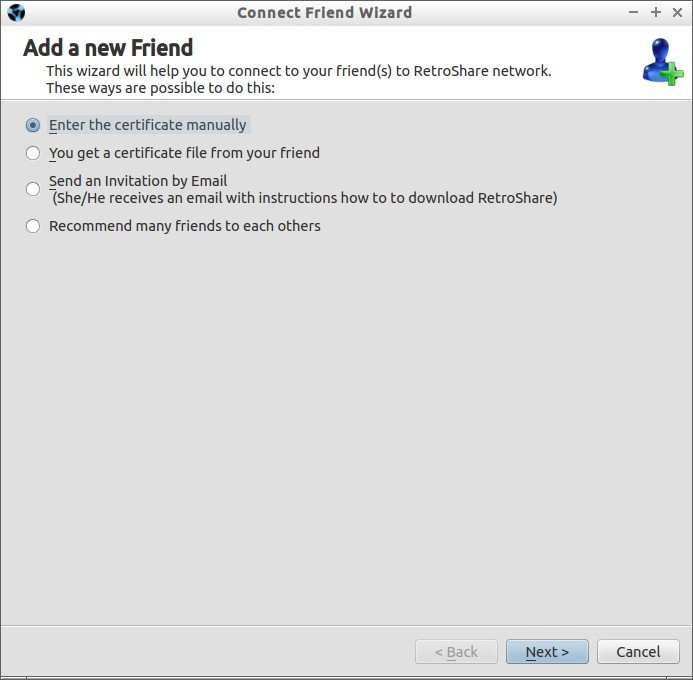
Open the “Add a friend” wizard from the top right corner of the Retroshare window.
The following screen should appear.
Either use the “Send an Invitation by Email” function, or copy the certificate manually and send it to your friends via any Chat or Email.
Copy your certificate and send it your friend via chat or email.
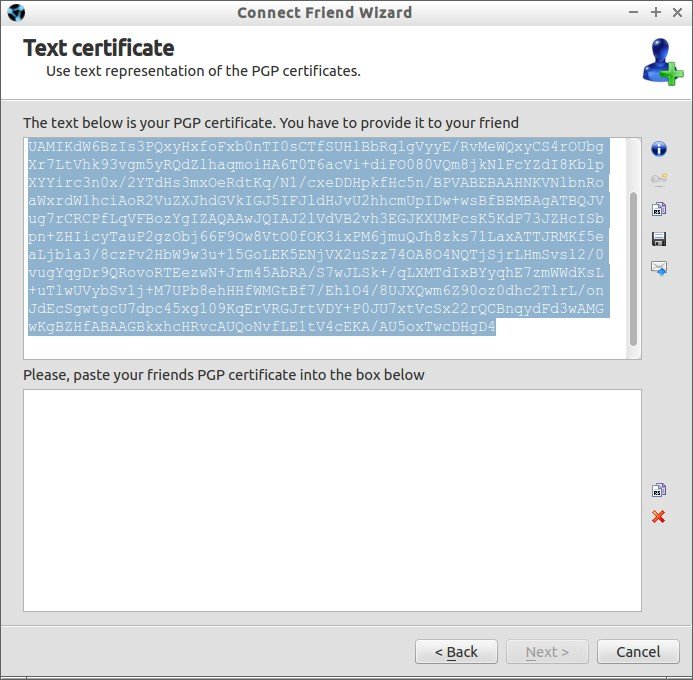
Remember to ask your friends to send you back their certificate.
When you receive your friends’ certificates:
- Click on the “Add a Friend Wizard” Button again.
- Select “Enter the certificate manually”.
- Cut and paste their certificates into the window (only one at a time).
- Click “Next” Button. A window with your friend’s details will appear.
- If it looks okay – Click “Finish” Button.
Note: The connection will not be made until BOTH friends have added each other’s certificates. As you are connecting directly to your friends and not indirectly over a server, you have to make sure the ports for RetroShare are open in your firewall and forwarded in your router. You can connect without opening your ports, but it will take longer and is more unreliable, however it is sufficient if either you or your friend has forwarded the ports.
Once you and your friend have set up Retroshare application with valid certificates on both sides, you will all set. Just start to chat, share files and send mails between you.
Conclusion
You might ask which application should I use. The answer is it depends. If you need just a file sharing utility to send and receive files over network, I recommend you to try “Nitroshare”. If you need more features like secure chatting, VoIP, Voice and Video, Forums, then “Retroshare” will be best choice. Both are pretty easy to setup and use. Give them a try, you won’t be disappointed.
Cheers!


