
Rsync is an open source software that can be used to synchronize files/folders from local to local computers, or local to remote computers and vice versa. The notable feature of the rsync is we can transfer encrypted files using SSH, and SSL encrypted transfer can be done using Stunnel. Moreover, rsysnc has a feature which is not found in the most other similar programs is that the mirroring takes place with only one transmission in each direction, eliminating the message latency overhead inherent in transmitting a large number of small messages.
Also, rsync has options to send files/directories using compression and recursion. This program was first announced in June 1996, originally developed by Andrew Tridgell and Paul Mackerras. Rsync uses “rsync algorithm”, and provides a very fast method for bringing remote files into the sync.
Features
Some of the notable features of rsync are given below:
- can update whole directory trees and filesystems.
- optionally preserves symbolic links, hard links, file ownership, permissions, devices and times.
- requires no special privileges to install.
- internal pipelining reduces latency for multiple files.
- can use rsh, ssh or direct sockets as the transport.
- supports anonymous rsync which is ideal for mirroring.
Installation
rsync is available on all modern Unix/Linux systems default repositories.
On Debian/Ubuntu based systems:
sudo apt-get install rsync
On CentOS/RHEL based systems:
yum install rsync
On SUSE/OpenSUSE systems:
zypper in rsync
Usage
For the purpose of this tutorial, I will be using two Ubuntu 14.04 systems. My source system(local system) IP address is 192.168.1.200/24, and my destination system(remote system) IP address is 192.168.1.250/24. I want to synchronize the /home/sk/Downloads/ directory of the source system(192.168.1.200) with /home/sk/sync/ directory of the destination system(192.168.1.250).
1. To synchronize a directory from local system with a remote system, enter the following command:
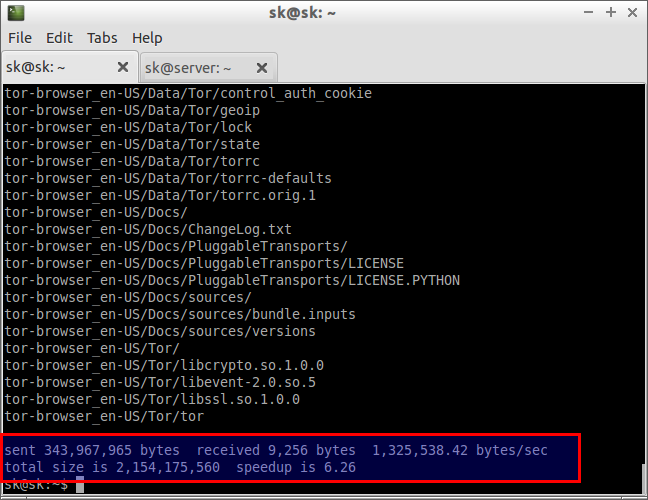
rsync -azvr /home/sk/Downloads/ sk@192.168.1.250:/home/sk/sync
The above command will synchronize the files/folders of /home/sk/Downloads of local system with /home/sk/sync of remote system.
Sample output:
Here,
- a – indicates archive
- z – indicates compression
- v – indicates verbose
- r – indicates recursion
- 192.168.1.250 – Remote(destination system ip address)
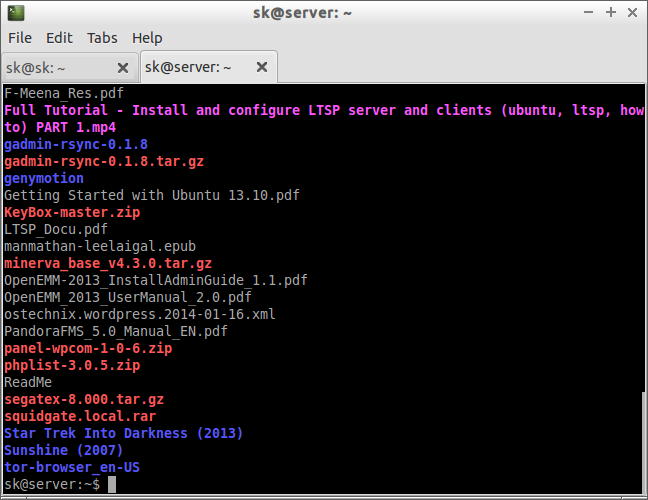
To verify the synchronized files on the remote system, go to the remote synchronization folder and list the contents using “ls” command.
ls /home/sk/sync/
Sample output:
2. Synchronize directories between local system itself:
If you want to synchronize files/folders within the local system folders, enter the following command instead:
rsync -azvr /home/sk/Downloads/ /home/sk/Documents
The above command will synchronize the /home/sk/Documents directory with /home/sk/Documents directory in the local system itself.
3. Synchronize directories securely over SSH
If you want to transfer files securely to remote system, use “-e ssh” option.
rsync -azvr /home/sk/Downloads/ -e ssh sk@192.168.1.250:/home/sk/sync
4. Transfer only one file:
To transfer only one file to the remote systems, the command will be like below.
rsync -azvr /home/sk/Downloads/ReadMe -e ssh sk@192.168.1.250:/home/sk/sync
The above command will transfer the ReadMe file to the /home/sk/sync/ directory of the remote system.
5. Synchronize a directory from remote system to local system, use the following command sequence:
rsync -azvr sk@192.168.1.250:/home/sk/sync /home/sk/Downloads/
The same way, you can transfer a file from a local system to remote system.
For more detailed rsync usage, refer the man pages.
man rsync
In the above examples, we have learned the basic usage of rsync commands. However, we can make the permanent synchronization between local and remote systems, and schedule them at a particular interval. For this purpose, let us synchronize the files/folders of /home/sk/Downloads of local system with /home/sk/sync of remote system permanently, and schedule the sync process at a particular time.
First, make sure that you’ve installed rsync and xinetd packages on both source and destination systems.
To install xinetd on Debian/Ubuntu systems, use the following command:
sudo apt-get install xinetd
On RHEL based systems:
yum install xinetd
Now, we have to make some changes in the configuration files.
Do the following changes on the destination systems:
First, edit file /etc/default/rsync,
sudo vi /etc/default/rsync
Find the following line,
RSYNC_ENABLE=false
Change it to look like below.
RSYNC_ENABLE=inetd
Save and close the file.
Then, edit file /etc/xinetd.d/rsync,
Note: The above file will not be found on the Ubuntu/Debian file. You have to create and add the lines mentioned below.
sudo vi /etc/xinetd.d/rsync
Add/edit lines as shown below.
service rsync
{
    disable = no
    socket_type = stream
    wait = no
    user = root
    server = /usr/bin/rsync
    server_args = --daemon
    log_on_failure += USERID
    flags = IPv6
}
Create file /etc/rsyncd.conf,
sudo vi /etc/rsyncd.conf
Add the following lines:
[share]

path = /home/sk/sync
hosts allow = 192.168.1.200
hosts deny = *
list = true
uid = root
gid = root
read only = false
Save and close the file.
Here, /home/sk/sync is the destination system synchronization directory. 192.168.1.200 is source system ip address.
Restart xinetd and rsync service.
sudo /etc/init.d/xinetd restart
sudo /etc/init.d/rsync restart
Now, go to the source system(local system), and start the synchronization using the following command:
rsync -azvr /home/sk/Downloads/ 192.168.1.250::share
Configure password less SSH login for Remote systems
In order to take remote backup, you need to setup password less SSH login for your remote systems, so that you need not to enter the remote user password every time.
Enter the following command on the local system(192.168.1.200) to generate SSH keys:
ssh-keygen -t rsa
Sample output:
Generating public/private rsa key pair.
Enter file in which to save the key (/home/sk/.ssh/id_rsa):
Enter passphrase (empty for no passphrase):
Enter same passphrase again:
Your identification has been saved in /home/sk/.ssh/id_rsa.
Your public key has been saved in /home/sk/.ssh/id_rsa.pub.
The key fingerprint is:
b9:1c:7a:02:88:02:47:af:15:3d:74:5f:84:3d:00:45 sk@sk
The key's randomart image is:
+--[ RSA 2048]----+
|  . .o. o+E=o    |
| . . .o. ...o    |
|. . o  .  .  .   |
|.o +     .       |
|o o .   S        |
|.    . o o       |
|      o +        |
|       o         |
|                 |
+-----------------+
Copy the id_rsa.pub key file to remote systems:
ssh-copy-id -i /home/sk/.ssh/id_rsa.pub sk@192.168.1.250
/usr/bin/ssh-copy-id: INFO: attempting to log in with the new key(s), to filter out any that are already installed
/usr/bin/ssh-copy-id: INFO: 1 key(s) remain to be installed -- if you are prompted now it is to install the new keys
sk@192.168.1.250's password:

Number of key(s) added: 1

Now try logging into the machine, with:   "ssh 'sk@192.168.1.250'"
and check to make sure that only the key(s) you wanted were added.
Now you can login to server using ssh without password.
Configure Cron jobs
If you want to run the sync process at a particular interval everyday, add the following entries in the crontab.
Enter the command:
crontab -e
Add the following line:
00 05 * * * rsync -azvr /home/sk/Downloads/ 192.168.1.250::share
The cron job file will run everyday at 5am, and start the sync process automatically.
Cheers!


