
According to Distrowatch, there are 800+ Linux distributions are available at present and the list continues. This list includes the all major operating systems including Debian, RHEL, SUSE, Arch Linux and their derivatives.
Here is the top ten Linux distributions sorted by popularity:
- Linux Mint ;
- Debian ;
- Ubuntu ;
- openSUSE ;
- Fedora ;
- Mageia ;
- CentOS ;
- Manjaro Linux ;
- LXLE ;
- ArchLinux.
These are the popular and widely used Linux distributions. These Linux distros should work just out of the box. However, if you’re anything like me, you might want to build your own customized Linux distribution as per your needs. For example, you might want to include your own or modified version of any software. You might want to add some light weight applications in your distro. You might want to include some games or anything by default in your Linux distro. So, how can you do it anyway? No worries! It is not that difficult.
There are many tools available to build your own customized distros. Here, I list few tools.
- Remastersys
- Relinux
- Ubuntu cutomization kit (UCK)
- OS builder
- Novo builder
- Distroshare Ubuntu Imager
- Revisor
- Systemback
- Customizer
- SUSE Studio
Some of the above applications are discontinued now. As far as I know, we can create a custom distro in three ways. We can either modify/customize the running distribution or build from an ISO (Respin or Remixing) or directly build them from online.
Today, in this tutorial, let us see how to build a custom distro using SUSE Studio.
Before building our own Linux distro, let me give a brief introduction about SUSE Studio.
About SUSE Studio
SUSE Studio is a web application that will help us to build and test custom Linux distros and appliances based on SUSE Linux enterprise server. Using SUSE Studio, anyone can easily build a custom Linux OS via a web browser in few minutes or hours depending upon the size and quantity of applications. The latest SUSE Studio 1.3 version allows you even to build appliances for Virtual and Cloud platforms like VMware/VirtualBox, Xen, KVM, Hyper-V, OVF virtual machine, SUSE OpenStack Cloud, OpenStack, and Amazon EC2 etc. You’re free to apply your own branding to your images. Also, you can export your custom operating system as a Virtual machine, Live USB Disk, CD/DVD-ROM, Hard Disk Image and so much more. In addition, you can share your own images to others if you want, and all SUSE Studio images will be synchronized to SUSE Lifecycle Management Server without the need for any further adaptation.
Well, let us start to build our own image now.
Getting Started With SUSE Studio
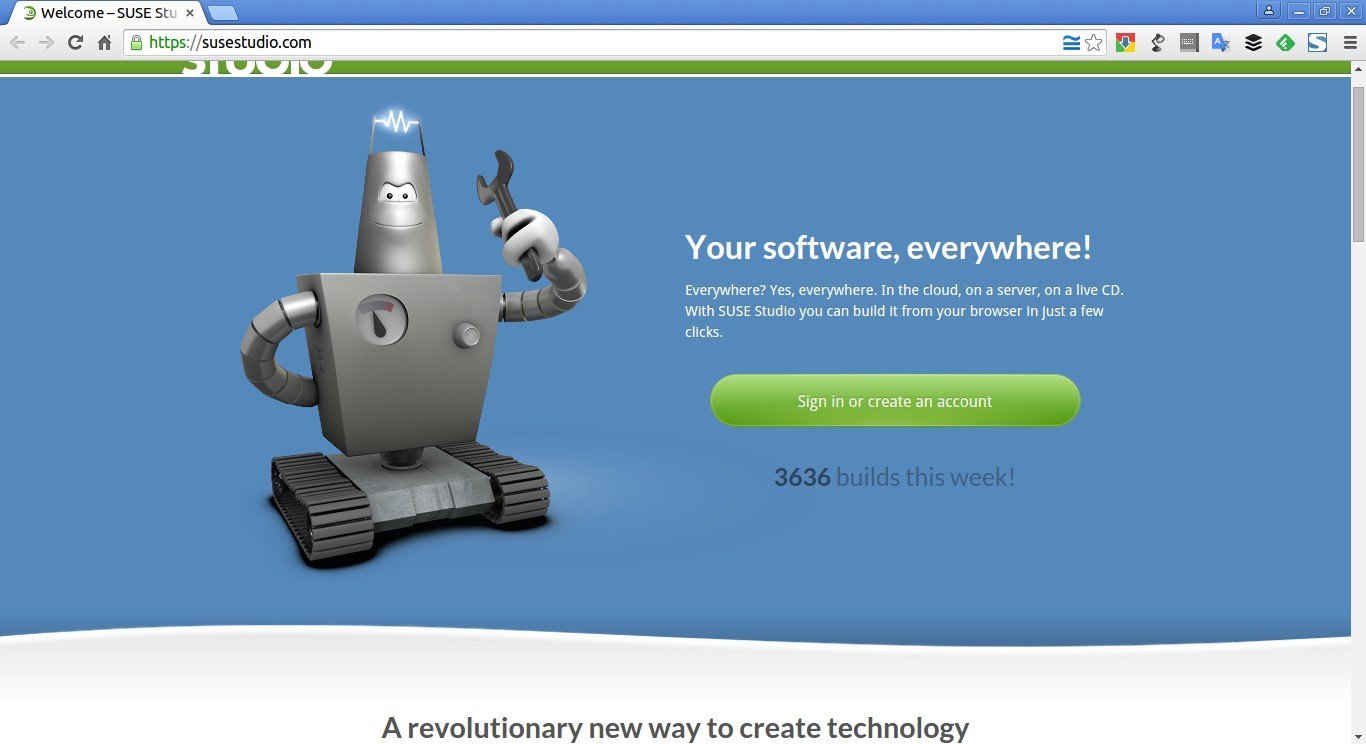
Go to SUSE Studio by clicking on the following link.
The SUSE Studio home page will look like below. Create an account or simply sign-in using your other existing accounts such as Yahoo, Facebook, Novell, Twitter etc.
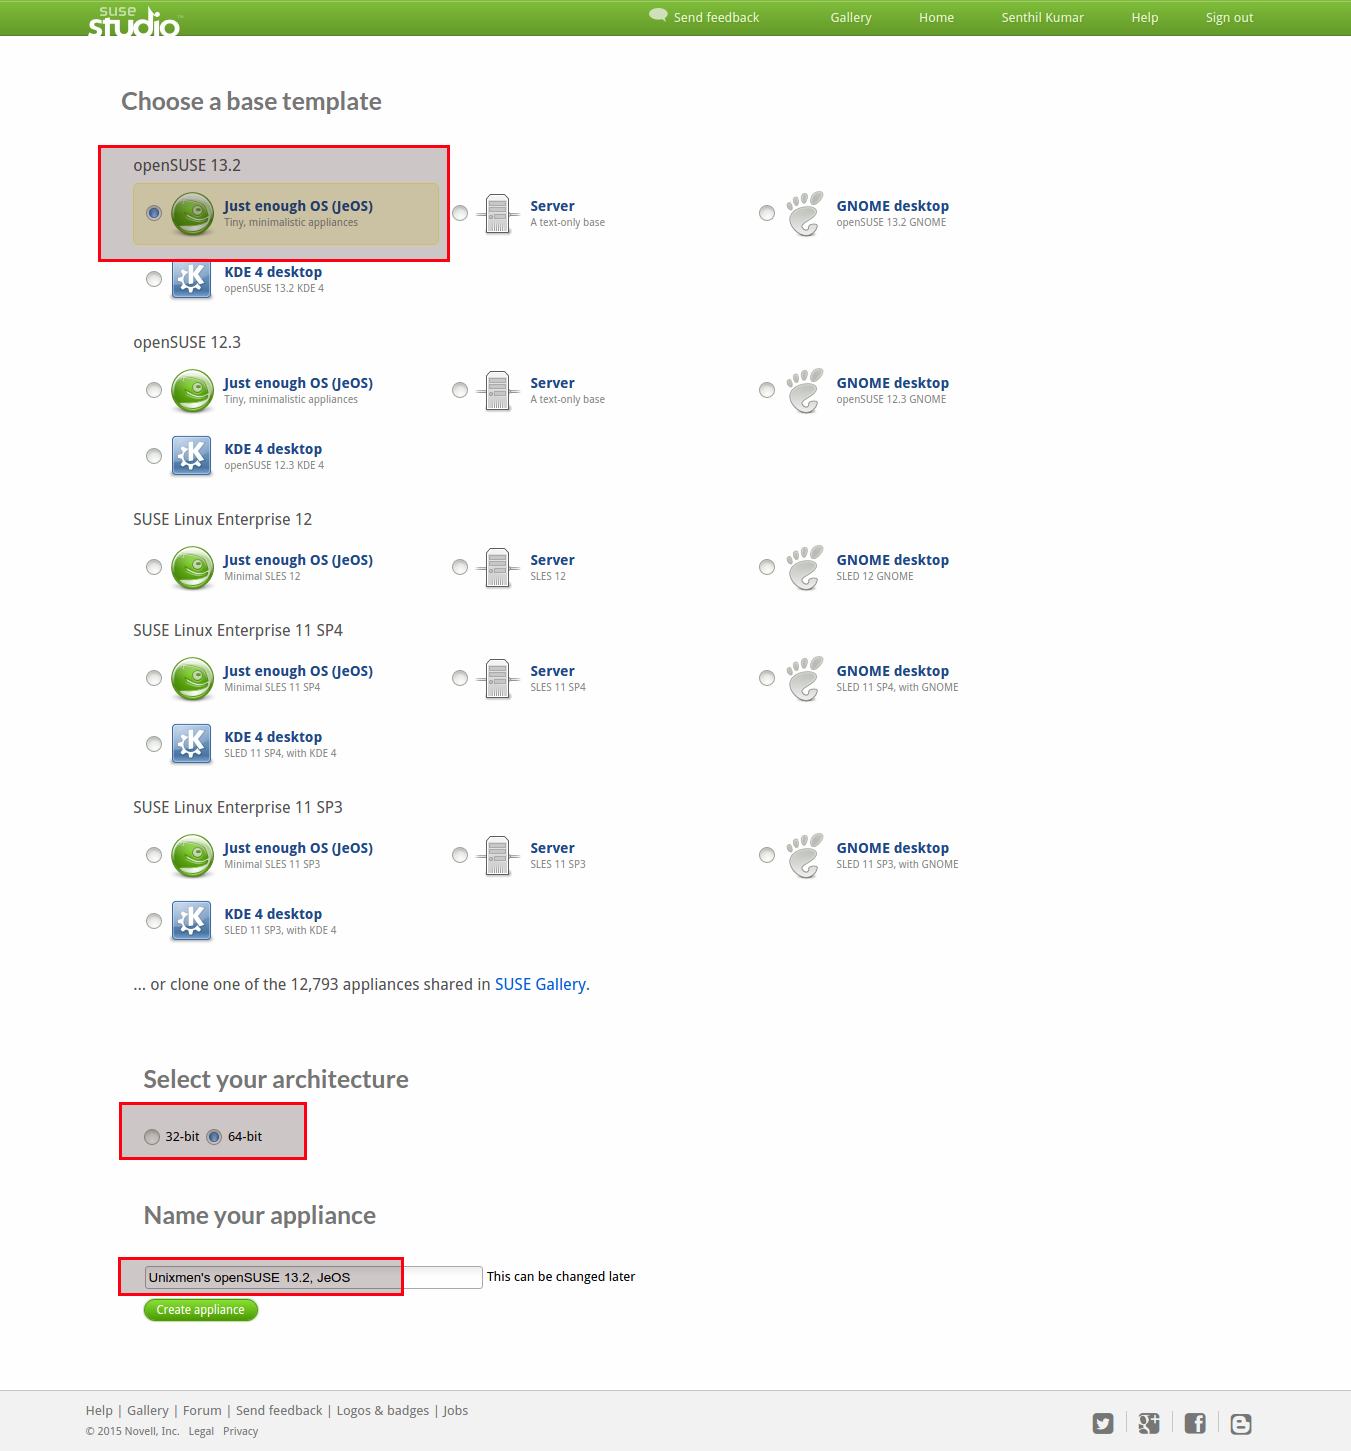
In the next page, you’ll be presented with various options such OS base Template (Desktop or Server), OS architecture, appliance name, Desktop environment etc. Then, Click Create appliance button.
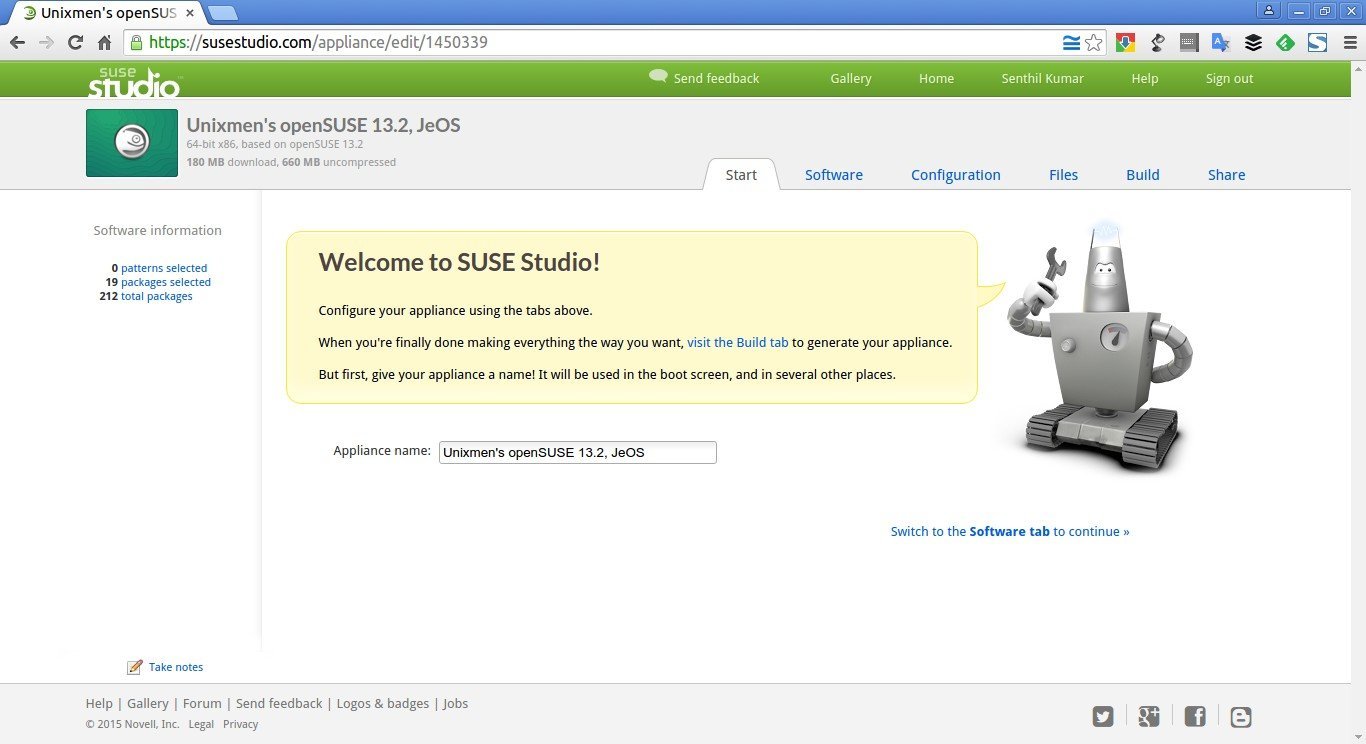
Next you need to configure your appliance.
Software
First, go to Software section and add applications that you wanted to include in your appliance.
Not only software from the SUSE repositories, you are allowed to upload packages from your local g=hard drive too. Also, you can add repositories of your own choice.
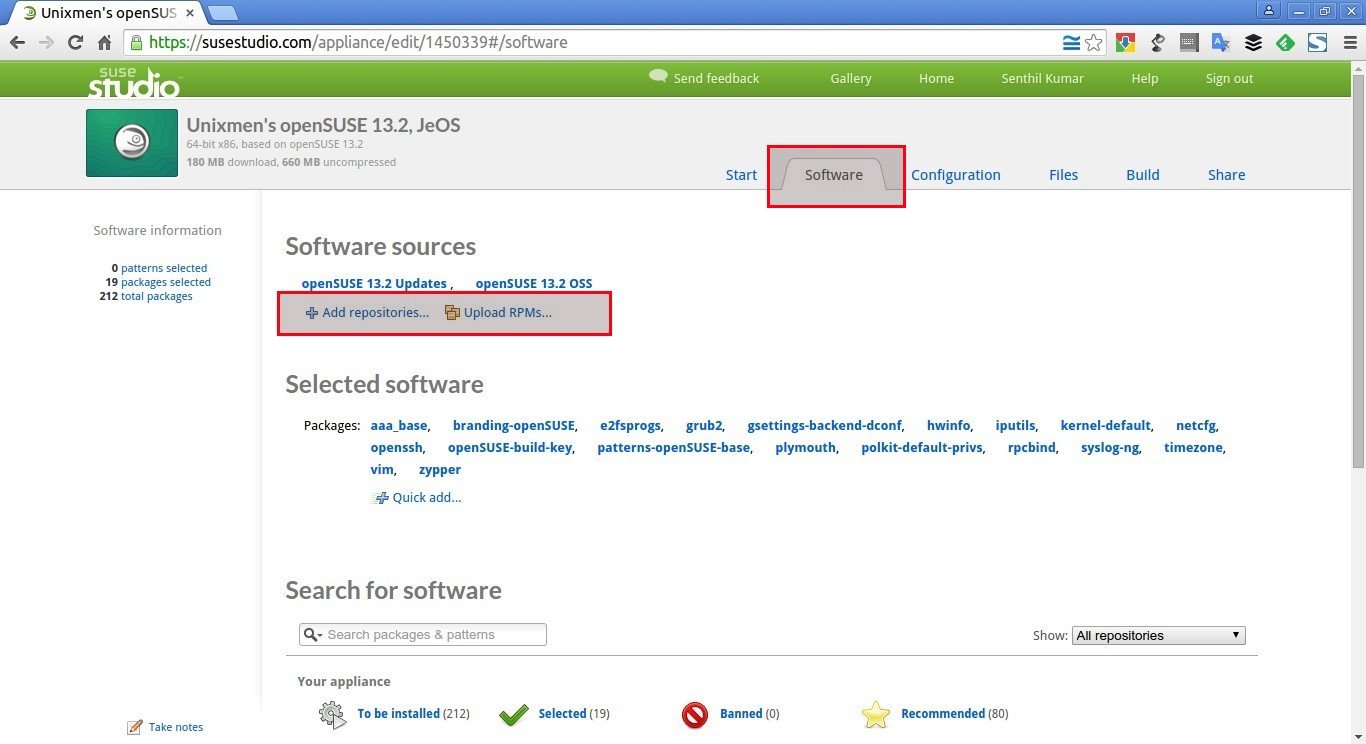
Let us add some software, for example VLC media player. Type VLC in the search box. You’ll be presented with a list of matches. Note that the matches will be sorted by popularity. The popular match will found on the top. Simply, click the Add button to include it in your application.
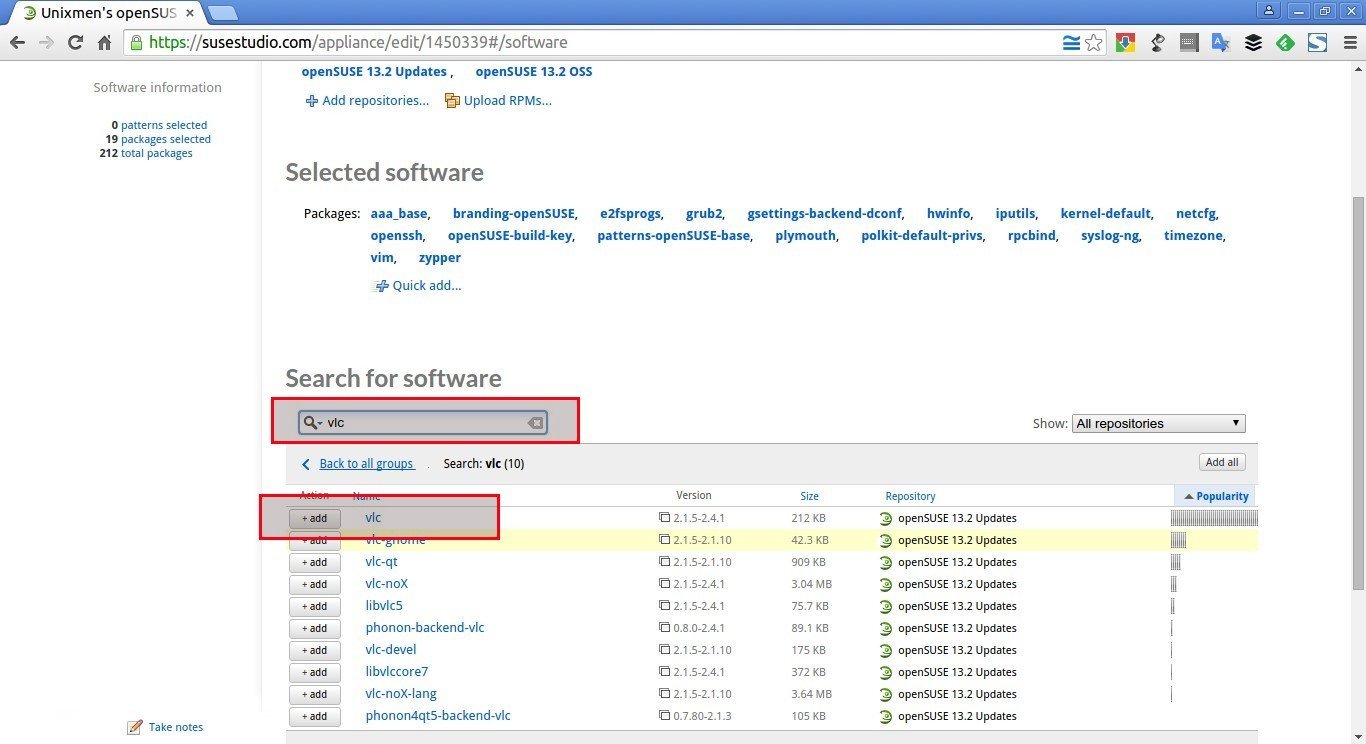
Similarly, you can select as many as applications you want.
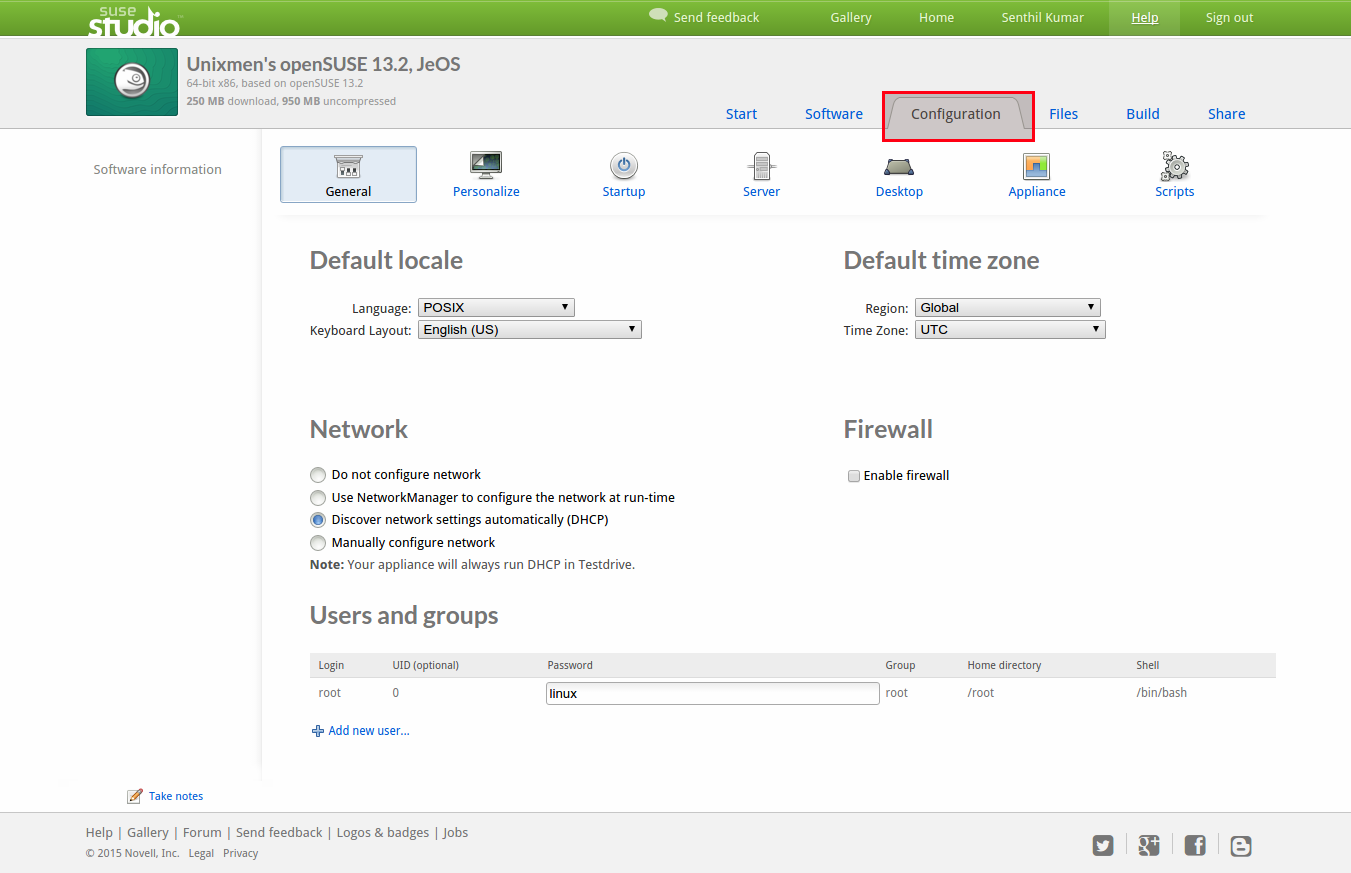
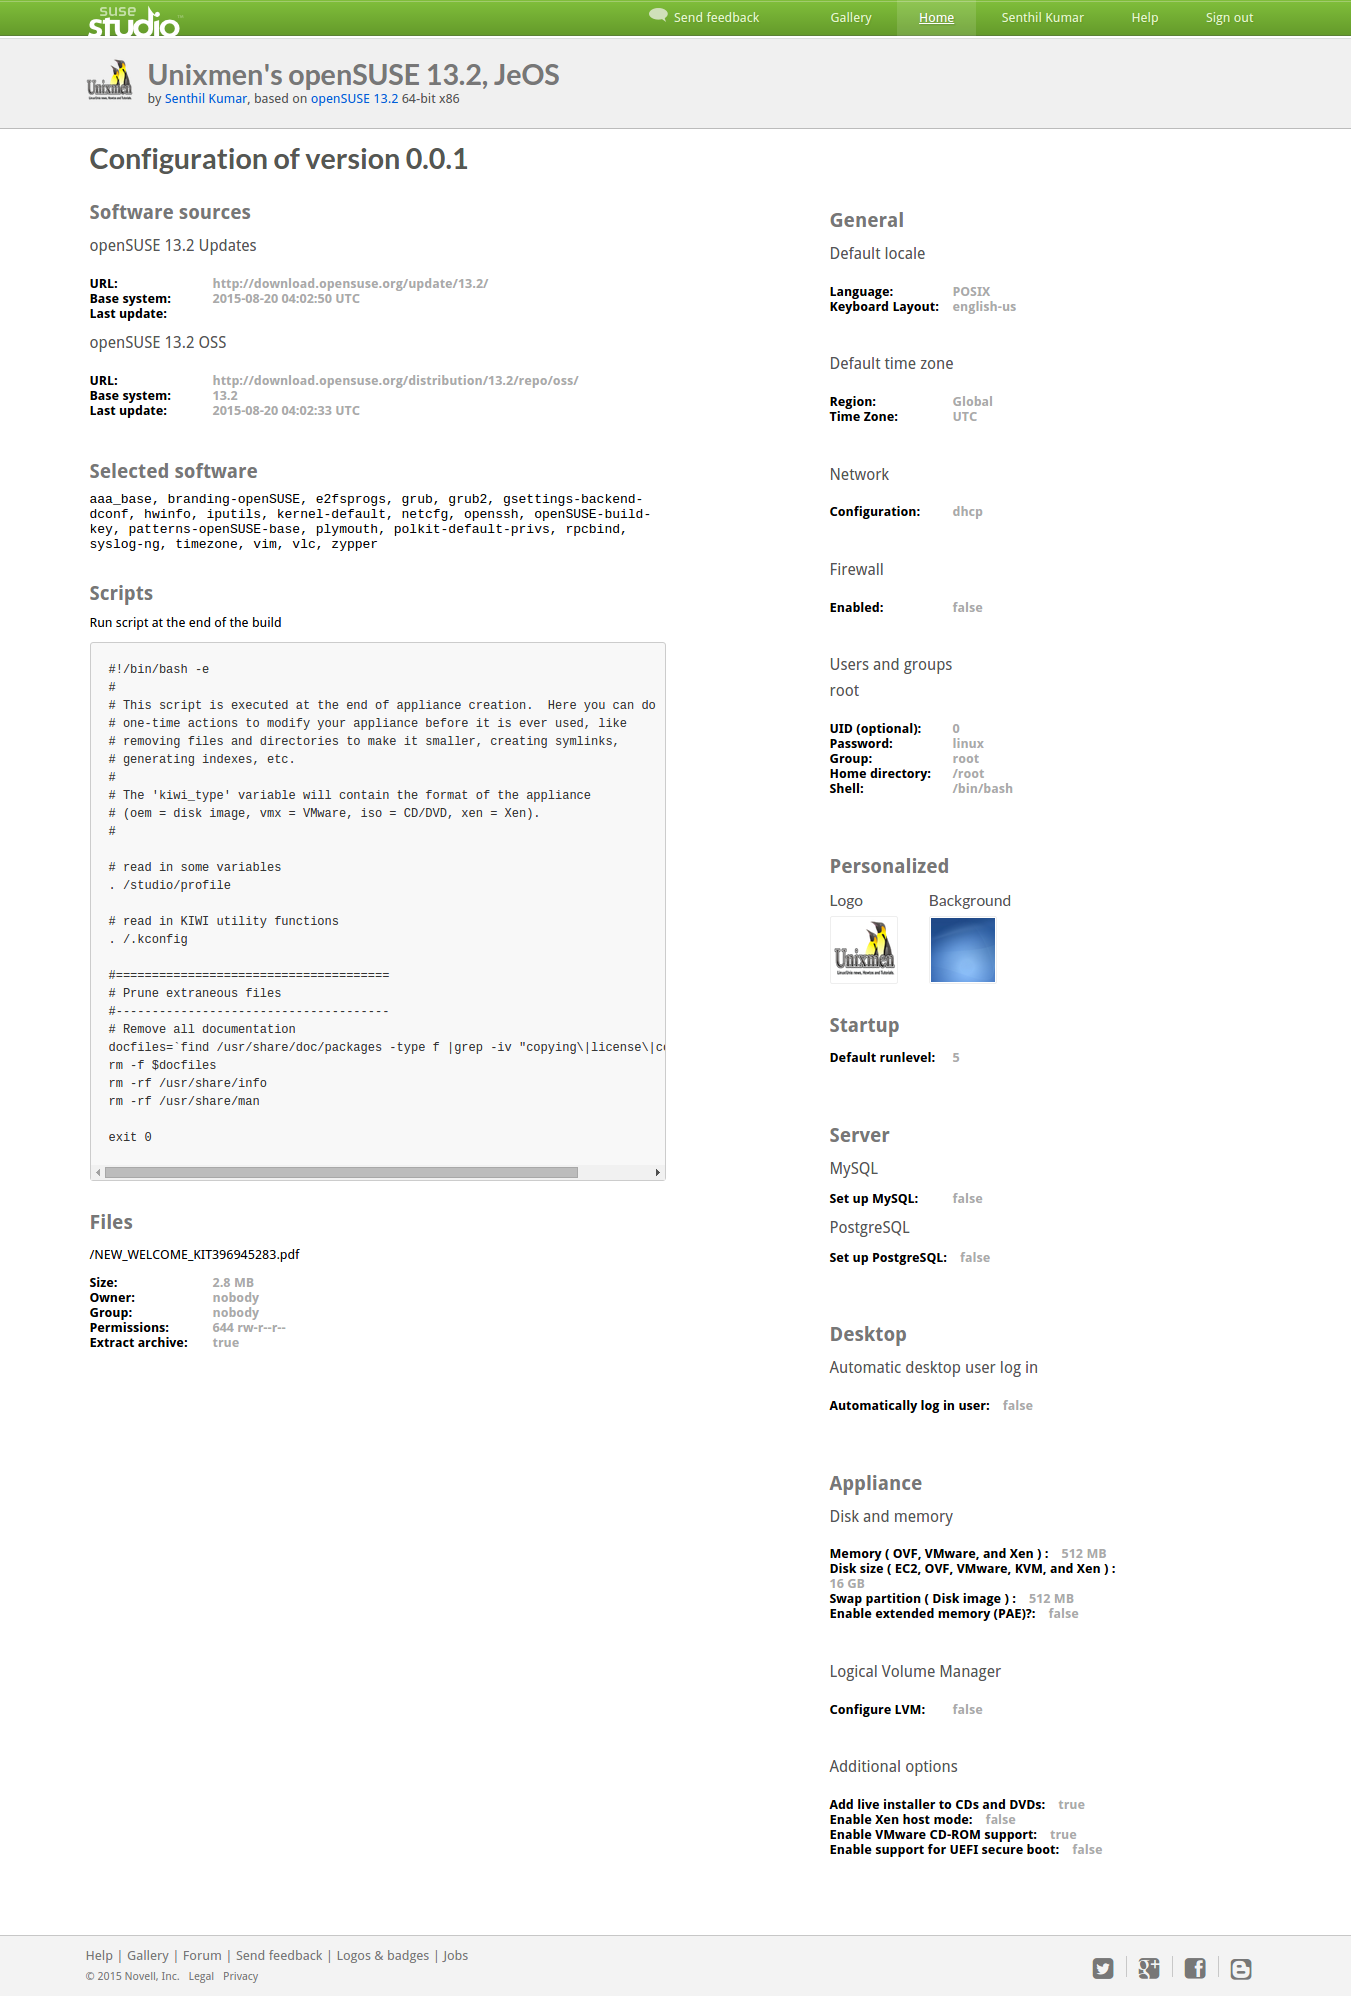
Configuration
Next, move to Configuration section. This section is important. In this section you can tweak your appliance as your own liking. The Configuration section has 7 sub-tabs namely:
- General
- Personalize
- Startup
- Server
- Desktop
- Appliance
- Scripts
Let us see one by one.
General:
In this tab, you can define some configuration options, such as your Language, Timezone, Region, Firewall configuration, Network configuration, User creation etc.
Personalize:
Like I said, you can replace the SUSE brand and add your own logo, background images etc. To add a logo, click on the Upload new logo button and select your logo. Then, select your appliance background image as well.
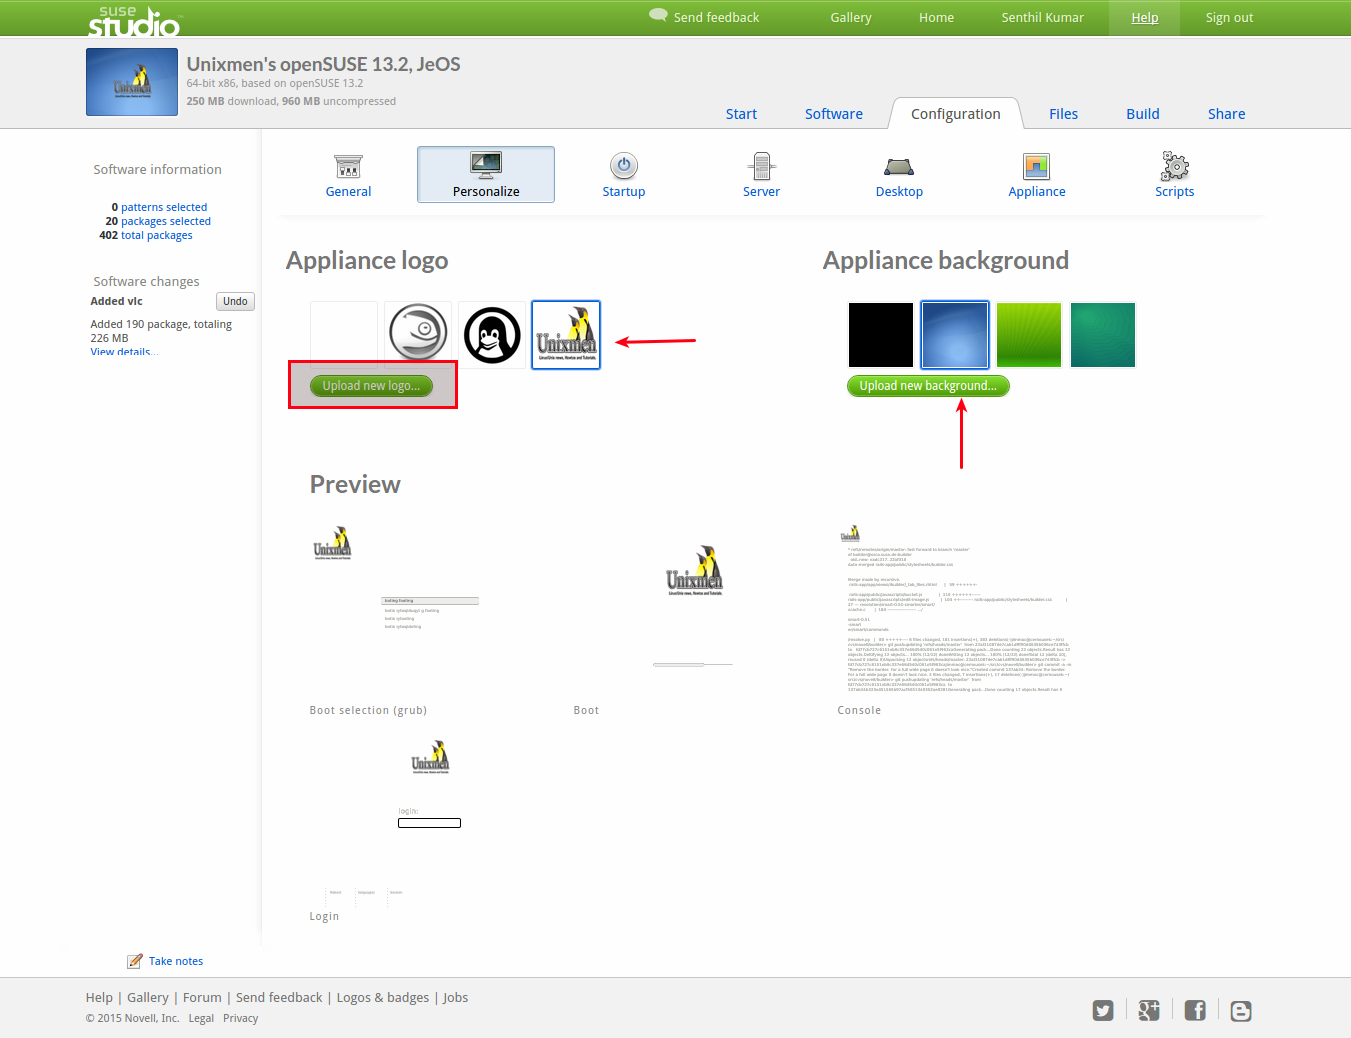
You can preview how your appliance boot screen will look like after uploading your logo.
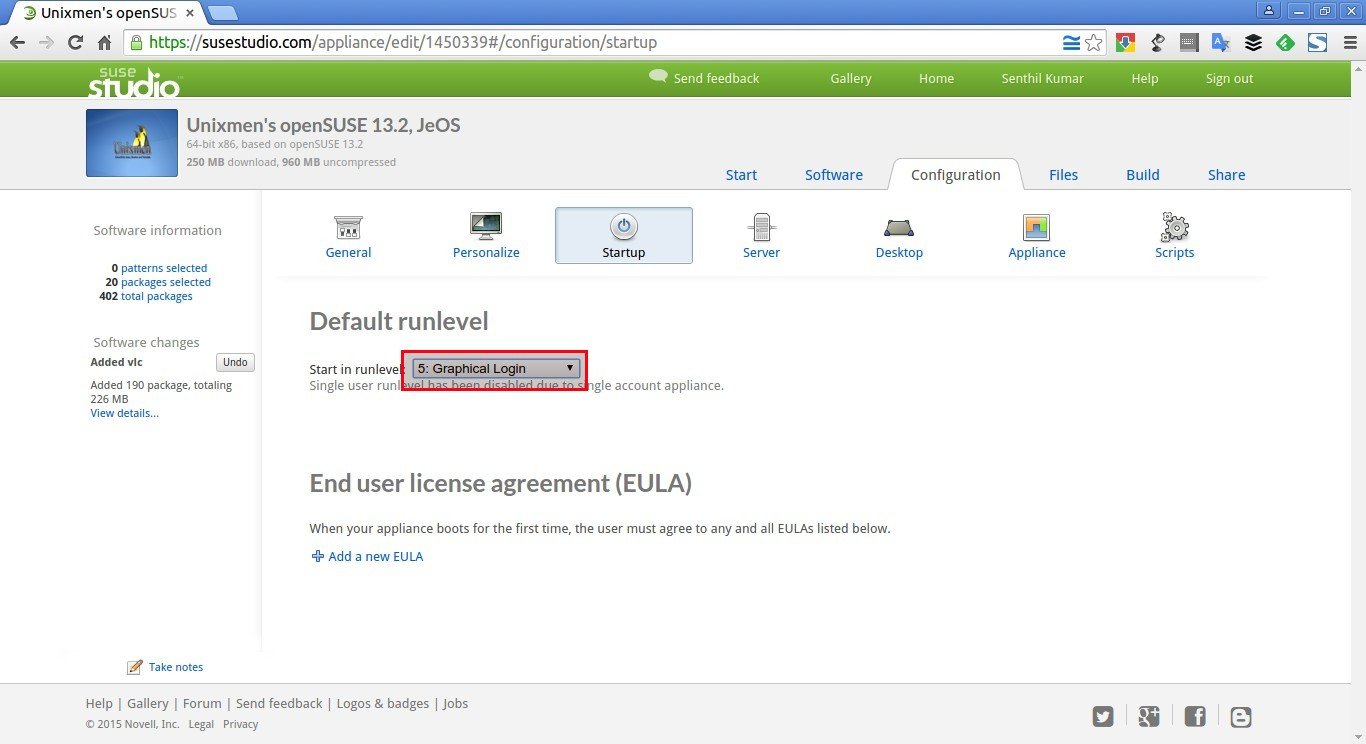
Startup:
In this section, you can select your appliance run level. I selected run level 5 (Graphical login).
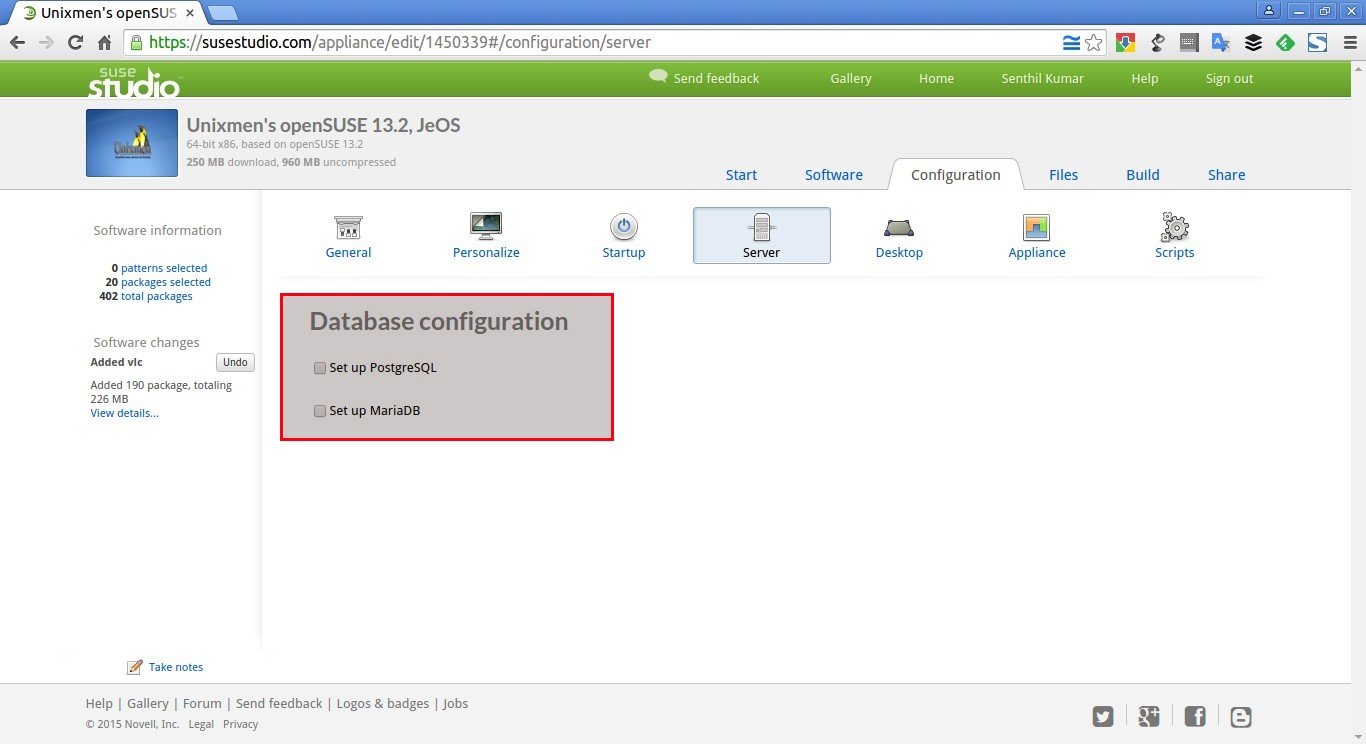
Server:
Want to add some Database configuration in your appliance? It’s also possible. Please note that you should add the installation packages for the database as shown Software section (top menu).
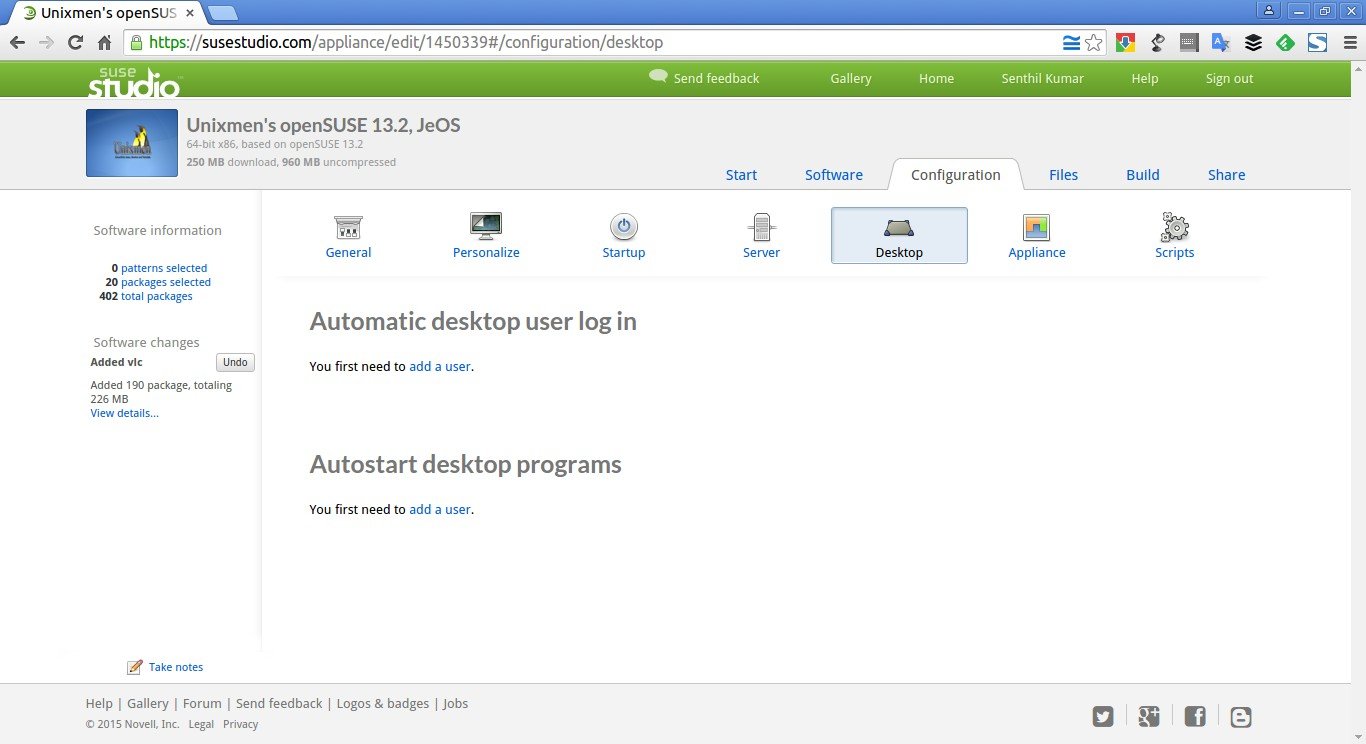
Desktop:
In this tab, you can define automatic login and autostart programs while logging in to your appliance. I don’t need auto login, so I left it blank.
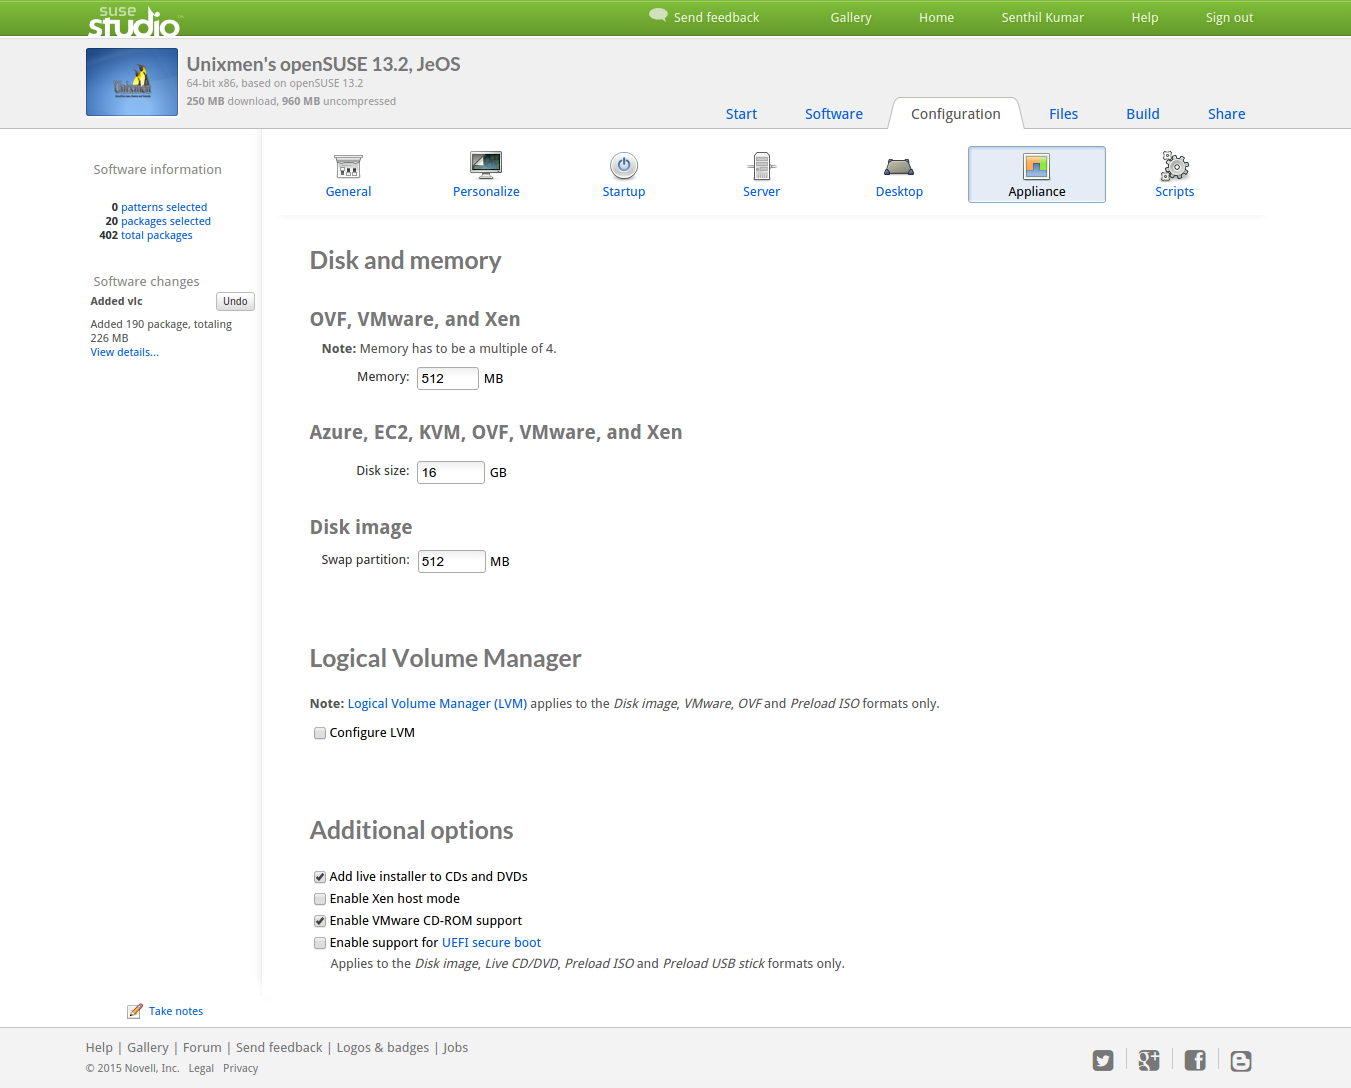
Appliance:
Here, you can define various parameters to your appliance such as Memory size, Disk size, Swap partition size etc. Additionally, you can define LVM configuration and other options such as:
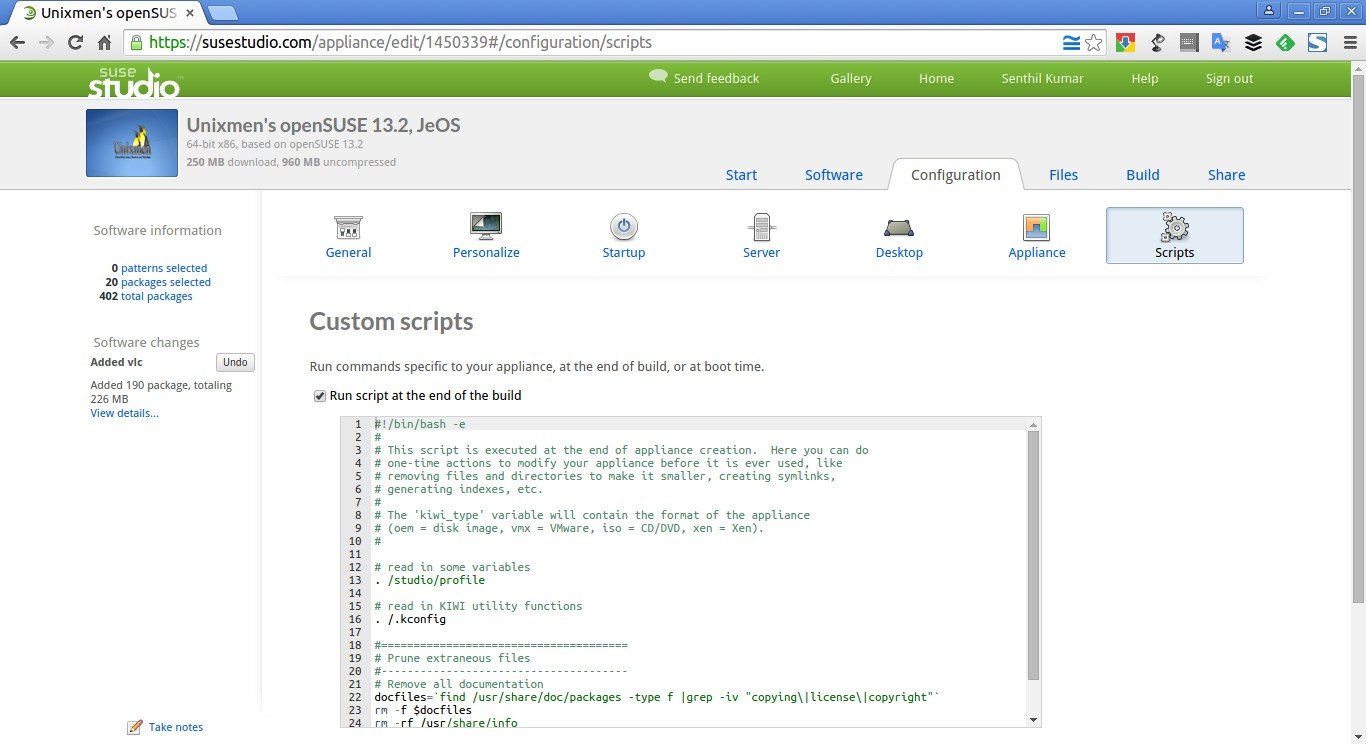
Scripts:
In this tab, add scripts to run commands specific to your appliance, at the end of build, or at boot time.
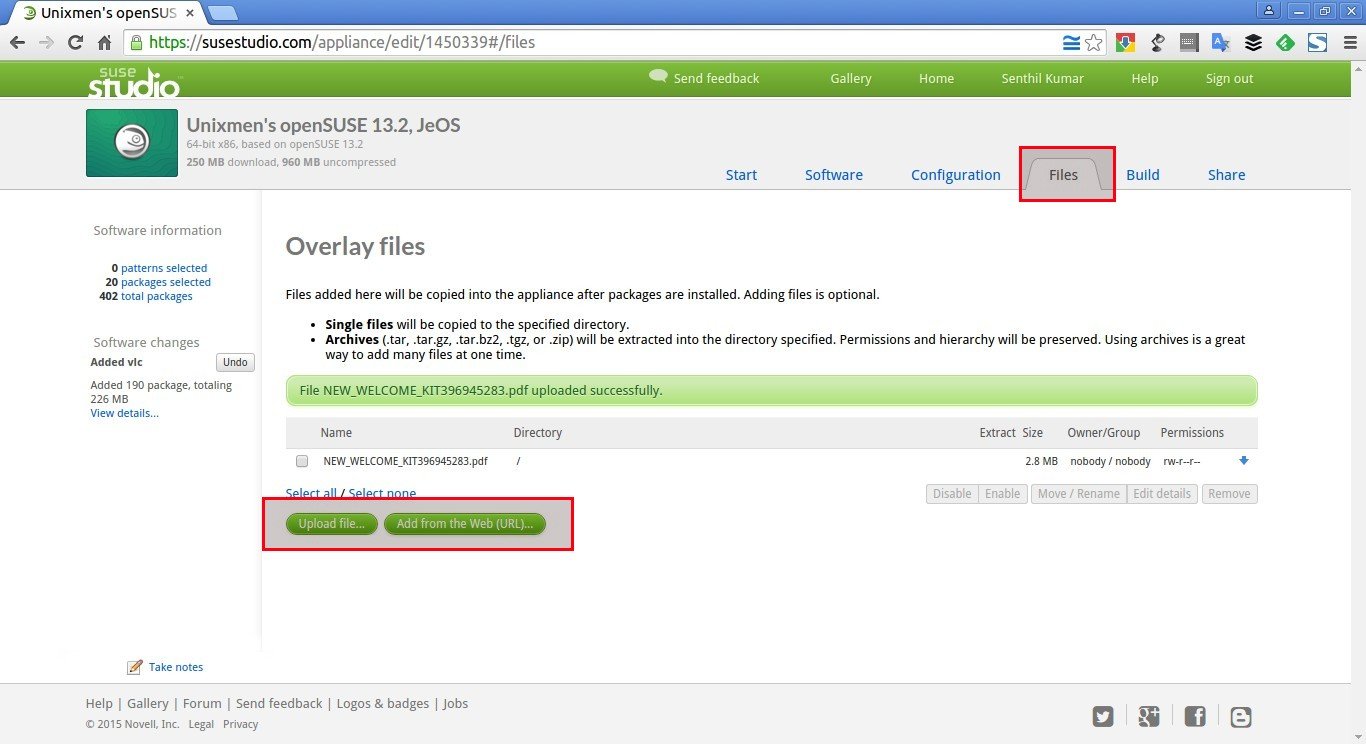
Files
The next section is Files. Files added here will be copied into the appliance after packages are installed. Adding files is optional.
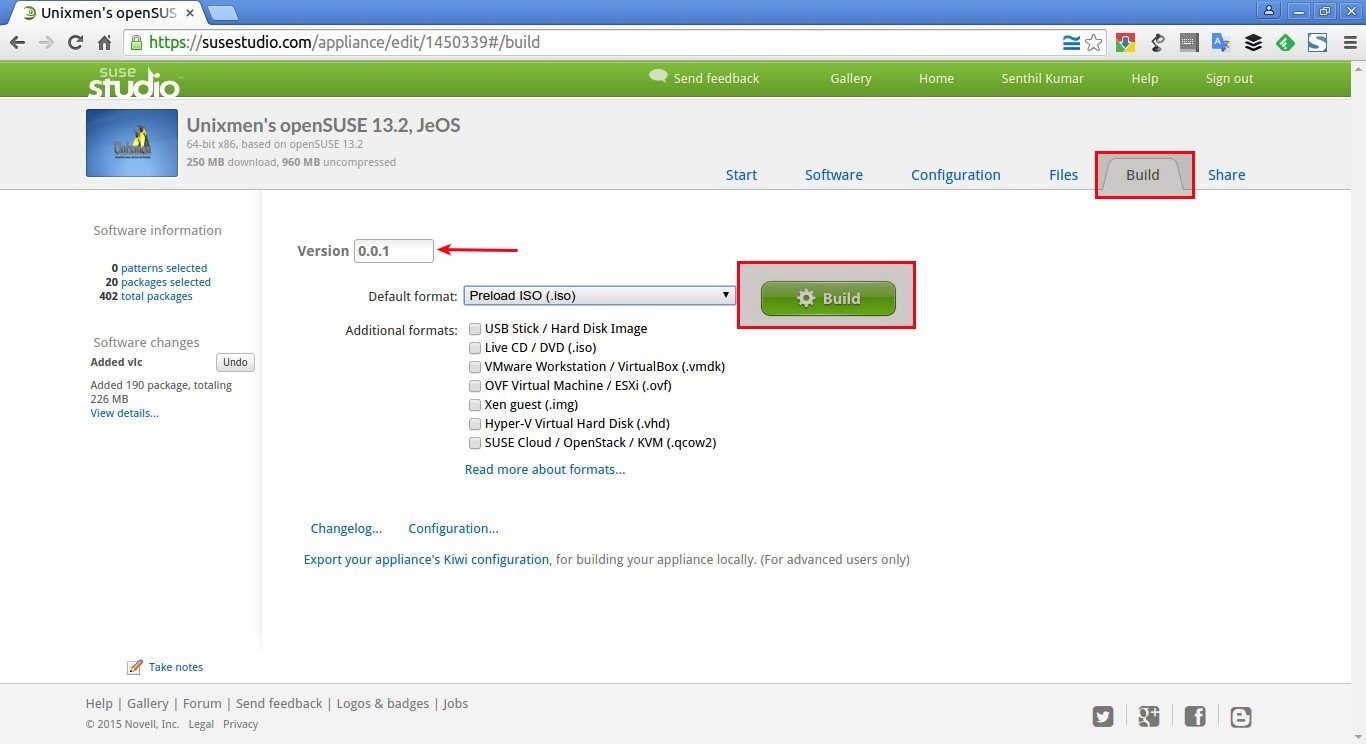
Build
Here comes the juicy part. Enter your appliance version number and select the format of your appliance such as:
- USB Stick / Hard disk Image
- Live CD / DVD (.iso)
- Preload ISO (.iso)
- VMware Workstation / VirtualBox (.vmdk)
- OVF Virtual Machine / ESXi (.ovf)
- Xen guest (.img)
- Hyper-V Virtual Hard Disk (.vhd)
- SUSE Cloud / OpenStack / KVM (.qcow2)
I am going to select Preload ISO format.
Click Build button to start building your custom distribution.
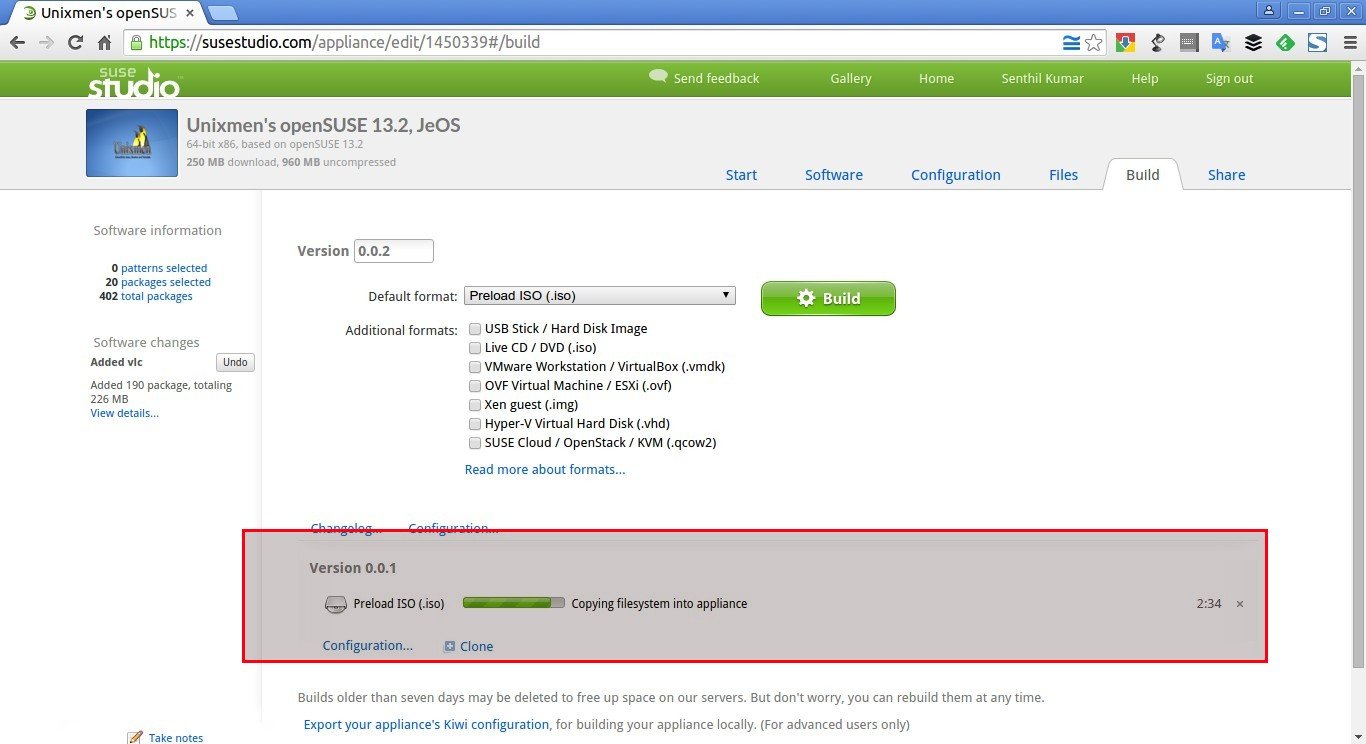
Now, Image creation process will start. This may take few minutes to several hours depending upon the size of your appliance. Be patient and grab a cup of coffee.
Congratulations! You customized distro is ready to use.
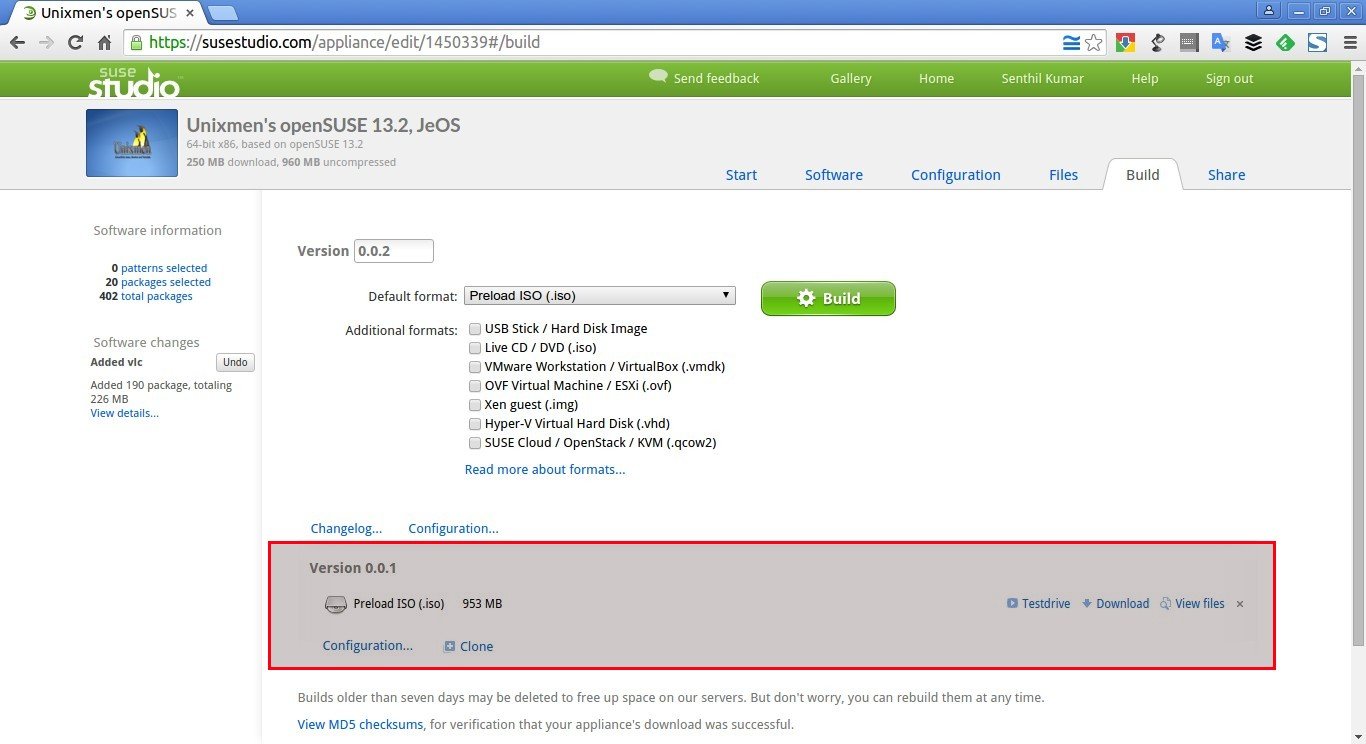
Now, you can test your image from the browser itself by clicking on the Testdrive button. Make sure you have enabled Flash player browser and allowed the ports 843 and 5900 – 5908 in your Firewall/Router. Or simply download the ISO and play it in your local system using Vmware or Oracle VirtualBox.
Do you want to create an exact clone of your current custom distro? It’s simple too. Just click on the Clone button to create another appliance in the same configuration. You can also verify the configuration of your image by clicking on the Configuration button near Clone button.
Share
Once you built your appliance, you can share your image to other SUSE studio users if you want. Go to the Share section.
Enter the description or release notes, website and hit Publish. Your image will shared on the SUSE gallery.
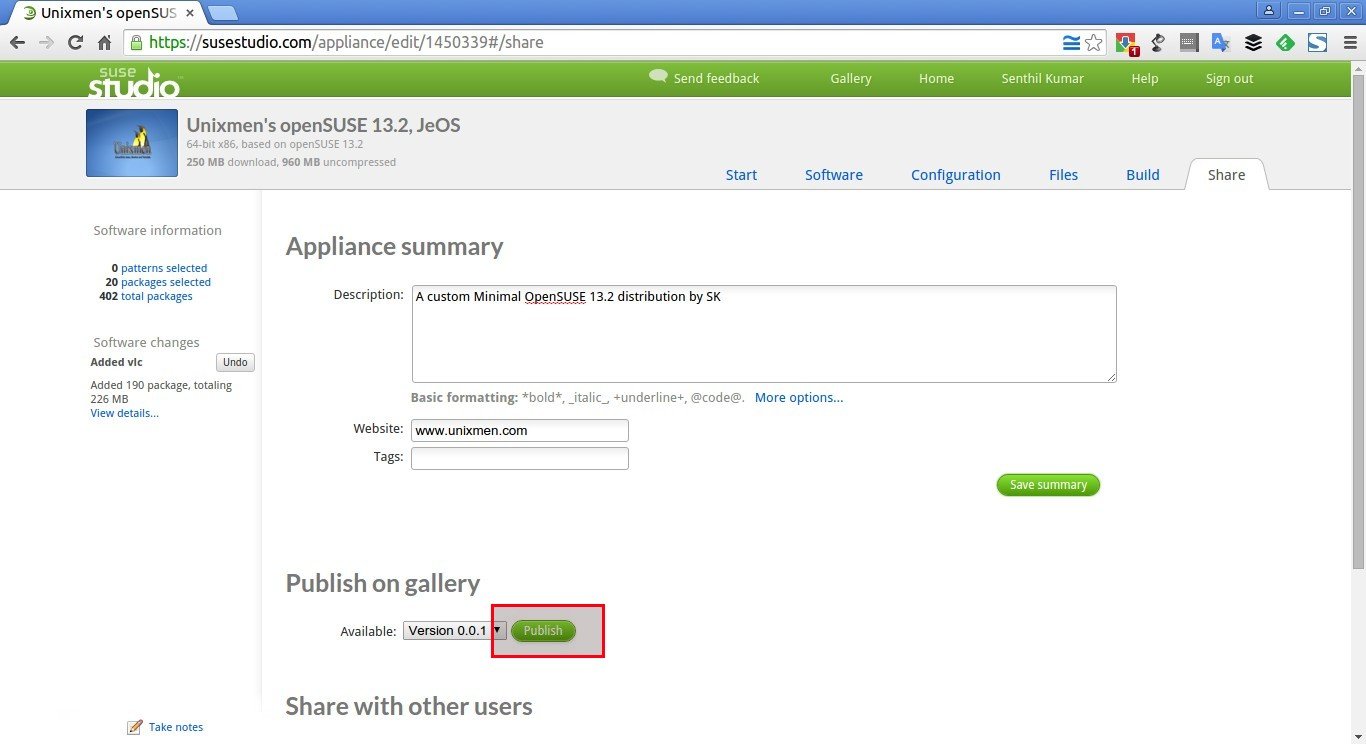
Be mindful that builds older than seven days may be deleted to free up space on the SUSE servers. So, it is recommended to download your images and keep them in your own servers. But don’t worry, you can rebuild them at any time.
Here is my newly created distribution in action in Oracle VirtualBox:
![Unixmen OpenSUSE 13.2 [Running] - Oracle VM VirtualBox_018](http://unixmen.com/wp-content/uploads/2015/08/Unixmen-OpenSUSE-13.2-Running-Oracle-VM-VirtualBox_018.jpg)
![Unixmen OpenSUSE 13.2 [Running] - Oracle VM VirtualBox_019](http://unixmen.com/wp-content/uploads/2015/08/Unixmen-OpenSUSE-13.2-Running-Oracle-VM-VirtualBox_019.jpg)
Conclusion
SUSE Studio is one of the cool Linux distro builder ever. It offers many simple yet useful options to create your own customized Linux distribution via online. It may not have advanced customization options, but SUSE Studio simplifies the work and Saves lot of time. Give it a try, you’ll love it.
Happy weekend!
Cheers!!


