
Ampache is a a web based audio/video streaming software and file manager. It allows you to access your music & videos from anywhere, using almost any internet enabled device. It isn’t a media organizer, it just use the existing organized media files in a useful way. So you must be aware of managing and organizing the media files.
Scenario
This how-to was tested on CentOS 6.4, although it should work on almost all RHEL based systems. In this how-to, my test box hostname and IP address are server.unixmen.com and 192.168.1.201/24. Change these values with your own where it appropriate.
Prerequisites
Your server should have installed and configured with Apache, MySQL and PHP(LAMP). Refer any one of the following links to setup LAMP server.
– Install LAMP (Apache, MariaDB, PHP) Server On CentOS 6.4.
or
– Install LAMP (Apache, MySQL, PHP) Server On CentOS 6.4.
And install the following PHP modules too.
# yum install php-mcrypt php-pdo php-cli php-mysql php-gd php-xml libtool-ltdl mhash mcrypt -y
Create Database and User for Ampache
For instance, here i am going to create a database called “ampachedb” and database user called “ampache” with password “centos”. You can define database and user as per your liking.
# mysql -u root -p
Enter password:
Welcome to the MariaDB monitor.  Commands end with ; or \g.
Your MariaDB connection id is 3
Server version: 5.5.31-MariaDB MariaDB Server

Copyright (c) 2000, 2013, Oracle, Monty Program Ab and others.

Type 'help;' or '\h' for help. Type '\c' to clear the current input statement.

MariaDB [(none)]> create database ampachedb;
Query OK, 1 row affected (0.02 sec)

MariaDB [(none)]> GRANT ALL ON ampachedb.* TO ampacheuser@localhost IDENTIFIED BY 'centos';
Query OK, 0 rows affected (0.01 sec)

MariaDB [(none)]> flush privileges;
Query OK, 0 rows affected (0.00 sec)

MariaDB [(none)]> exit
Bye
Adjust Firewall/Router Settings
Allow the apache default port “80″ through iptables/router. Edit file /etc/sysconfig/iptables,
# vi /etc/sysconfig/iptables
Add the following line.
-A INPUT -p tcp -m state --state NEW --dport 80 -j ACCEPT
Now restart the iptables service.
# /etc/init.d/iptables restart
Getting Ampache
Download the latest version of Ampache here or enter the following command to download it from your terminal.
# wget https://github.com/ampache/ampache/archive/3.6-alpha6.zip
Note: Here you can host your streaming media server site in two methods.
1. Directly from the web root folder, so that you can access your website by navigating to http://domain-name/.
2. Alternatively create a sub directory in web root folder and host website from the sub-directory i.e you can access your website using URL http://domain-name/sub-directory-name.
Here, for testing purpose, i am going to host my streaming site under a sub directory.
Extract the downloaded file using command:
# tar -zxvf 3.6-alpha6
Move the contents to apache web root.
# mv ampache-3.6-alpha6/ /var/www/html/ampache
Set the write permissions to ampache/config directory.
# chmod -R 777 /var/www/html/ampache/config/
Begin Installation
Open up browser and type http://domain-name/ampache or http://ip-address/ampache in the address bar.
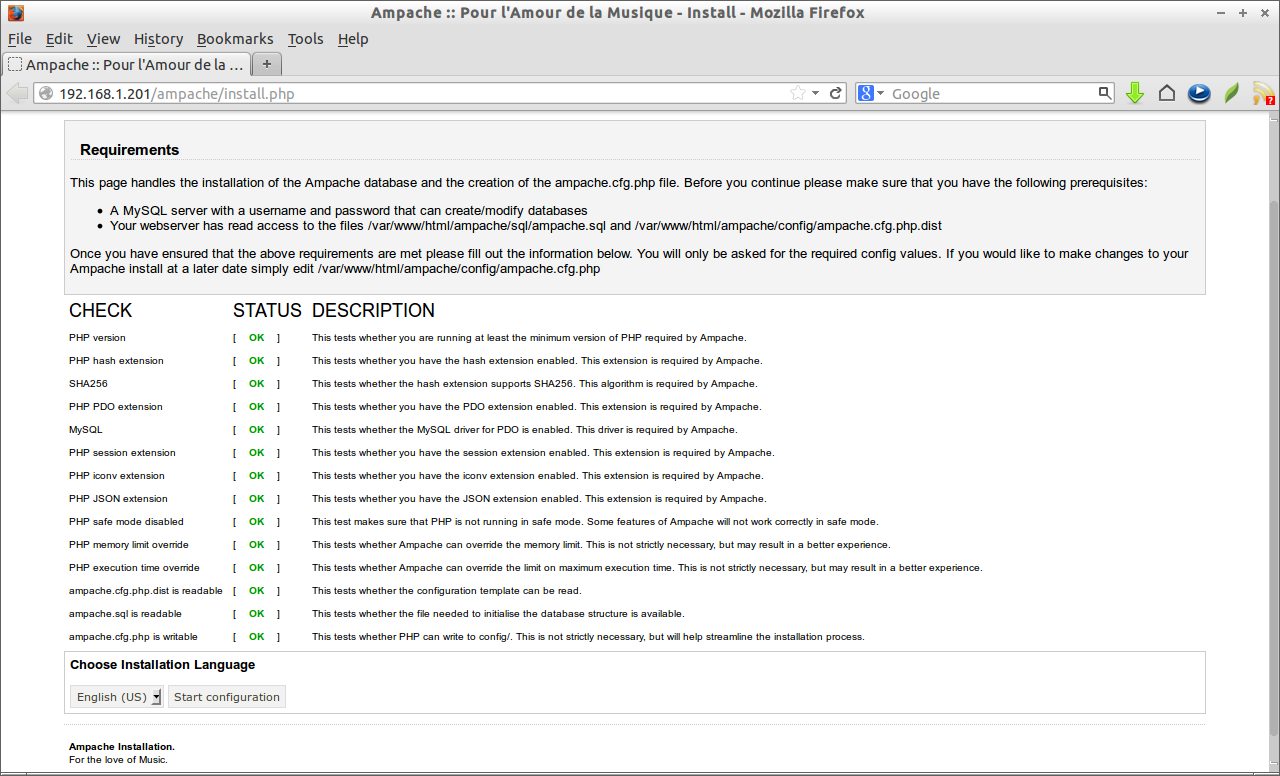
The following should appear. Click Start configuration.
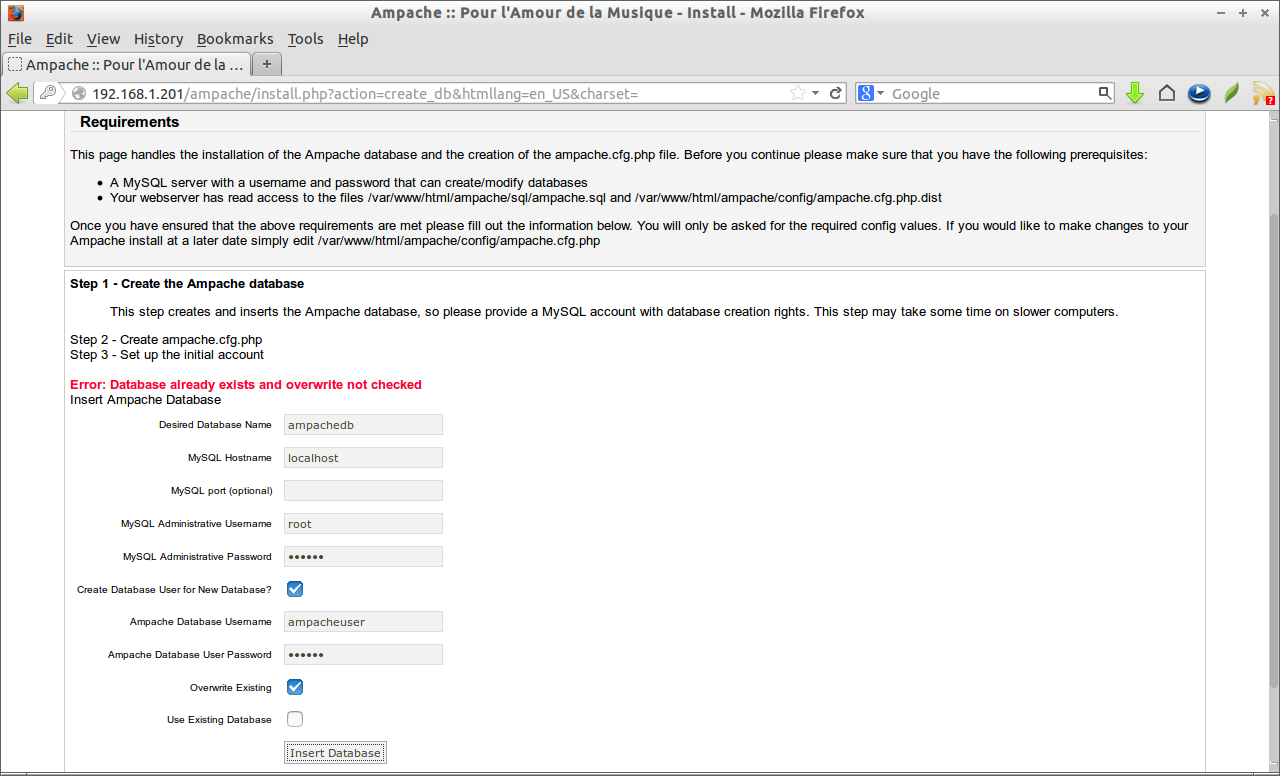
 Enter the MySQL database, user and password details. Make sure that you checked the checkbox “Overwrite existing database” since we already created the database.
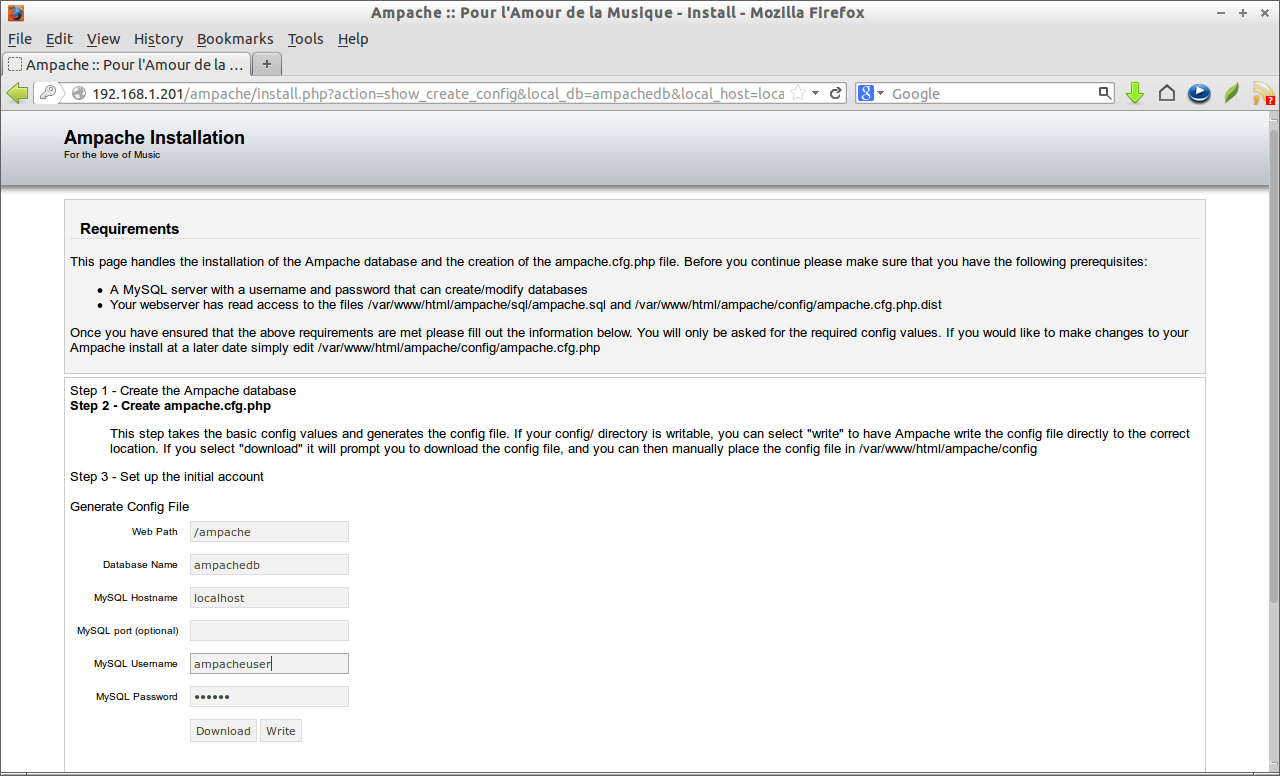
 Enter the newly created MySQL database, user and password details. Click write to generate ampache.config.php file and click Continue to step 3 button.
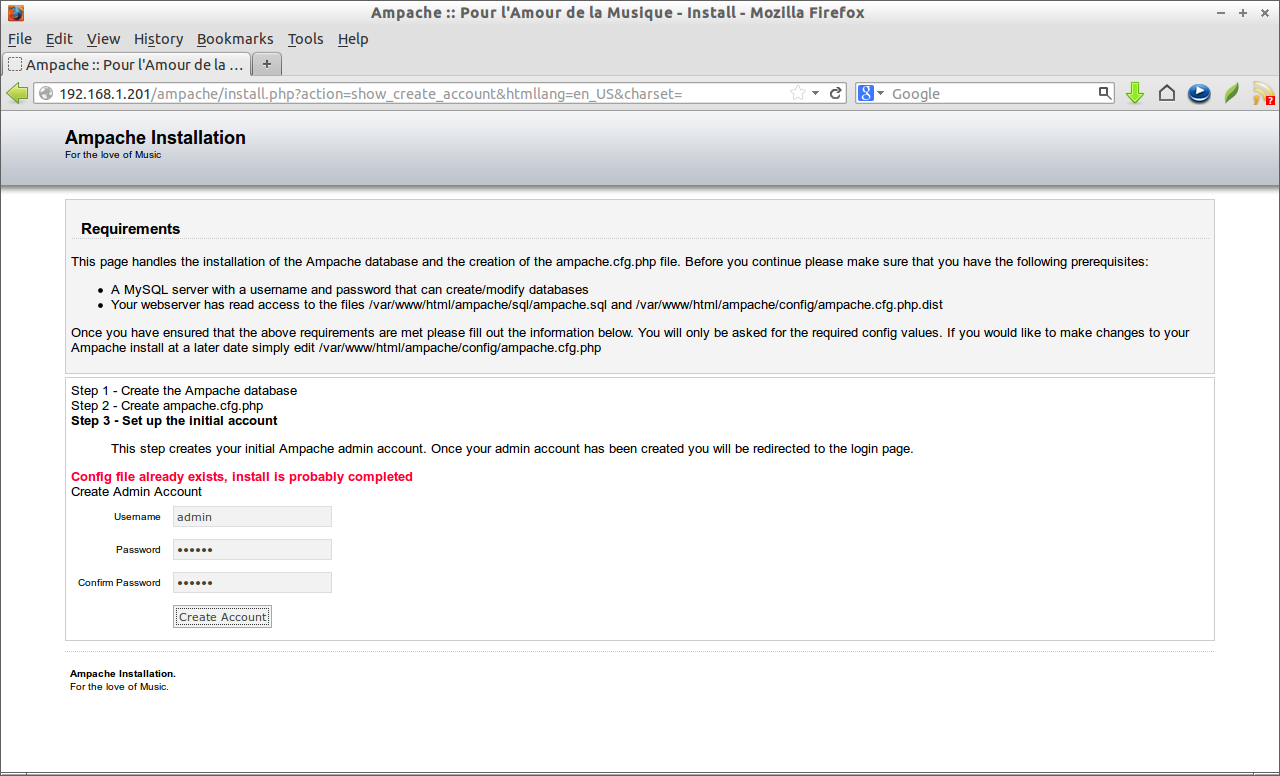
 Now you will be asked to setup the admin user password. Enter the password and click Create Account.
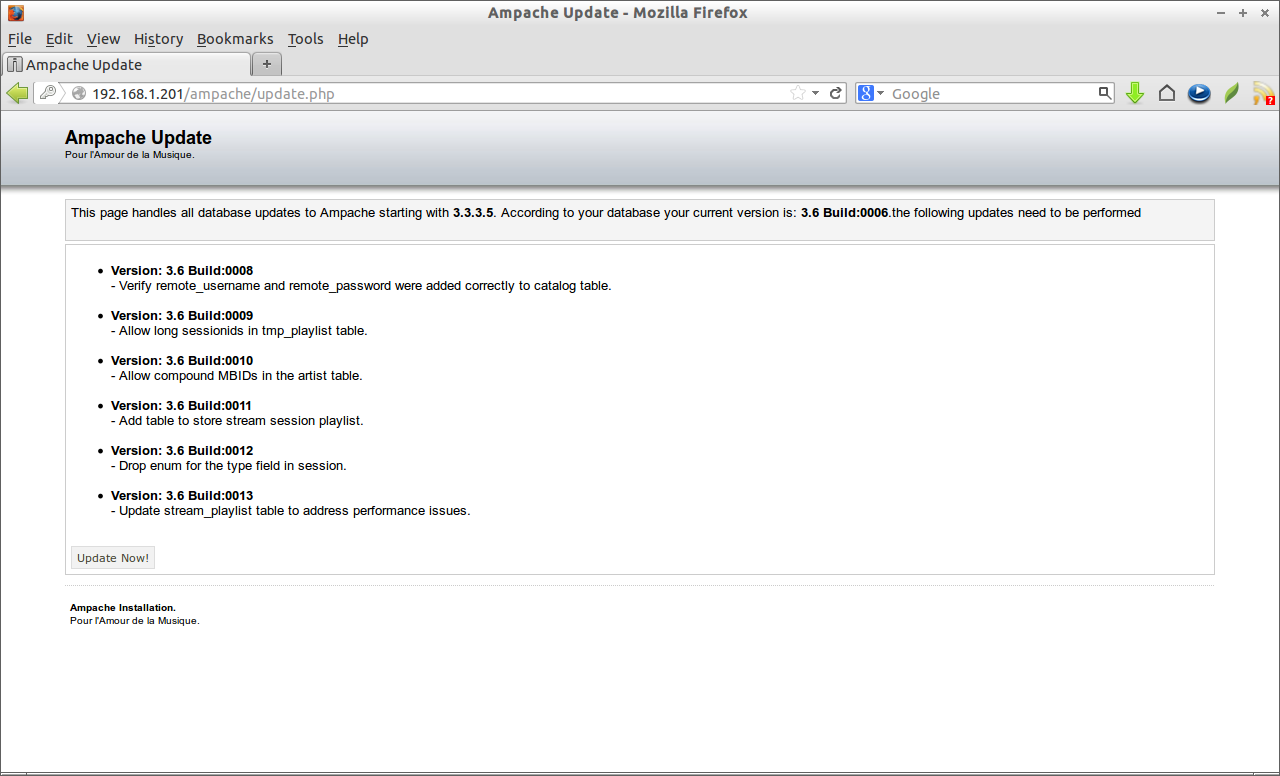
 Finally Ampache will ask you to update to the most recent version. Click on Update.
 That’s it. Ampache has been installed now. I recommend you to read the Official Ampache Wiki page for further configurations.


