Squid is a caching proxy server that caches frequently visited websites and reduces the Internet bandwidth. It runs on most available operating systems, including Windows and is licensed under the GNU GPL. We can share the single Internet connection to many users with the help of Squid. Squid is used by hundred of Internet service providers around the world to deliver stable and best possible Internet access to their clients.
In this how-to let us see how to setup a basic squid proxy server on openSUSE 13.1.
Install Squid on openSUSE 13.1
Install squid using following command:
# zypper in squid
Basic Configuration
Edit squid configuration file,
# vi /etc/squid/squid.conf
Make the changes as shown below.
## Define your local area network
acl mynetwork src 192.168.1.0/255.255.255.0

# Allow your network to browse
http_access allow mynetwork

# Squid normally listens to port 3128
http_port 3128

# Add the host name
visible_hostname linux-e0ix.site
Save and close the file. Enable and start squid service.
# systemctl enable squid.service
# systemctl start squid.service
Firewall Configuration
Go to Yast Control Center -> Security and Users -> Firewall -> Custom Rules. Enter your IP address range (ex.192.168.1.0/24) in Source netwrok column and squid port number (3128) in destination port column.
![openSUSE 12.3 [Running] - Oracle VM VirtualBox_005](http://unixmen.com/wp-content/uploads/2013/12/openSUSE-12.3-Running-Oracle-VM-VirtualBox_005.jpg) Close Yast Window. Its time to configure Client systems.
Close Yast Window. Its time to configure Client systems.
Client Side Configuration
Open your client browser. Here i use Ubuntu 13.04 as my client and my client default browser is Mozilla Firefox. Go to Firefox -> Edit -> Preferences -> Advanced -> Network. Click on Settings. In the Manual proxy configuration, enter your Squid server ip address and squid default port(3128). Make sure that you selected the option “Use this protocol for all protocols”.
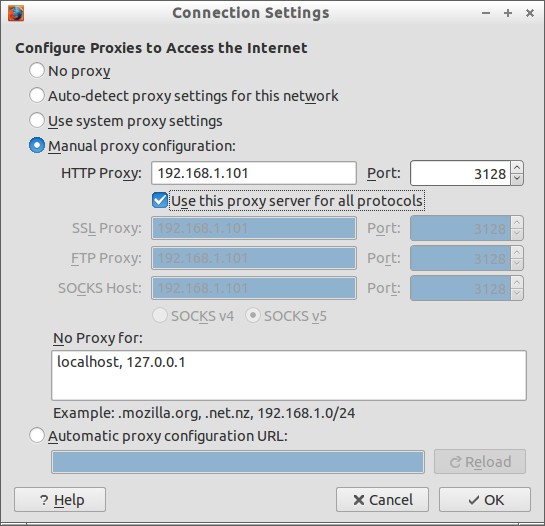 Click Ok to apply the settings. Try to open any website.
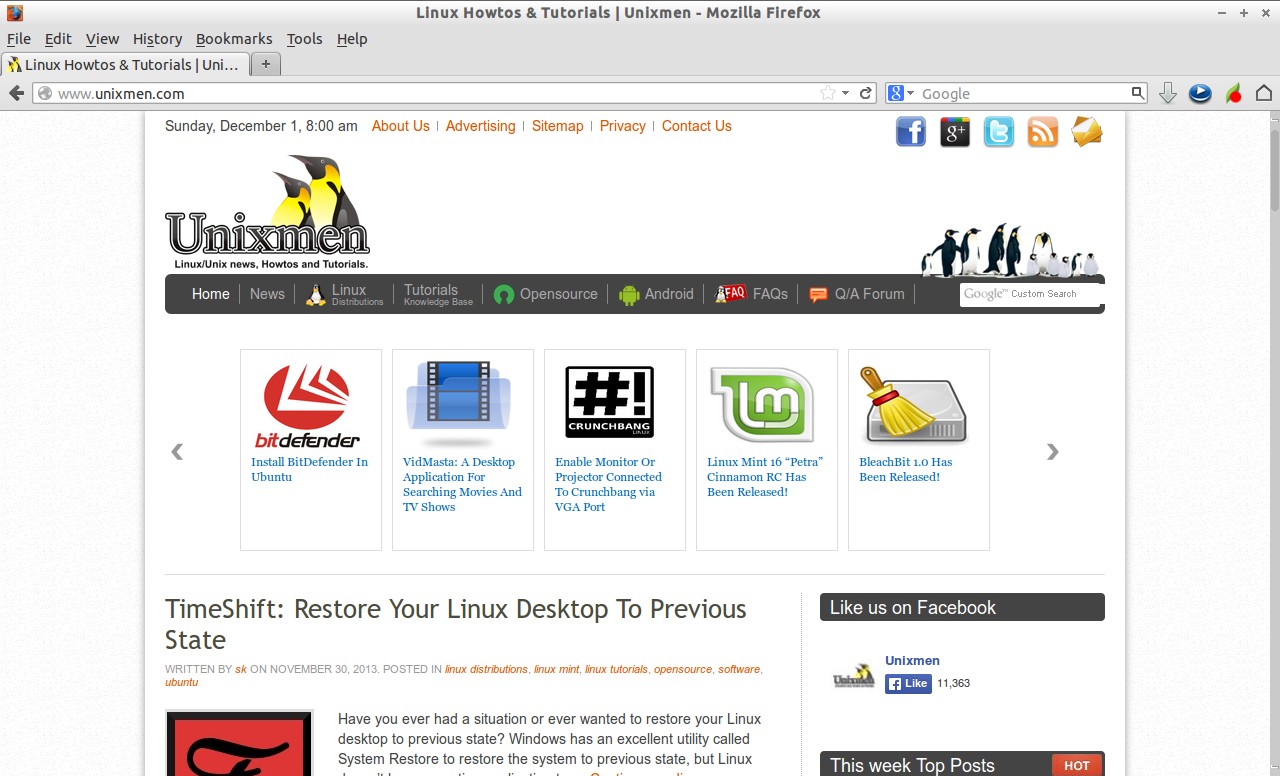 Now you’ll be able to browse websites.
We learnt how to install Squid and share internet connection to clients. Now let us see how to use it to control the web access.
Restrict Internet Access to a particular host by IP address
Want to restrict internet access for a specific host? Yes, you can do it with Squid.
For example, you want to restrict host 192.168.1.100. To do that edit file /etc/squid/squid.conf file,
# vi /etc/squid/squid.conf
Add a new ACL rule to restrict a particular host (ex.192.168.1.100).
## create ACL for the restricted host 192.168.1.100
acl restricthost src 192.168.1.100

## Deny the host 192.168.1.100 from internet
http_access deny restricthost
Save and exit the file and restart squid service.
# systemctl restart squid.service
The above example will restrict the host 192.168.1.100 from using Internet.
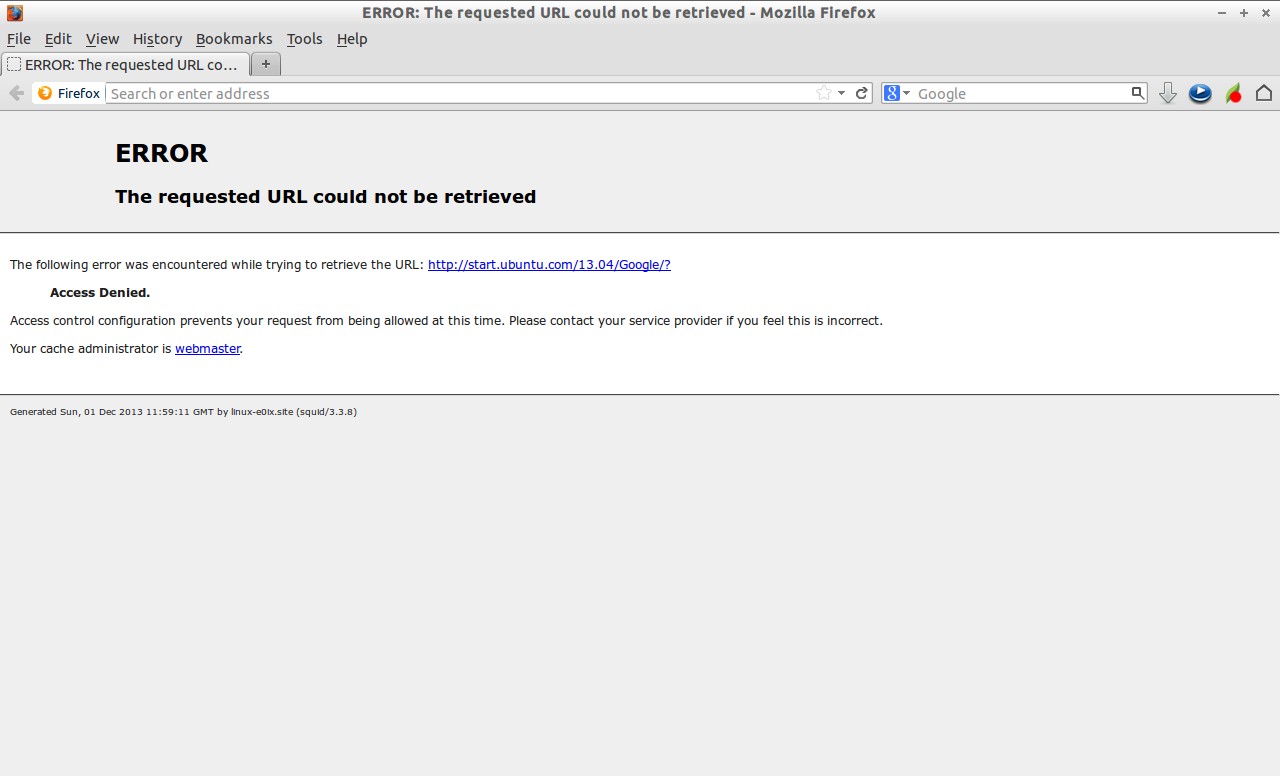
Now try to access internet from the restricted host. You should see the following screen.
Restrict Internet to a group of hosts by IP address
Create a text file called “blocked_ip.acl” in any location.
# vi /etc/squid/blocked_ip.acl
Add the ip addresses that you want to block.
192.168.1.10/24
192.168.1.11/24
192.168.1.12/24
Now define a acl rule in squid.conf file as shown below.
[...]
acl restricted_ips url_regex -i "/etc/squid/blocked_ip.acl"
[...]
http_access deny restricted_ips
[...]
Save and close file. Restart squid service.
# systemctl restart squid.service
Now try to access internet from any one of the blocked ip’s. You can’t browse.
Restrict Internet Access to a particular Network
If you want to restrict internet access to a particular network ex.192.168.10.0/24, then add the following lines in squid.conf file.
[...]
acl unsafe_network src 192.168.10.0/24
[...]
http_access deny unsafe_network
[...]
Save and close file. Restart squid service to take effect the changes.
Access from the clients who has IP address in the 192.168.10.0/24 series. You will see the clients can’t access Internet.
Restrict Internet Access by Particular Time
You might want to restrict your employers not to use Internet on particular important business hours. So you can add the following lines to restrict them for using Internet.
Edit squid.conf file,
# vi /etc/squid/squid.conf
Add the following lines.
acl mynetwork src 192.168.1.0/24
acl working_hours time M T W H F 10:00-18:00
[...]
http_access deny mynetwork working_hours
[...]
The above example describes Internet access is restricted for the network 192.168.1.0/24 from 10am to 6pm.
Allow Internet Access by Particular Time
You may want allow Internet connection for 192.168.1.0/24 network after 6pm upto 8pm.
So just add the following lines in the squid.conf file.
[...]
acl mynetwork src 192.168.1.0/24
acl leisure_period time 18:00-20:00
[...]
http_access allow mynetwork leisure_period
[...]
The above example describes the Internet is open to access by netwrok 192.168.1.0/24 at 6pm to 8pm. Don’t forget to restart squid service on every changes in squid.conf file.
Restrict Specific group of websites
You may want to restrict some job portals, porn sites or social networks being accessed by your employees.
Create a text file called “blocked_sites.acl” in any location.
# vi /etc/squid/blocked_sites.acl
Add the website names to restrict.
www.facebook.com
www.naukri.com
www.pornhub.com
Now define a acl rule in squid.conf file as shown below.
[...]
acl restricted_sites url_regex -i "/etc/squid/blocked_sites.acl"
[...]
http_access deny restricted_sites
[...]
Save and close file. Restart squid service.
# systemctl restart squid.service
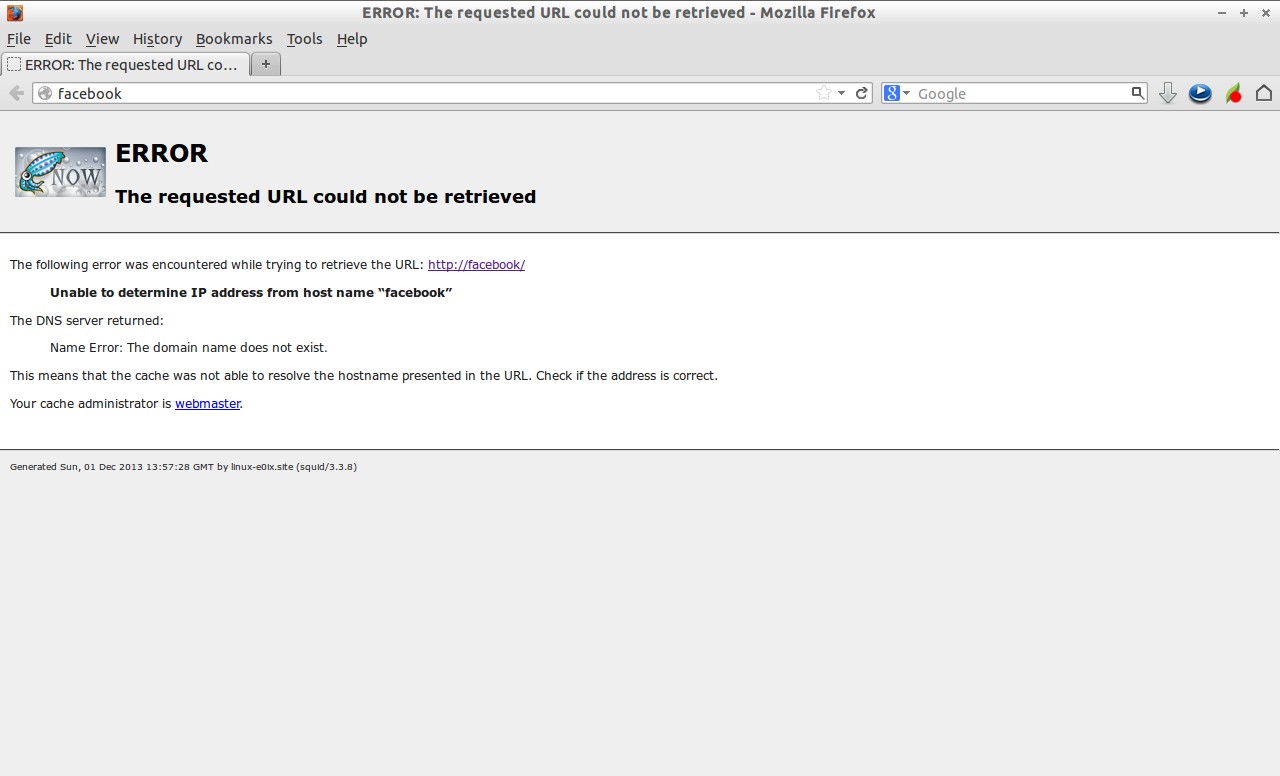
Now try to access the any one of the blocked sites. You should see the following like screen.
 If you want to block only website, add the following line in squid.conf file and restart squid service.
acl banned_site url_regex -i www.movies.com
http_access deny banned_site
View Squid log files
There are two log files (access.log and cache.log) under /var/log/squid directory.
You can view who accessed which website at what time from the /var/log/squid/access.log file.
# cat /var/log/squid/access.log
Sample output:
[...]
1385905901.689   4705 192.168.1.100 TCP_MISS_ABORTED/200 23375 GET http://www.pornhub.com/ - HIER_DIRECT/31.192.117.132 text/html
1385905901.689    338 192.168.1.100 TCP_MISS_ABORTED/200 3044 GET http://cdn1.static.pornhub.phncdn.com/css/buttons.css? - HIER_DIRECT/199.93.56.125 text/css
1385905901.699   1340 192.168.1.100 TCP_MISS_ABORTED/200 7364 GET http://ss.phncdn.com/jquery-1.8.3.js - HIER_DIRECT/8.254.2.253 application/x-javascript
1385905901.699   1701 192.168.1.100 TCP_MISS_ABORTED/200 28116 GET http://cdn1.static.pornhub.phncdn.com/css/common.css? - HIER_DIRECT/199.93.56.125 text/css
1385905901.699   1339 192.168.1.100 TCP_MISS_ABORTED/200 8812 GET http://ss.phncdn.com/jquery-ui-1.10.3.js - HIER_DIRECT/8.254.2.253 application/x-javascript
1385905901.707      7 192.168.1.100 TCP_MISS_ABORTED/000 0 GET http://cdn1.static.pornhub.phncdn.com/images/categories_seeall.gif - HIER_DIRECT/199.93.56.125 -
1385905901.707      7 192.168.1.100 TCP_MISS_ABORTED/000 0 GET http://cdn1a.static.pornhub.phncdn.com/images/categories/118x88/29.jpg - HIER_NONE/- -
1385905901.707      7 192.168.1.100 TCP_MISS_ABORTED/000 0 GET http://cdn1a.static.pornhub.phncdn.com/images/categories/118x88/27.jpg - HIER_NONE/- -
1385905901.707      7 192.168.1.100 TCP_MISS_ABORTED/000 0 GET http://cdn1a.static.pornhub.phncdn.com/images/categories/118x88/3.jpg - HIER_NONE/- -
1385905901.707      7 192.168.1.100 TCP_MISS_ABORTED/000 0 GET http://cdn1.static.pornhub.phncdn.com/images/ajax-loader-small.gif? - HIER_DIRECT/199.93.56.125
[...]
That’s for now. I covered only some basic installation and configuration of squid in this tutorial, but is enough to setup a basic proxy server to your organization.
Though it was tested on openSUSE, this method is same for all distributions. All you have to know is where is squid.conf file. The rest of configuration will be same as described above.
Good Luck!


