About Server Blocks
Server Blocks (a.k.a Virtual Hosts in Apache webserver) are used to setup more than one domain or websites using a single IP address.
For more details about Apache Virtual Hosts, refer the following link.
This is very useful if anybody wants to run multiple websites using a single IP address on single VPS. VirtualHost is an Apache term. Nginx does not have Virtual hosts, it has “Server Blocks” that use the server_name and listen directives to bind to tcp sockets.
In this tutorial, let me show how to setup Server Blocks in nginx web server on Ubuntu 15.10 64bit server. Although, these steps should work on previous Ubuntu versions such as Ubuntu 15.04, 14.10, 14.04 etc.
Scenario
For the purpose of this tutorial, I will be using Ubuntu 15.10 64bit server edition, and I am going to host two testing websites called “unixmen1.local” and “unixmen2.local”. My test box IP address and hostname are 192.168.1.103/24 and server.unixmen.local respectively. Make sure you have replaced the virtual domain names with your own.
Install Nginx Webserver
Prior to install nginx server, let us update our Ubuntu 15.10 server:
sudo apt-get update
Now, install nginx web server using the following command:
sudo apt-get install nginx
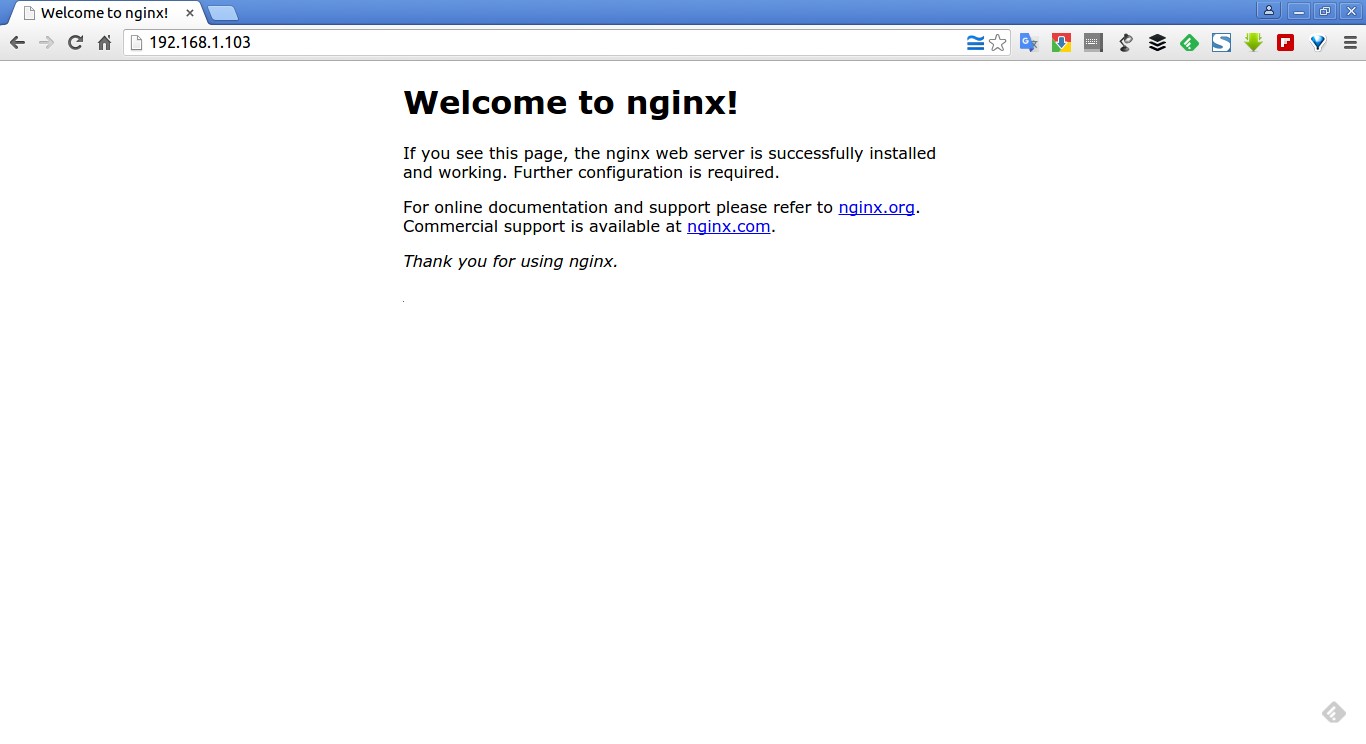
After installing nginx server, let us test whether the web server is working properly or not by navigating to the URL http://ip-address/.
As you see in the above screenshot, nginx webserver is up and running.
Setup Nginx Server Blocks
1. Create Virtual Directories
Now, let us proceed to setup virtual hosts. As I mentioned earlier, I am going to host two virtual hosts called “unixmen1.local”, and “unixmen2.local”.
Create a public directory to place the two virtual hosts data.
First, let us create a directory for unixmen1.local site:
sudo mkdir -p /var/www/html/unixmen1.local/public_html
Then, create the directory for unixmen2.local site:
sudo mkdir -p /var/www/html/unixmen2.local/public_html
2. Setting Up Ownership and Permissions
The above directories are owned by root user now. We should change the ownership of these two directories to the regular user.
sudo chown -R $USER:$USER /var/www/html/unixmen1.local/public_html/
sudo chown -R $USER:$USER /var/www/html/unixmen2.local/public_html/
The “$USER” variable indicates the currently logged in user.
Set the read permissions to the Nginx web root (/var/www/html/) directory, so that everyone can read files from that directory.
sudo chmod -R 755 /var/www/html/
We have created the directories for holding the websites data and assigned the necessary permissions and ownership to them.
4. Create Sample pages for Server Blocks
Now, we have to create the sample pages to be served through the websites.
First, let us create a sample page to the unixmen1.local virtual host.
Create a ‘index.html’ for unixmen1.local virtual host,
sudo vi /var/www/html/unixmen1.local/public_html/index.html
Add the following contents:
<html>
 <head>
 <title>www.unixmen1.local</title>
 </head>
 <body>
 <h1>Welcome To Unixmen1.local website</h1>
 </body>
</html>
Save and close the file.
Similarly, add the sample page to the second virtual host.
sudo vi /var/www/html/unixmen2.local/public_html/index.html
Add the following contents:
<html>
 <head>
 <title>www.unixmen2.local</title>
 </head>
 <body>
 <h1>Welcome To Unixmen2.local website</h1>
 </body>
</html>
Save and close the file.
5. Create Server Block Files
By default, nginx comes with a default server block file called default. We will copy the “default” file contents to our new server block files.
sudo cp /etc/nginx/sites-available/default /etc/nginx/sites-available/unixmen1.local
sudo cp /etc/nginx/sites-available/default /etc/nginx/sites-available/unixmen2.local
Now, modify the unximen1.local file to reflect with our new own values.
sudo vi /etc/nginx/sites-available/unixmen1.local
Make the relevant changes that reflect to the unixmen1 site.
[...]
server {
        listen 80 default_server;
        listen [::]:80 default_server;

        # SSL configuration
        #
        # listen 443 ssl default_server;
        # listen [::]:443 ssl default_server;
        #
        # Self signed certs generated by the ssl-cert package
        # Don't use them in a production server!
        #
        # include snippets/snakeoil.conf;

        root /var/www/html/unixmen1.local/public_html;

        # Add index.php to the list if you are using PHP
        index index.html index.htm index.nginx-debian.html;

        server_name unixmen1.local www.unixmen1.local;

        location / {
                # First attempt to serve request as file, then
                # as directory, then fall back to displaying a 404.
                try_files $uri $uri/ =404;
        }
[...]
Like wise, modify the second server block file.
sudo vi /etc/nginx/sites-available/unixmen2.local
Make the relevant changes that reflect to the unixmen2 site.
[...]
server {
        listen 80 ;
        listen [::]:80 ;

        # SSL configuration
        #
        # listen 443 ssl default_server;
        # listen [::]:443 ssl default_server;
        #
        # Self signed certs generated by the ssl-cert package
        # Don't use them in a production server!
        #
        # include snippets/snakeoil.conf;

        root /var/www/html/unixmen2.local/public_html;

        # Add index.php to the list if you are using PHP
        index index.html index.htm index.nginx-debian.html;

        server_name unixmen2.local www.unixmen2.local;

        location / {
                # First attempt to serve request as file, then
                # as directory, then fall back to displaying a 404.
                try_files $uri $uri/ =404;
        }
[...]
Please note that you have to remove the default_server line beside the lines listen 80 ; and listen [::]:80 ; in the second server block(unixmen2.local) file.
listen 80 ;
listen [::]:80 ;
After modifying the server blocks files, disable the default server block, and enable new server blocks as shown below.
sudo rm /etc/nginx/sites-enabled/default
sudo ln -s /etc/nginx/sites-available/unixmen1.local /etc/nginx/sites-enabled/
sudo ln -s /etc/nginx/sites-available/unixmen2.local /etc/nginx/sites-enabled/
Finally, restart the nginx service.
In Ubuntu 15.10/15.04:
sudo systemctl restart nginx
In Ubuntu 14.10 and previous versions:
sudo service nginx restart
That’s it. Now, we successfully configured the nginx server blocks on our Ubuntu server.
Testing Server Blocks
Edit file /etc/hosts,
sudo vi /etc/hosts
Add the virtual domain names one by one as shown below.
[...]
192.168.1.103   unixmen1.local
192.168.1.103   unixmen2.local
Save and close the file.
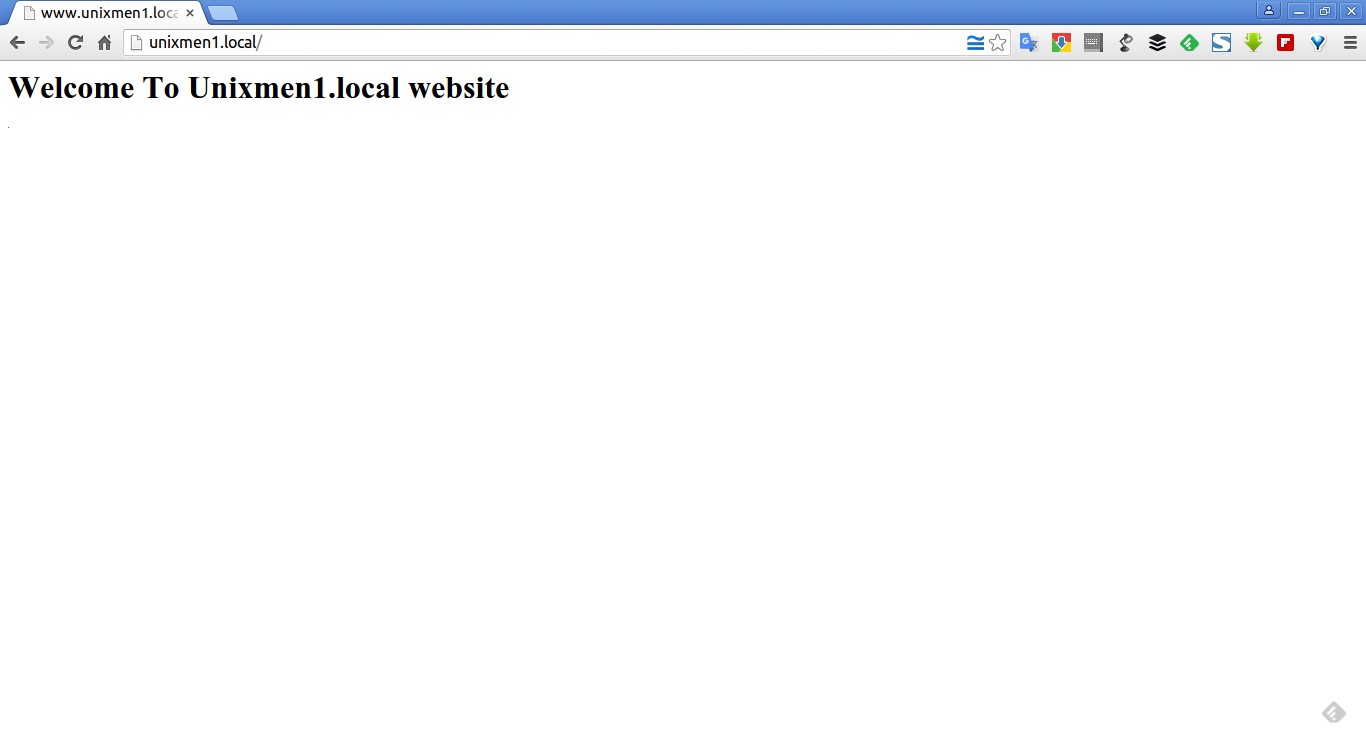
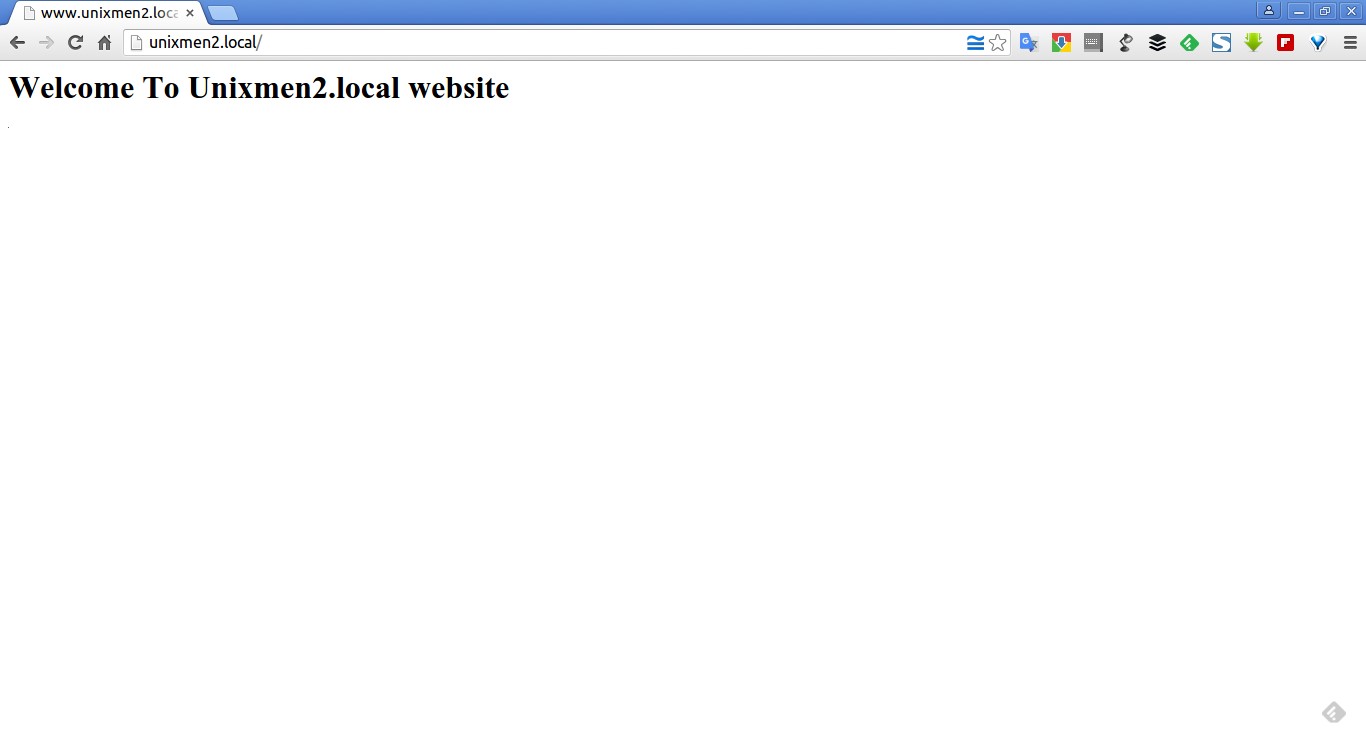
Open up your browser and point to the URL http://unixmen1.local or http://unixmen2.local. You should see the sample pages which we created earlier.
Unixmen1.local Test page:
Unixmen2.local Test page:
If you want to access these sites from your remote systems, you should add the actual domain name records in your DNS server. Hence, I don’t have any actual domain names and DNS server, I tested this only on my local system, and Its worked perfectly as I expected.
Similarly, you can add as many as Server Blocks you wanted. Hope this tutorial will help you somewhere.
Good luck!
Cheers!!


