
Introduction
Do you own a web site or a blog with large user visits every day, or are you doing any online business that requires often to send a great number of mails daily to all your users/readers? Then, definitely you need a mass mailing system. Also, you can promote or send catalogues of a product to many individuals using the mass mailing system. You don’t have to send individual mail to each and every user one by one. You know it is a much time wasting process. The mass mailing system is a solution that can be used to send large volume of mails at once. Simply write your post, insert the user mail id’s, and hit the send button, you’re done! Your mail will be delivered to all your readers at once at a particular time. There are many paid solutions out there to help you to achieve this goal. Also, there are some worth trying free solutions available.
In this, tutorial let us discuss about poMMo, a newsletter and mass mailing system that can handle very large email lists upward of 20k addresses and can be installed alongside your existing website within few minutes. And, yes, your right, poMMo is free and open source!
Well, that’s enough for the introduction. Let us get through into the poMMo installation. Here, I use CentOS 6.5 server to host the mass mailing system. My testbox details are given below:
- Operating system: CentOS 6.5 server with LAMP stack
- IP Address: 192.168.1.101/24
- Hostname: server.unixmen.local
Prerequisites
Before installing, we have to do some important prerequisites first.
Install LAMP Stack:
First of all, make sure your server should have installed working LAMP stack. If you haven’t installed LAMP server, refer any one of the following links:
- Install LAMP server (Apache, MySQL, PHP) On CentOS 6
- Install LAMP server (Apache, MariaDB, PHP) On CentOS 6
Create MySQL Database for poMMO:
Next, let us create a database called pommodb and a user called pommouser with password ‘centos’.
Log in to mysql as root user:
mysql -u root -p
Create database and user:
Welcome to the MySQL monitor.  Commands end with ; or \g.
Your MySQL connection id is 2
Server version: 5.5.35 MySQL Community Server (GPL) by Remi

Copyright (c) 2000, 2013, Oracle and/or its affiliates. All rights reserved.

Oracle is a registered trademark of Oracle Corporation and/or its
affiliates. Other names may be trademarks of their respective
owners.

Type 'help;' or '\h' for help. Type '\c' to clear the current input statement.

mysql> create database pommodb;
Query OK, 1 row affected (0.00 sec)

mysql> GRANT ALL ON pommodb.* TO pommouser@localhost IDENTIFIED BY 'centos';
Query OK, 0 rows affected (0.00 sec)

mysql> flush privileges;
Query OK, 0 rows affected (0.00 sec)

mysql> exit
Bye
Downloading poMMo
Download the latest version from here.
wget https://github.com/soonick/poMMo/archive/master.zip
Extract the zip file and move the entire contents of the poMMo-master contenets to the directory you’d like poMMo to run from on your webserver.
unzip master
mv poMMo-master/ /var/www/html/pommo
Now, we should modify the config.php file to reflect the pommo database and user. To do that, open config.php file in any editor:
cp /var/www/html/pommo/config.sample.php /var/www/html/pommo/config.php
vi /var/www/html/pommo/config.php
Modify the database and user details with correct values:
[...]

::: MySQL Database Information :::^M

[db_hostname] = "localhost"
        The MySQL Server poMMo will connect to (usually localhost)
        NOTE: Remote MySQL servers (e.g. mysql.yourwebhost.com) can be used.

[db_username] = "pommouser"
        The username poMMo will use to login to MySQL server

[db_password] = "centos"
        The password poMMo will use to login to MySQL server

[db_database] = "pommodb"
        The name of the MySQL Database poMMo will use

[db_prefix] = "pommo_"

[...]
Save and close the file.
Set 777 permission to the pommo/cache folder.
chmod -R 777 /var/www/html/pommo/cache/
Start poMMo Installation
Now, Open up the browser and navigate to http://ip-address/pommo/install.php.
If get “403 forbidden error” while installing pommo. It may be a SELinux permission issue. Enter the following commands to resolve this issue:
setsebool -P httpd_enable_homedirs true
chcon -R -t httpd_sys_content_t /var/www/html/pommo/
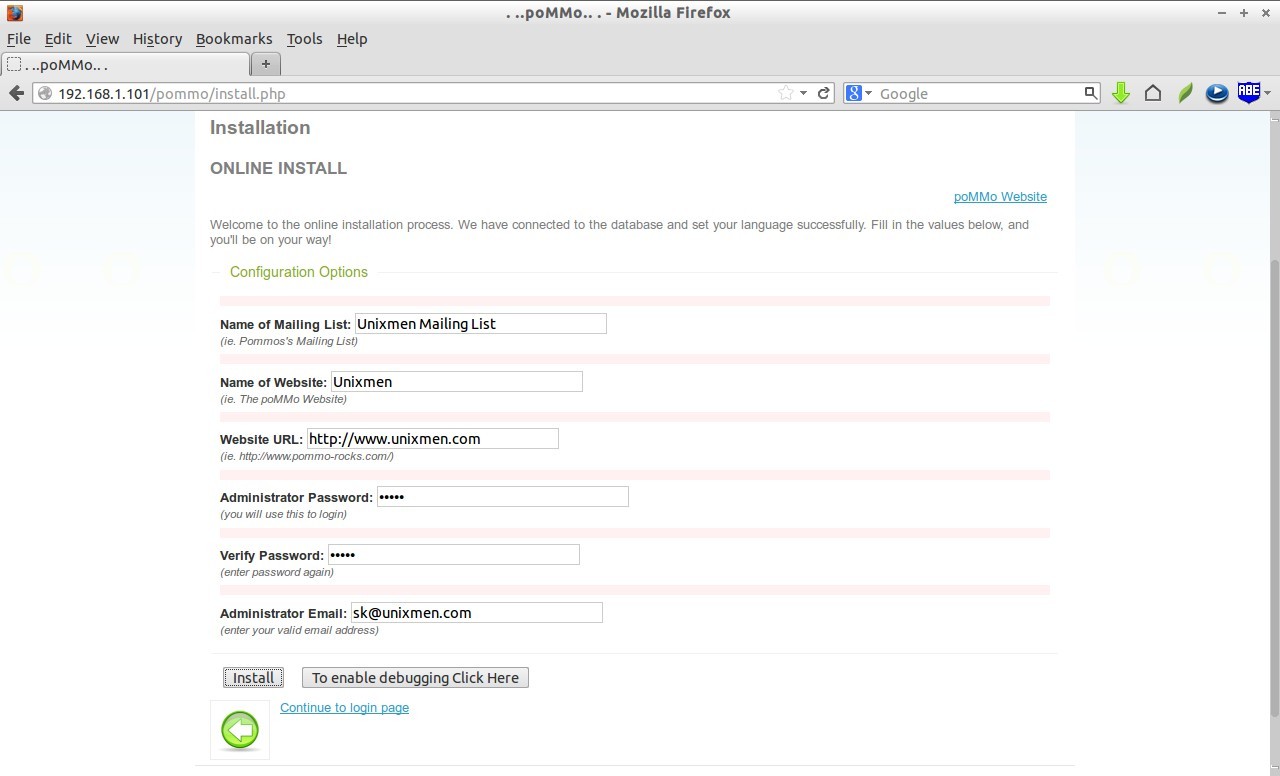
Now, the error will be gone and you should see the following screen. Fill up the required details and click Install button.
Congratulations! We have successfully installed poMMo mailing system to our website. Click on the link that says: Continue to login page to access the administrator dashboard.
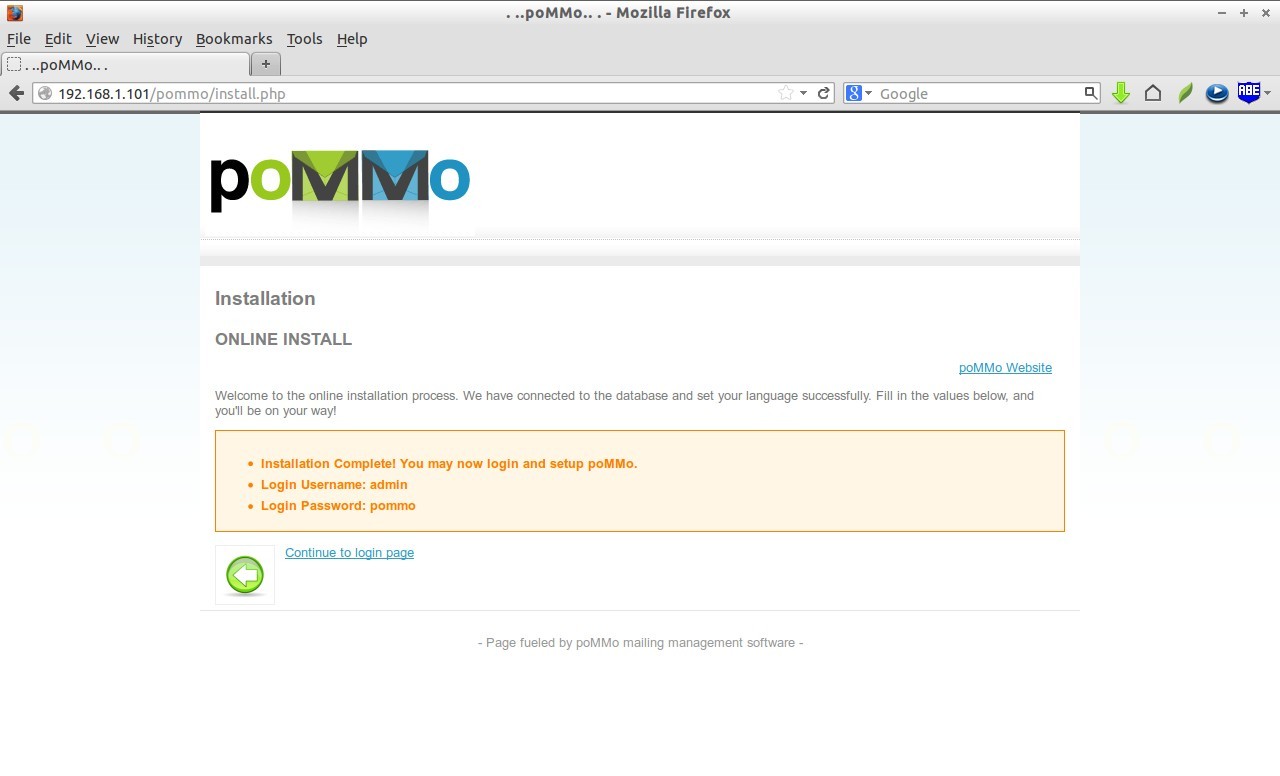
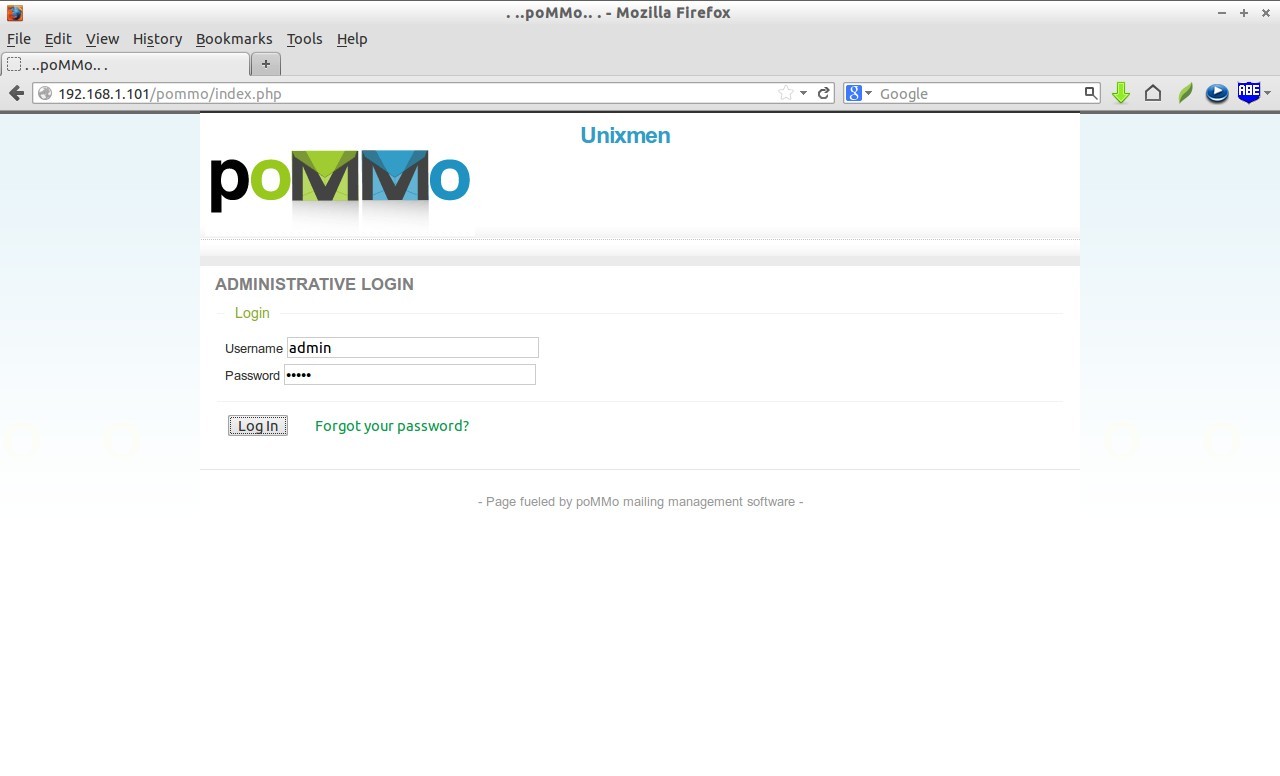
The administrative login page will appear. Enter the username and password. The default values are:
- username: admin
- password: pommo
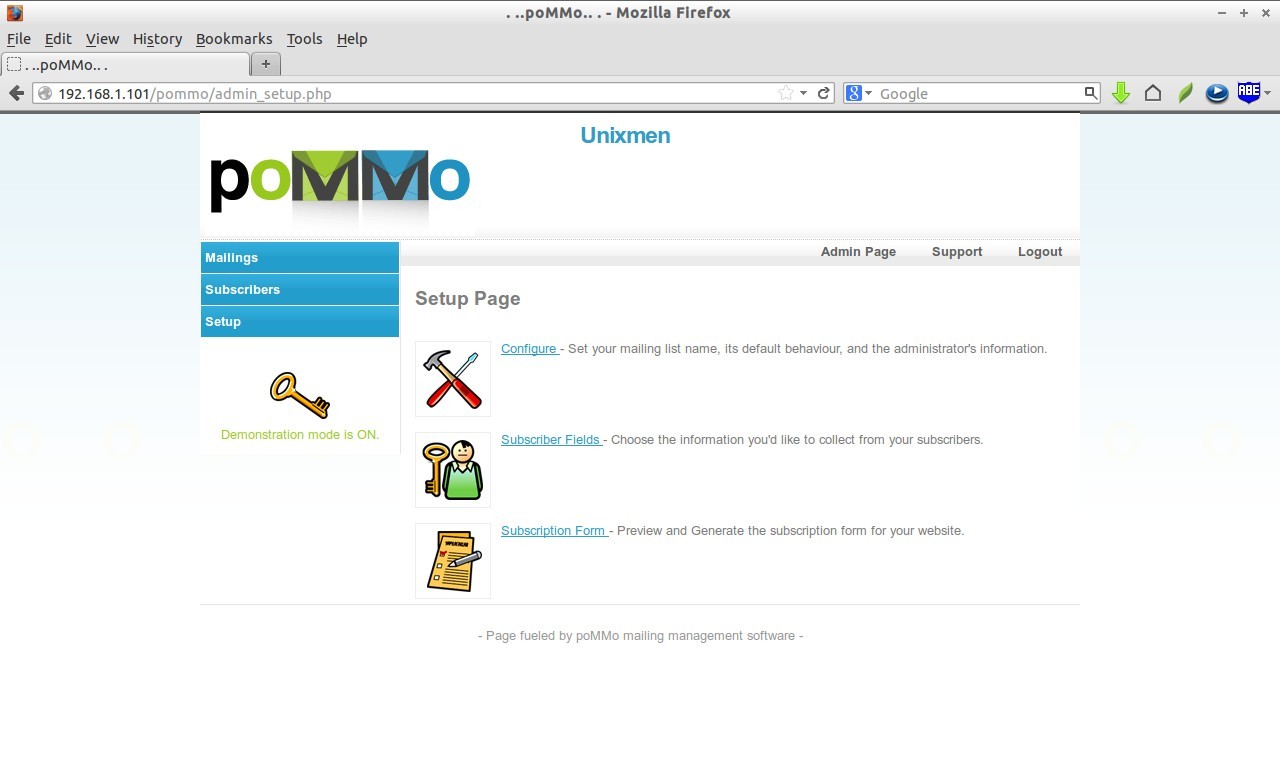
Well, let us came to the Dashboard section, where we used to setup subscriber fields and generate a subscription form for our website.
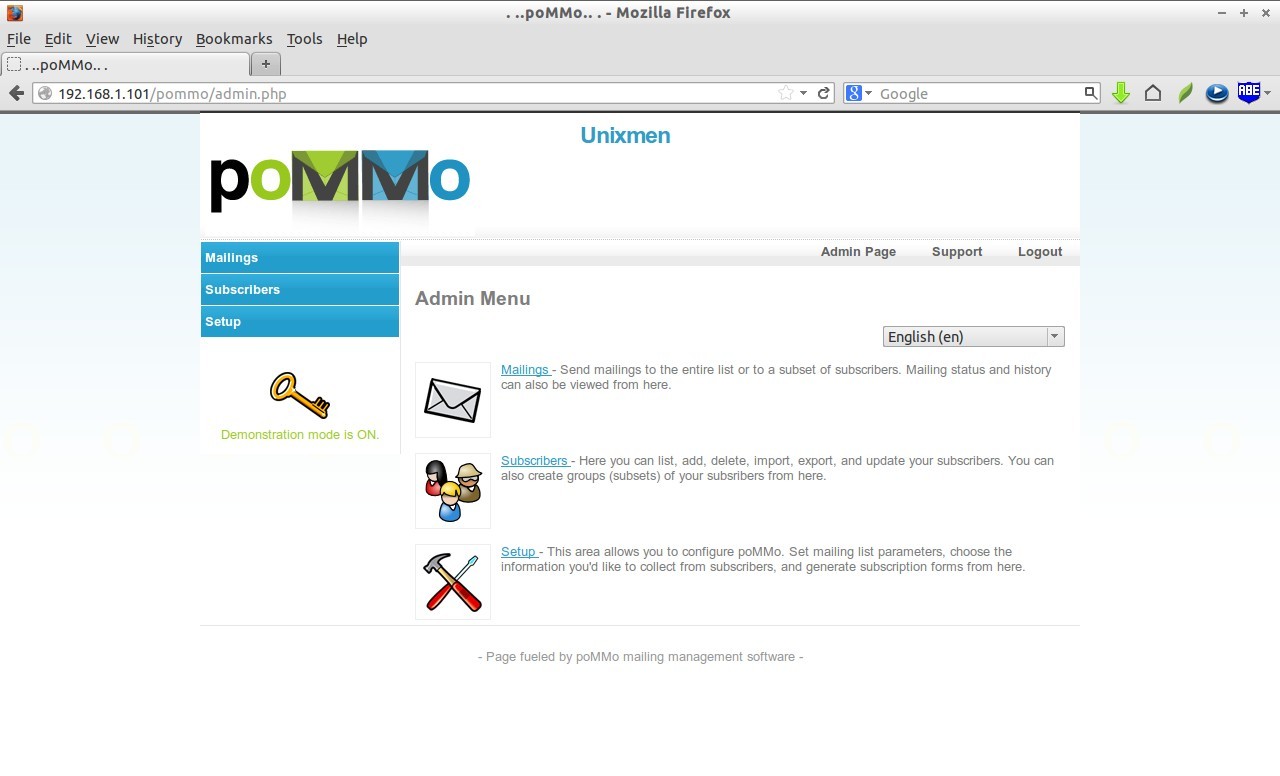
One more thing needs to be done before creating subscription lists. We should configure poMMo by visiting to the setup page on the left pane.
 Click on the Configure link.
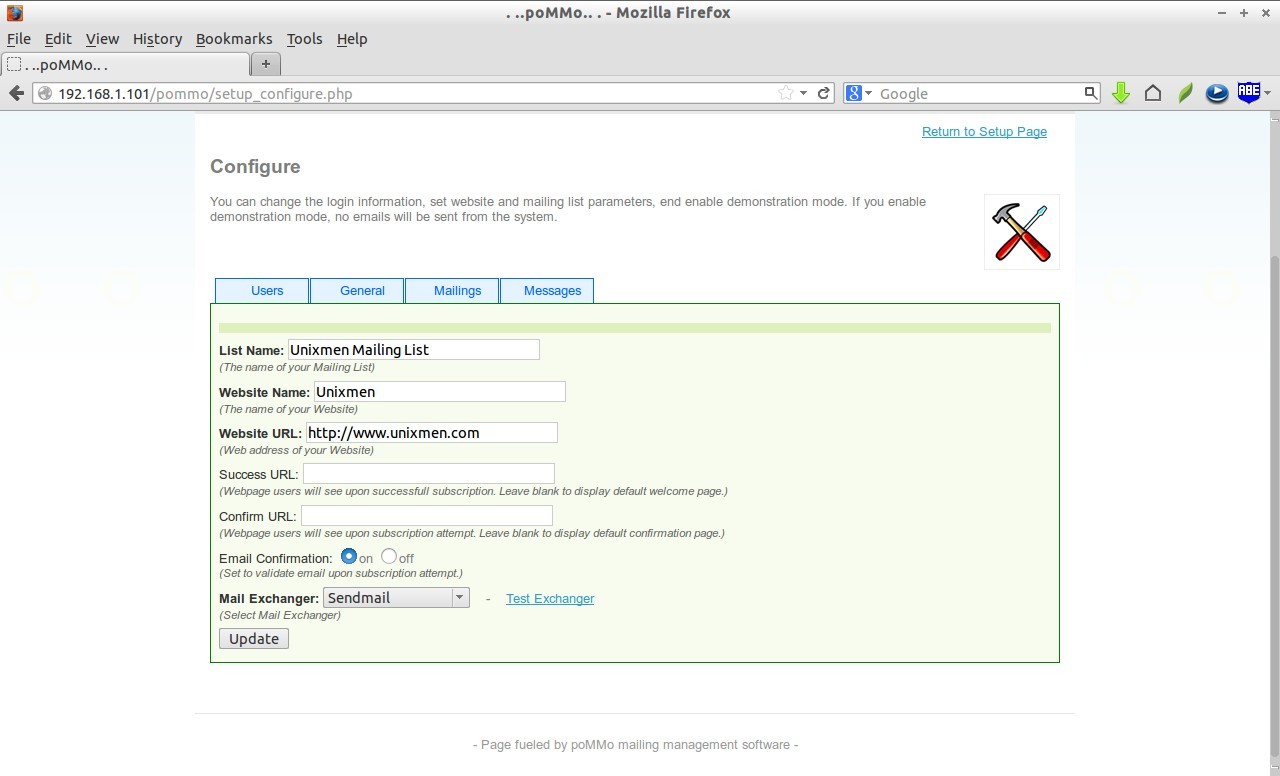
In the Configuration section, You can change the login information, set website and mailing list parameters. Navigate to all tabs, set values as per your liking. Finally, end enable demonstration mode. If you enable demonstration mode, no emails will be sent from the system.
When all done, return back to the Admin page and start creating Mailings list and Subscribers list.
Cheers!


