
Pydio, formerly known as AjaXplorer, is an open source application that can be used to setup fileserver on any system. It is an alternative to SaaS Boxes and Drives, with more control, safety and privacy, and favorable TCOs. It provides the easy access to files/folders from any system, from any browser over LAN or WAN. It has an embedded WebDAV server and native mobile applications for iOS and Android. It is easy to install, configure and it is designed to provide enterprise grade security and control. Moreover, Pydio users and groups can be mapped directly from your external LDAP/AD server, or from the most common PHP-based CMS.
Install Pydio
As I mentioned before, We can deploy Pydio on any webserver. In this tutorial, I am going to setup the fileserver using LAMP. To install and configure LAMP server, use any one of the following links. My testbox is running with CentOS 6.5 and my testbox hostname is server.unixmen.local and IP Address is 192.168.1.101/24. Also, the same steps are applicable for all RPM based distributions such as RHEL/Scientific Linux 6.x and Fedora.
OR
Create Database And User For Pydio
Login to the database server:
mysql -u root -p
Create a database called pydiodb and a database user called pydiouser.
Welcome to the MySQL monitor.  Commands end with ; or \g.
Your MySQL connection id is 2
Server version: 5.5.37 MySQL Community Server (GPL) by Remi

Copyright (c) 2000, 2014, Oracle and/or its affiliates. All rights reserved.

Oracle is a registered trademark of Oracle Corporation and/or its
affiliates. Other names may be trademarks of their respective
owners.

Type 'help;' or '\h' for help. Type '\c' to clear the current input statement.

mysql> create database pydiodb;
Query OK, 1 row affected (0.03 sec)

mysql> GRANT ALL ON pydiodb.* TO pydiouser@localhost IDENTIFIED BY 'centos';
Query OK, 0 rows affected (0.00 sec)

mysql> flush privileges;
Query OK, 0 rows affected (0.00 sec)

mysql> exit
Bye
Download Pydio
Download the latest version from the Pydio download page.
Here, you have two choices. You can manually download the tar or zip file and deploy it, or add the Pydio repository to your server.
In our case, let us download the zip file and do the manual installation.
wget http://sourceforge.net/projects/ajaxplorer/files/pydio/stable-channel/5.2.3/pydio-core-5.2.3.zip
Extract the zip file and move the contents to your web root directory.
unzip pydio-core-5.2.3.zip
mv pydio-core-5.2.3/ /var/www/html/pydio
Make sure that data folder has full permission(Read/Write).
chmod -R 777 /var/www/html/pydio/data/
Edit file /etc/httpd/conf/httpd.conf,
vi /etc/httpd/conf/httpd.conf
Find the line,
AllowOverride None
Change it to:
AllowOverride All
Save and close the file. Restart apache service.
service httpd restart
Start Pydio Installation
Now, open up the browser and type http://domain-name/pydio or http://ip-address/pydio in the address bar.
If you got the following error, It must be SELinux permission issues.
Forbidden
You don't have permission to access /pydio on this server.
Run the following command to get rid of the errors.
chcon -R -t httpd_sys_content_t /var/www/html/pydio/
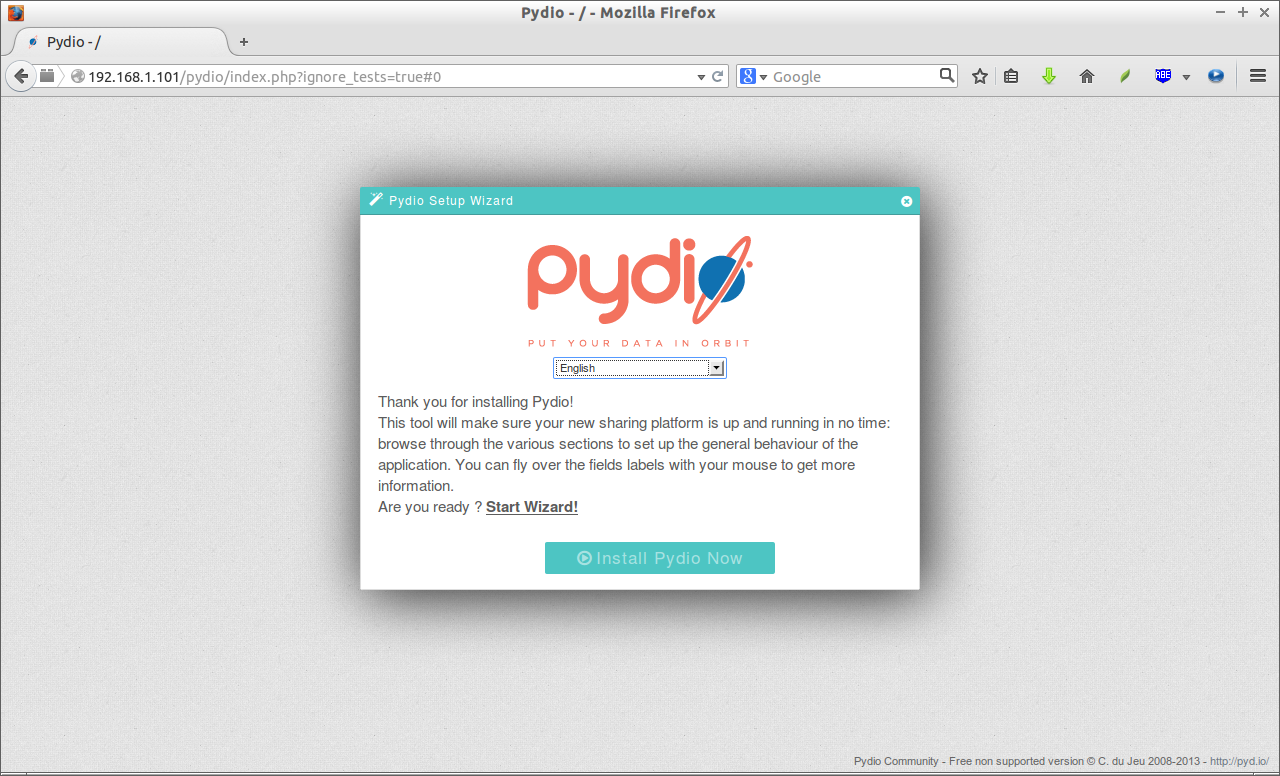
Now, again navigate to http://ip-address/pydio. You will see a following like screen. It will show any warnings or errors if exists. Review the error lines to check what action you should do.

Click Start Wizard to continue.
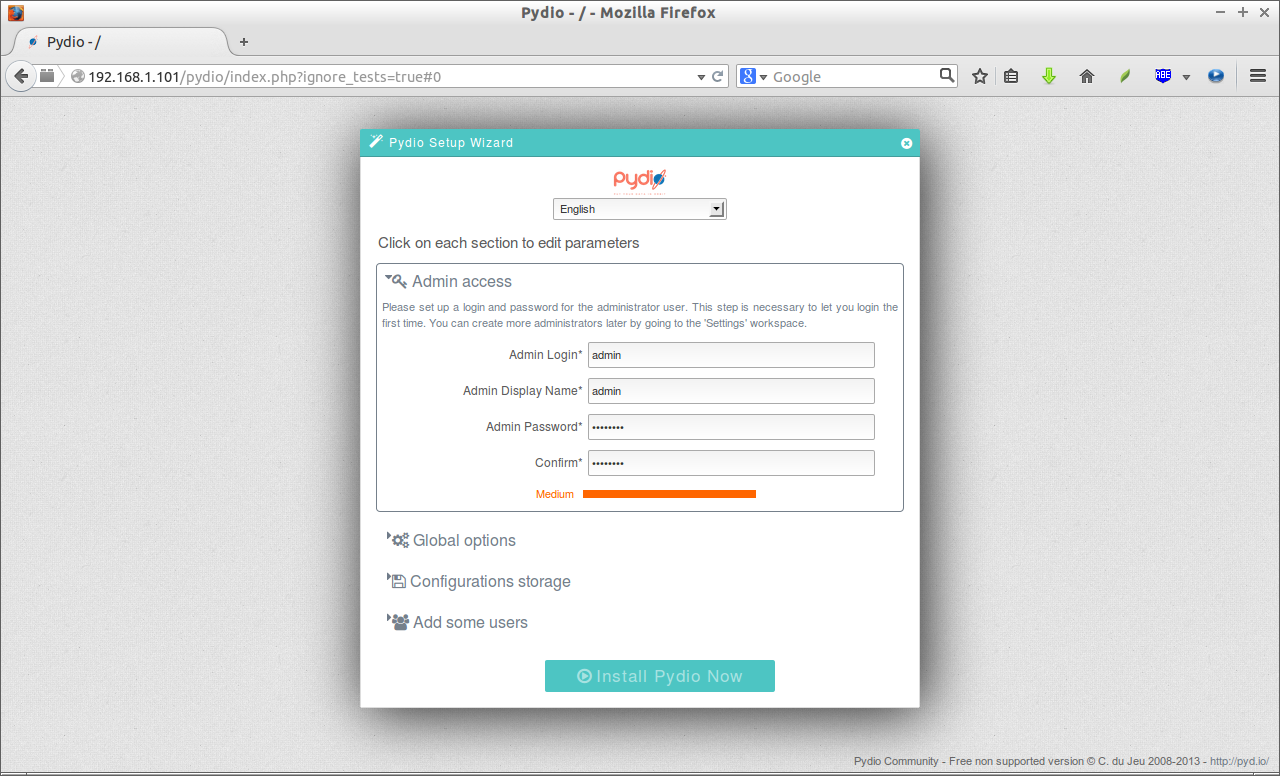
Click on the section and set the required parameters.
Setup Admin account.
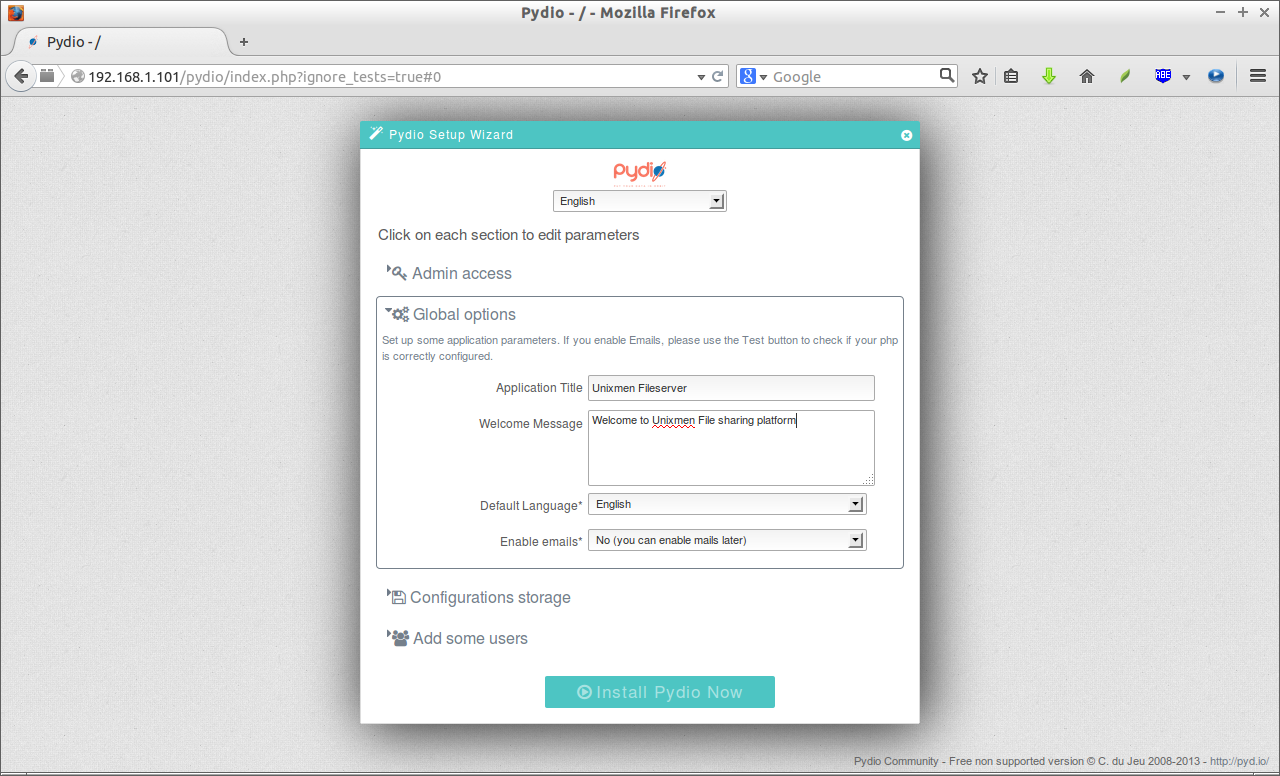
Set default language and file server title.
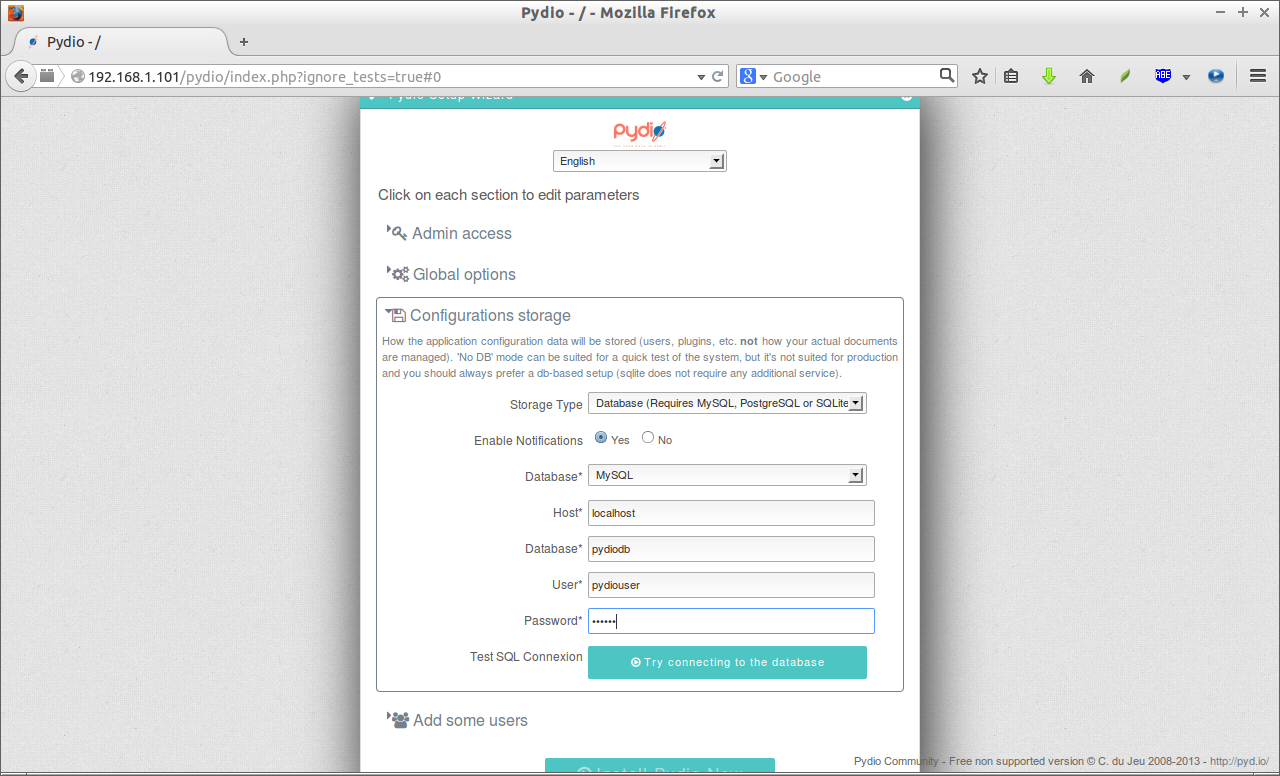
Configure MySQL database name and user. Enter mysql database and user details and click “try connecting to database”.
Setup Users.
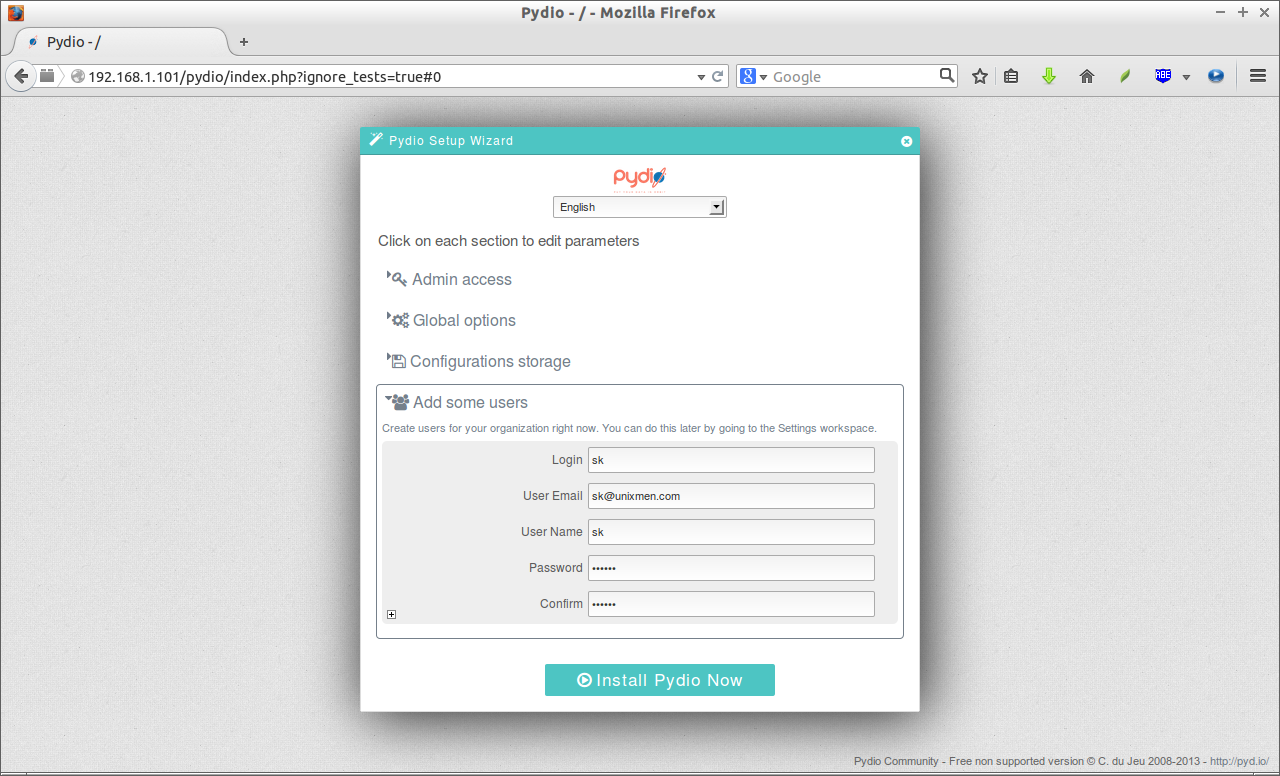
Finally, click on “Install Pydio Now” button to begin installation.
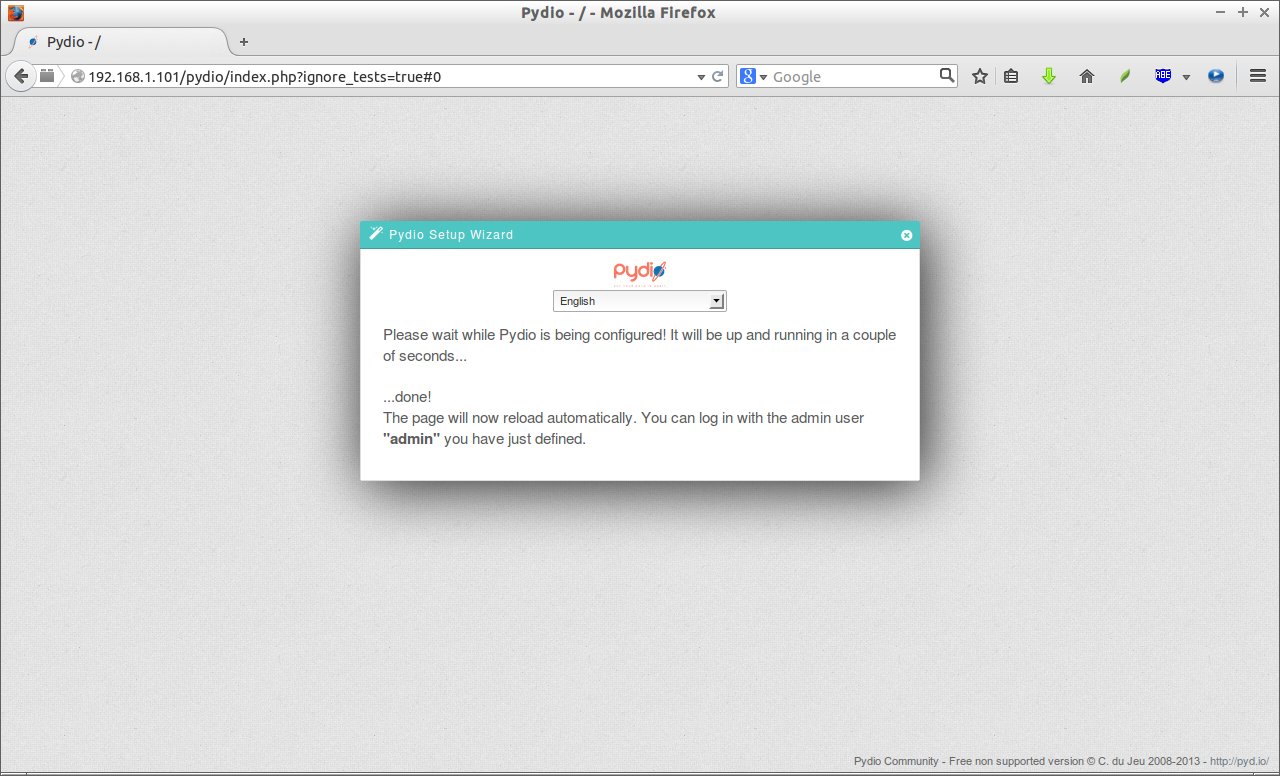
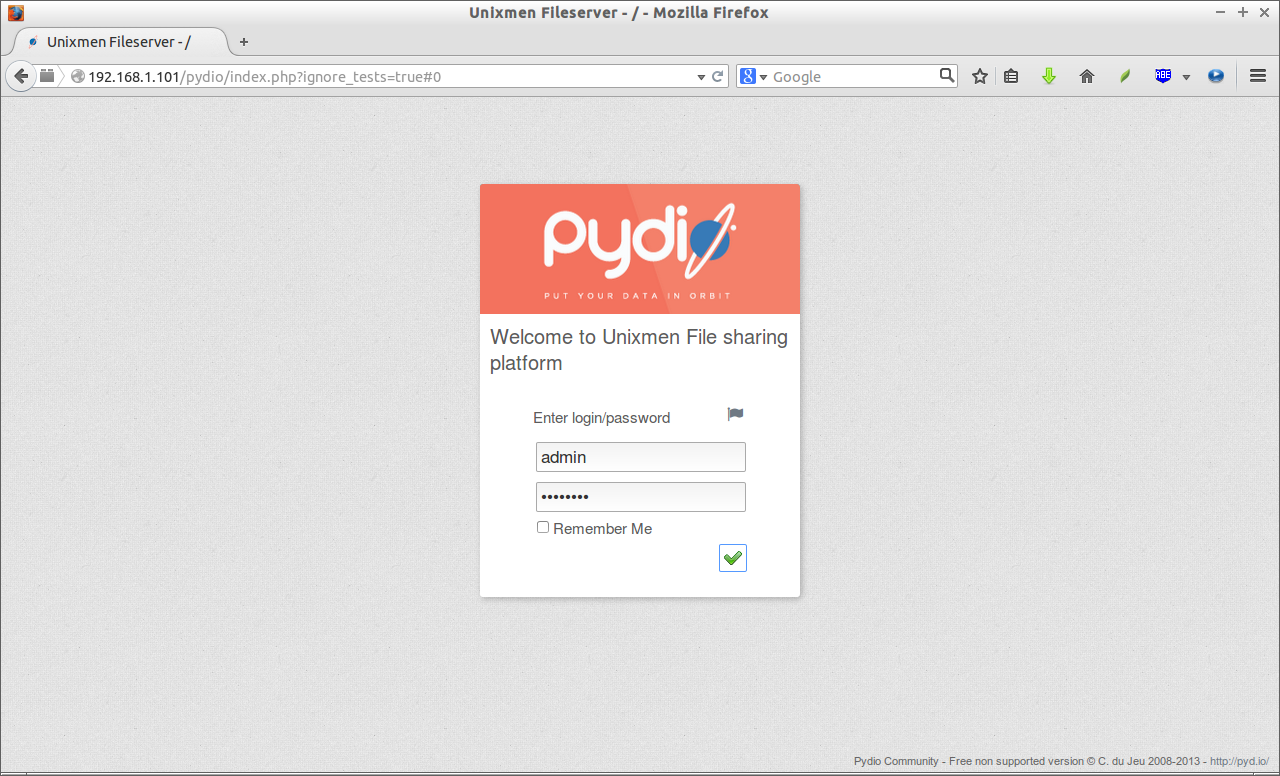
After the installation is completed, you will be automatically redirected to Pydio login page. Enter the username and password to login that you’ve created during installation.
Select your workspace and click on the “Enter” button.
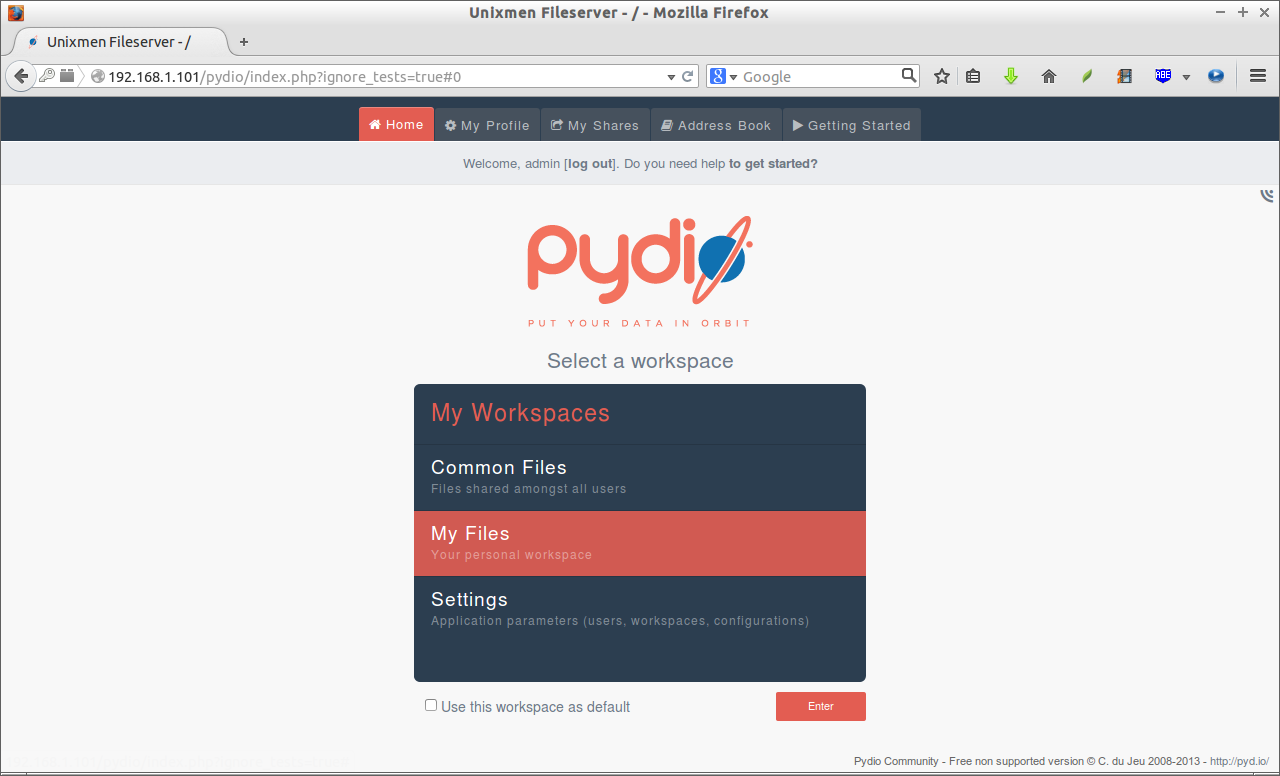
This is how my Pydio web console looked after getting to the workspace.
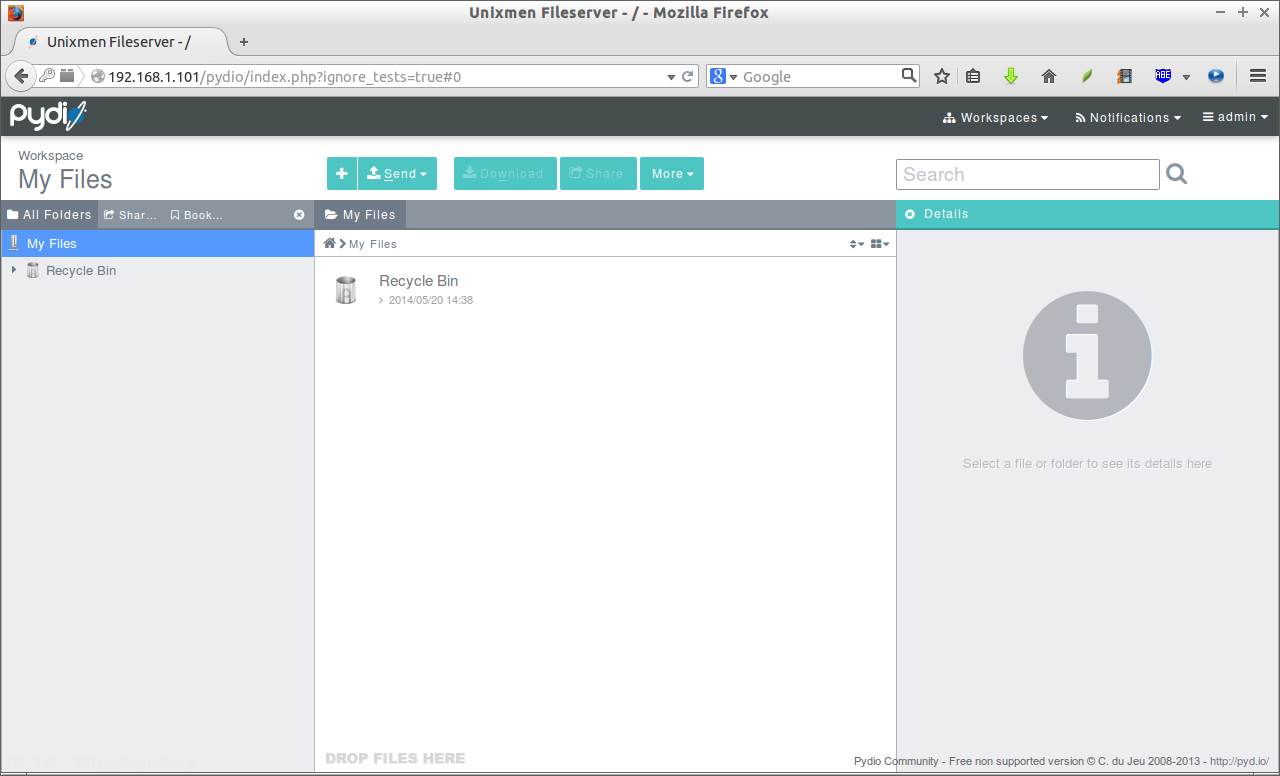
Now your file server is up and running. From here, you can start to create some files/folders and share/send them to your friends and colleagues over LAN or WAN.
In this handy tutorial, I’ve covered only basic installation and configuration notes. For additional in-depth configuration and administration tasks, I suggest you to refer the official documentation page.


