phpList is an open source, world’s popular, and more comprehensive newsletter campaign manager. Using phpList, you can send any no of mails to your subscribers. You can easily integrate the phpList with your website, so that you can send bulk mails to all of your subscribers at once.
Features
- phpList has cool a web interface that lets you write and send messages, and manage your email campaigns over the internet.
- phpList manages message delivery with a message queue, ensuring that every subscriber gets the email message, and that no subscribers receive two copies, even if they’re subscribed to more than one list.
- It keeps sending messages from the webserver, even your computer is turned off.
- phpList templates are fully customizable, and can be integrated with any websites.
- Throttling can limit the load on your server so it doesn’t overload. It limits the number of emails to specific domains to keep on the friendly side of their system administrators.
- It allows you to choose many different combinations of templates, languages, user attributes and lists.
- phpList keeps track of your sending messages. It tells you how many users opened your message. This provides a minimum statistic, as many email clients with privacy or security policies block images.
- It works well for small amount to 100,000+ subscribers.
- It has html Editors such as FCKeditor, TinyMCE that allows you to edit html messages.
- Subscribers attributes such as Name, country, and other personal information etc., are completely customizable, so that you can specify what information you need to get from users when they subscribe.
- You can give choice between text or html messages to your readers. Also, you can decide which type of messages the users can choose, either Text only or HTML only, or both.
- The subscribers can be automatically unsubscripted when too many messages bounced to them.
- Messages contains personalized links for subscribers to update their preferences or unsubscribe. Also, the subscribers can change their email address.
- phpList supports CSV import and export feature. So that you can easily import your existing users to a new database, or export the users to a safe place.
- Supports daily, weekly, and monthly RSS feeds.
- Supports multiple list administrators. A super admin can assign lists to list managers, and also he can prepare messages that can be sent by list managers to their lists.
- Not only Text or HTML messages, the phpLIst can send even a webpage to your subscribers.
- You include an attachment in messages.
- Messages will be repeated automatically if they contains updated dynamic contents and attachments.
- Supports batch processing and scheduled sending.
- phpLIst includes excellent management tools to manage and maintain large databases of subscribers.
- You can integrate phpLIst easily to any content management tools such as Drupal, Wordpress, SugarCRM etc. Check out the complete list here.
- phpList supports multiple languages including English, Chinese, Spanish, French and more. Complete list of supported languages are found here.
Well, it’s enough for the phpList introduction. Now, let us see how to install and configure it on CentOS 6.5 test box. phpLIst can be installed on any GNU Linux distribution with installed with Apache/nginx web server, MySQL, PHP packages.
Prerequisites
Make sure your server installed with a working LAMP stack. To install and configure a LAMP server on CentOS 6.5, refer the following link.
Additionally, you have to install php-imap module.
yum install php-imap
Create Database for phpList
Log in to mysql database with root user privilege:
mysql -u root -p
Create a database called “phplistdb”, database user called “phplistuser” with password “centos”.
mysql> create database phplistdb;
Query OK, 1 row affected (0.00 sec)

mysql> GRANT ALL ON phplistdb.* TO phplistuser@localhost IDENTIFIED BY 'centos';
Query OK, 0 rows affected (0.00 sec)

mysql> flush privileges;
Query OK, 0 rows affected (0.08 sec)

mysql> exit
Bye
Download phpList
Download the latest version from here.
wget http://prdownloads.sourceforge.net/phplist/phplist-3.0.6.zip
Extract the zip file:
unzip phplist-3.0.6.zip
Move the phplist-3.0.6/public_html/lists directory to the apache root folder.
mv phplist-3.0.6/public_html/lists/ /var/www/html/phplist
Configure phpList
Edit phplist config.php file,
nano /var/www/html/phplist/config/config.php
Adjust the following database settings to reflect with your own values.
[...]

*/

# what is your Mysql database server hostname
$database_host = "localhost";

# what is the name of the database we are using
$database_name = "phplistdb";

# what user has access to this database
$database_user = "phplistuser";

# and what is the password to login to control the database
$database_password = 'centos';
[...]
Adjust the bounce settings if necessary:
[...]

$message_envelope = 'listbounces@unixmen.com';

# when the protocol is pop, specify these three
$bounce_mailbox_host = 'localhost';
$bounce_mailbox_user = 'sk@unixmen.com';
$bounce_mailbox_password = 'your_password';

[...]
Change the value from ‘1‘ to ‘0‘ to enable phpList to send messages.
[...]

define ("TEST",0);

[...]
Save and close the file.
Adjust SELinux
Run the following comment to avoid the 403 forbidden error when access the phplist installation script from a remote system web browser.
chcon -R -t httpd_sys_content_t /var/www/html/phplist/
Start Installing phpLIst
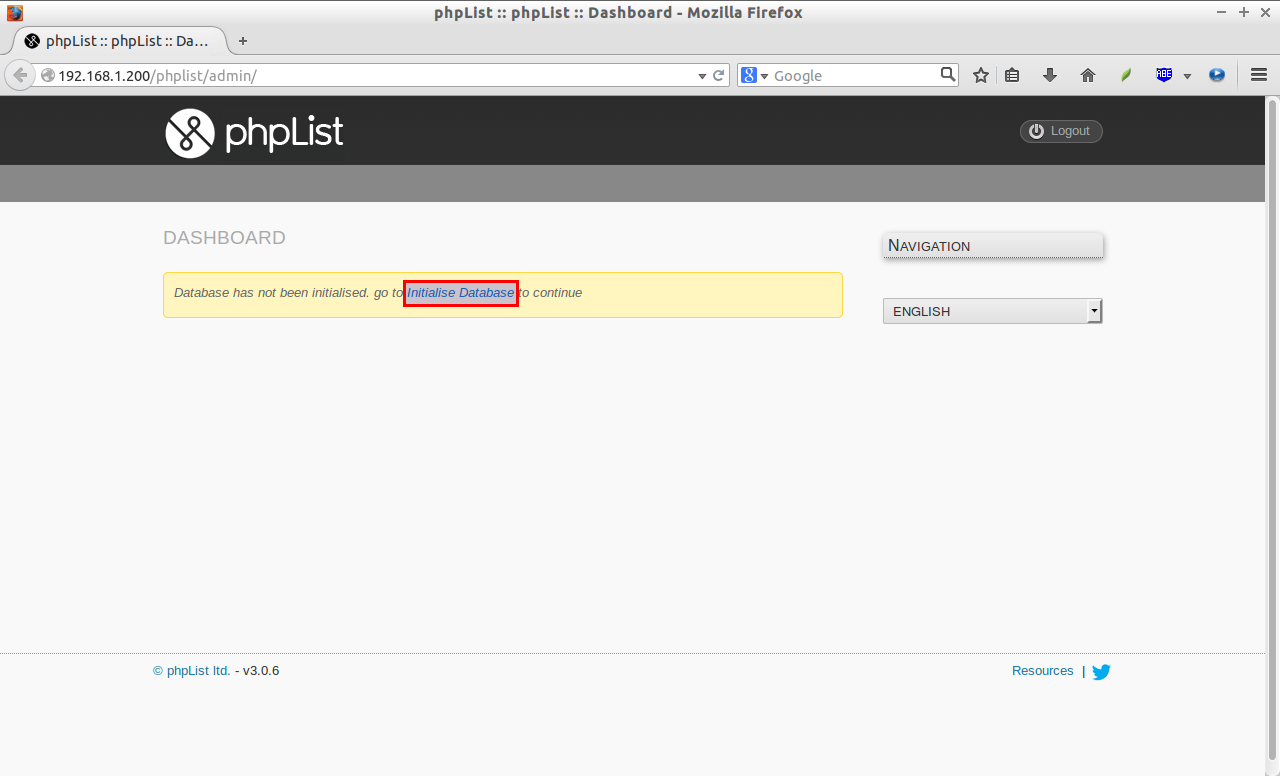
Open up your web browser, and point your browser to http://localhost/phplist/admin or http://ip-address/phplist/admin.
The following screen should appear. Click on the Initialise Database button.
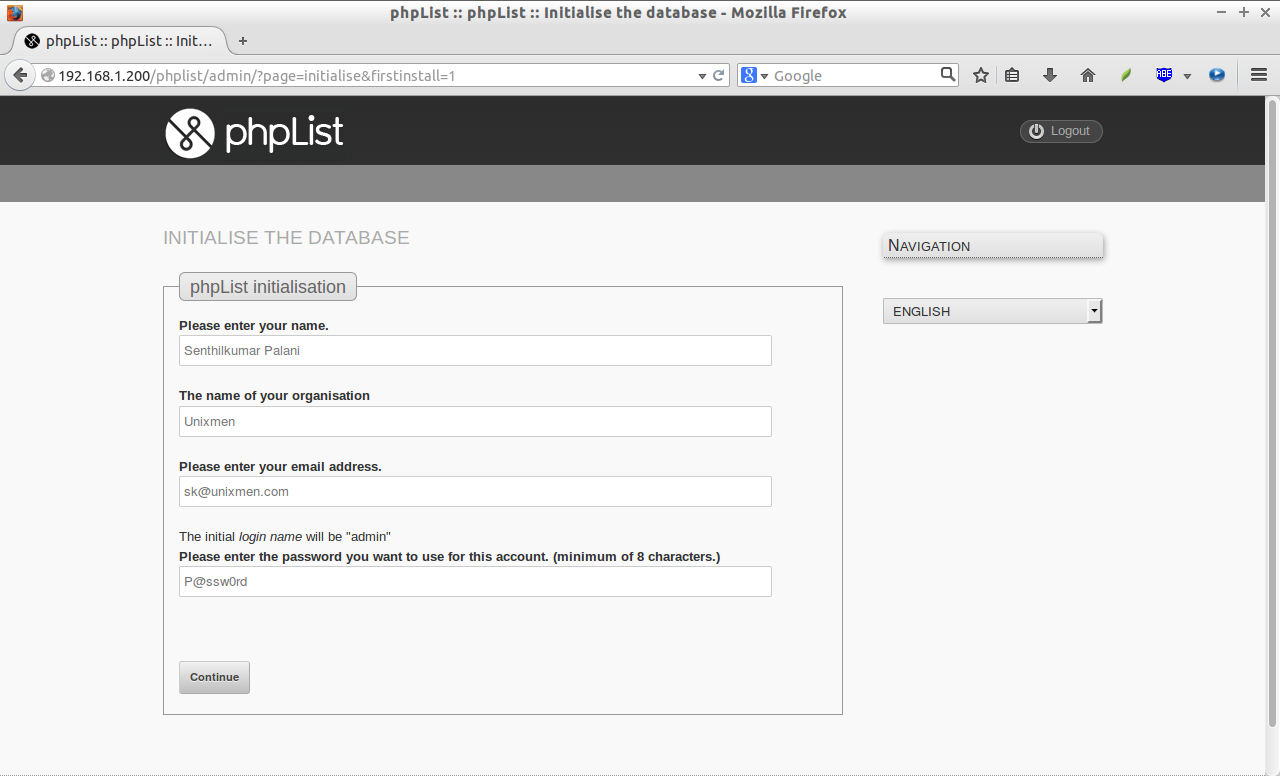
Enter the your name, organization name, email address, and administrative login user name. The initial login name will be “admin”.
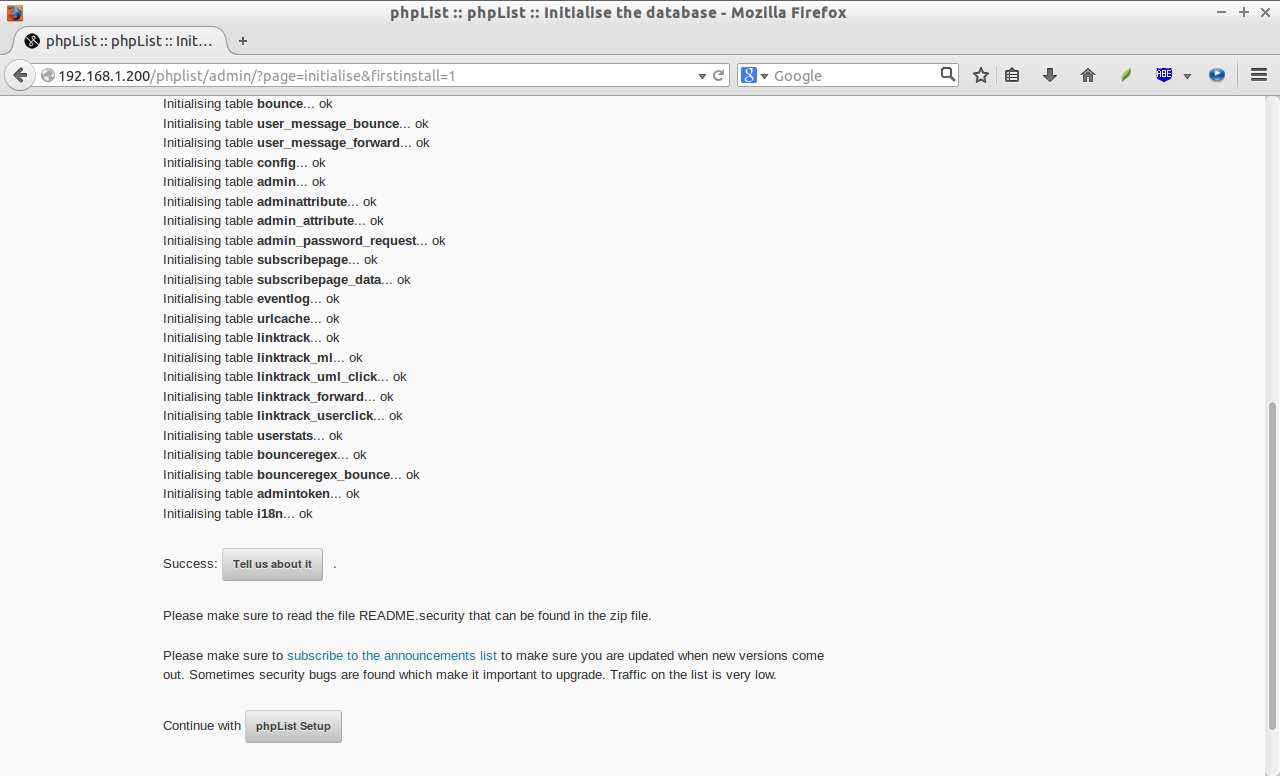
Once, the initialization is completed, click on the phpList Setup button to start phpList further configuration.
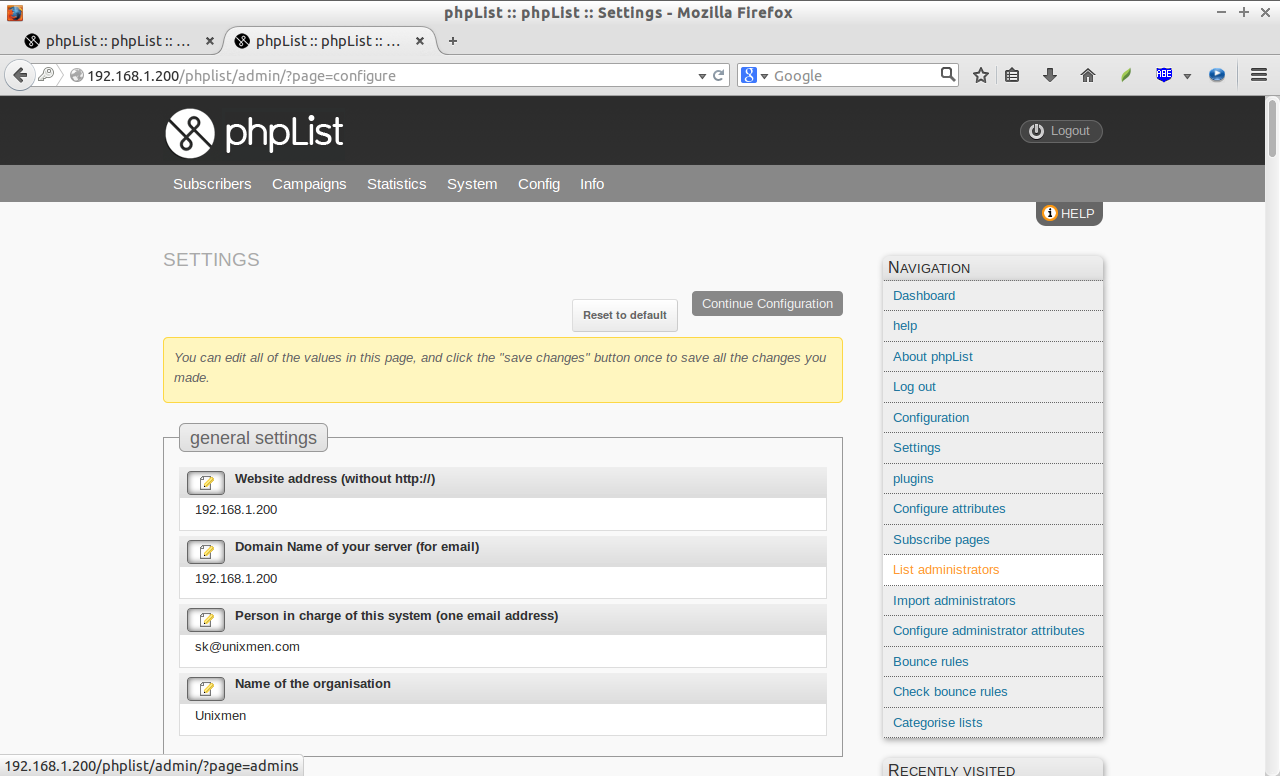
The following screen shows the list of configuration to do.
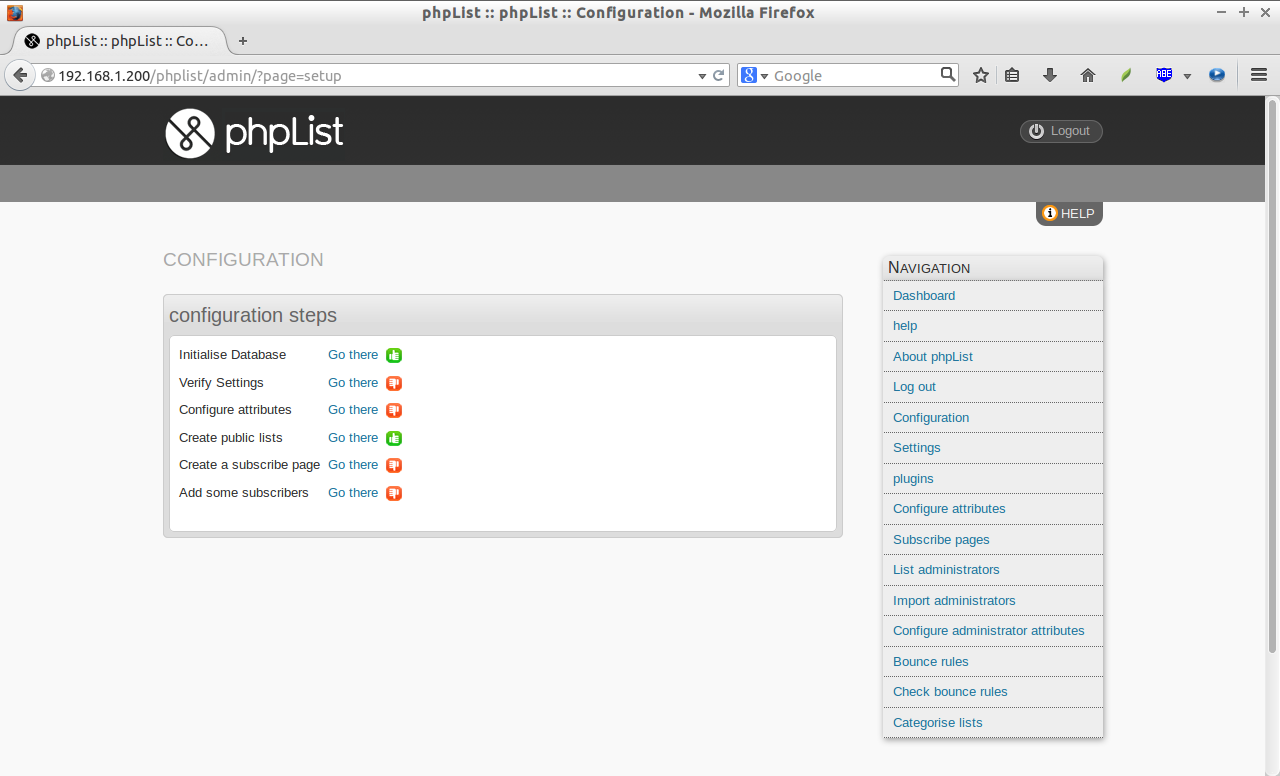
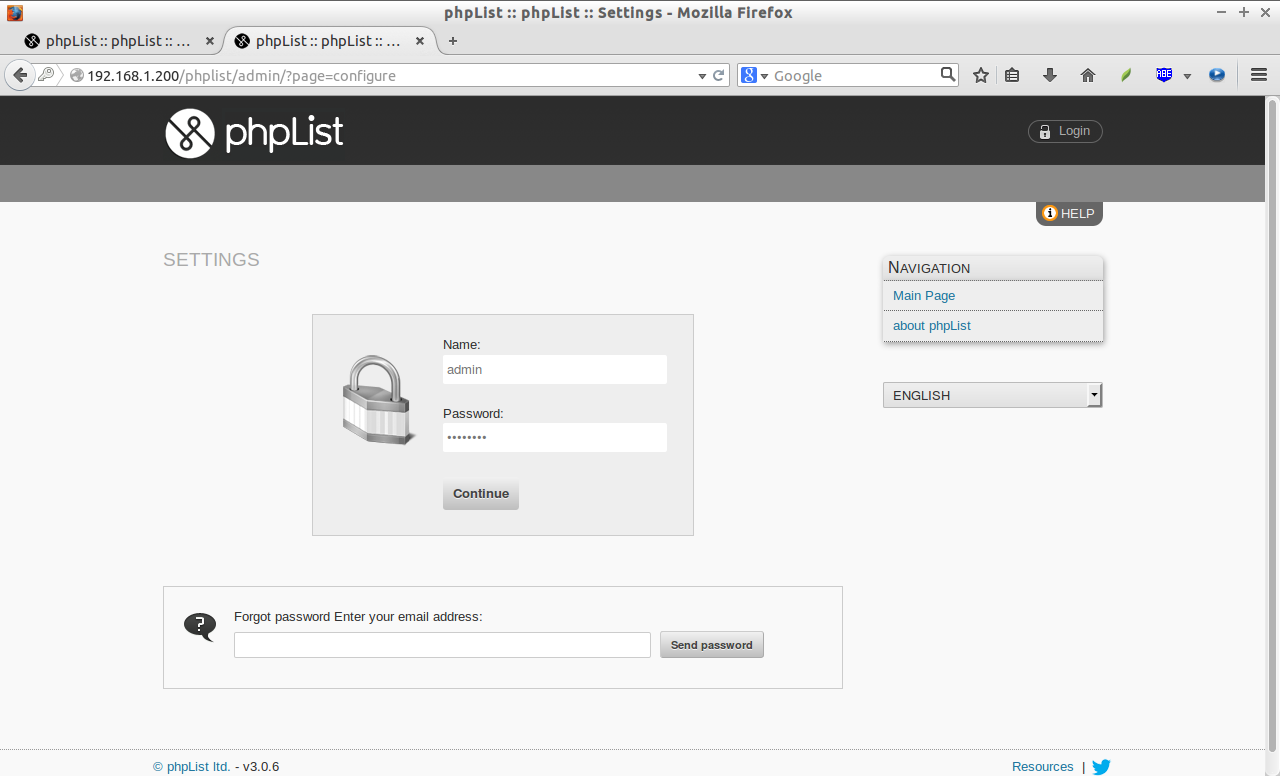
The rest of the configurations are up to you. Click on the each link, and change the appropriate values as per your requirement. You’ll be asked to enter the user as admin, and the admin user password.
You’ll see there, most of settings are self explanatory. Change those values as per your requirement.
Once, you completed all the list of configurations to do, you’re good to go. Start using your newly created E-mail Campaign manager. If you still have problems with configuration, refer the official documentation page.
This is how your Dashboard looks after all configurations are properly done.

Good luck!
Source & Reference: phpList Website


