
Take your Home media anywhere with Emby
Yes, you read it right. Meet Emby, a free and open source application that let your personal media library, such as home videos, audios and photos, to be accessible from anywhere using any device. Emby Server automatically converts and streams your media on-the-fly to play on any device. You can also manage your Emby server contents from any device using its web-based dashboard.
Emby comes in two different editions, free and paid (Emby premiere). The free edition has almost all features to setup a basic home media server. Only few more additional bonus features such as Cover Art, Mobile Sync, Cloud Sync, and free Android apps are not available in free edition. If you want all features you can buy Emby premiere service.
Emby apps available for almost all devices, including:
- Android Mobile (Play Store)
- Android Mobile (Amazon)
- Android TV
- Amazon Fire TV
- HTML5
- iPad
- iPhone
- Kodi
- Media Portal
- Roku
- Windows Desktop
- Windows Media Center
- Windows Phone
- Windows 8
In addition, Emby also offers a service called Emby connect which is similar to Plex Pass in Plex media server. Using this service, you can access your Media server from outside the local network or from mobile devices without having to use the actual IP address (private or public IP) of your Emby server.
Installation
Follow the below steps depending upon the distribution you use to install Emby server.
On Arch Linux:
pacman -S emby-server
systemctl start emby-server
yum install epel-release
wget http://download.opensuse.org/repositories/home:/emby/CentOS_6/home:emby.repo -O /etc/yum.repos.d/emby.repo
yum install emby-server
systemctl start emby-server
OR
service start emby-server
On CentOS 7:
yum install epel-release
wget http://download.opensuse.org/repositories/home:/emby/CentOS_7/home:emby.repo -O /etc/yum.repos.d/emby.repo
yum install emby-server
systemctl start emby-server
OR
service start emby-server
Debian 7:
Add Emby repositories and install Emby server as shown below:
wget -qO - http://download.opensuse.org/repositories/home:emby/Debian_7.0/Release.key | sudo apt-key add -
sudo sh -c "echo 'deb http://download.opensuse.org/repositories/home:/emby/Debian_7.0/ /' >> /etc/apt/sources.list.d/emby-server.list"
sudo apt-get update
sudo apt-get install mono-runtime mediainfo libsqlite3-dev imagemagick-6.q8 libmagickwand-6.q8-2 libmagickcore-6.q8-2
sudo apt-get install emby-server
sudo service emby-server start
Debian 8:
Add Emby repositories and install Emby server as shown below:
wget -qO - http://download.opensuse.org/repositories/home:emby/Debian_8.0/Release.key | sudo apt-key add -
sudo sh -c "echo 'deb http://download.opensuse.org/repositories/home:/emby/Debian_8.0/ /' >> /etc/apt/sources.list.d/emby-server.list"
sudo apt-get update
sudo apt-get install mono-runtime mediainfo libsqlite3-dev imagemagick-6.q8 libmagickwand-6.q8-2 libmagickcore-6.q8-2
sudo apt-get install emby-server
sudo service emby-server start
Fedora 20:
yum install epel-release
wget http://download.opensuse.org/repositories/home:/emby/Fedora_20/home:emby.repo -O /etc/yum.repos.d/emby.repo
yum install emby-server
systemctl start emby-server
OR
service start emby-server
Fedora 21:
yum install epel-release
wget http://download.opensuse.org/repositories/home:/emby/Fedora_21/home:emby.repo -O /etc/yum.repos.d/emby.repo
yum install emby-server
systemctl start emby-server
OR
service start emby-server
Ubuntu 15.04
Add Emby repositories and Install it using the following commands:
wget -qO - http://download.opensuse.org/repositories/home:emby/xUbuntu_15.04/Release.key | sudo apt-key add -
sudo sh -c "echo 'deb http://download.opensuse.org/repositories/home:/emby/xUbuntu_15.04/ /' >> /etc/apt/sources.list.d/emby-server.list"
sudo apt-get update
sudo apt-get install mono-runtime mediainfo libsqlite3-dev imagemagick-6.q8 libmagickwand-6.q8-2 libmagickcore-6.q8-2
sudo apt-get install emby-server
sudo service emby-server start
Ubuntu 14.10:
Add Emby repositories and Install it using the following commands:
wget -qO - http://download.opensuse.org/repositories/home:emby/xUbuntu_14.10/Release.key | sudo apt-key add -
sudo sh -c "echo 'deb http://download.opensuse.org/repositories/home:/emby/xUbuntu_14.10/ /' >> /etc/apt/sources.list.d/emby-server.list"
sudo apt-get update
sudo apt-get install mono-runtime mediainfo libsqlite3-dev imagemagick-6.q8 libmagickwand-6.q8-2 libmagickcore-6.q8-2
sudo apt-get install emby-server
sudo service emby-server start
Ubuntu 14.04:
Add Emby repositories and Install it using the following commands:
wget -qO - http://download.opensuse.org/repositories/home:emby/xUbuntu_14.04/Release.key | sudo apt-key add -
sudo sh -c "echo 'deb http://download.opensuse.org/repositories/home:/emby/xUbuntu_14.04/ /' >> /etc/apt/sources.list.d/emby-server.list"
sudo apt-get update
sudo apt-get install mono-runtime mediainfo libsqlite3-dev imagemagick-6.q8 libmagickwand-6.q8-2 libmagickcore-6.q8-2
sudo apt-get install emby-server
sudo service emby-server start
Ubuntu 12.04:
Add Emby repositories and Install it using the following commands:
wget -qO - http://download.opensuse.org/repositories/home:emby/xUbuntu_12.04/Release.key | sudo apt-key add -
sudo sh -c "echo 'deb http://download.opensuse.org/repositories/home:/emby/xUbuntu_12.04/ /' >> /etc/apt/sources.list.d/emby-server.list"
sudo apt-get update
sudo apt-get install mono-runtime mediainfo libsqlite3-dev imagemagick-6.q8 libmagickwand-6.q8-2 libmagickcore-6.q8-2
sudo apt-get install emby-server
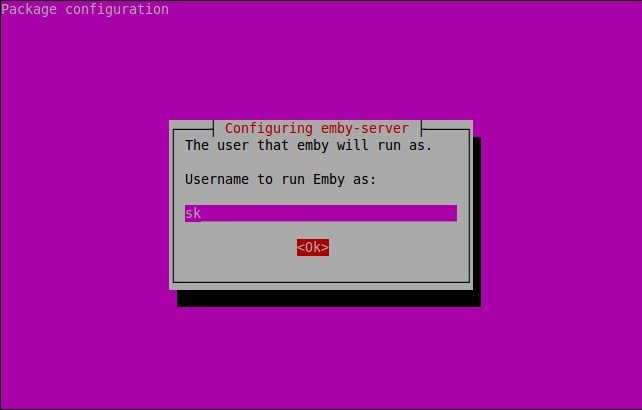
During the installation, you will be asked to create an user who has read and write permissions to any folders you wish to add to your library. By default, Emby runs under a user called “emby”. You can either create the same user (i.e emby) or create a new user.
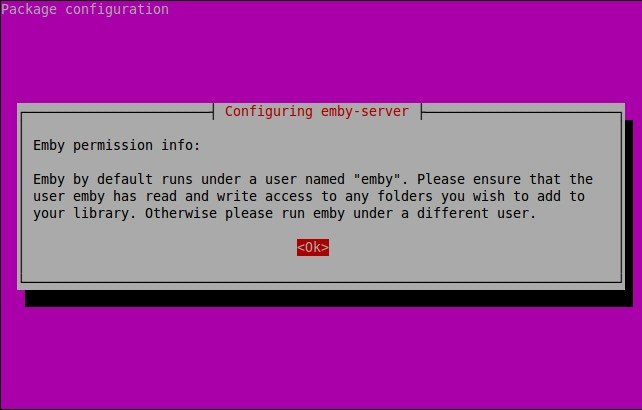
I already had a user named “sk”. So, I use this user to configure Emby-server.
That’s it. Now, It is time to start web based setup.
sudo service emby-server start
Configure Emby
Open up your web browser and navigate to: http://localhost:8096 or http://IP-Address:8096.
Note: In CentOS and other distributions, make sure you have allowed the Emby default ports 8096(http) and 8920(https) through router or firewall in order to access the web installer.
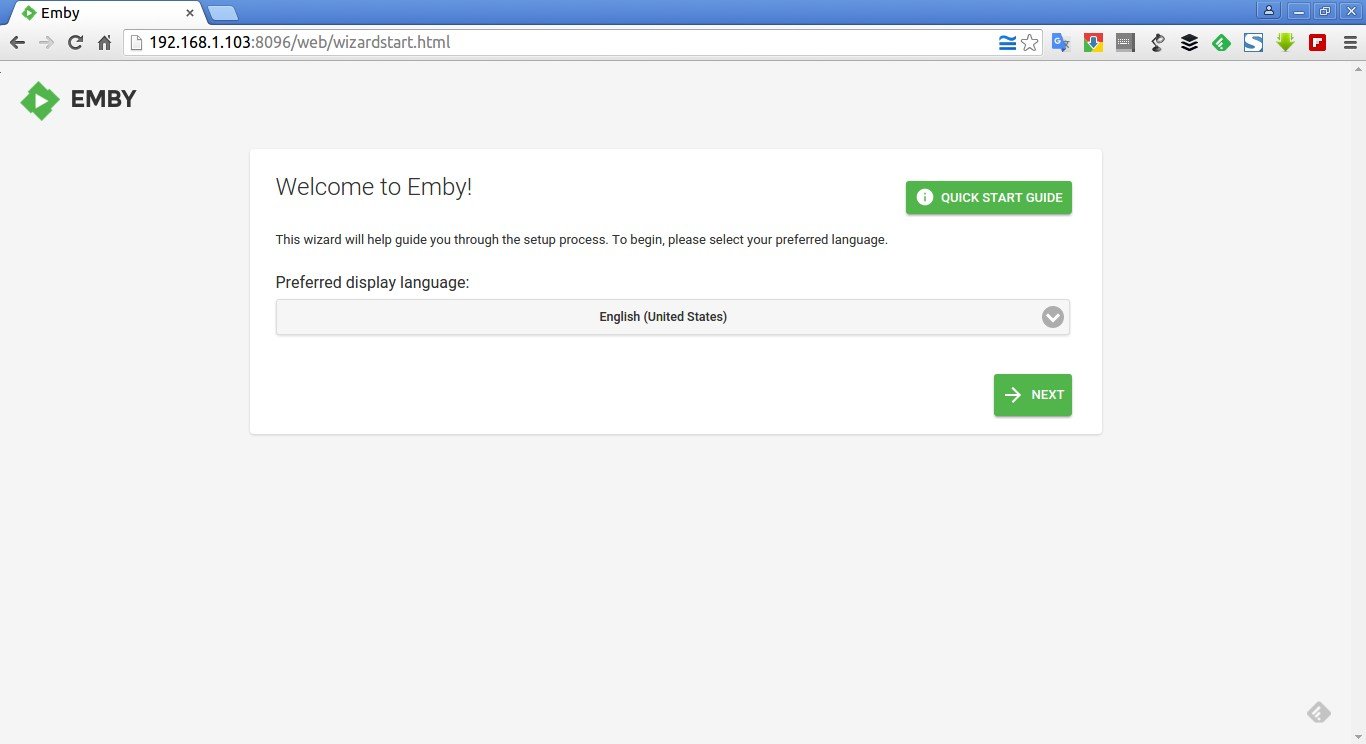
The following wizard should appear.
Select your preferred language and click NEXT.
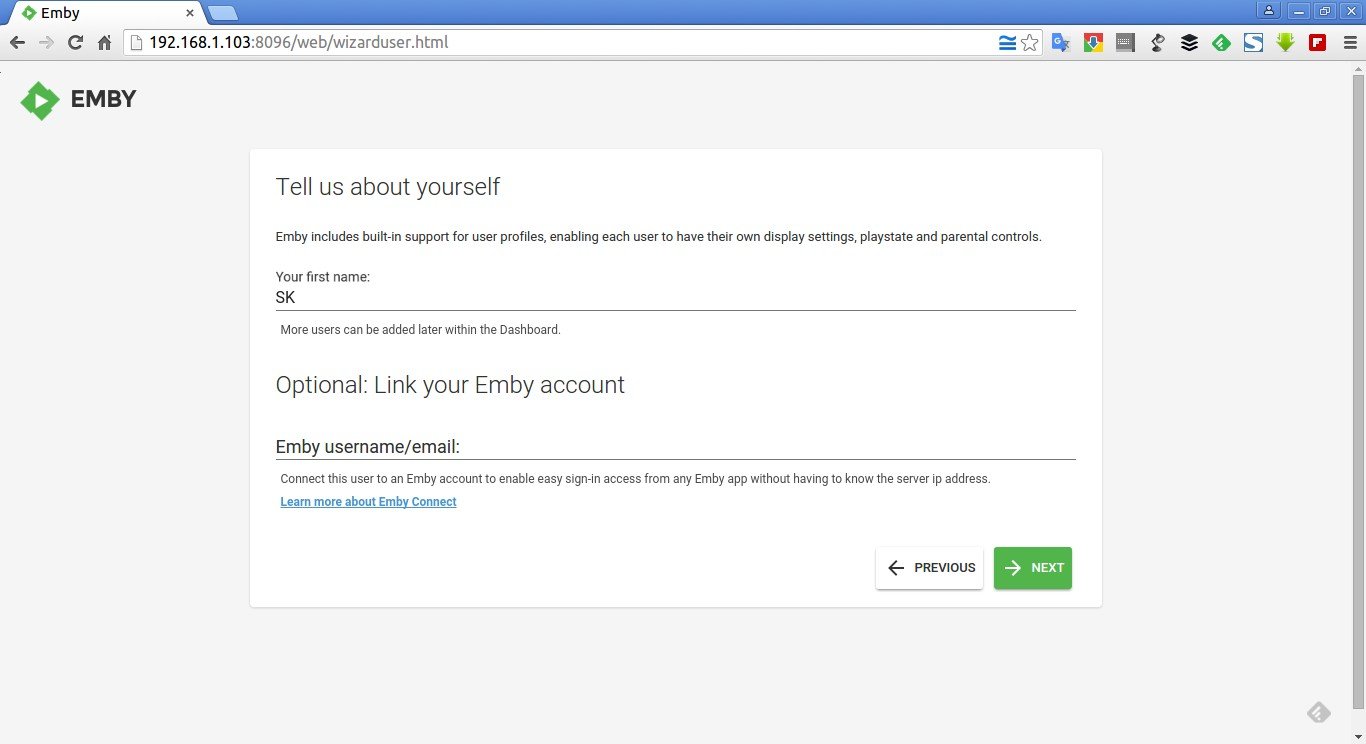
Emby includes built-in support for user profiles, enabling each user to have their own display settings, playstate and parental controls. Enter your first name and press Next. This is your personal Empy account user name to access the dashboard. You can add more users later in the Emby dashboard.
Now, setup your media library. Emby identifies your media according to folder structure, file name, and the type of library to which it is assigned. Once identified, Emby downloads information like posters, descriptions, and ratings that make media selection a rich experience.
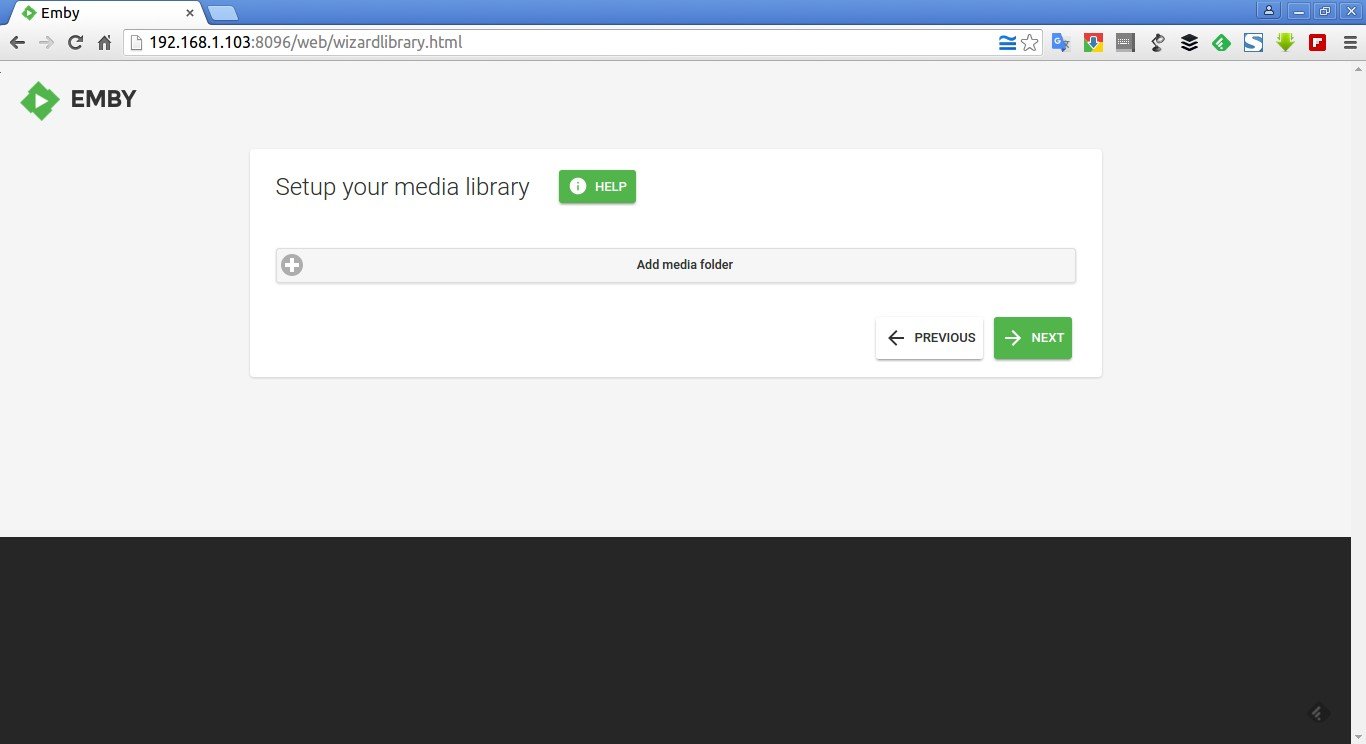
Click on the Add media folder. A media folder is a grouping of one or more physical folders on your file system. Select the type of the media such as videos, audios, TV, or Books from the Content type drop-down box.
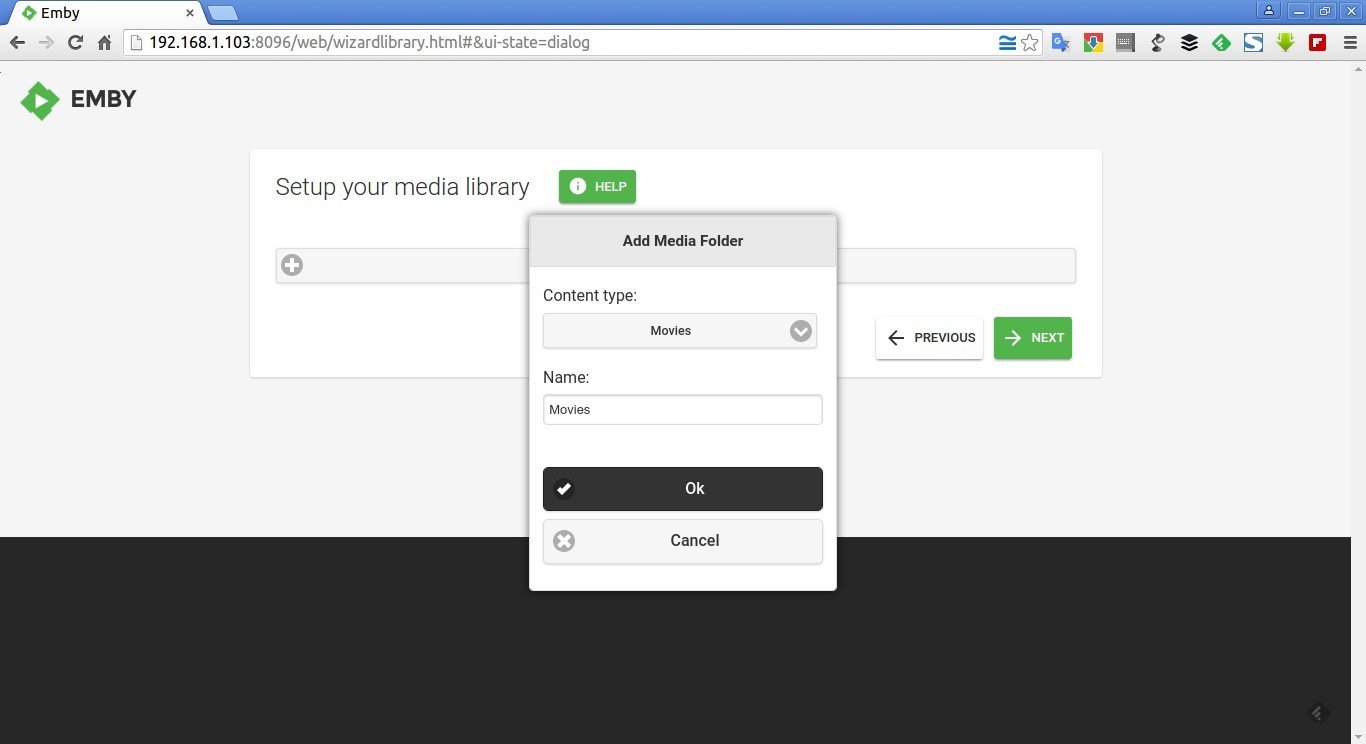
Similarly, you can create as many media folders as you want.
For testing purpose, I have added only two media folders, one for Movies and Videos, and another one for Music.

Be mindful that, we have only added the media folders, and we haven’t add any medias to those folders yet.
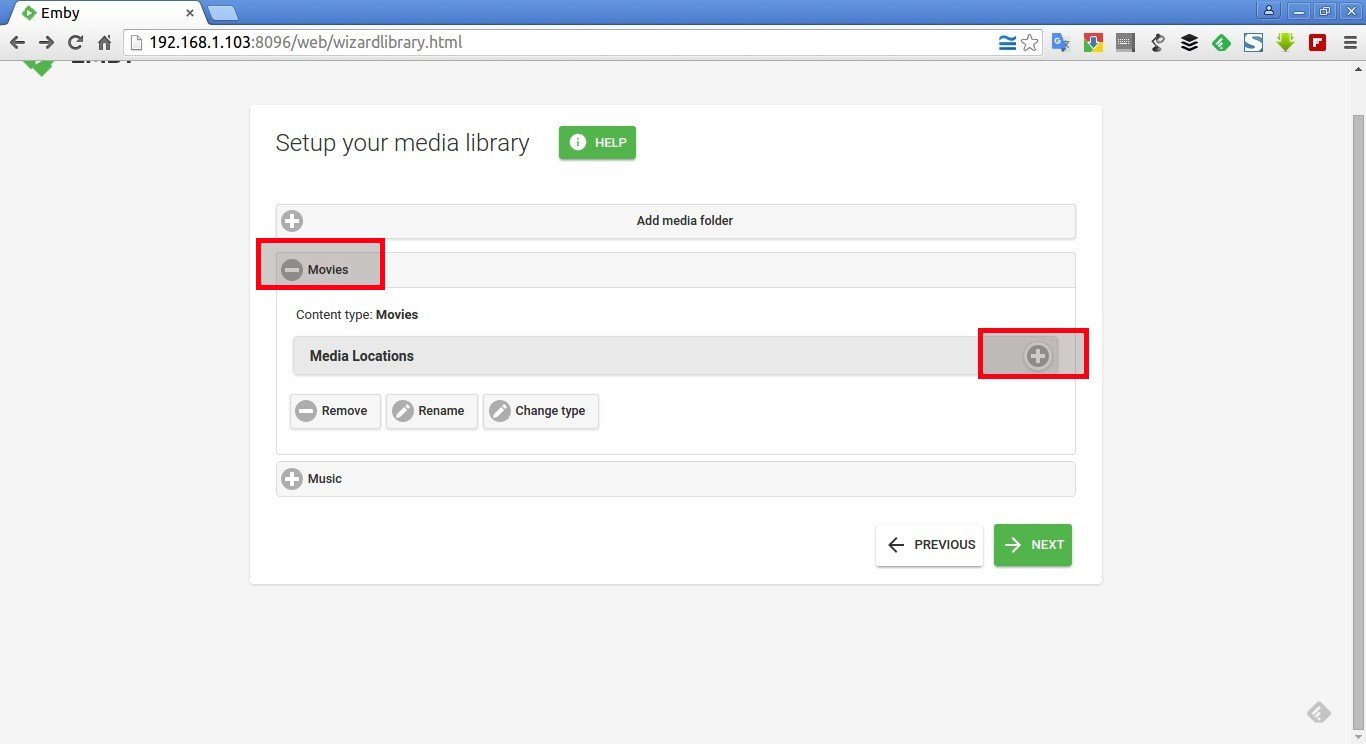
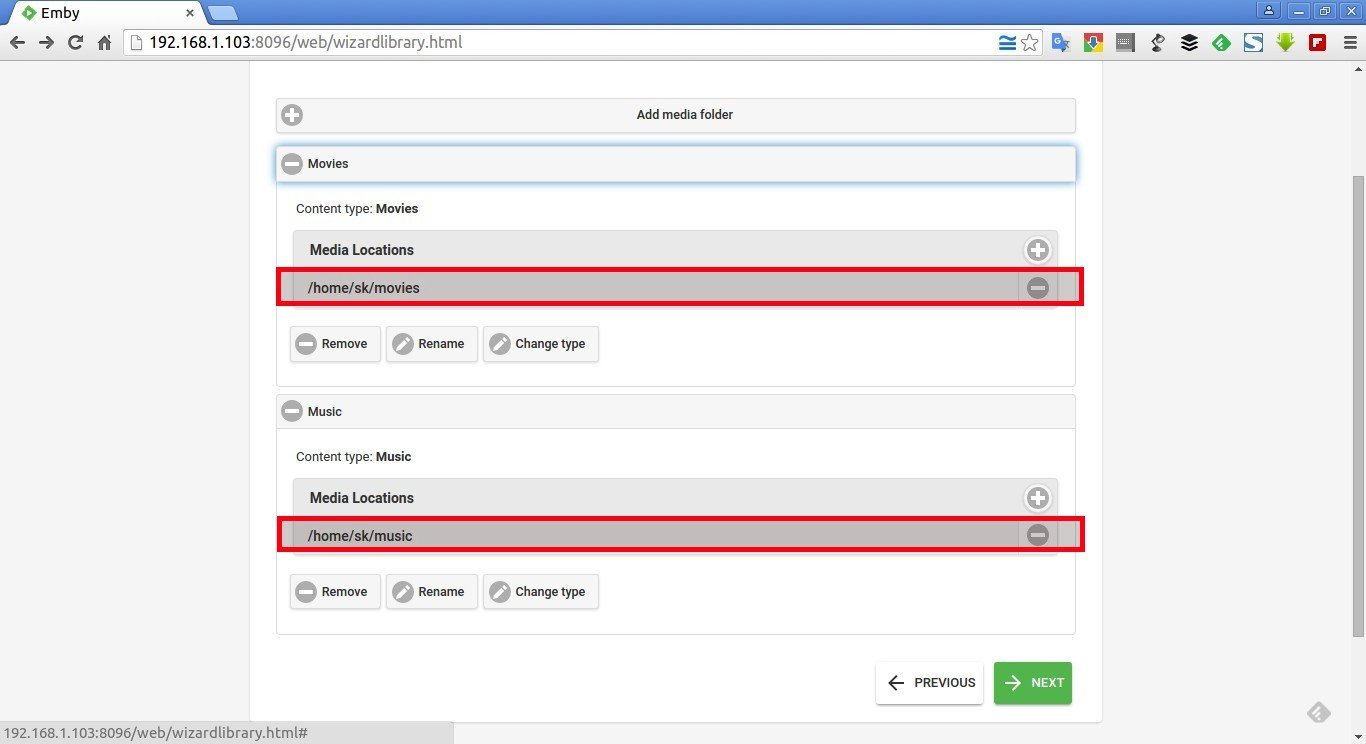
Next, let us specify the physical library paths. Each media folder can have one or more physical library paths. Physical library path is a location where you kept your media files such movies, videos, audios etc., in your local or remote system.
To add the physical library path, click on the plus (+) sign in front of the each media folder. Then, again click the plus (+) in the Media locations entry.
Select the path and click Ok.
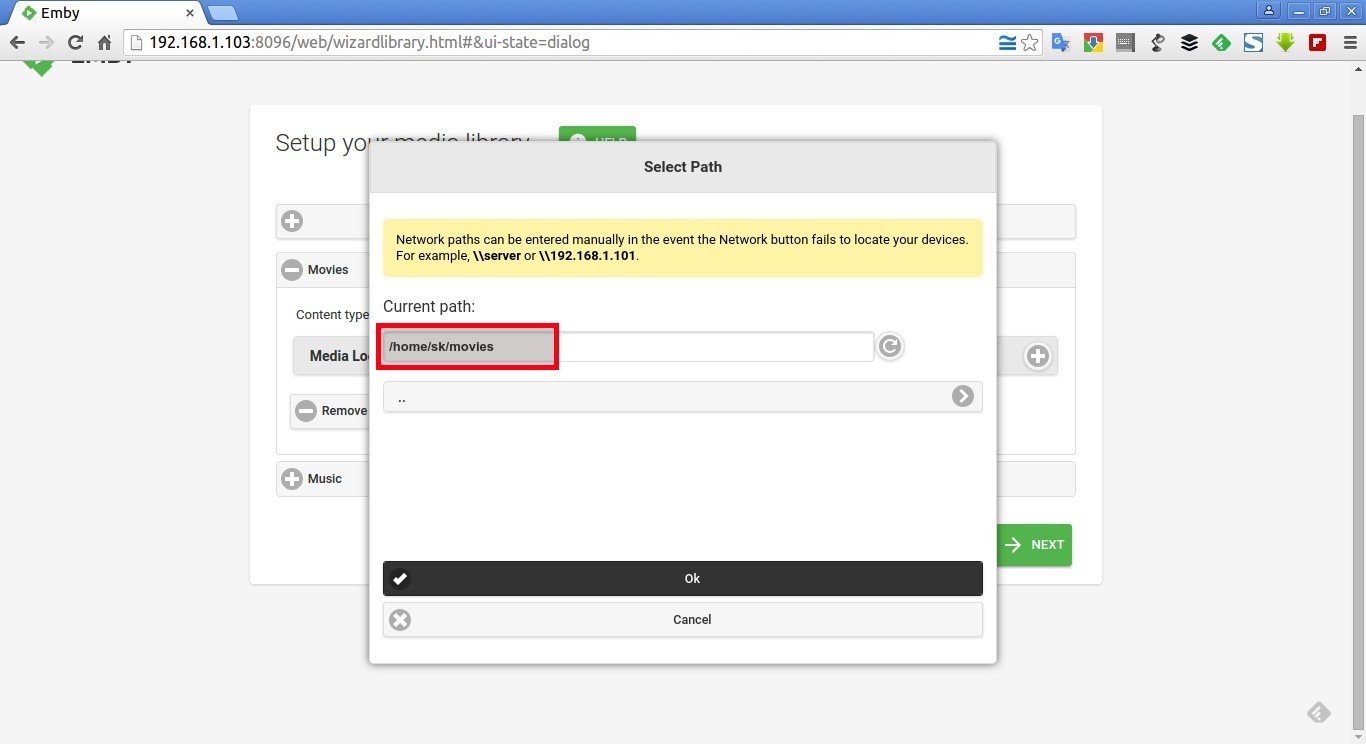
Similarly, select the library paths to all other media folders too. After specifying library paths to all media folders, click Next to continue.
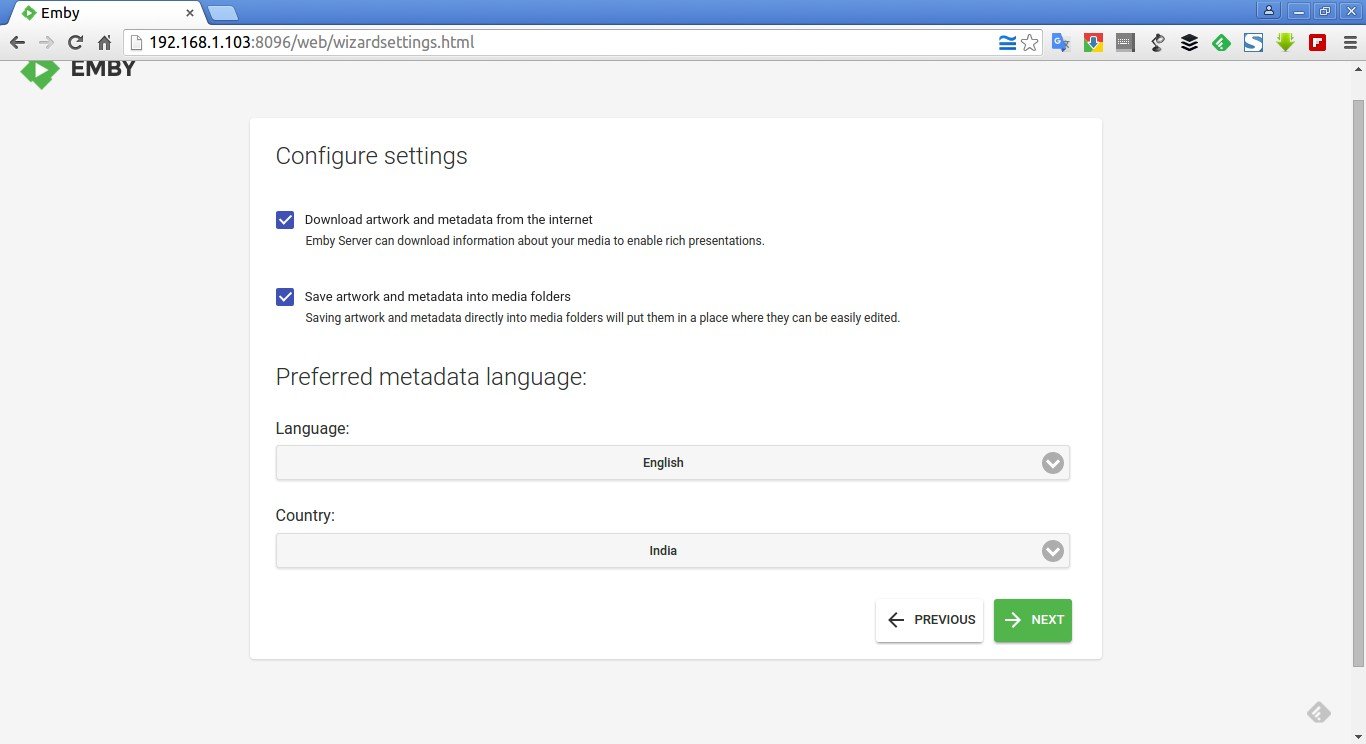
Select your Language and Country. Click Next to continue.
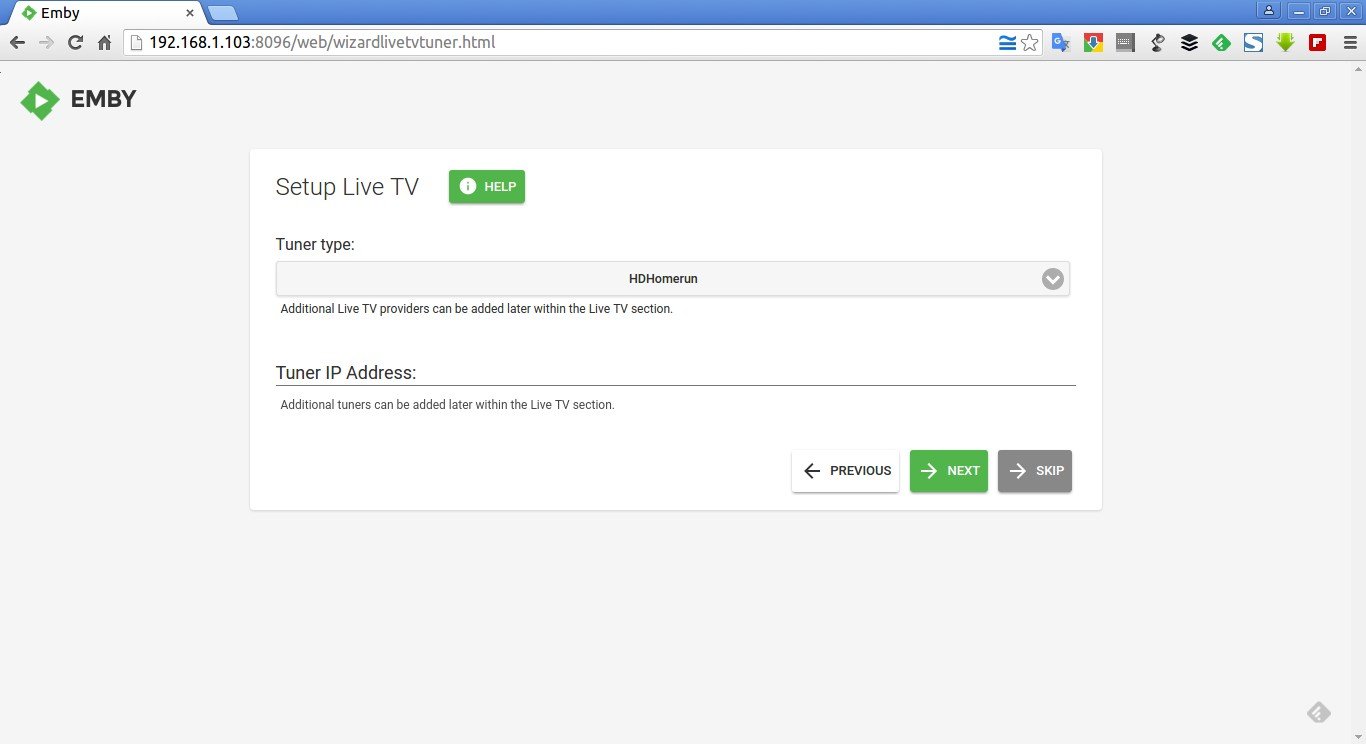
In the next step, you’ll be asked to setup a Live TV. Since, I don’t have TV tuner card in my Ubuntu system, I simply skipped this step.
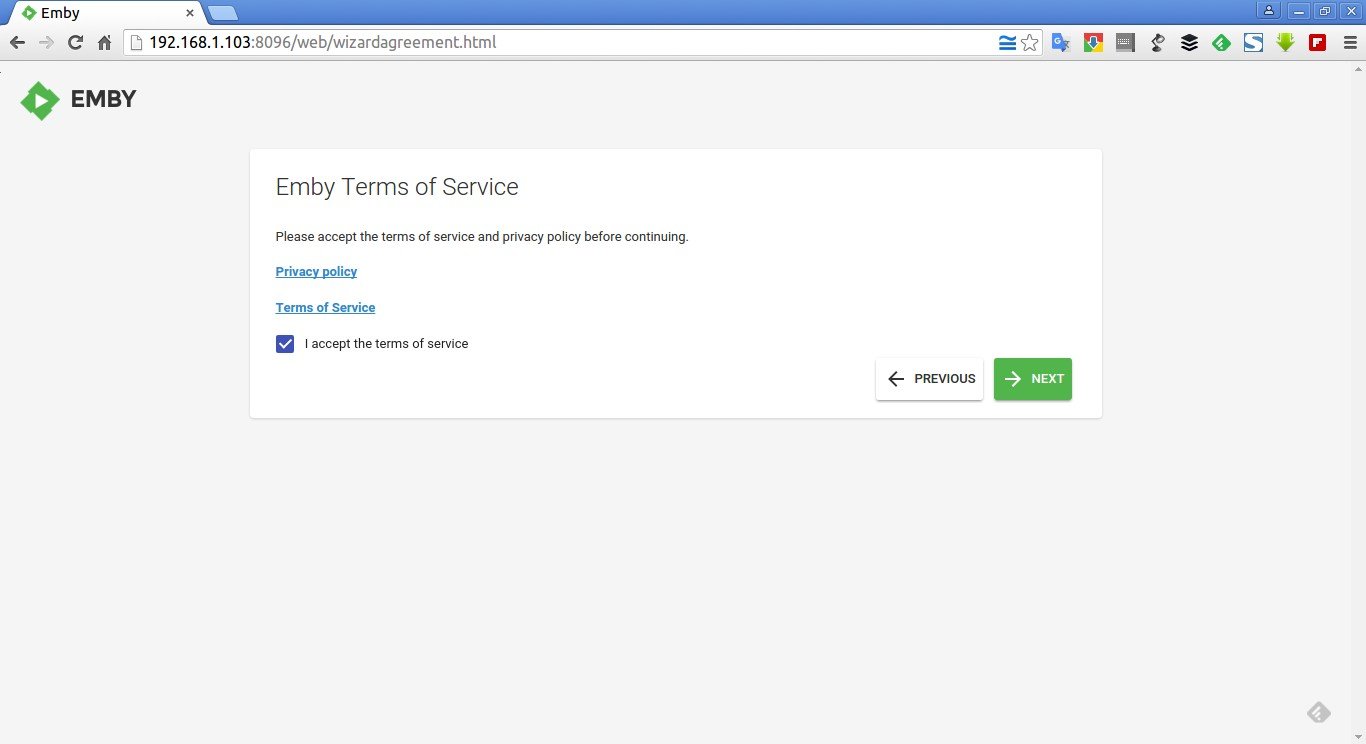
Accept the Emby terms and conditions and click Next.
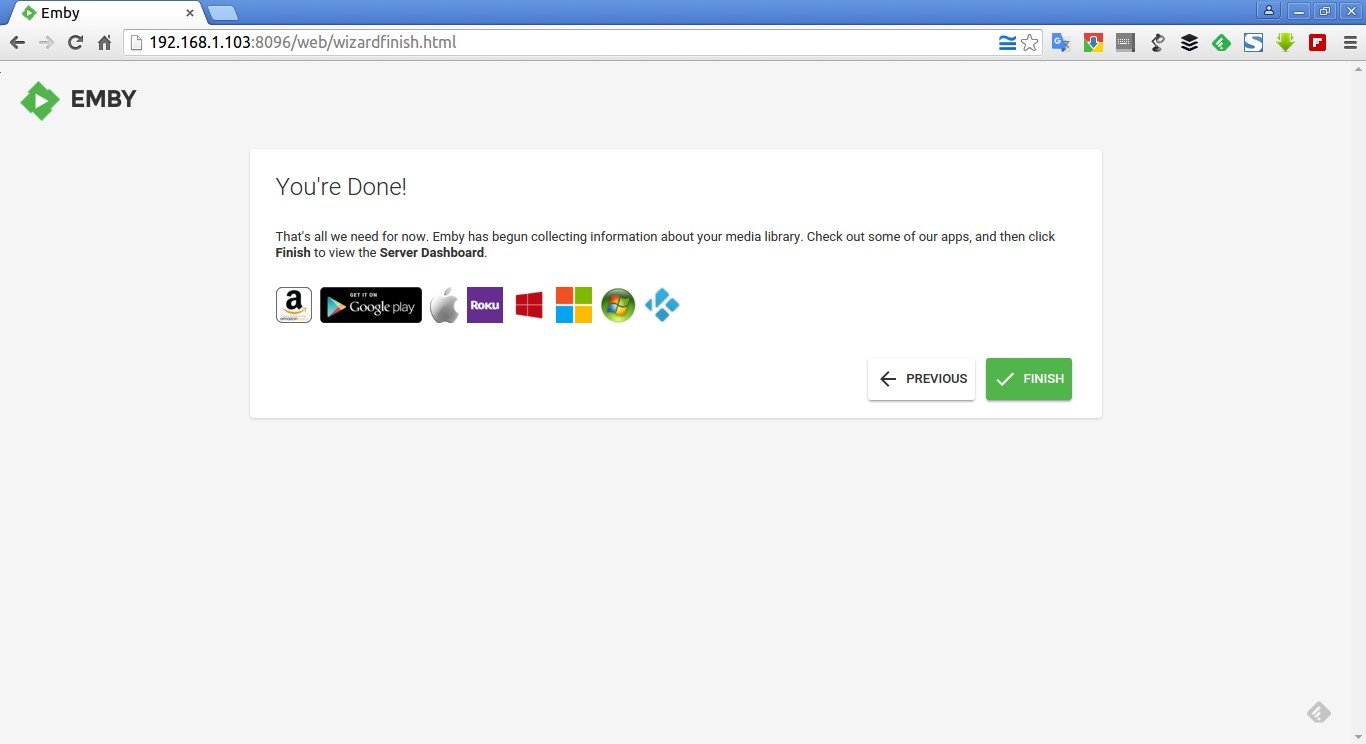
That’s all we need for now. Emby has begun collecting information about your media library.
click Finish to view the Server Dashboard.
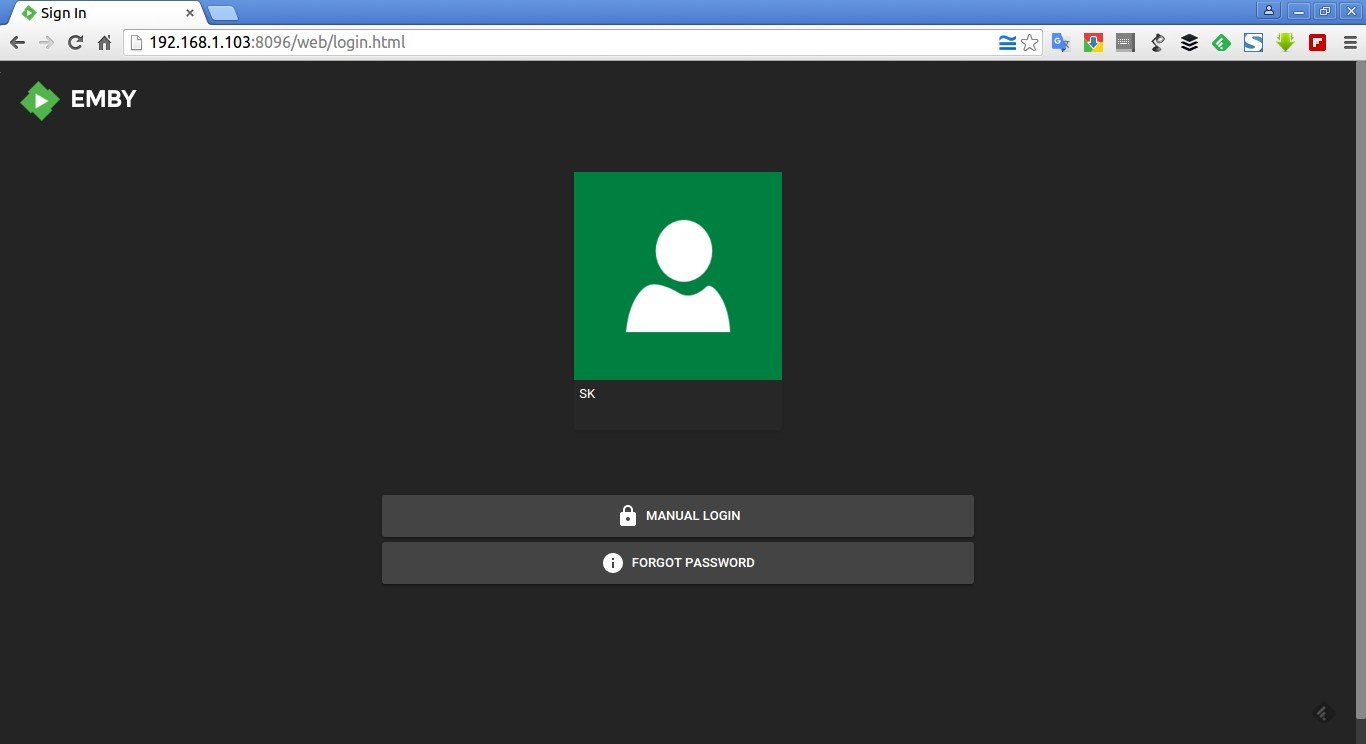
Click on the user (Ex. Sk) to continue logging.
Here it is how my Emby dashboard looks like.
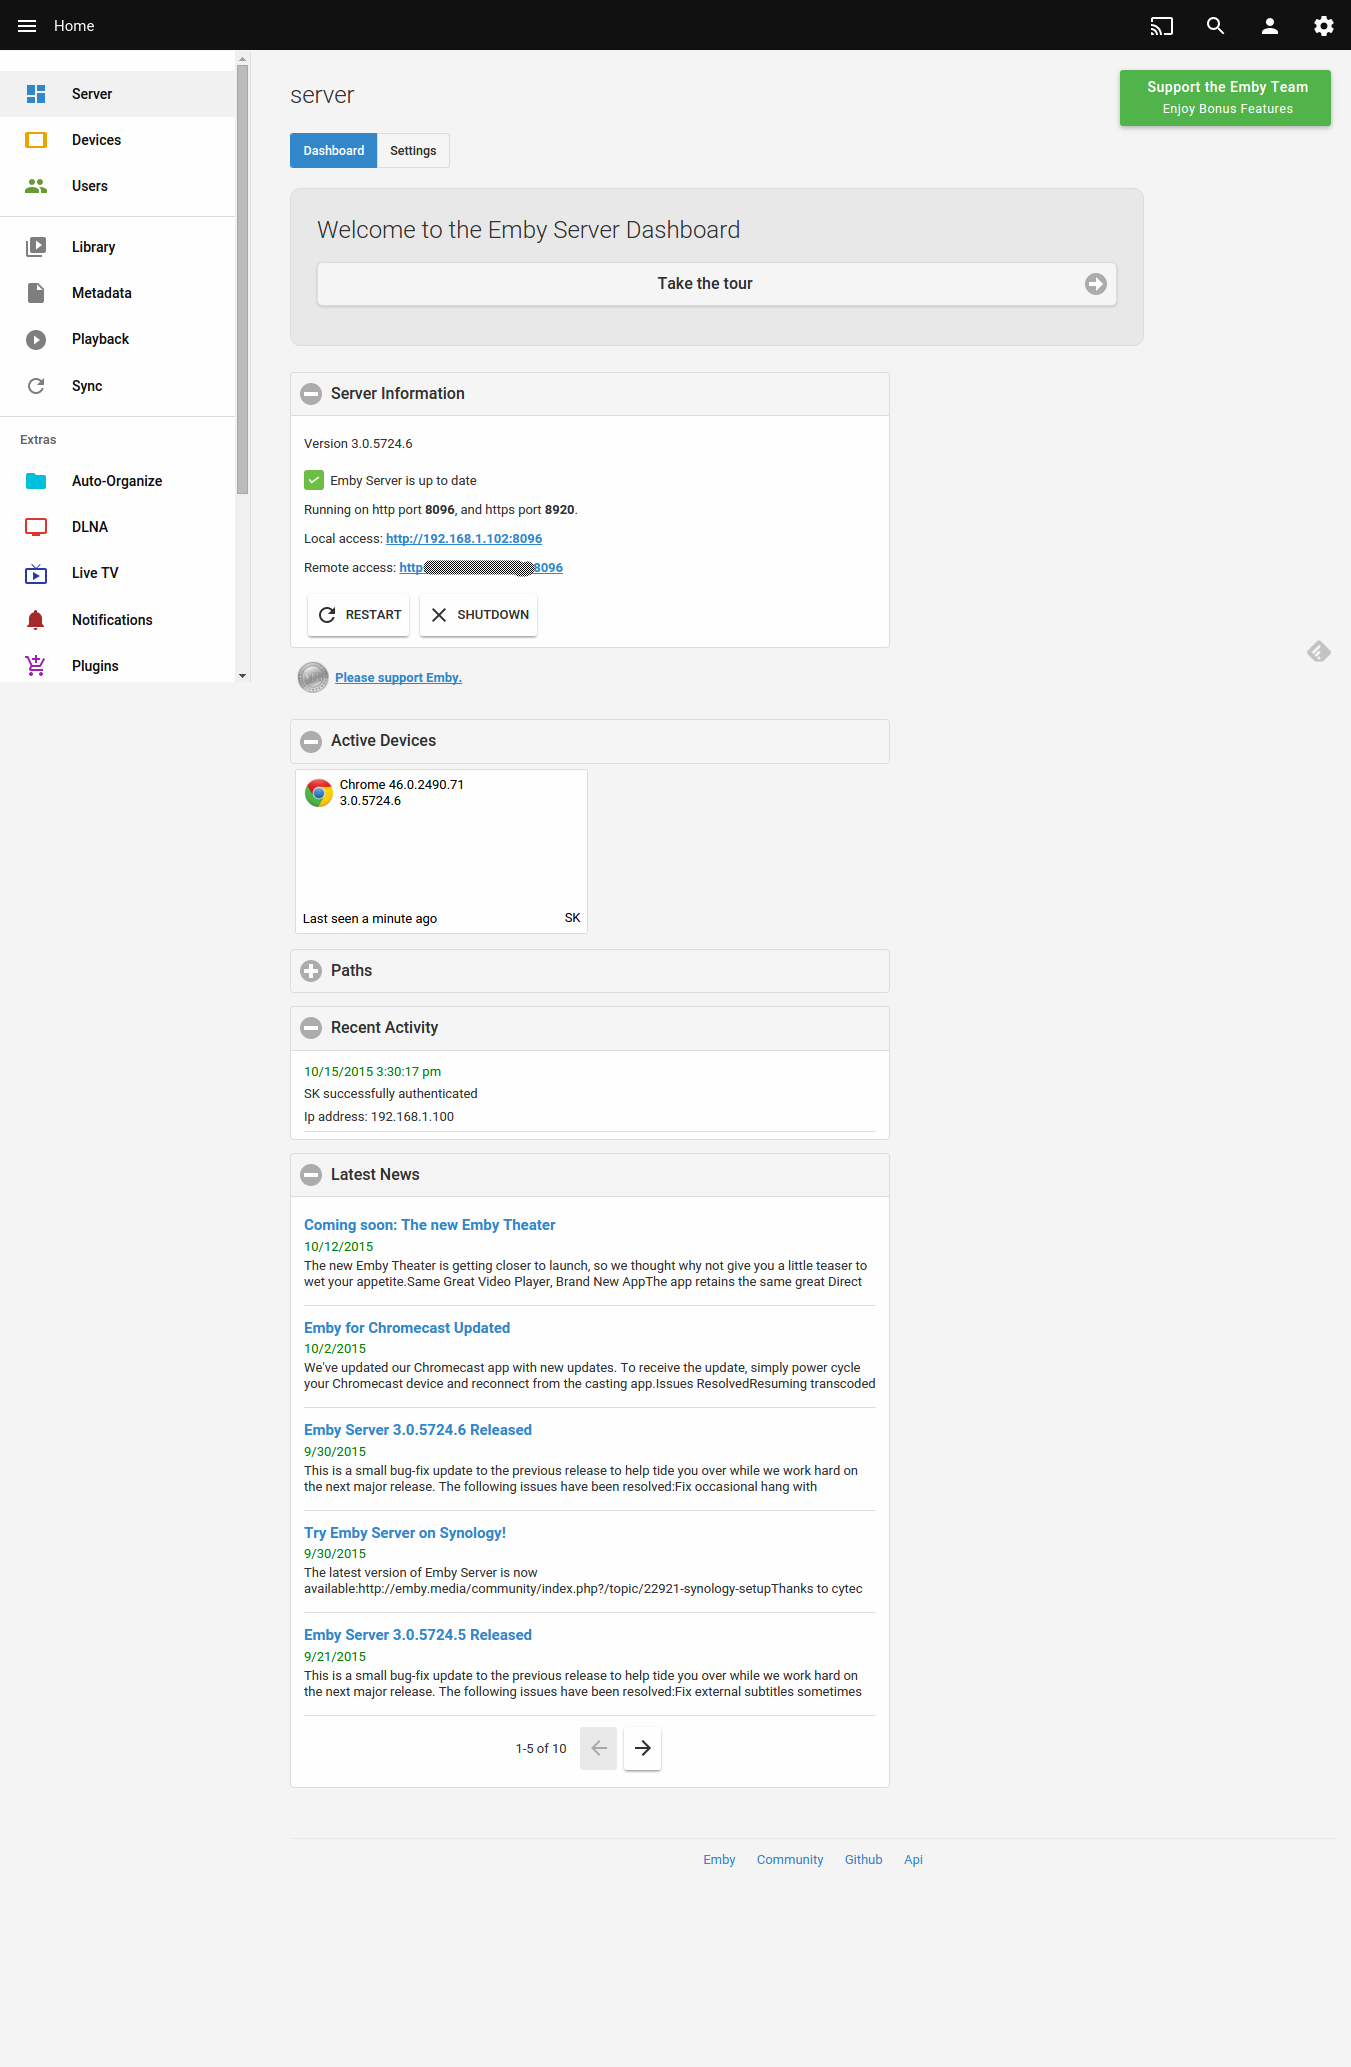
As you see in the above screenshot, Emby server is up and running. You can either access your Emby server from locally using private address (Ex. http://192.168.1.102:8096 in our case), or public IP address (Ex. http://1xx.1xx.1xx.1x:8096).
Alternatively, you can access your Emby server using a free Emby Connect account with out having to specify Emby server’s IP address from a remote system.
Creating Emby Connect Account
This account will let you to access your media anywhere, anytime using Emby app without having to use your actual Emby server’s IP address.
To create this account got to: https://emby.media/connect/
Click Sign Up.

Fill up the registration form or sign in with your Twitter account to save some time. Here, I use my Twitter account to register.
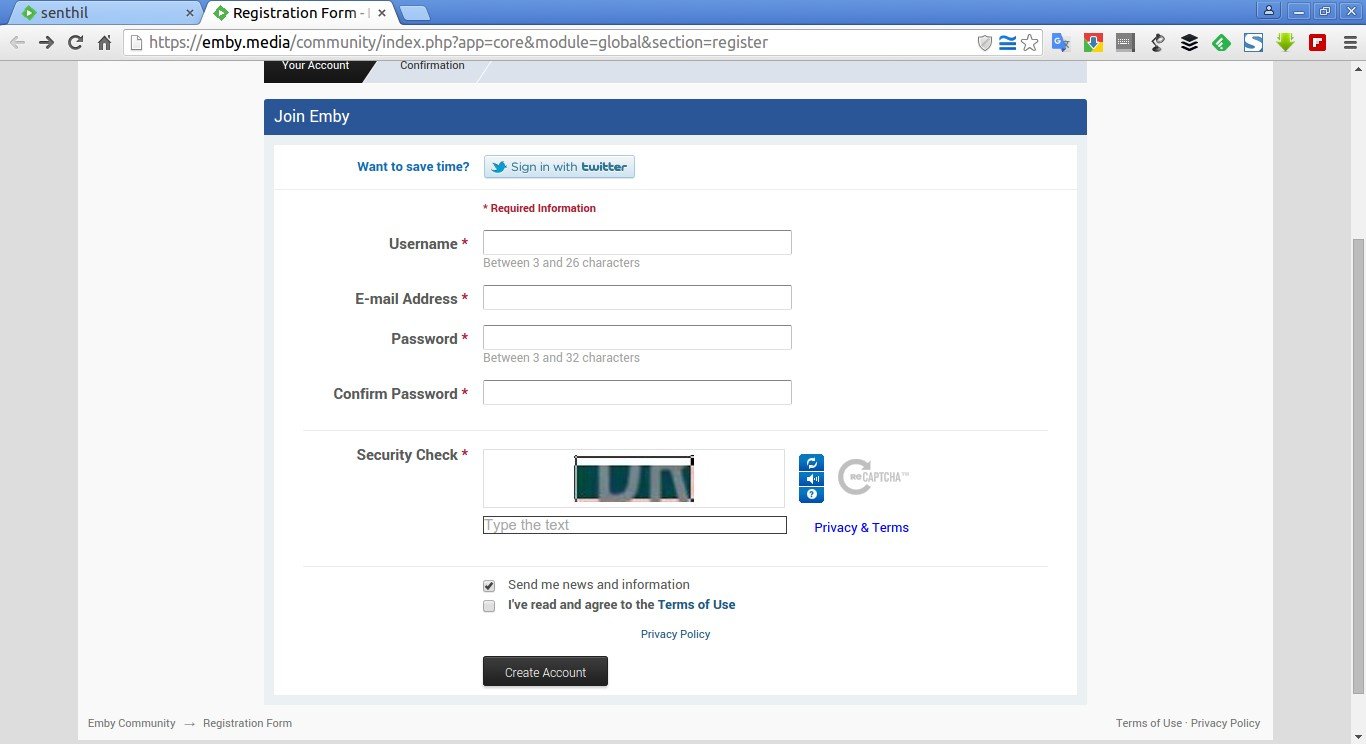
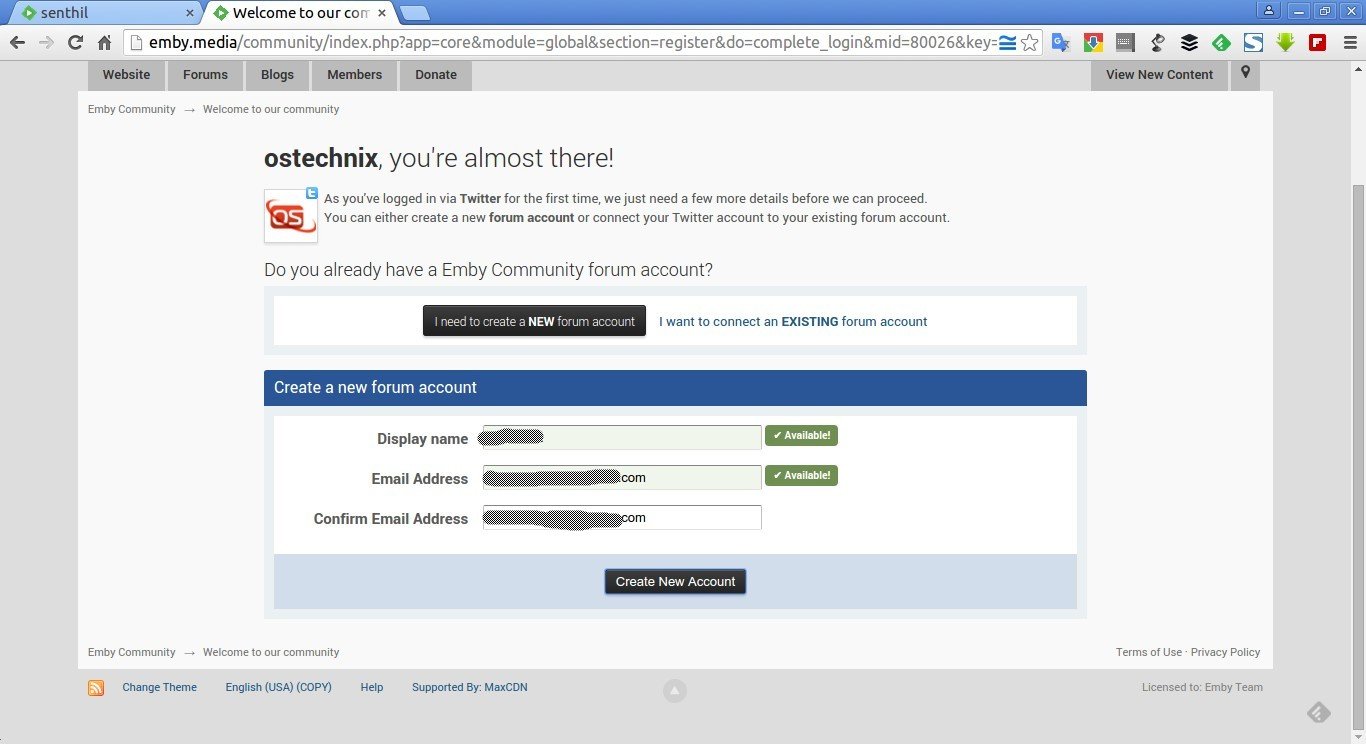
At first login, you’ll be asked to use the existing account or create a new account. Since, It’s my first time I am going to create my new account.

Fill up the details and click Create New Account.
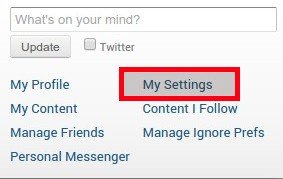
That’s it. After logging in to your account, you need to setup a local password (If you use Twitter to login).
To do that, click on the on the user name on the right corner and go to Settings.
In the My Settings Window, Click Email & Password link on the left. Then, enter your password twice.
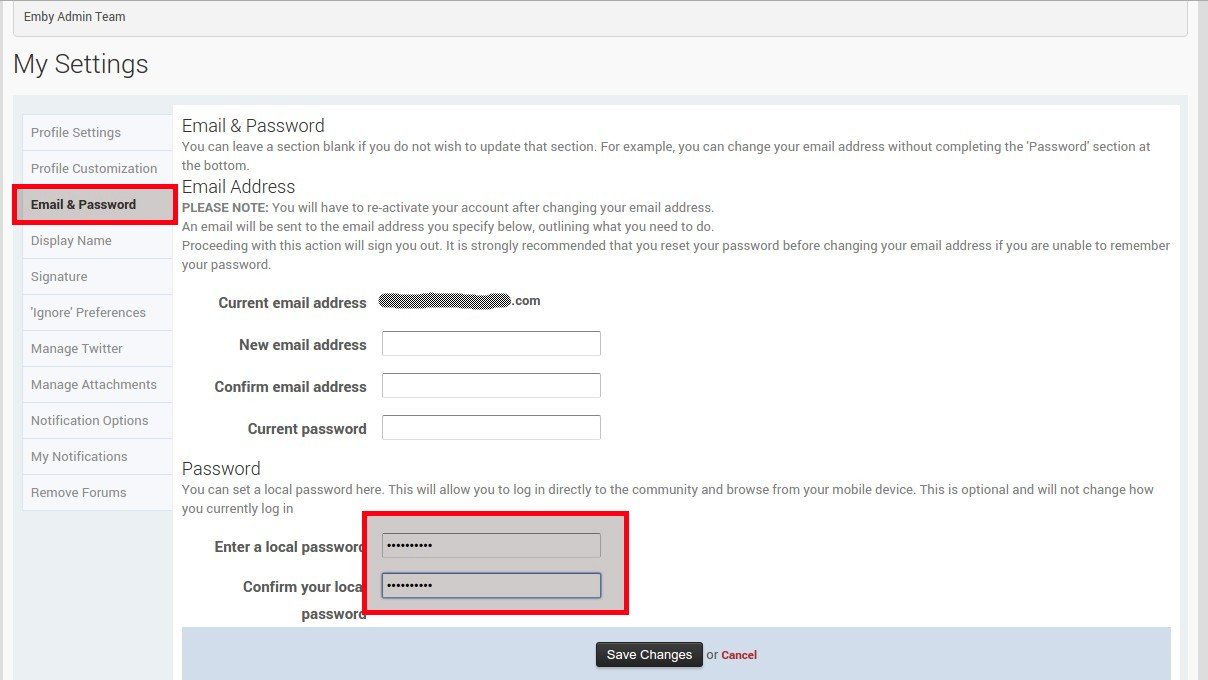
Important Note: Don’t confuse it with your Twitter account’s password. It’s your Emby Connect account password to access Emby server’s media from anywhere using any device.
Now, you can use this account to connect to your Emby server either from a web browser or using an app.
Link Emby Connect Account
Log in to Emby server dashboard. Click on the Users tab on the Left panel. Enter your registered username/Email in the Emby username/email field. Finally, click Save.
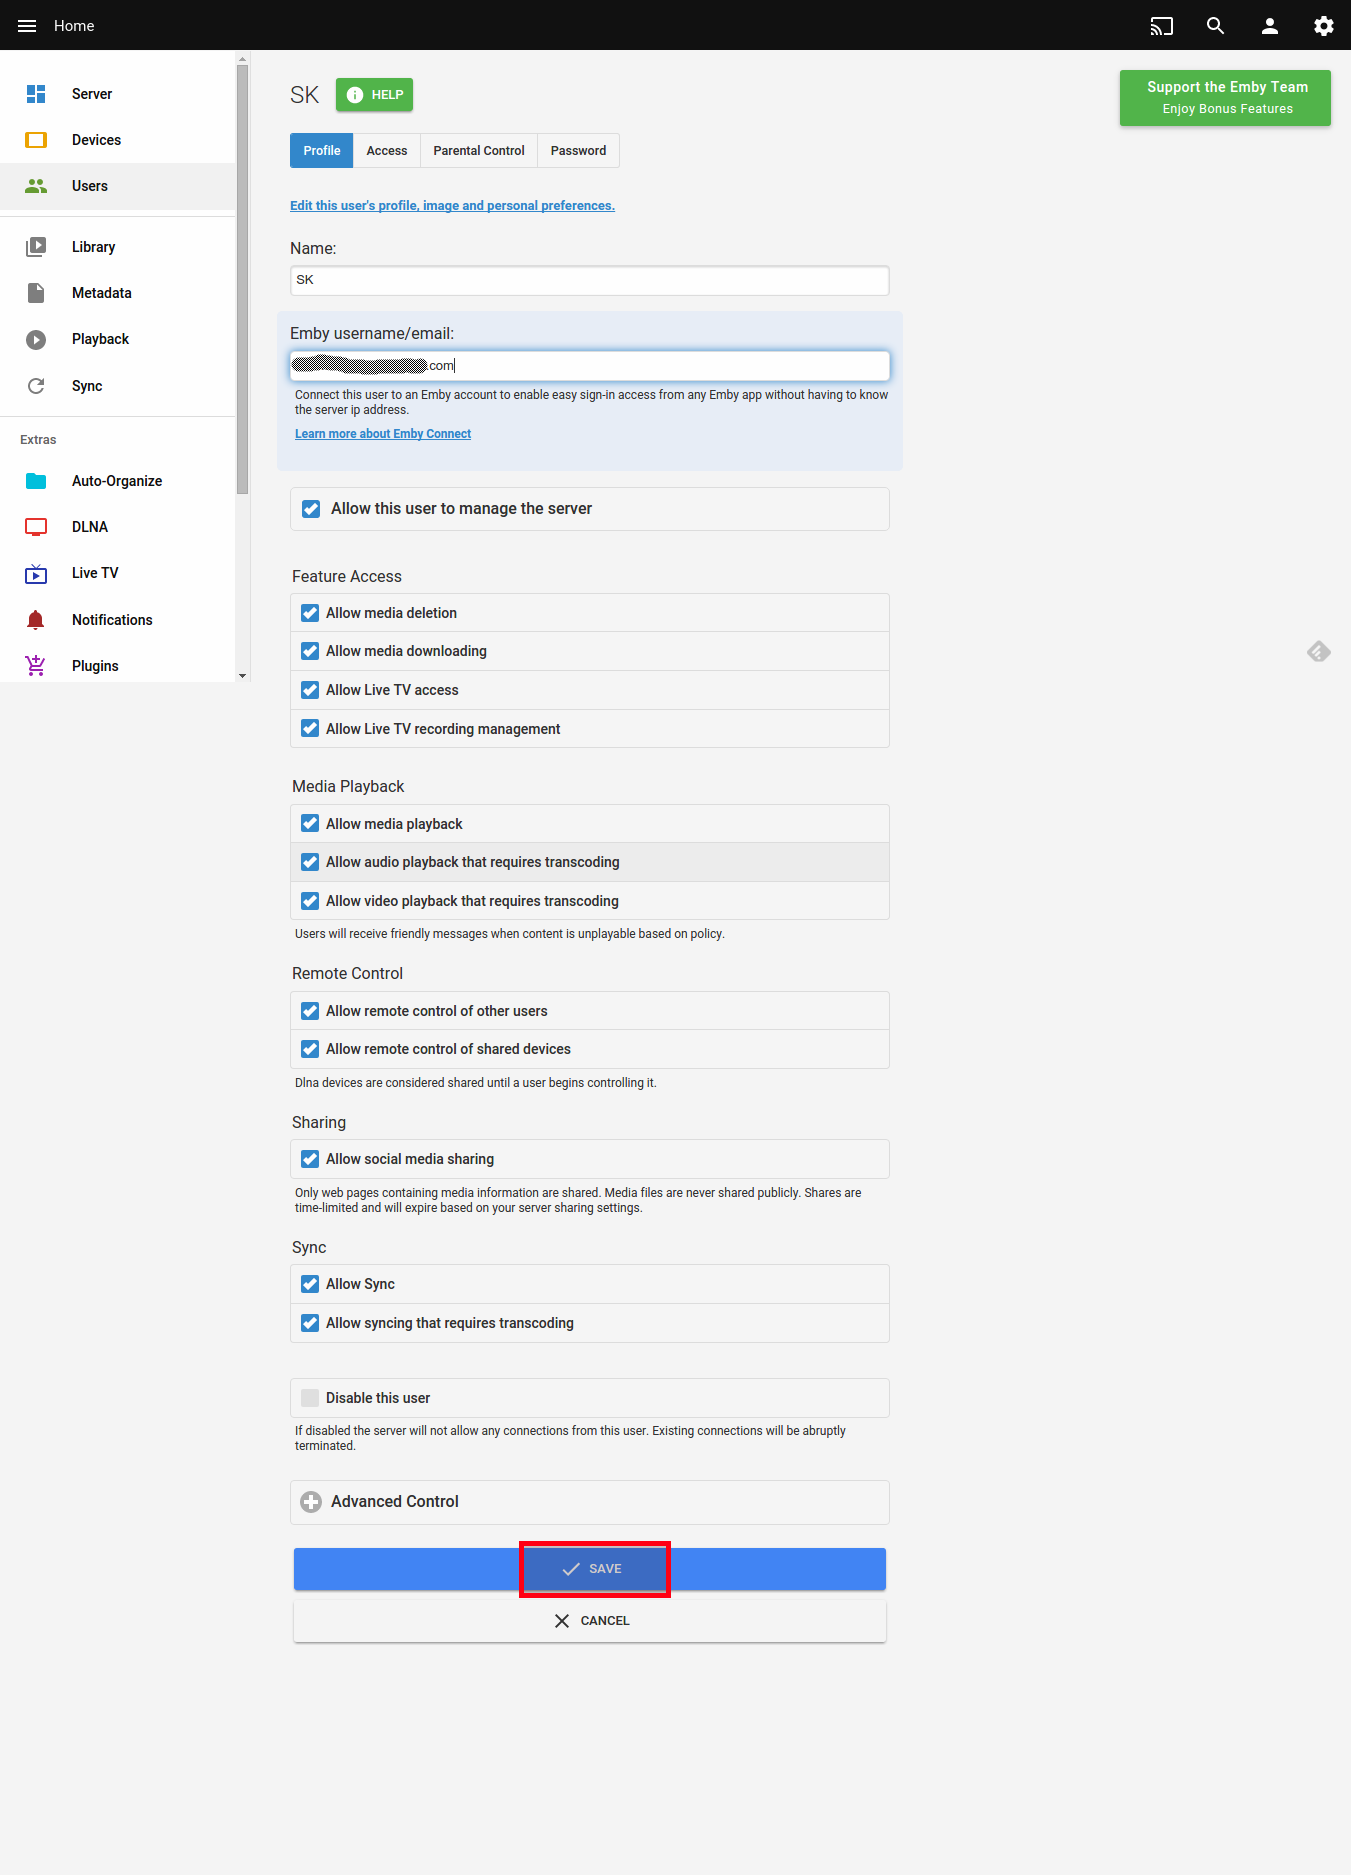
The Emby account has been added to this user. An email will be sent to the mail. The invitation will need to be confirmed by clicking a link within the email.
That’s it. Your Emby server is now linked to your Emby Account. You can now access it by logging in with your Connect user name in any supported client app or at http://app.emby.media via a web browser.
Access Emby server via Web browser from a remote system
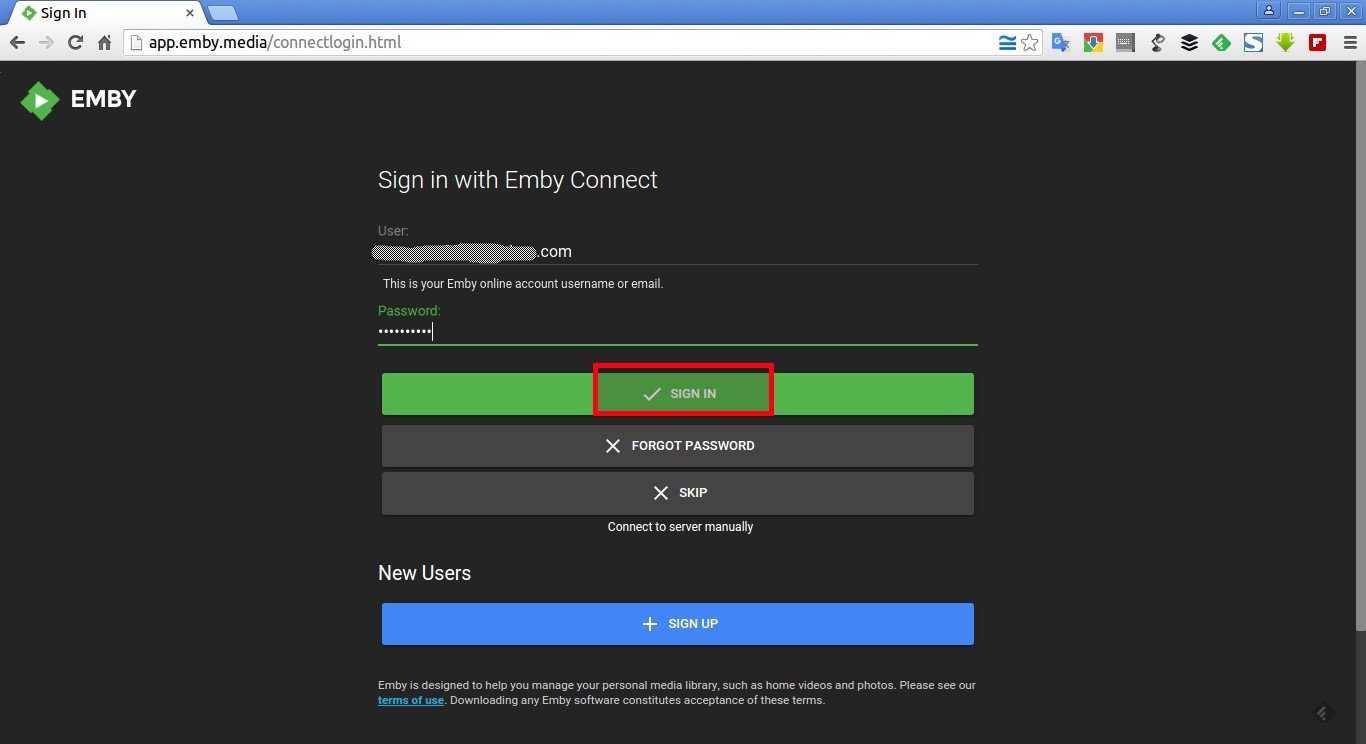
Open up your web browser and access the URL: http://app.emby.media
The following screen should appear. Enter your Emby account’s name and its password.
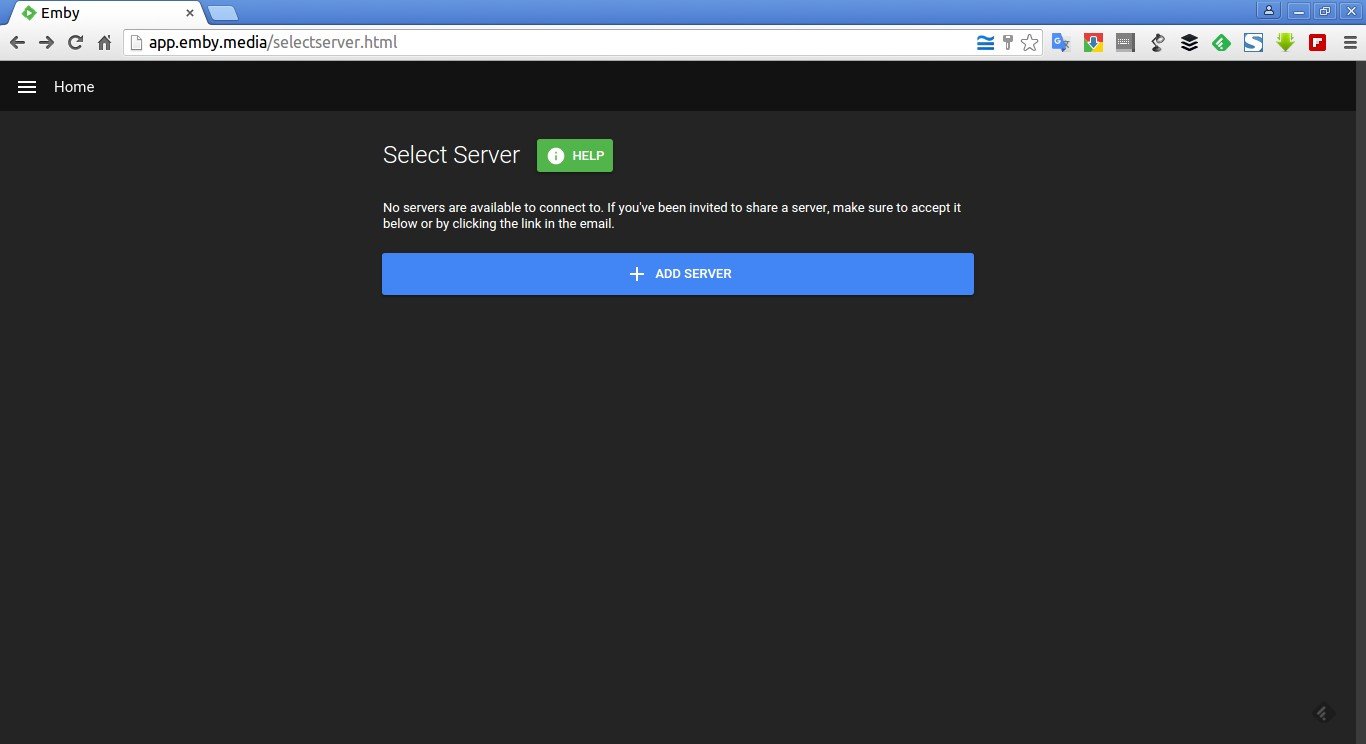
You can either select your existing server or add a new server by clicking on the ADD SERVER button.
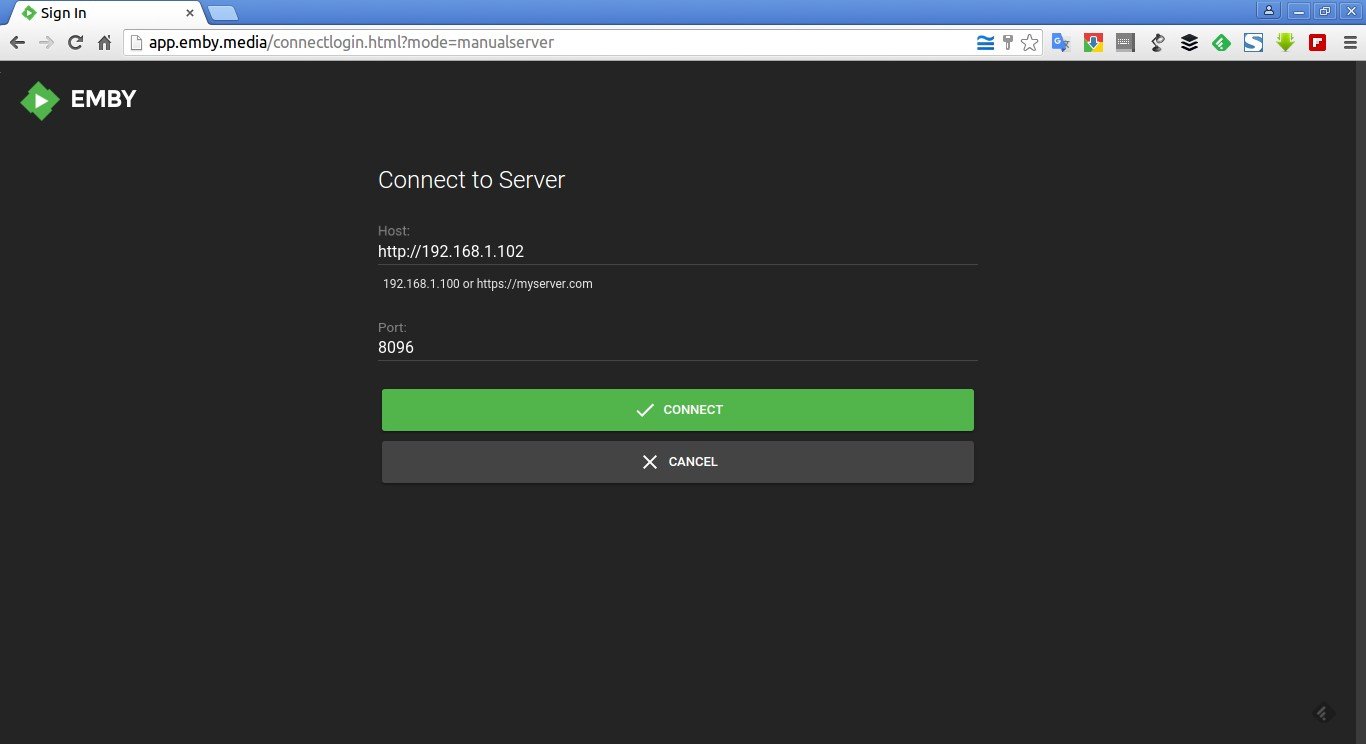
Enter your Emby server’s IP address, for example http://192.168.1.102 or public IP address. Click Connect.
Now, select the username to log in to the Emby dashboard. Remember I have already created the user account sk in the Emby server’s web based installer.
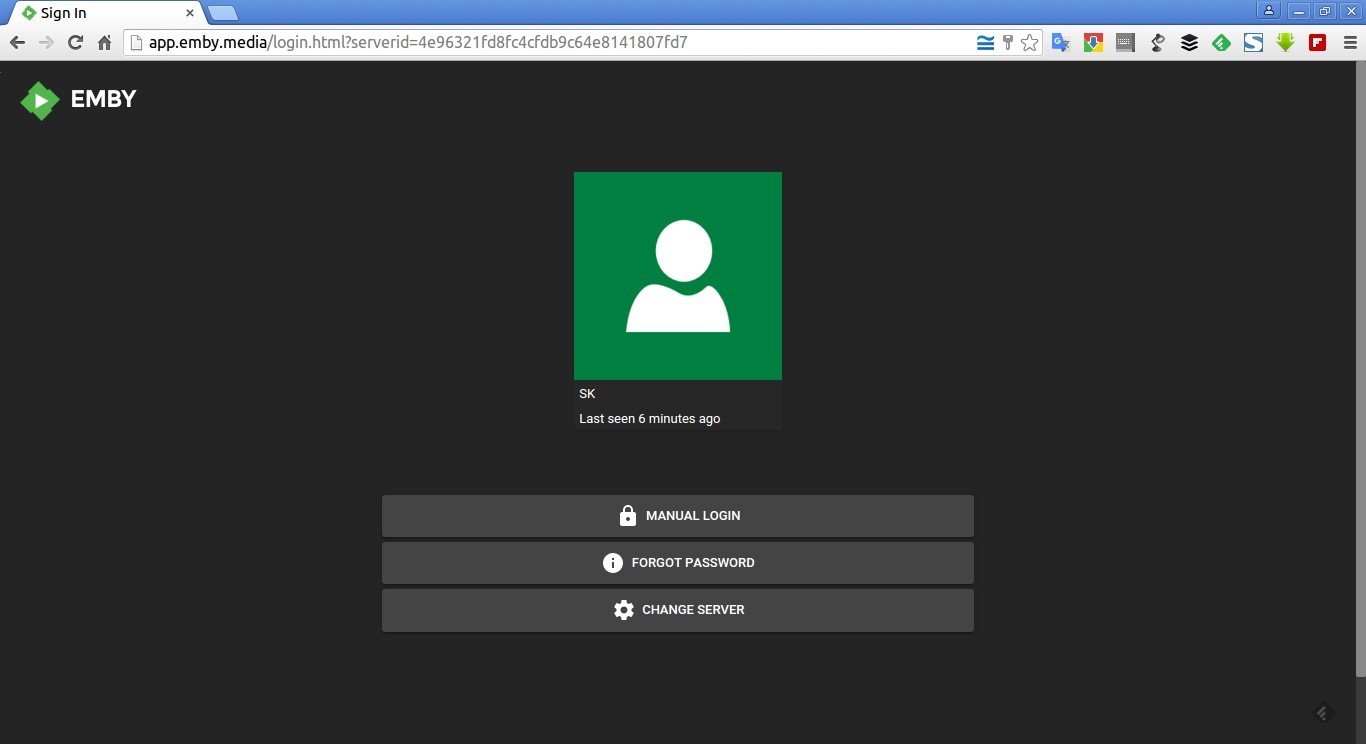
Here is my Emby server’s dashboard.
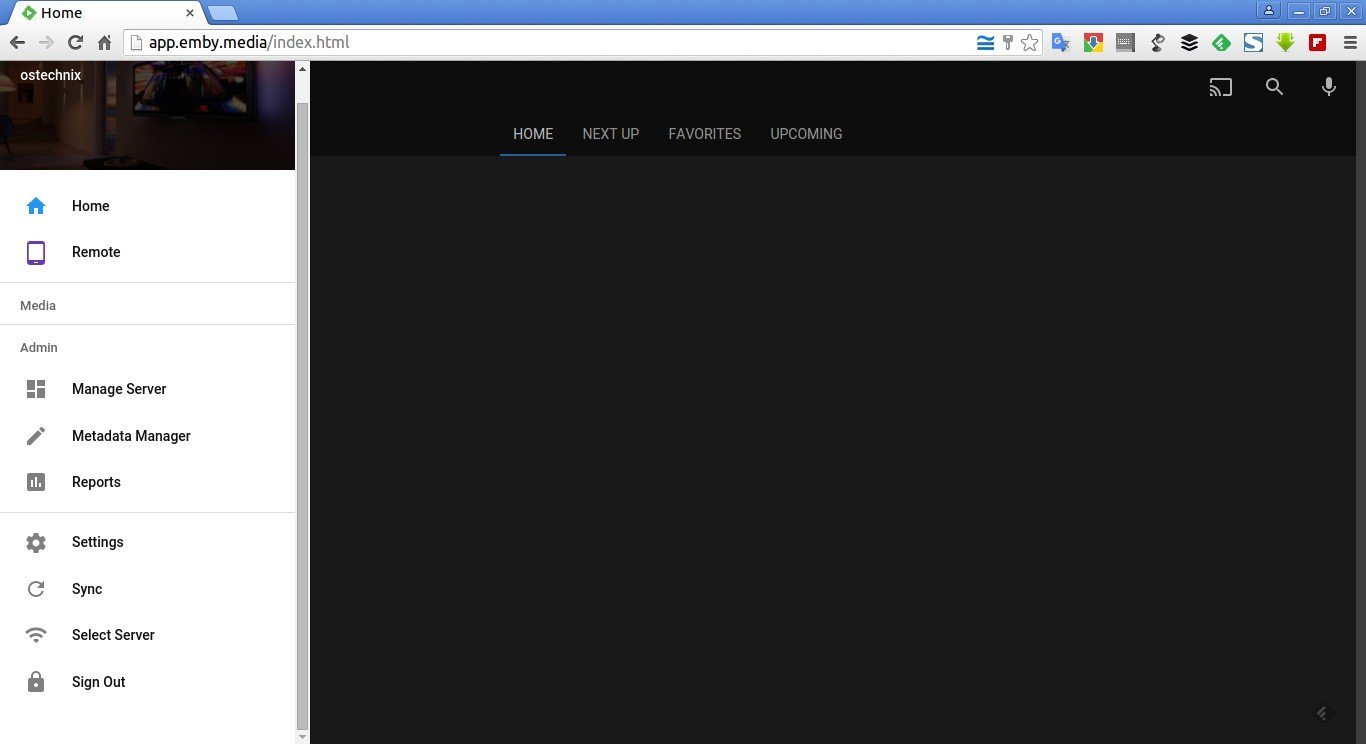
Similarly, you can install client app for Android, iOS, or Windows devices and access the Emby server from anywhere using the Emby Connect account.
That’s all for now. Start using your media server. Hope this article will help you.
Cheers!
Reference links:


