
Eclipse IDE has lot of useful plugins that makes it a great tool for developers. In this tutorial, we are going to the Eclipse CDT provides a fully functional C and C++ Integrated Development Environment based on the Eclipse platform.
Some Features of the CDT plugin include:
- support for project creation and managed build for various toolchains,
- standard make build,
- source navigation,
- various source knowledge tools, such as type hierarchy, call graph, include browser, macro definition browser,
- code editor with syntax highlighting,
- folding and hyperlink navigation, source code refactoring and code generation,
- visual debugging tools, including memory, registers, and disassembly viewers.
I assume you have Eclipse installed on your system.
Follow the below link to install Eclipse on CentOS.
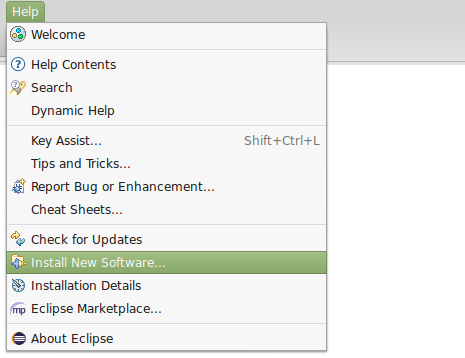
Launch Eclipse, from the menu bar click Help —> Install New Software….
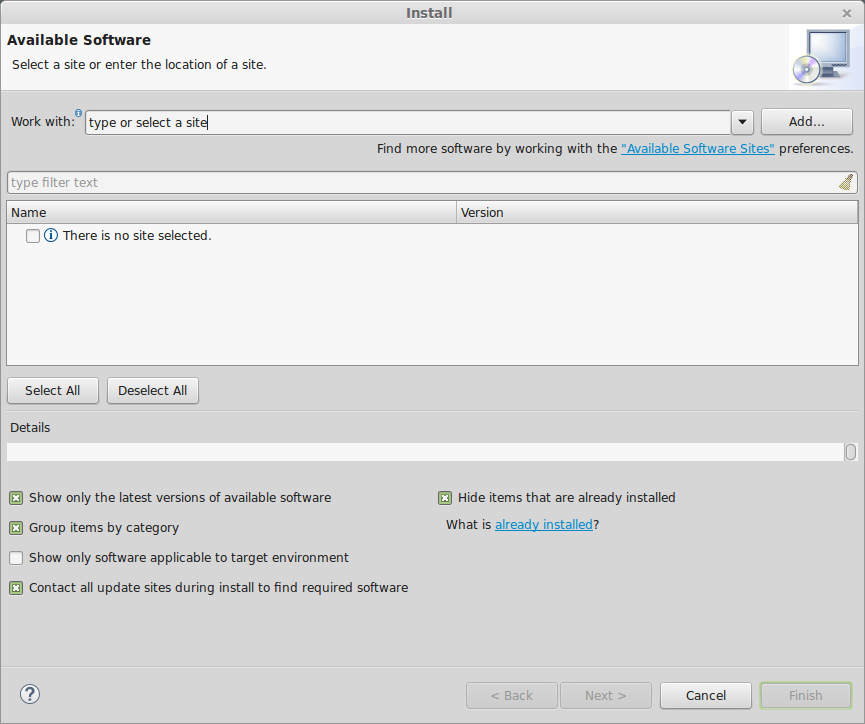
 Click Add to add a new repository.
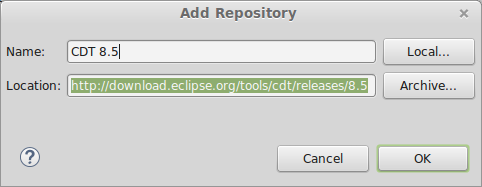
Enter name and URL for new repository at Name and Location respectively as shown below.
For CDT 8.5 here is the URL to p2 software repository:
http://download.eclipse.org/tools/cdt/releases/8.5
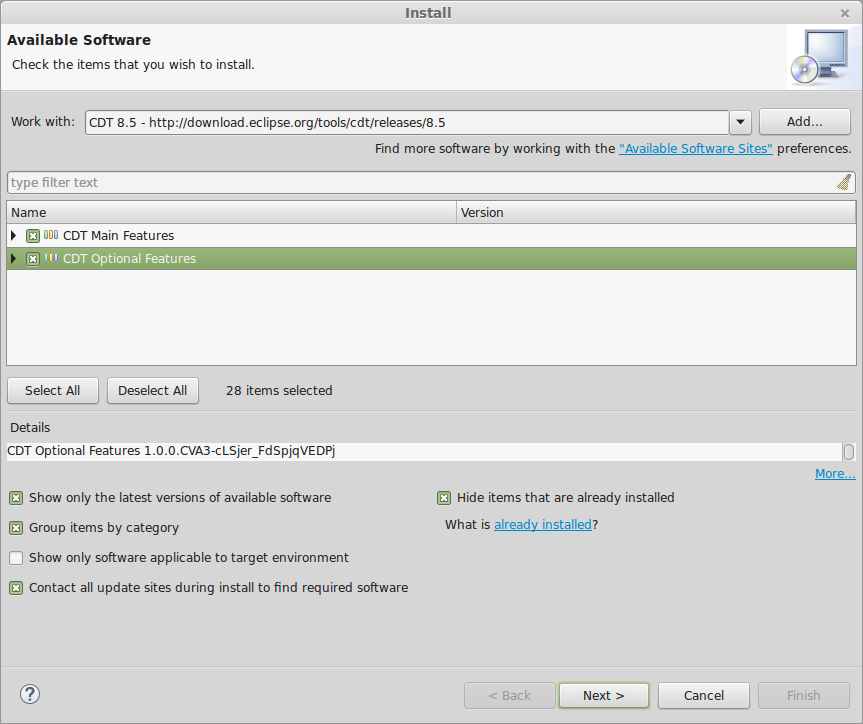
Check the boxes for CDT Main Features and CDT Optional Features, then click on Next.
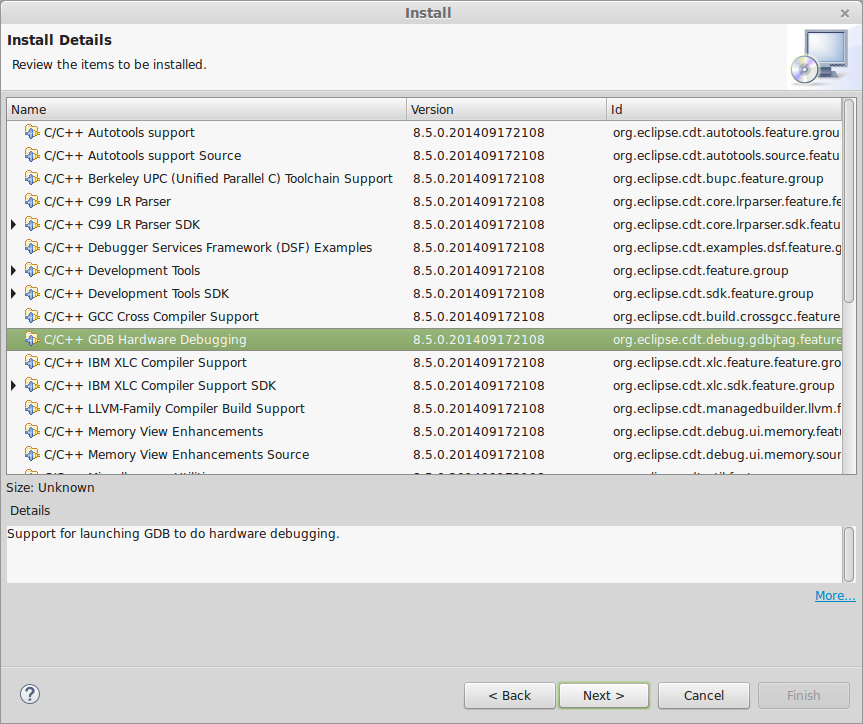
Review packages to be installed and click Next.
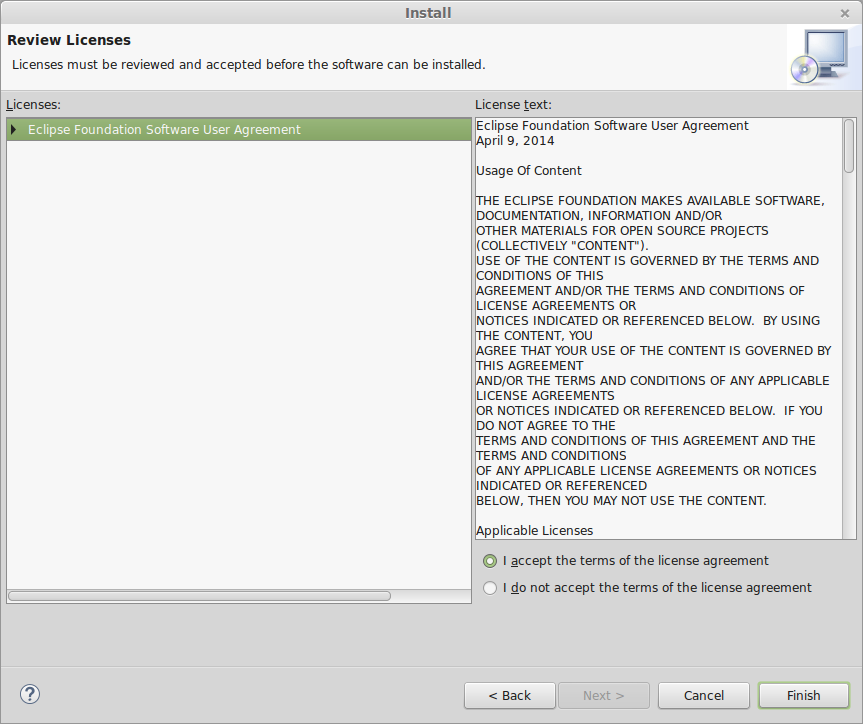
Accept terms of the license agreement and click Finish to begin installation.
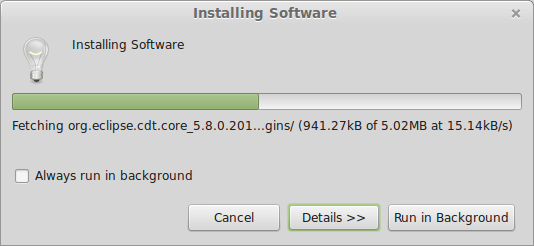
Installation in progress…..
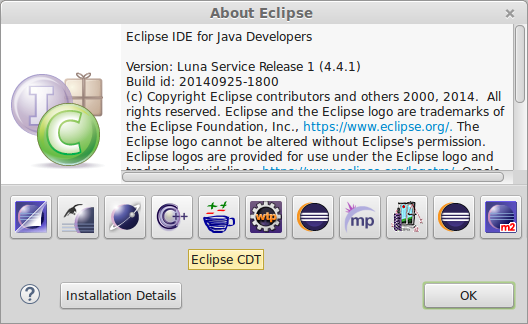
After installation, restart Eclipse. Visit Help —> About to confirm CDT has been installed.
Enjoy.


