Seafile is an Open Source file synchronization and collaboration tool. If you are looking an alternative for OwnCloud or Dropbox, this is the tool for you.
The developers describes that seafile is smarter than OwnCloud or Dropbox and it has a feature called online collaboration for teamwork. This is feature isn’t available in Dropbox or OwnCloud. The features of Seafile are mostly accessed via a web browser and looks very similar to GIT and has many advantages than GIT.
The Seafile client tool is available for all Linux flavours, Windows, Mac, iOS and Android. The client consists of a tray icon which is used to display the sync status and lets us to open the client in the browser. Some of its minor drawbacks are that it doesn’t has the calender and file manager features which are available in OwnCloud.
Using Seafile you can easily upload or create new files/folders, create new libraries, see the changes in files/folders, create or join groups, add contacts, Setup group notifications and so on.
Install Seafile in CentOS 6.4 / RHEL 6.4 / Scientific Linux 6.4
Prerequisites:
Before installing Seafile, make sure that you have installed the following necessary softwares.
[root@server ~]# yum install -y sqlite python-simplejson python-setuptools python-imaging
Download and install the latest version of Seafile
Now create the directory structure for Seafile source package and installation packages as shown below. Here i am using ‘/opt/seafile’ directory to put the source package and config files and ‘/opt/seafile/install/’ directory to put the installation files of Seafile. This will help us to upgrade the Seafile in future by just extracting the updated version into the ‘/opt/seafile/install/’ directory without deleting the old configuration files. So that we don’t need to configure everything again when upgrading to new version.
[root@server ~]# mkdir /opt/seafile
[root@server ~]# mkdir /opt/seafile/install
[root@server ~]# cd /opt/seafile/
[root@server seafile]# wget http://seafile.googlecode.com/files/seafile-server_1.6.1_i386.tar.gz
[root@server seafile]# tar -xzf seafile-server_1.6.1_i386.tar.gz
Now move the extracted files to ‘/opt/seafile/install/’ directory.
[root@server seafile]# mv seafile-server* install/
Now goto the ‘/opt/seafile/install/seafile-server-1.6.1/’ directory and run the installation script.
[root@server seafile]# cd install/seafile-server-1.6.1/
[root@server seafile-server-1.6.1]# ./setup-seafile.sh
Now a new wizard will open and it will ask you to enter the following information to setup seafile server.
[root@server seafile-server-1.6.1]# ./setup-seafile.sh
You are running this script as ROOT. Are you sure to continue?
[yes|no] yes     ## Type yes and press enter ##
-----------------------------------------------------------------
This script will guide you to config and setup your seafile server.
Make sure you have read seafile server manual at
https://github.com/haiwen/seafile/wiki

Press [ENTER] to continue     ## Press Enter ##
-----------------------------------------------------------------
Checking packages needed by seafile ...
Checking python on this machine ...
Find python: python2.6
Checking python module: setuptools ... Done.
Checking python module: python-simplejson ... Done.
Checking python module: python-imaging ... Done.
Checking python module: python-sqlite3 ... Done.
Checking for sqlite3 ...Done.
Checking Done.

What do you want to use as the name of this seafile server?
Your seafile users would see this name in their seafile client.
You can use a-z, A-Z, 0-9, _ and -, and the length should be 3 ~ 15
[server name]: server     ## Enter the server hostname ##

What is the ip or domain of this server?
For example, www.mycompany.com, or, 192.168.1.101

[This server's ip or domain]: 192.168.1.200     ## Enter FQDN name or ip-address ##

What tcp port do you want to use for ccnet server?
10001 is the recommended port.
[default: 10001 ]      ## Press Enter ##

Where do you want to put your seafile data?
Note: Please use a volume with enough free space.
[default: /opt/seafile/install/seafile-data ]     ## Press Enter ##

What tcp port do you want to use for seafile server?
 12001 is the recommended port.
 [default: 12001 ]      ## Press enter ##

What tcp port do you want to use for seafile httpserver?
 8082 is the recommended port.
 [default: 8082 ]     ## Press enter ##

This is your config information:

server name:        server
server ip/domain:   192.168.1.200
server port:        10001
seafile data dir:   /opt/seafile/install/seafile-data
seafile port:       12001
httpserver port:    8082

If you are OK with these configuration, press [ENTER] to continue.     ## Press enter ##
Generating ccnet configuration in /opt/seafile/install/ccnet...

done
Successly create configuration dir /opt/seafile/install/ccnet.

Generating seafile configuration in /opt/seafile/install/seafile-data ...

Done.
-----------------------------------------------------------------
 Seahub is the web interface for seafile server.
 Now let's setup seahub configuration. Press [ENTER] to continue     ## Press enter ##
-----------------------------------------------------------------

Please specify the email address and password for seahub admininstrator.
You would use them to login as admin on your seahub website.

Please specify the email address for seahub admininstrator:
[seahub admin email]: admin@unixmen.com     ## Enter the admin email id ##

Please specify the passwd you want to use for seahub admininstrator:
[seahub admin password]:            ## Enter admin password ##
Please ensure the passwd again:     ## Retype password ##
[seahub admin password again]:

This is your seahub admin username/password

admin user name:        admin@unixmen.com
admin password:         **************

If you are OK with these configuration, press [ENTER] to continue.     ## Press enter ##

Now sync seahub database ...

Loading ccnet config from /opt/seafile/install/ccnet
Loading seafile config from /opt/seafile/install/seafile-data
Creating tables ...
Creating table django_content_type
Creating table django_session
Creating table avatar_avatar
Creating table avatar_groupavatar
Creating table registration_registrationprofile
Creating table base_uuidobjidmap
Creating table base_filediscuss
Creating table base_filecontributors
Creating table base_innerpubmsg
Creating table base_innerpubmsgreply
Creating table base_userstarredfiles
Creating table base_dirfileslastmodifiedinfo
Creating table base_filelastmodifiedinfo
Creating table contacts_contact
Creating table wiki_personalwiki
Creating table wiki_groupwiki
Creating table group_groupmessage
Creating table group_messagereply
Creating table group_messageattachment
Creating table group_publicgroup
Creating table notifications_notification
Creating table notifications_usernotification
Creating table profile_profile
Creating table share_anonymousshare
Creating table share_fileshare
Creating table api2_token
Installing custom SQL ...
Installing indexes ...
No fixtures found.

Done.
-----------------------------------------------------------------
 Your seafile server configuration has been finished successfully.
-----------------------------------------------------------------

run seafile server:     ./seafile.sh { start | stop | restart }
run seahub  server:     ./seahub.sh  { start <port> | stop | restart <port> }

-----------------------------------------------------------------
 If you are behind a firewall, remember to allow input/output of these tcp ports:
-----------------------------------------------------------------

port of ccnet server:         10001
port of seafile server:       12001
port of seafile httpserver:    8082
port of seahub:               8000

When problems occur, Refer to

https://github.com/haiwen/seafile/wiki

for information.

[root@server seafile-server-1.6.1]#
Now run the ‘seafile.sh’ and ‘seahub.sh’ scripts to start the Seafile server.
[root@server seafile-server-1.6.1]# ./seafile.sh start

Starting seafile server, please wait ...
Seafile server started
Done.

[root@server seafile-server-1.6.1]# ./seahub.sh start

Starting seahub http server at port 8000 ...
Loading ccnet config from /opt/seafile/install/ccnet
Loading seafile config from /opt/seafile/install/seafile-data
Done.
Now navigate to your web browser using “http://ip-address:8000” or “http://your-domain-name:8000/”.
Note: Allow the Seafile admin port 8000 through iptables if you have any trouble to access admin console in remote systems.
[root@server ~]# vi /etc/sysconfig/iptables
-A INPUT -p udp -m state --state NEW --dport 8000 -j ACCEPT
-A INPUT -p tcp -m state --state NEW --dport 8000 -j ACCEPT
[root@server ~]# /etc/init.d/iptables restart
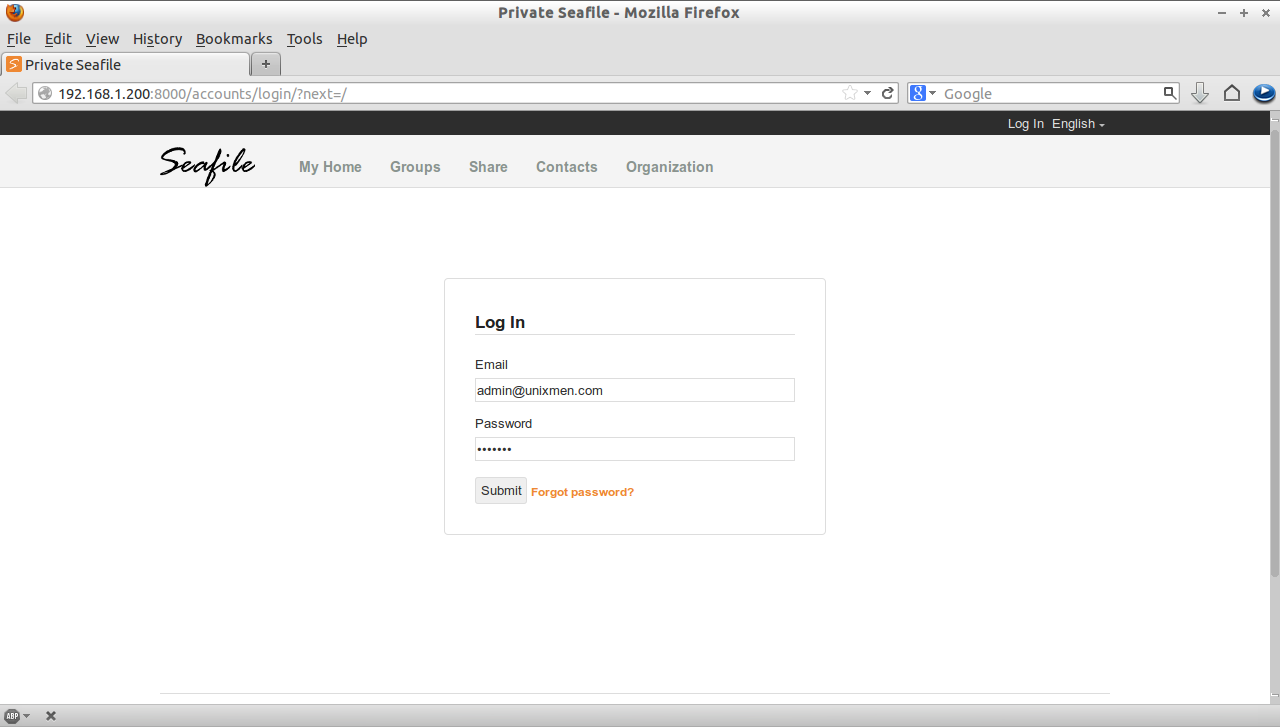
The following screen should appear when you enter the URL “http://ip-address:8000”. Enter the admin email id and password to login which you have created at the time of installation.
Now from here you can create file/folders, contacts, groups, libraries and so on.
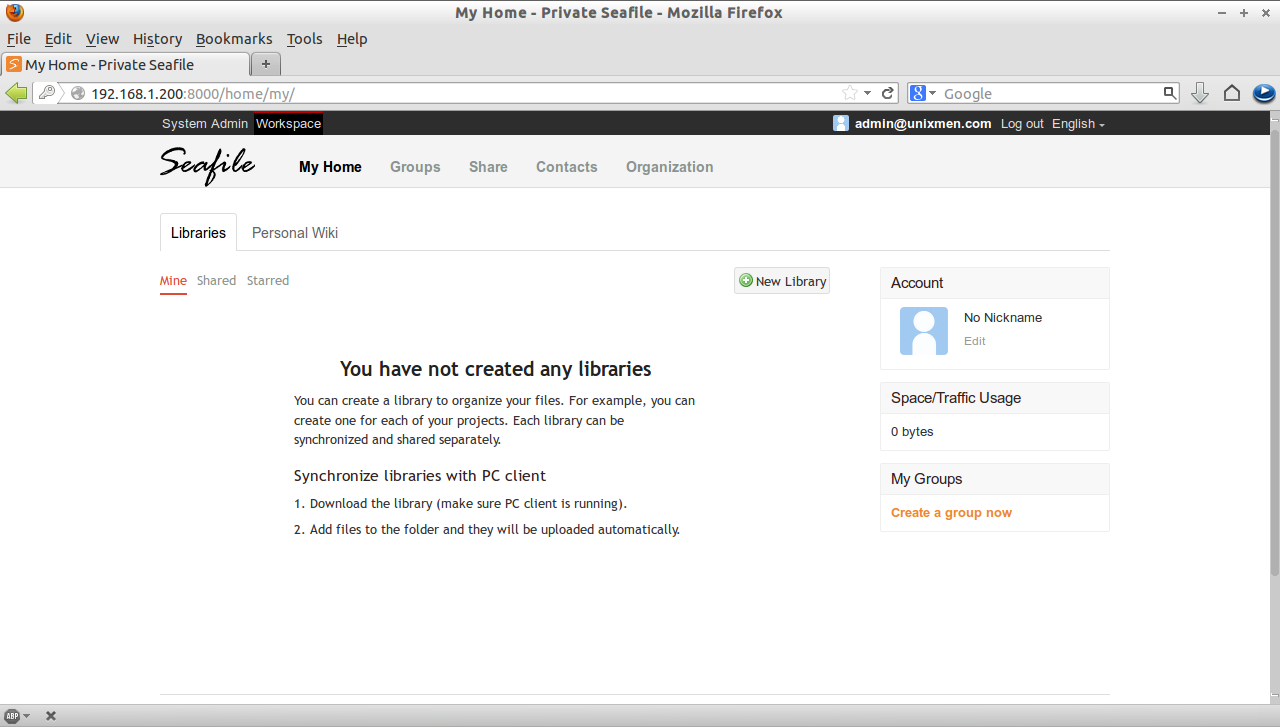
Now the your private seafile server is ready to use.
Create new library
Open the Seafile admin console. In the ‘MyHome’ section, click ‘New library’.
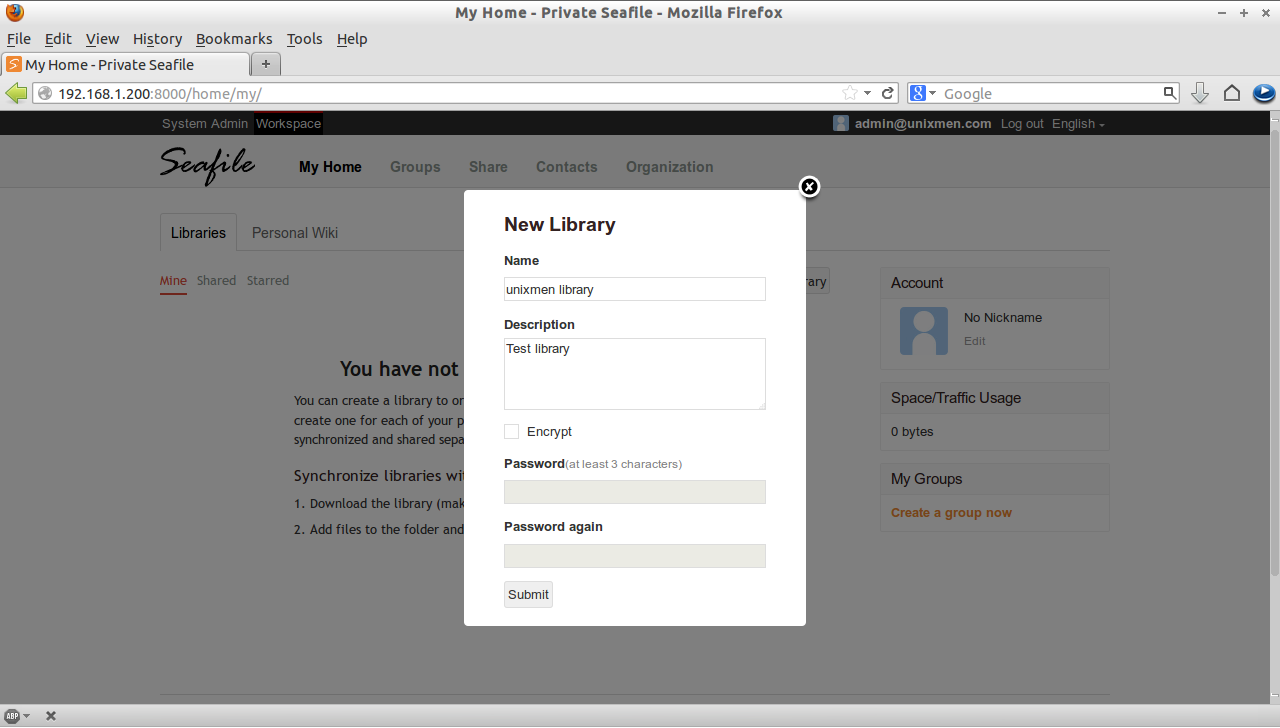
If you want to create encrypted library click on the check box ‘ Encrypt’ and Enter the password twice.
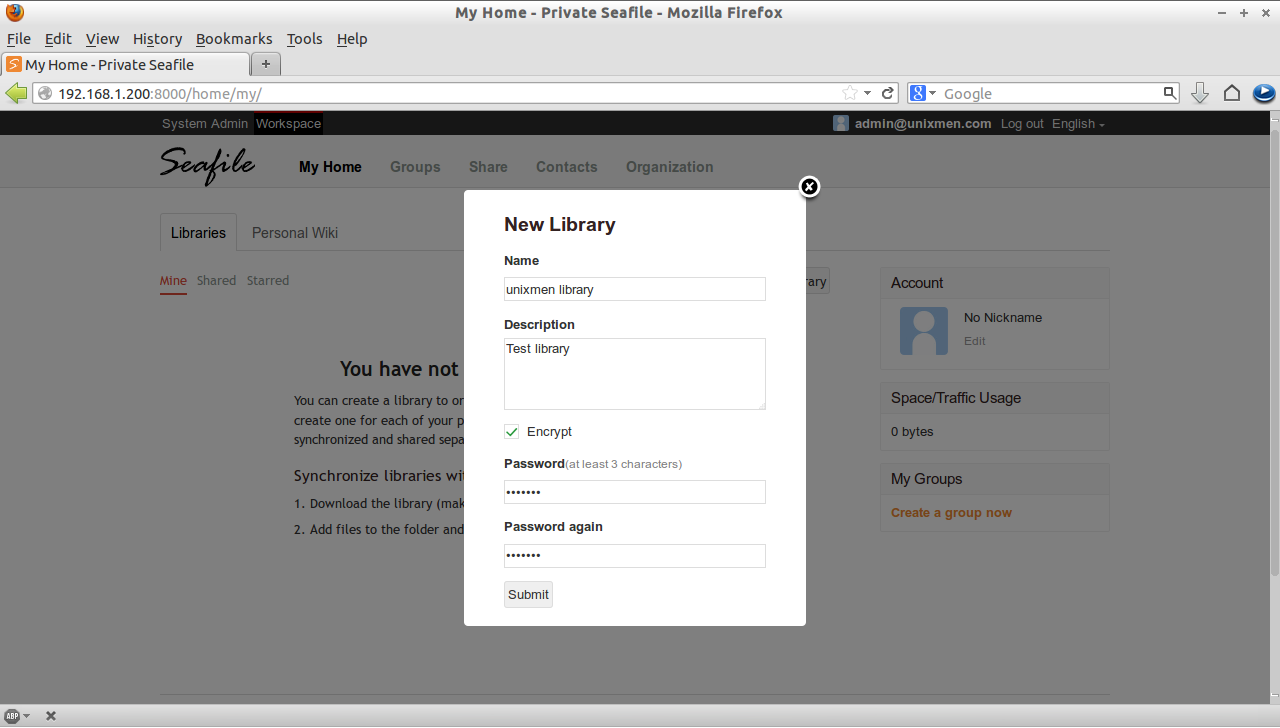
Now the new library is created.
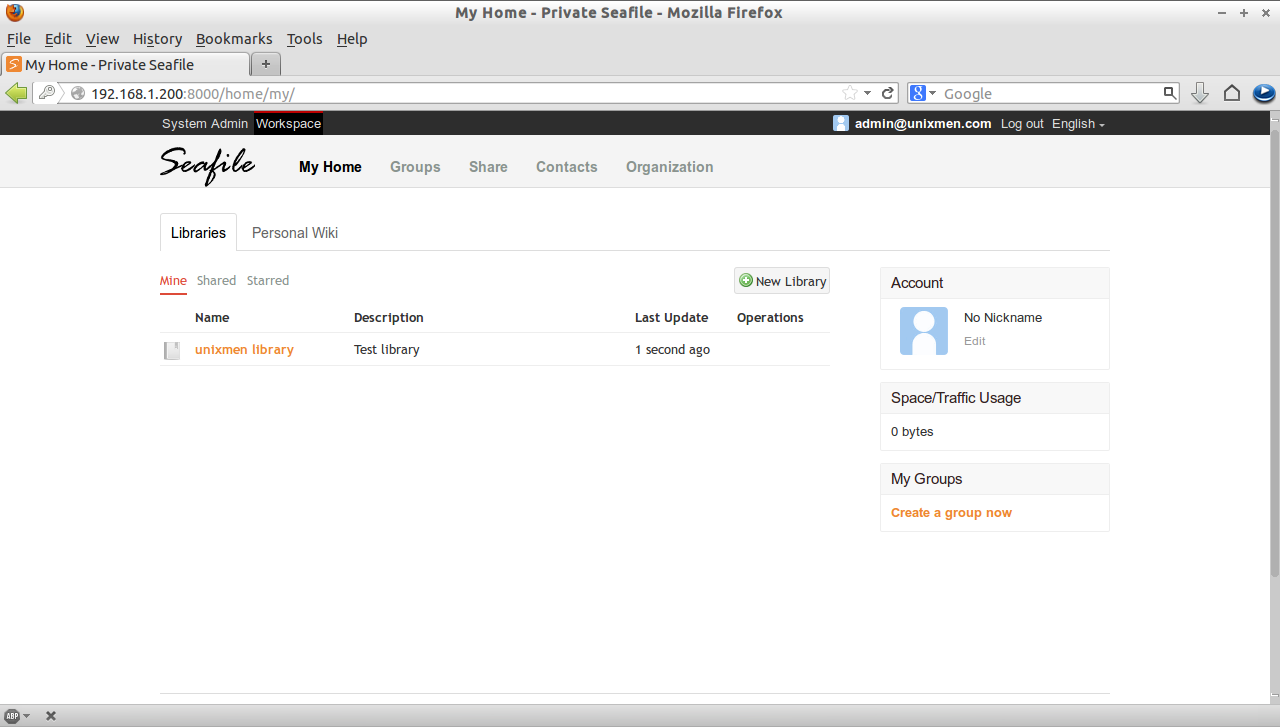
You can sync, share, download or delete this library under ‘Operations’ tab.
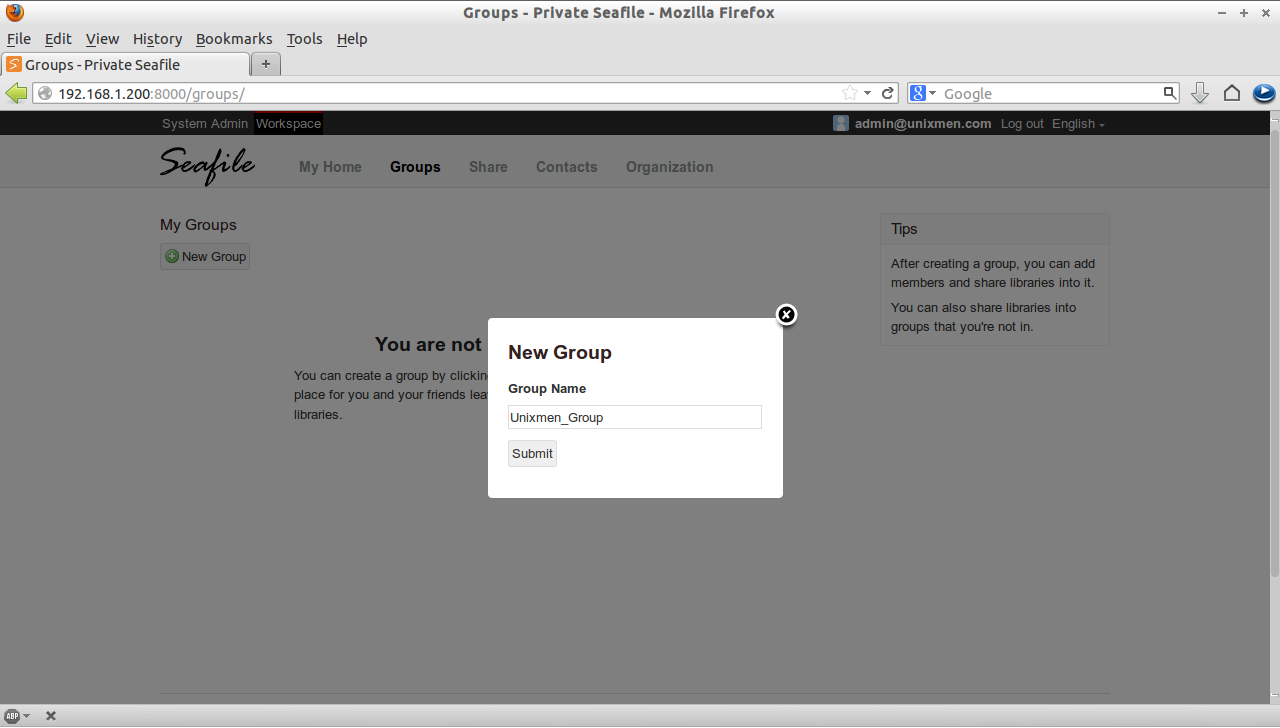
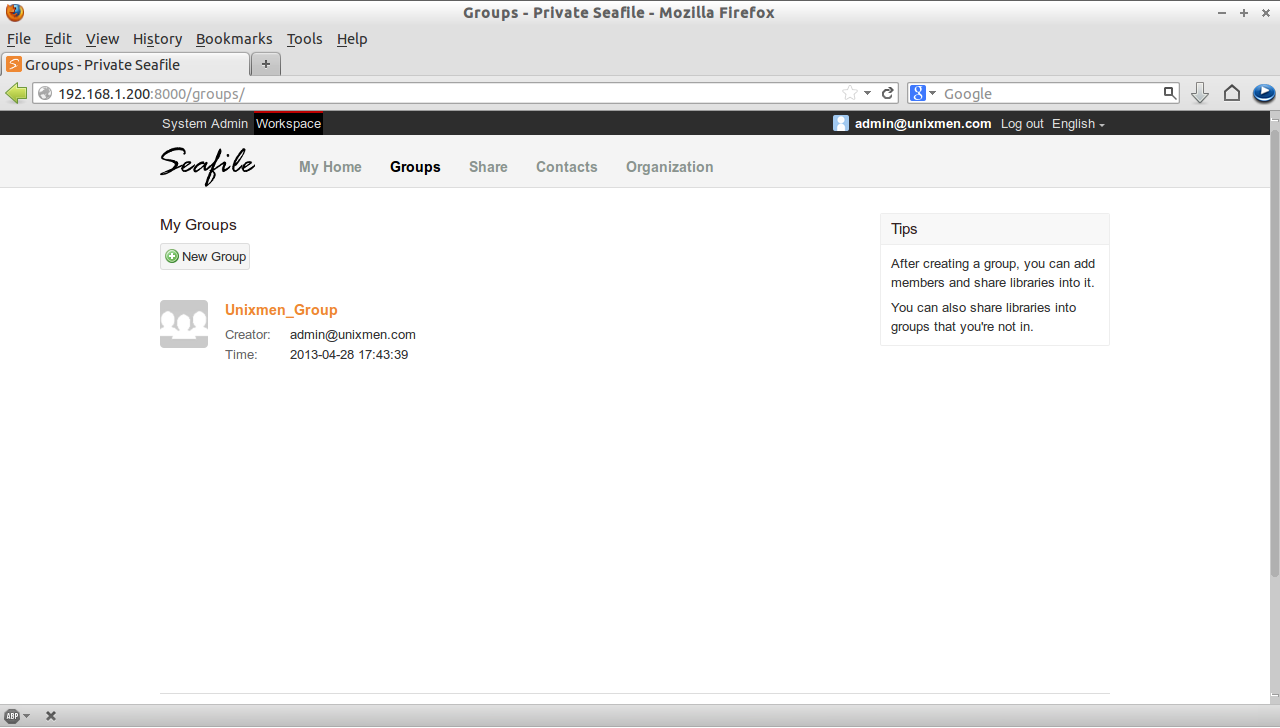
Create Groups
Open the admin console window and navigate to ‘Groups’ section on the top menu bar. Click ‘New Group’.
Share a Library
Open Admin console and Navigate to ‘My Home’ section. You will find the libraries whatever you have created in the previous steps. Move the mouse pointer over the created library and you will find the share button under the ‘Operations’ menu. Click on the ‘Share’ button and enter the group name or contact and click Submit. Also can set whether the library should be in “Read only or Read/Write” Mode.

You can find list of the shared libraries under the “Share” menu on the menu bar.

Adding Contacts
Navigate to “Contacts” tab on the top menu bar, Click ‘Add Contacts’ button and enter the contact details.
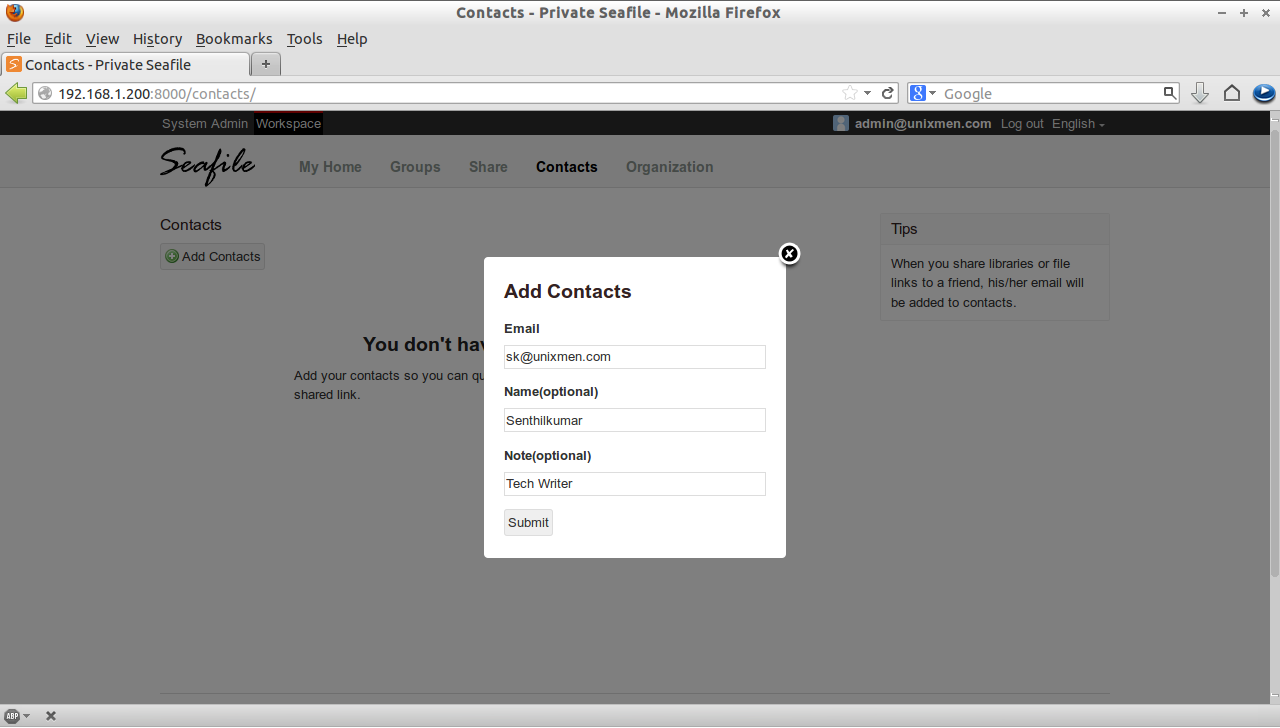
Now you can see the list of contacts under Contacts section.

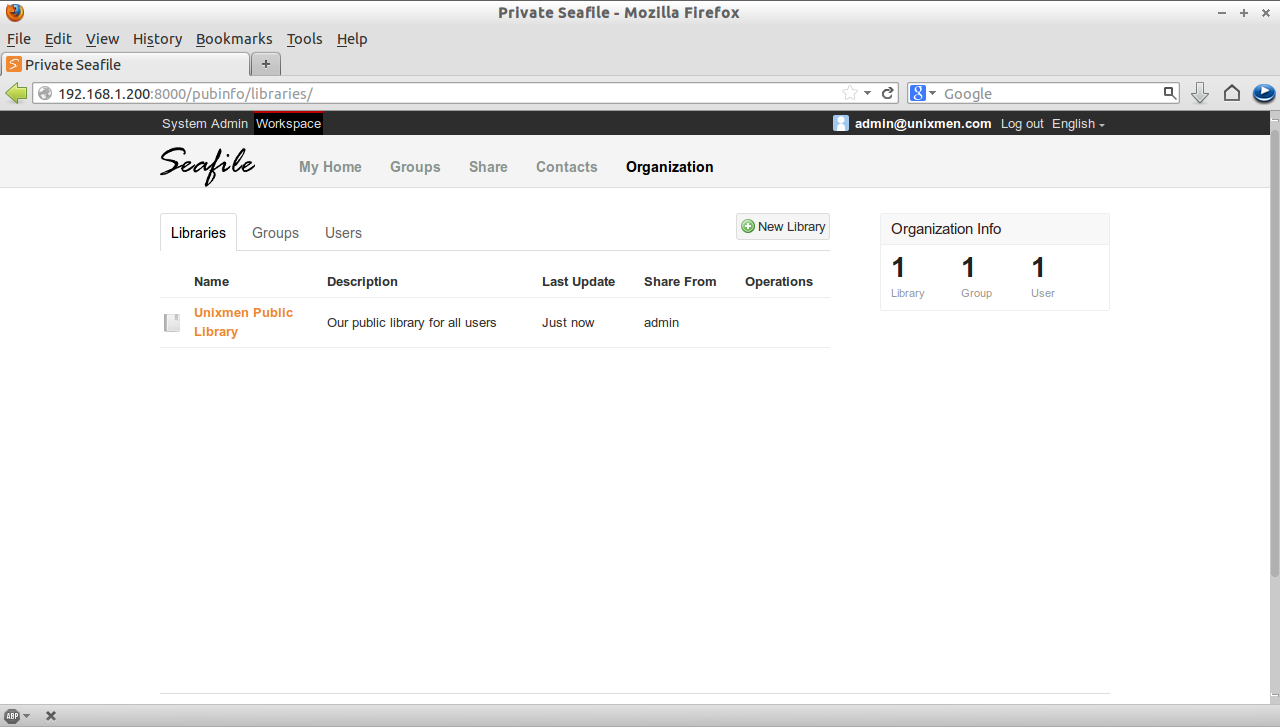
Under the Organization section, you can create/find the Public Libraries, Groups, Users and so on.
Thats it. To install Seafile Client software in Linux clients refer this link. If you use windows client refer this link.


