We all know the procedure for taking the screenshots of the computer screen in the form of images, but what if we have to make the video recording of all that appears on the computer screen? Making the video recordings of the screen may seem complicated, but the things have been made much easier by online website called Screencast-O-Matic. Screencast-O-Matic is an online video recorder that runs from any of your browser and in all the major operating systems including Windows, Mac and Linux.
Screencast-O-Matic not only helps you recording the videos of your screen, you can also save the videos to your hard disk and also upload them to YouTube. The videos can be obtained in ordinary or HD quality. On YouTube you can keep the videos for your personal use or you can share them with everyone you want.
Screencast-O-Matic is an excellent tool to record all the presentations from your screen and then share them on YouTube. If you are a teacher, trainer, marketing professional etc. this can be a very handy tool. The students can use it for recording various important information from internet. Many people can use the tool in a different ways as per their requirements and desired applications.
Besides the screen recordings, you can also start your webcam and add your recordings to the screen. So while showing various screens on the video, you can also narrate what is being shown on the screen and also add your video to make complete presentation highly interactive.
How to Record the Video?
Making the online video recording of your screen is very simple process, just go through the following steps:
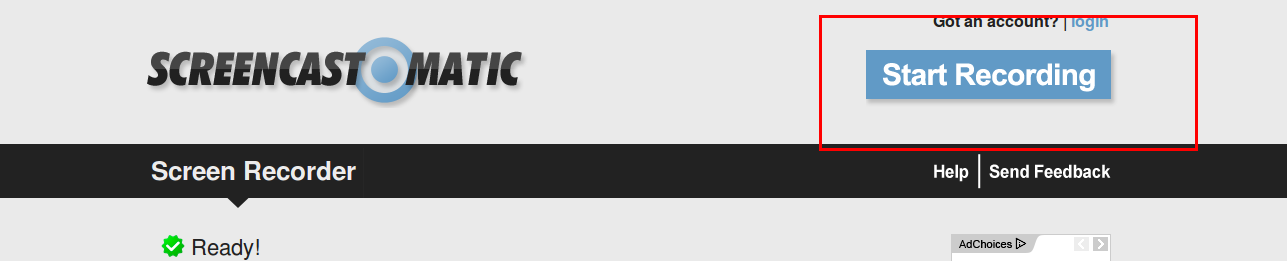
1) Visit the website: http://www.screencast-o-matic.com/. At the top right side you will see the “Start Recording” button.
2) Just make sure you have what exactly you want to record on your screen. If you want to record the presentation or any file, keep it ready and opened. If you want to add your narrations keep the script of narration ready, and if you want to add your video also keep the web camera ready.
3) When you start recording, a window appears as shown in the image below. This window looks very similar to the one that appears for taking the screenshot.
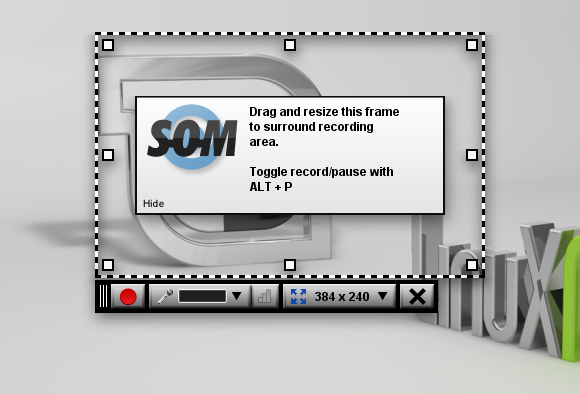
4) At the bottom left side of the window you will see red button, which is to start the recording. Besides this button you will see mike icon to make your audio settings. Besides the audio settings there are setting for selecting the video resolution, where you can select ordinary or HD video recording. From the webcam settings you can select to start the webcam if you wish to include webcam recordings also in your screen recording.
5) Now open the screen, window, presentation or the file whose recording you wish to make. Adjust the size of the recording window by moving the handles. Once you have kept the recording window on the appropriate screen and selected the video resolution, you can start recording. The video recording of the screen starts instantly.
6) You can perform all the activities on the screen that have to be recorded like showing the presentation, typing or making the file, explaining the things using various tools etc. Once you have recorded all that you want, click the “Done Button” at the bottom.
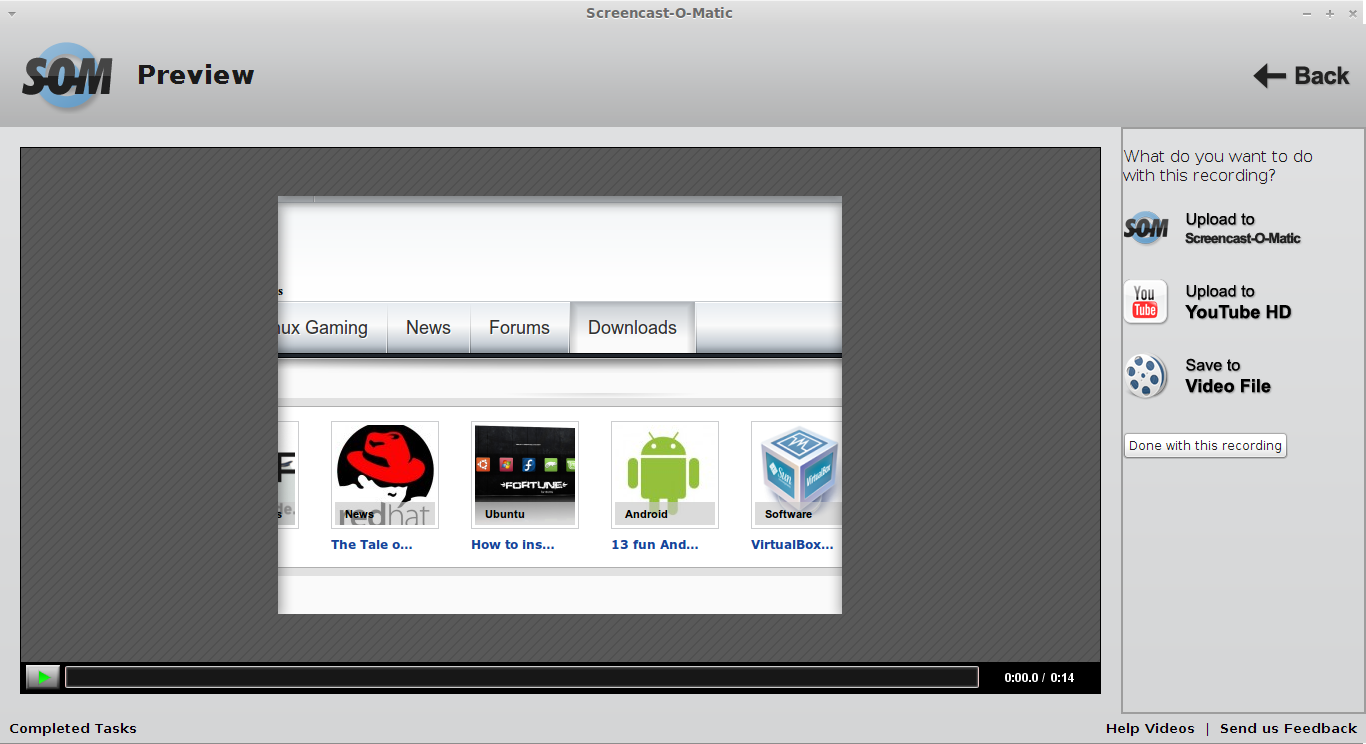
7) Now your recording is ready. You can instantly see the recording, upload it to Screencast-o-matic, upload it to YouTube or save it to your hard disk. If you want you can add notes, captions or other remarks. See the image below for options.
All the excellent tools of Screencast-O-Matic are available for free for the video recording of up to 15 minutes. If you need longer video it is advisable to choose pro version, which costs just $12 a year, but gives many added advantages. The image below shows you features offered by free and paid version of Screencast-O-Matic.


