
About Pydio
Having a private file server is always a best idea. Instead of saving your precious data in the third party servers and Cloud, why not turn your old system into a robust File server, put your data safely in it, and access them anywhere from any device? Sounds good? Let me introduce Pydio, an open source alternative to Dropbox and box.net.
Pydio, formerly known as AjaXplorer, is an open source application that can be used to setup fileserver on any system. It is an alternative to SaaS Boxes and Drives, with more control, safety and privacy, and favorable TCOs. It provides the easy access to files/folders from any system, from any browser over LAN or WAN. It has an embedded WebDAV server and native mobile applications for iOS and Android. It is easy to install, configure and it is designed to provide enterprise grade security and control over your data. Moreover, Pydio users and groups can be mapped directly from your external LDAP/AD server, or from the most common PHP-based CMS.
Pydio is available in four different editions.
- Community (Free for personal usage) ;
- Pro Edition ;
- Enterprise Edition ;
- Ultimate Edition.
Check the complete details of each edition here.
Install Pydio Community Edition in CentOS 7
My testbox details:
Here is my testbox details that I am going to install and configure Pydio.
- Operating System: CentOS 7 64bit minimal
- IP Address: 192.168.1.150/24
- Hostname: server1.unixmen.local
Though it was tested in CentOS, the same steps should work all RPM based distributions such as RHEL/Scientific Linux 7 and Fedora.
Software Requirements:
As I mentioned above, we can deploy Pydio with any webserver equiped with PHP 5.1 or later, along with the DomXML , MCrypt and GD extensions.. Pydio will work on all webservers, including Apache, Nginx, Lighttpd, and IIS. However, Apache is recommended for a production environment by Pydio team.
Hardware Requirements:
This may highly vary, depending your number of users and volume of documents. Any system with a 2GHz dual-core with 4GB of RAM should be more than enough for basic needs (up to 50 users) to setup Pydio.
In this tutorial, I am going to setup Pydio fileserver using LAMP stack in CentOS 7 server.
To install and configure LAMP server, refer the following link.
After setting up Apache, mariaDB and PHP, add EPEL repository and install some prerequisites needed by Pydio as shown below.
yum install epel-release
yum install php-apc php-mbstring php-pecl-apc php-mysql php-cli php-devel php-gd php-ldap php-pecl-memcache php-pspell php-snmp php-xmlrpc php-xml php-imap php-mcrypt* wget unzip
Edit php.ini file,
vi /etc/php.ini
Find the following lines and make changes as shown below.
[...]
upload_max_filesize = 1024M

[...]
post_max_size = 1024M

[...]
output_buffering = Off

[...]
Save and close the file.
Create Database And User For Pydio:
Login to the database server:
mysql -u root -p
Create a database called pydiodb and a database user called pydiouser. You can use your own values of your choice.
Welcome to the MariaDB monitor. Commands end with ; or \g.
Your MariaDB connection id is 10
Server version: 5.5.41-MariaDB MariaDB Server

Copyright (c) 2000, 2014, Oracle, MariaDB Corporation Ab and others.

Type 'help;' or '\h' for help. Type '\c' to clear the current input statement.

MariaDB [(none)]> create database pydiodb;
Query OK, 1 row affected (0.05 sec)

MariaDB [(none)]> GRANT ALL ON pydiodb.* TO pydiouser@localhost IDENTIFIED BY 'centos';
Query OK, 0 rows affected (0.08 sec)

MariaDB [(none)]> flush privileges;
Query OK, 0 rows affected (0.04 sec)

MariaDB [(none)]> exit
Bye
Download Pydio:
Download the latest version from the Pydio download page.
Here, you have two choices. You can manually download the tar or zip file and deploy it, or add the Pydio repository to your server.
In our case, let us download the zip file and do the manual installation.
wget http://sourceforge.net/projects/ajaxplorer/files/pydio/stable-channel/6.0.8/pydio-core-6.0.8.zip
Extract the zip file and move the contents to your web root directory.
unzip pydio-core-6.0.8.zip
mv pydio-core-6.0.8/ /var/www/html/pydio
Make sure that data folder has full permission(Read/Write).
chmod -R 777 /var/www/html/pydio/data/
Edit file /etc/httpd/conf/httpd.conf,
vi /etc/httpd/conf/httpd.conf
Find the line,
AllowOverride None
Change it to:
AllowOverride All
Save and close the file.
Note: I disabled SELinux permanently to reduce the complexity since I am going to test it in my local network.
However, the official documentation guide says you can use the following SELinux commands to override any permission issues.
Adjust SELinux to avoid “403 forbidden error” or “Forbidden You don’t have permission to access /pydio on this server” errors.
setsebool -P httpd_enable_homedirs true
chcon -R -t httpd_sys_content_t /var/www/html/pydio/
Restart apache service.
systemctl restart httpd
Start Pydio Web Installation
Now, open up the browser and type http://domain-name/pydio or http://ip-address/pydio in the address bar.
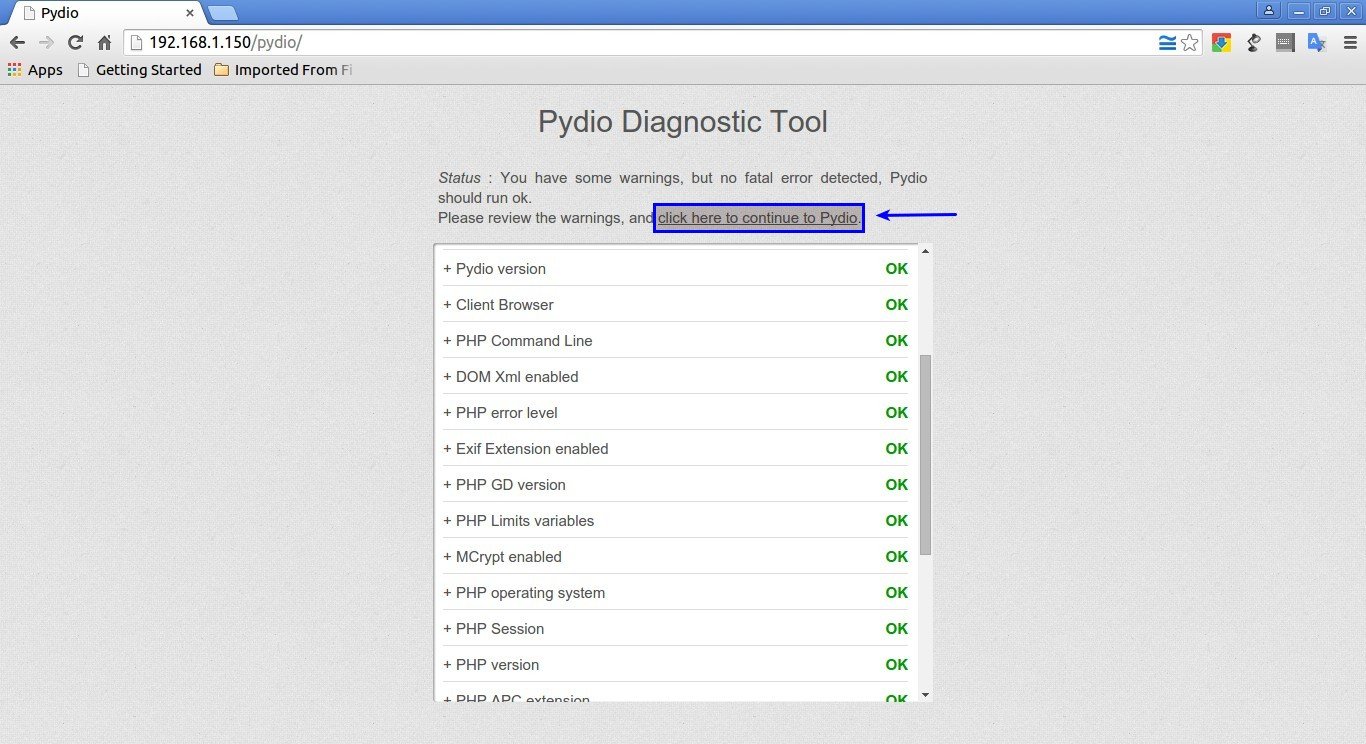
You will see the following screen. It will show you any warnings or errors if exists. Review the error lines to check what action you should do.
Then, Click on the link that says: click here to continue to Pydio.
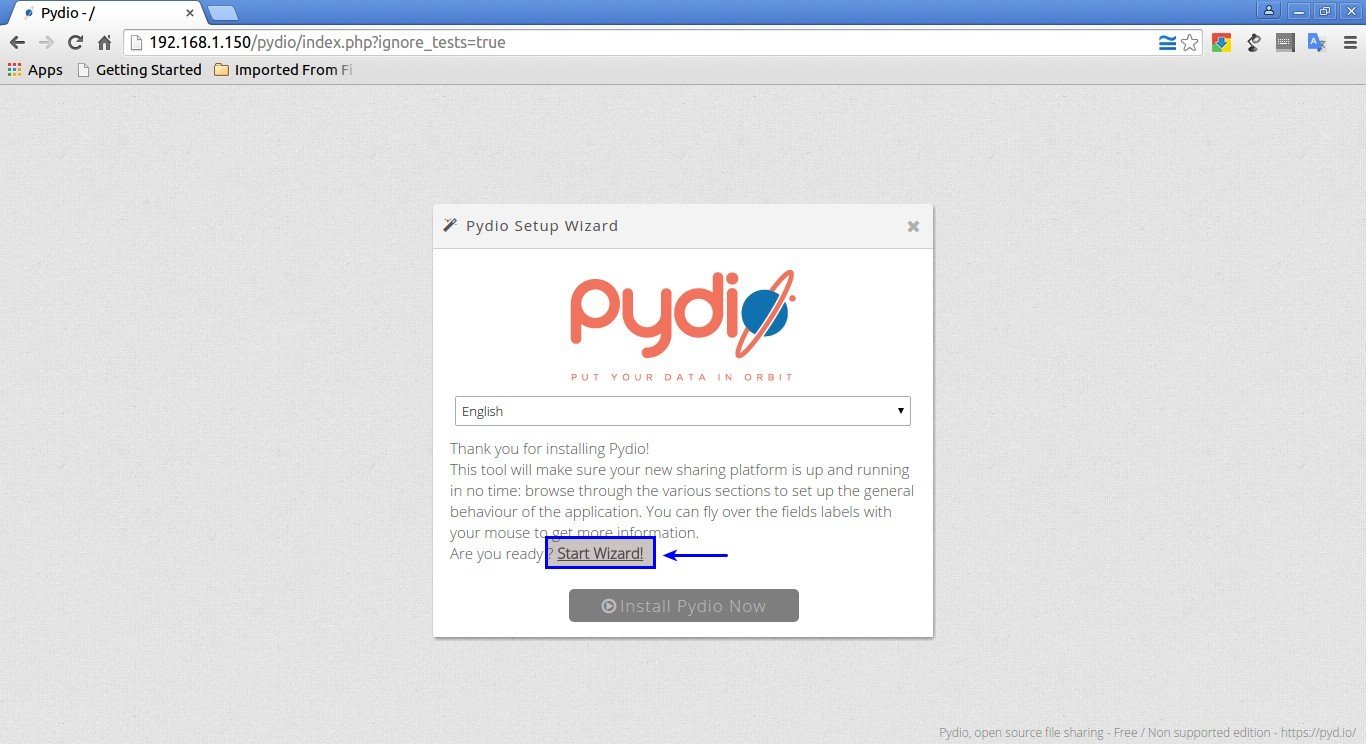
Click Start Wizard to continue.
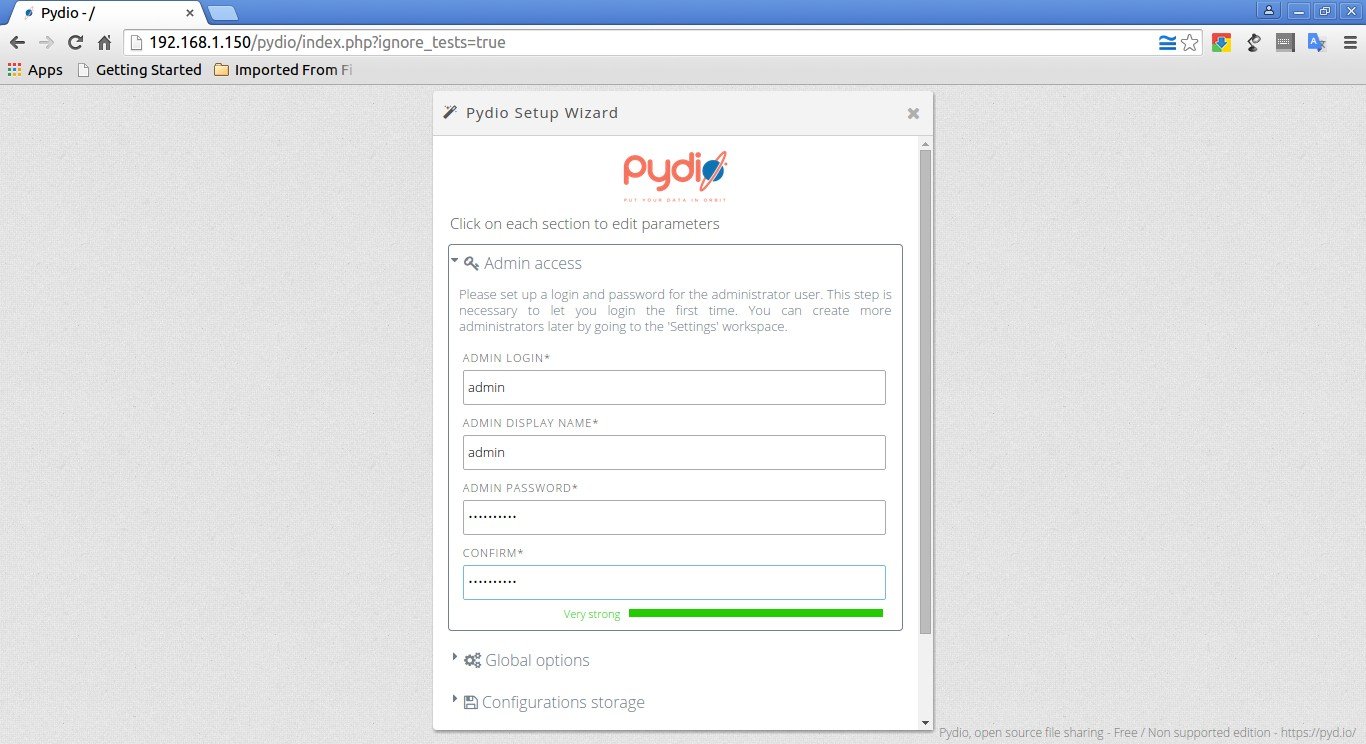
Click on the each section and set the required parameters.
Setup Admin account:
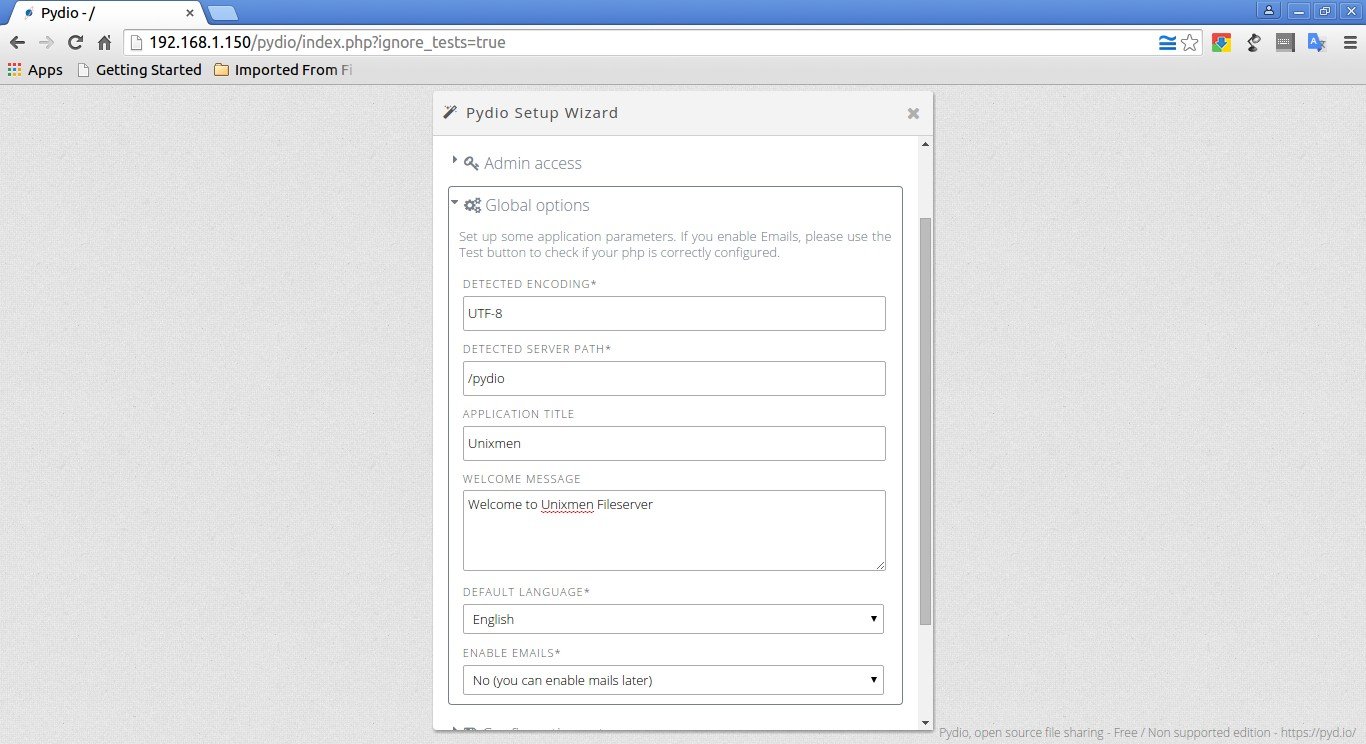
Set default language and file server title:
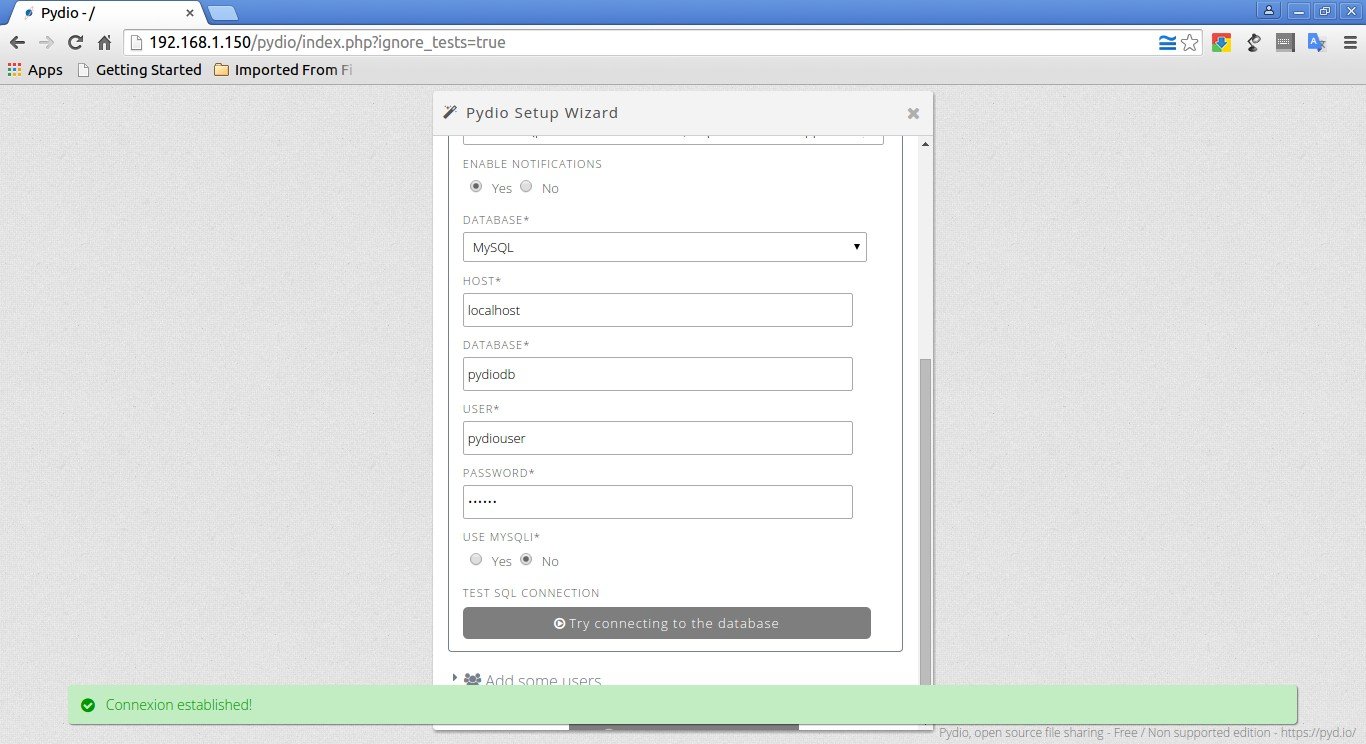
Configure MySQL database name and user. Enter mysql database and user details and click “try connecting to database”. If everything ok, you should see a message: “Connexion established” in the bottom.
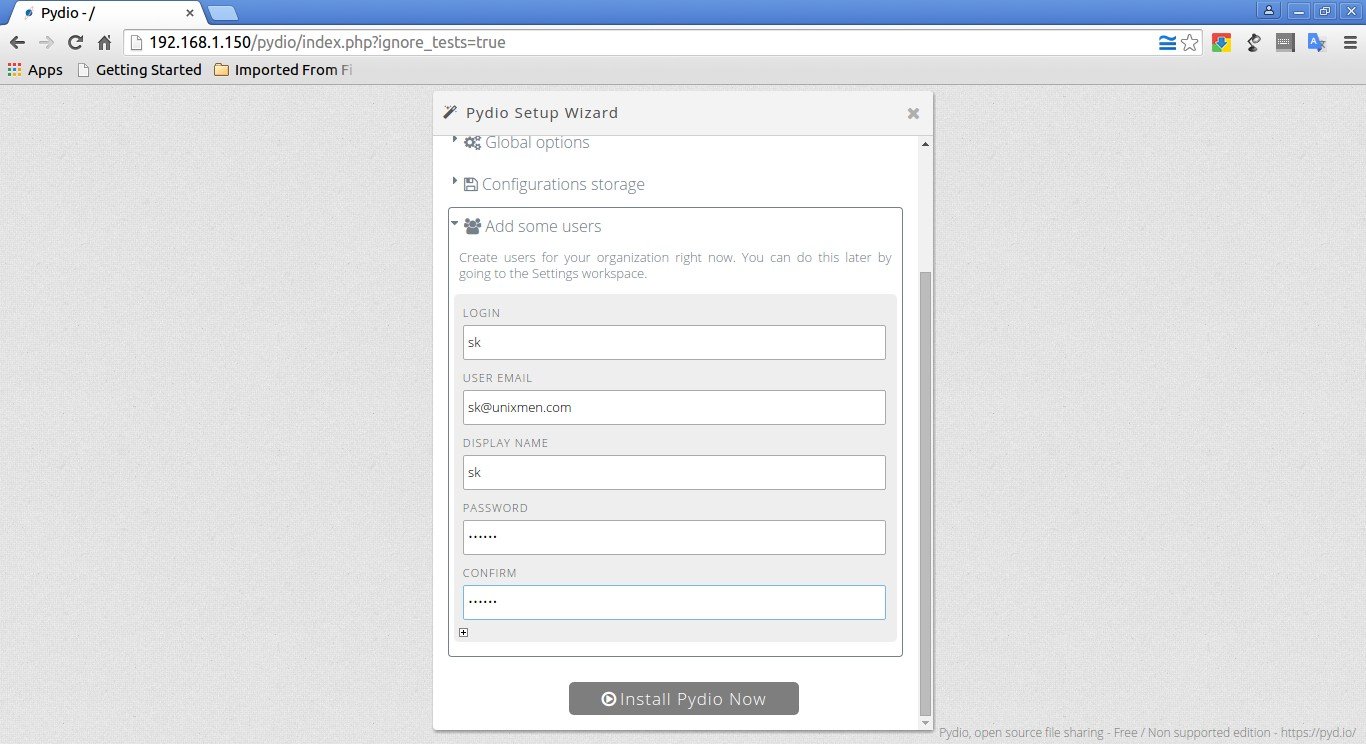
Create a new user. You can create any number of users by clicking on the plus (+) button. Finally click Install Pydio now button.
You should see the following screen.
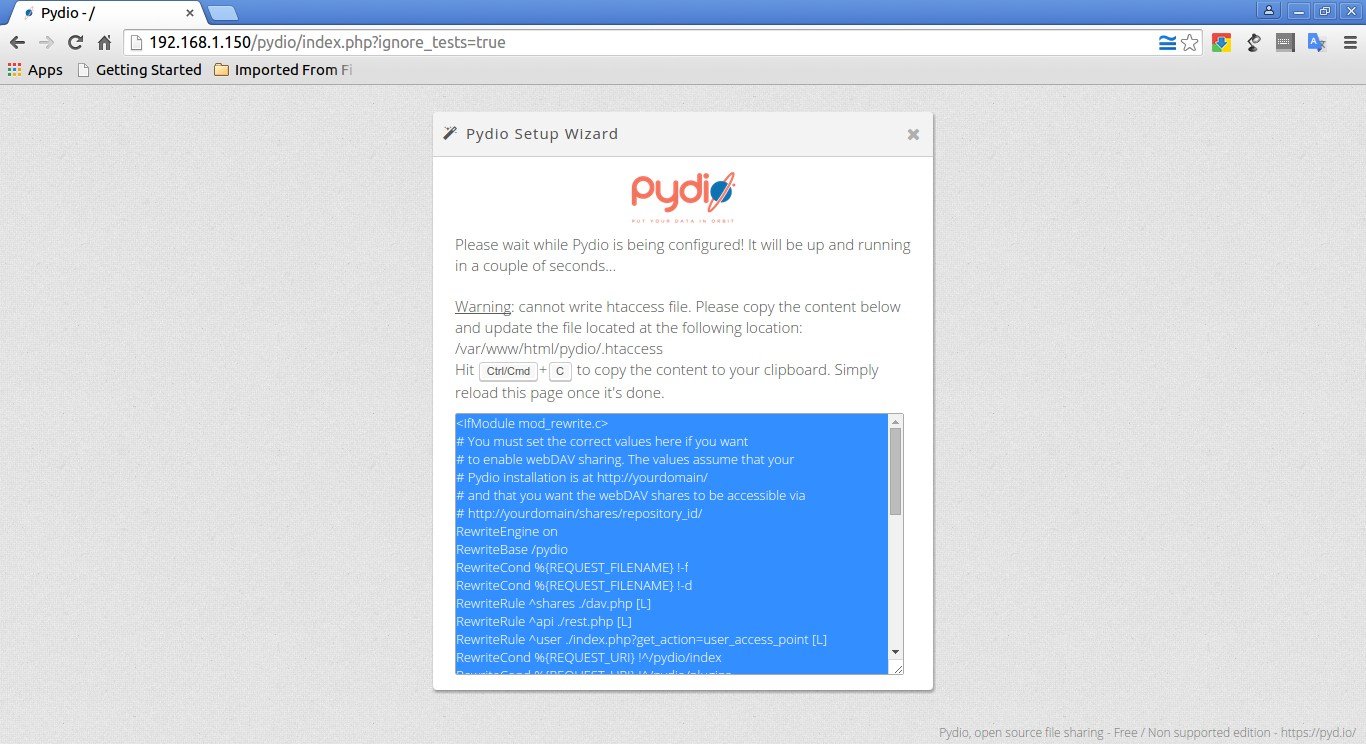
Copy the contents shown in the above window and paste them in /var/www/html/pydio.htaccess file.
vi /var/www/html/pydio/.htaccess
Here is the contents that I added in my /var/www/html/pydio/.htaccess file.
<IfModule mod_rewrite.c>
# You must set the correct values here if you want
# to enable webDAV sharing. The values assume that your
# Pydio installation is at http://yourdomain/
# and that you want the webDAV shares to be accessible via
# http://yourdomain/shares/repository_id/
RewriteEngine on
RewriteBase /pydio
RewriteCond %{REQUEST_FILENAME} !-f
RewriteCond %{REQUEST_FILENAME} !-d
RewriteRule ^shares ./dav.php [L]
RewriteRule ^api ./rest.php [L]
RewriteRule ^user ./index.php?get_action=user_access_point [L]
RewriteCond %{REQUEST_URI} !^/pydio/index
RewriteCond %{REQUEST_URI} !^/pydio/plugins
RewriteCond %{REQUEST_URI} ^/pydio/dashboard|^/pydio/welcome|^/pydio/settings|^/pydio/ws-
RewriteRule (.*) index.php [L]

#Following lines seem to be necessary if PHP is working
#with apache as CGI or FCGI. Just remove the #
#See http://doc.tiki.org/WebDAV#Note_about_Apache_with_PHP_as_fcgi_or_cgi

#RewriteCond %{HTTP:Authorization} ^(.*)
#RewriteRule ^(.*) - [E=HTTP_AUTHORIZATION:%1]

#Following lines may be necessary for a PHP-FPM setup
# to make sure that authorization is transmitted.
# Just remove the # at the beginning of the line

#SetEnvIf Authorization "(.*)" HTTP_AUTHORIZATION=$1

</IfModule>
AddType application/json .json
Now, refresh the page again.
Congratulations! We have successfully setup Pydio in our CentOS 7server.
Here is my Pydio login screen.

Pydio Usage
Enter the username and password to login that you’ve created during installation.
First, we will login to the Administrator console.
Enter your administrator user name(Ex. admin in my case) and it’s password.
This is how my administrator console looked.
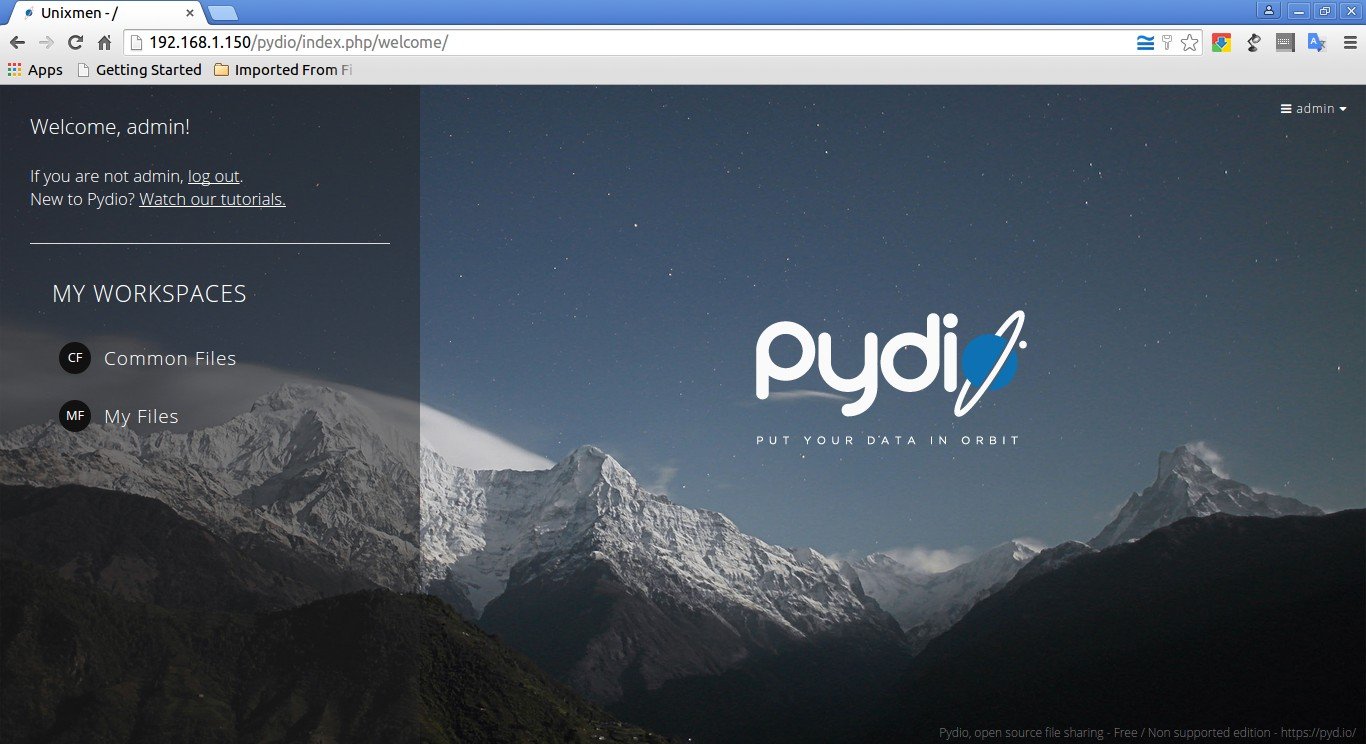
Select your workspace and click on the “Enter” button. By default. Pydio has two workspaces.
- Common files
- My files
Select the workplace of your choice and click Enter to view the contents.
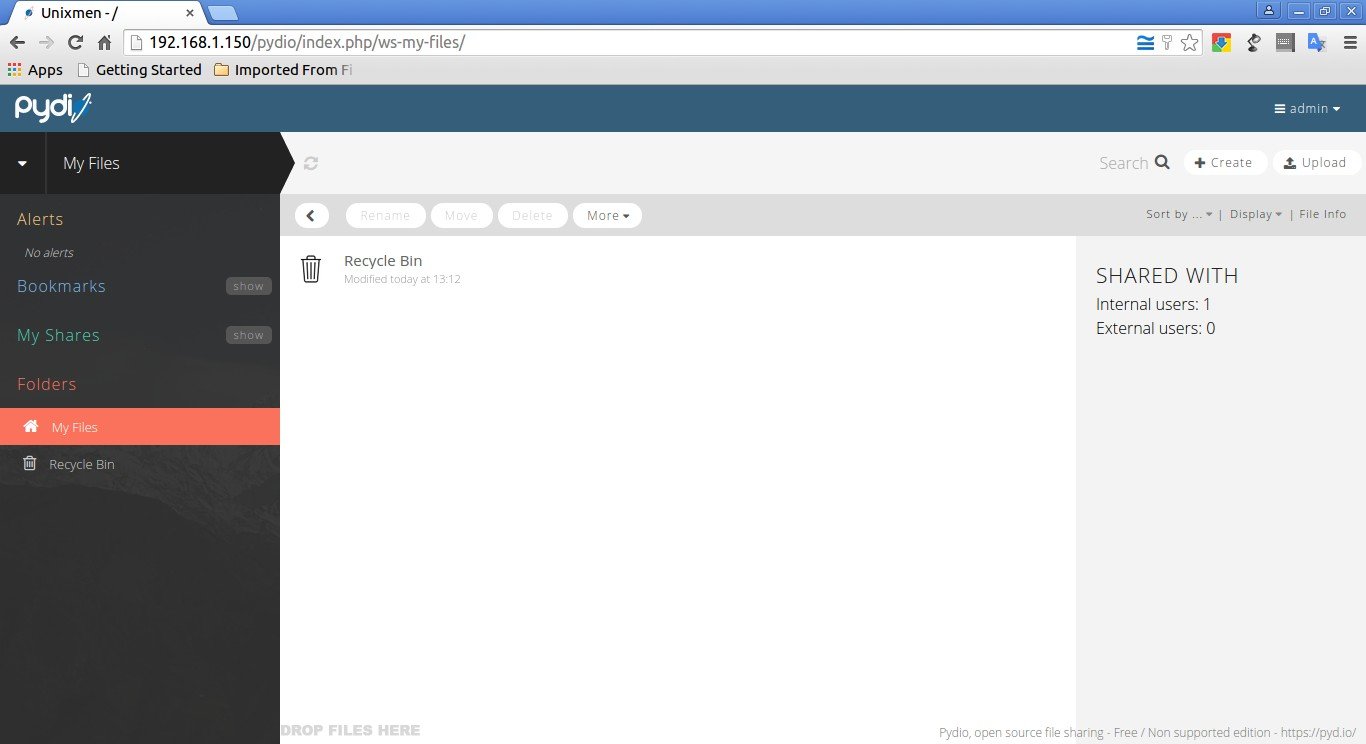
From now on, add your files or folders and share them to your network. To create a folder, right click on the empty space, and select “Create” button.
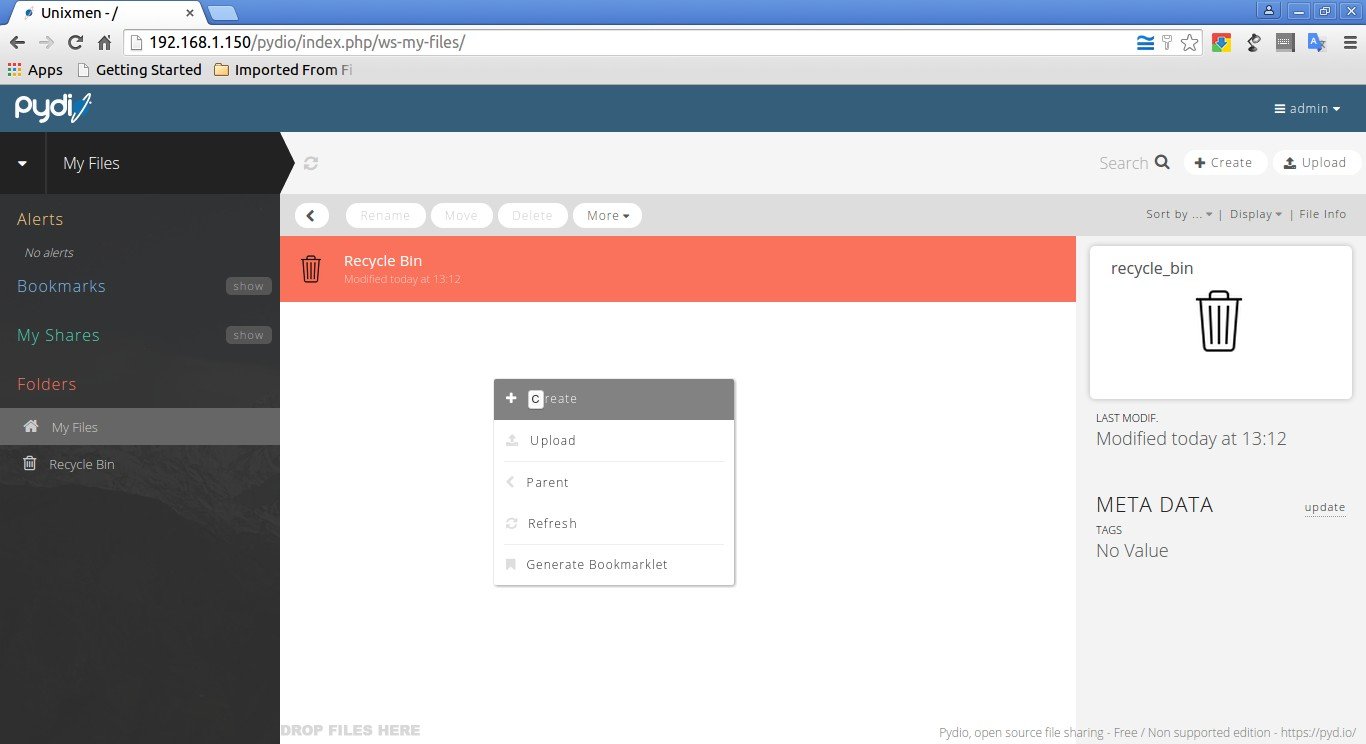
Enter your folder name and click on the Ok button (the right arrow button).

That’s it. Now you can add files or sub folders. To do that, open the folder by double clicking on it. Right click on the empty space and select Upload button.
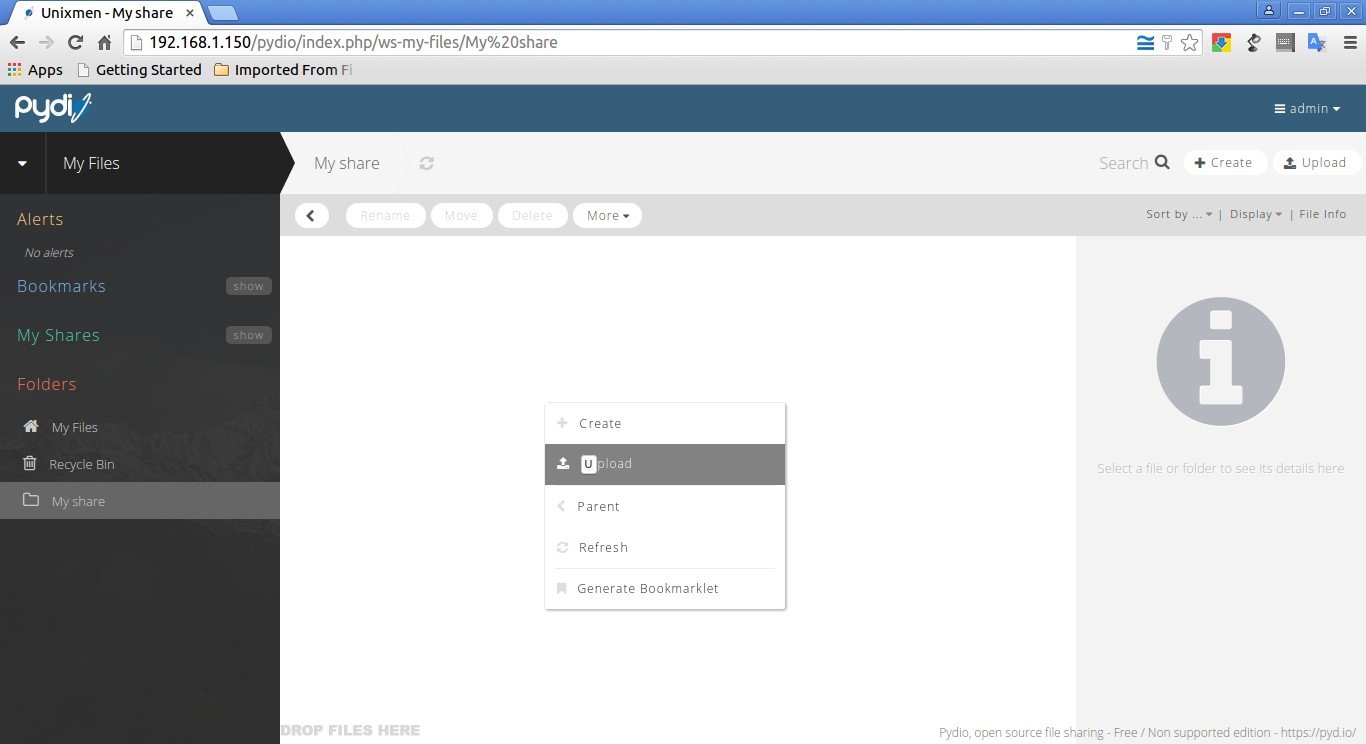
Select the files either from your local or remote system. That’s it. The selected files will uploaded to your newly created share folder.
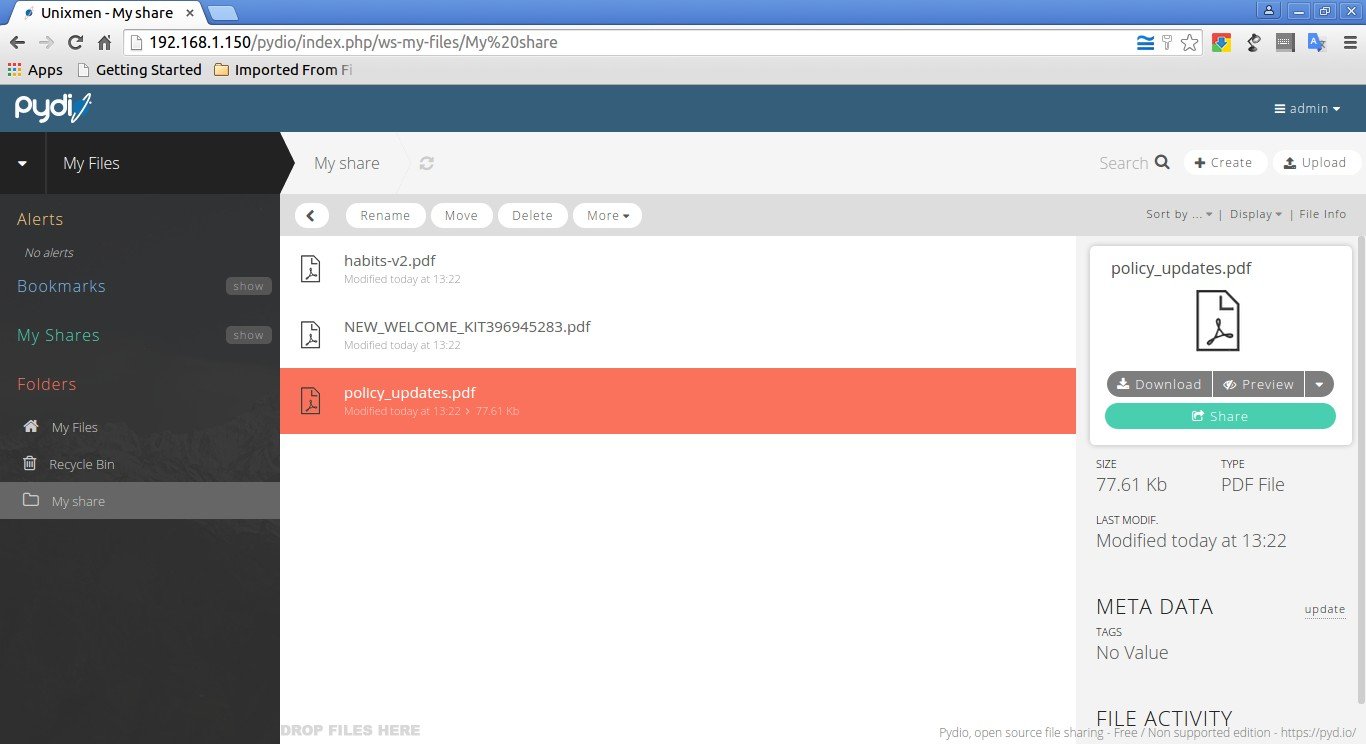
Now, you can share the entire folder or it’s files/subfolders over network by clicking on the share button.
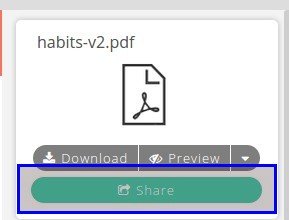
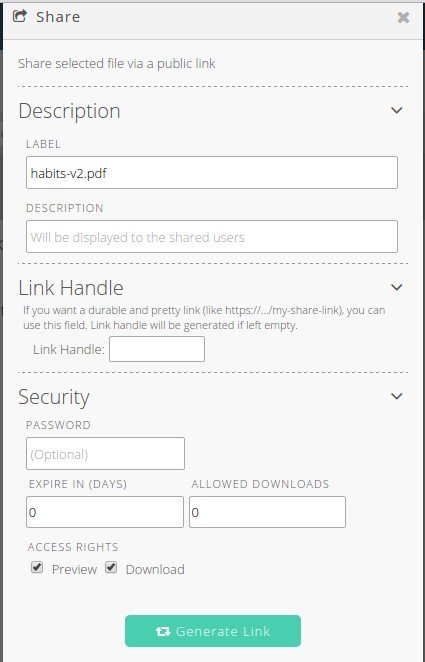
You can set different permissions whether an user can view or download or upload contents to your shared folder/file.
Similarly, you can create and share as many as files or folders to your friends and colleagues over LAN or WAN. Although, you can create separate users and share files to different users of your choice.
That’s all for now. For additional in-depth configuration and administration and usage, I suggest you to refer the official documentation page.
Cheers!
Reference link:


