
Few days before, We have featured IP Address Management system called “IPplan”. Today i have come up with an another web based IP address managent system called “phpIPAM”.
For those who don’t know about phpipam, it is an open-source, simple and light weight web IP address management application. It is ajax-based using jQuery libraries, php scripts, javascript and some HTML5/CSS3 features.
Features
– IPv4 / IPv6 address management
– Domain authentication (AD) / OpenLDAP authentication
– Per-group permissions
– Multiple level of nested subnets
– Visual subnet display
– IPv4 / IPv6 address calculator
– VRF support
– VLAN management
– Device management
– RIPE import
– Import / export XLS files
– User management
– E-Mail notification with IP details
– IP database search
– IP request module
– IP range adding / editing / deleting
– Custom IP/subnet/userVLAN address fields
Install phpIPAM On CentOS 6.4
I tested this how-to on CentOS 6.4, although it will work on all RHEL based distros. If you are using Debian/Ubuntu based systems, you can find the official installation instructions for Debian here.
Your server should have installed and configured with Apache, MySQL and PHP(LAMP). Refer any one of the following links to setup LAMP server.
– Install LAMP (Apache, MariaDB, PHP) Server On CentOS 6.4.
or
– Install LAMP (Apache, MySQL, PHP) Server On CentOS 6.4.
Install the following php modules.
# yum install php-common php-pear php-mysql php-ldap
Adjust Firewall/Router Settings
Allow the apache default port “80″ through iptables/router. Edit file /etc/sysconfig/iptables,
# vi /etc/sysconfig/iptables
Add the following line.
-A INPUT -p tcp -m state --state NEW --dport 80 -j ACCEPT
Now restart the iptables service.
# /etc/init.d/iptables restart
Getting phpIPAM
Download the latest version of phpIPAM here or enter the following command to download it from your terminal.
# wget http://sourceforge.net/projects/phpipam/files/phpipam-0.8.tar
Extract it and move to your web root folder.
# tar -xvf phpipam-0.8.tar
# mv phpipam/ /var/www/html/phpipam
phpIPAM Configuration
Open up the config.php file in any editor.
# nano /var/www/html/phpipam/config.php
Add the mysql database name, user and password etc that you’ve created earlier. Here my database name is phpipam, database user is phpipam and user password is centos. Replace the values with your own.
/*    database connection details
 ******************************/
$db['host'] = "localhost";
$db['user'] = "phpipam";
$db['pass'] = "centos";
$db['name'] = "phpipam";

/**
Set the rewrite base as shown below.
define('BASE', "/phpipam/");
This means that we can access the phpipam console with URL “http://domain-name/phpipam.
Save and close the file.
Now edit file “.htaccess”,
# nano /var/www/html/phpipam/.htaccess
Set rewrite base path.
# change rewrite base if not in root
RewriteBase /phpipam/
Save and close the file.
Apache Mod rewrite Configuration
Edit the default apache config file /etc/httpd/conf/httpd.conf.
# nano /etc/httpd/conf/httpd.conf
Find the line AllowOverride none to AllowOverride All as shown below.
<Directory />
    Options FollowSymLinks
    AllowOverride All
</Directory>
Save and close. Restart apache service.
# service httpd restart
Begin Installation
Enter http://domain-name/phpipam or http://ip-address/phpipam in your browser address bar.
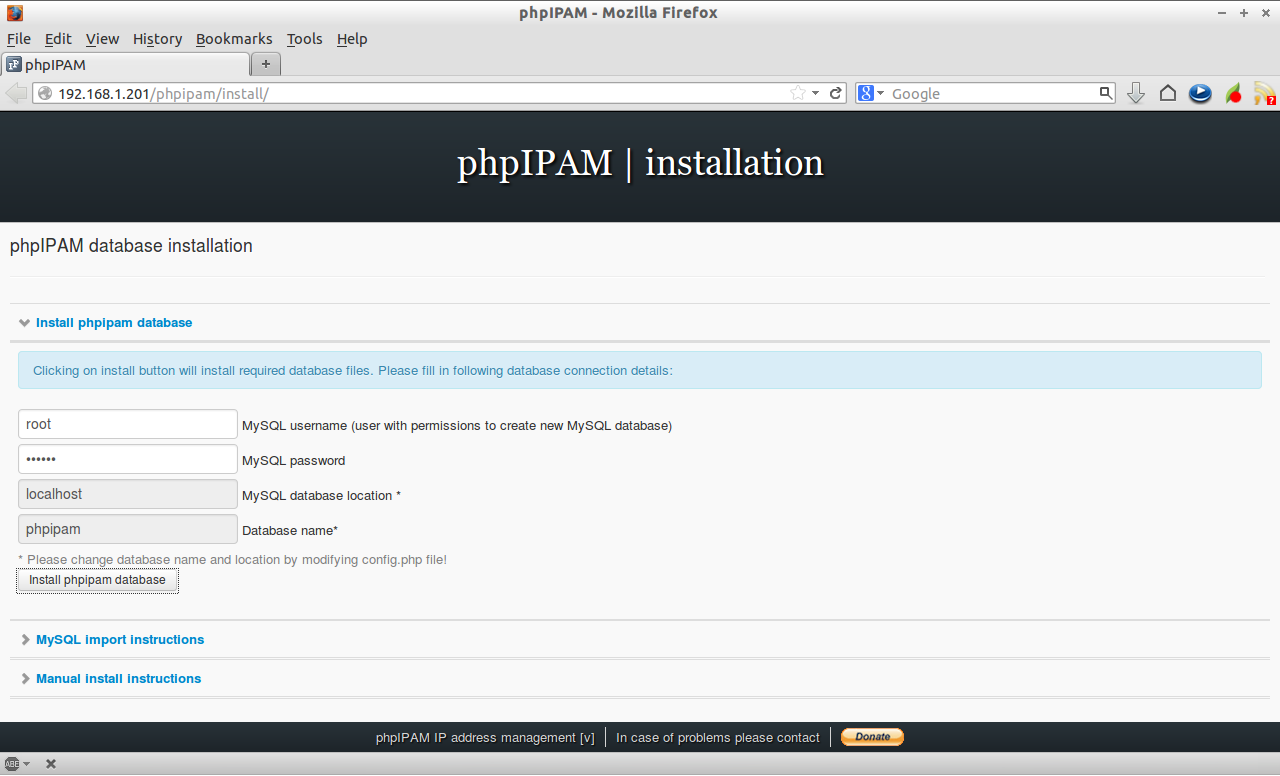
The following screen should appear. Enter the mysql database user name and password to create new database for phpipam.
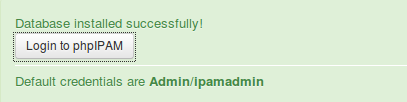
 Now you will a screen that shows “Database installed successfully”.
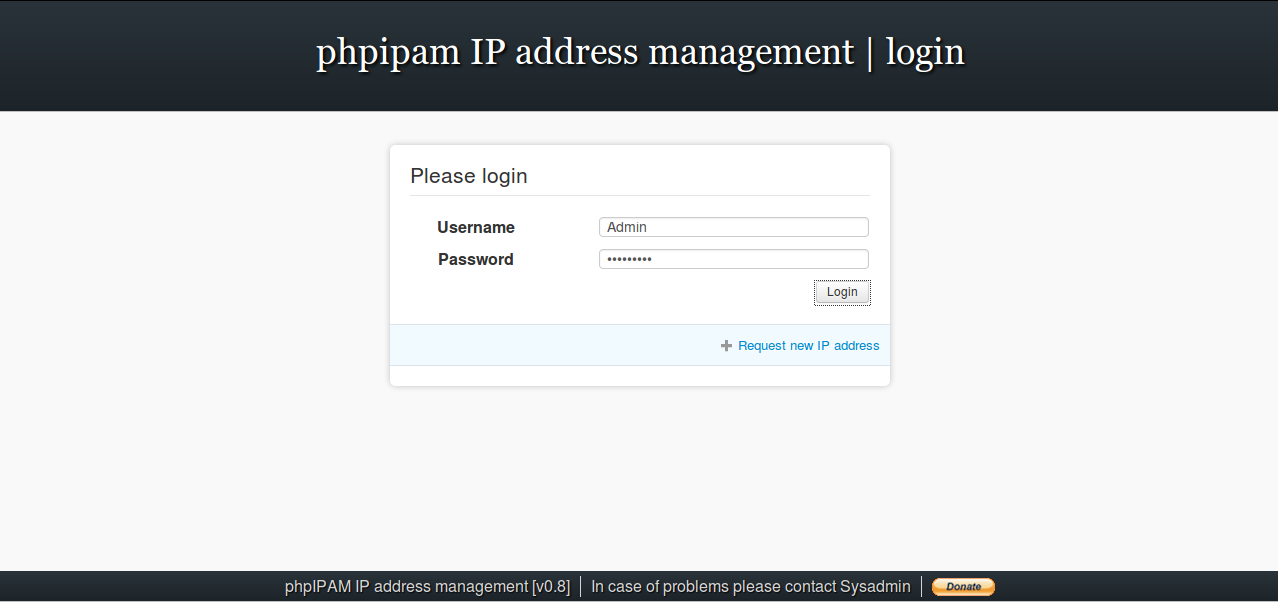
 Click on the Login to phpIPAM link. The default username is Admin and password is ipamadmin.
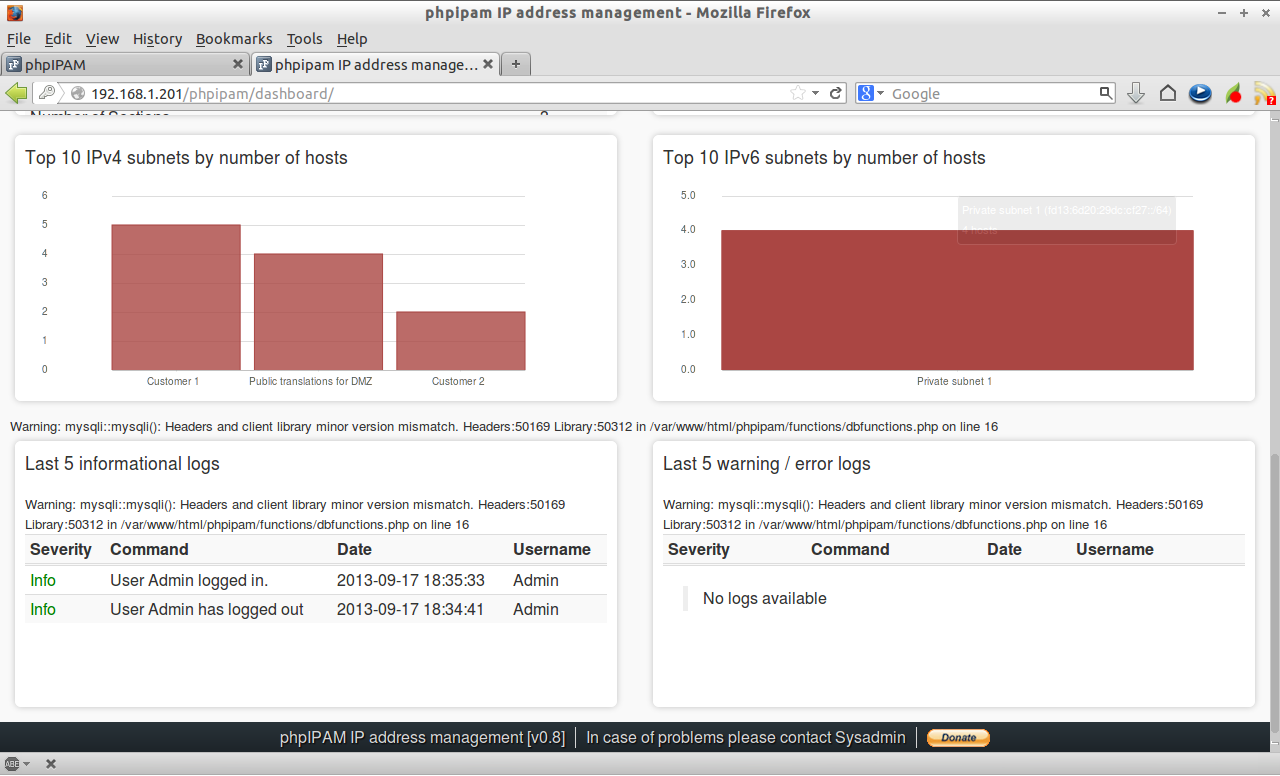
 This is how your administrative dashboard looks.


