
Kontena is an open-source and a new developer-friendly platform for deploying, managing, scaling and monitoring containerized applications across multiple hosts on any cloud infrastructure. It is primarily targeted for running applications composed of multiple containers, such as elastic, distributed micro-services. It simplifies deploying and running containerized applications that provides a complete and cost-efficient solution for all types of workloads.
Kontena works on a master-slave architecture. There is one master node that you administer Kontena through, and several slave nodes that run your underlying services/containers. The idea is that an organization or group will have one master node, through which all administration tasks are done, creating multiple grids if required. In short, this means masters-to-grids are a one-to-many relationship.
In this tutorial, we will show you how to quickly get up and running with Kontena Master on CentOS 7 and Ubuntu 16.04.
Prerequisites
kontena master depends upon docker-engine (> 1.8) or docker-engine (< 1.11) but should not be installable. So, before we start Kontena master installation, we need to setup docker-engine on our Ubuntu or CentOS 7 server.
Installing Docker Engine on Ubuntu 16
Docker requires a 64-bit installation regardless of your Ubuntu version. Additionally, your kernel must be 3.10 at minimum.
Kernels older than 3.10 lack some of the features required to run Docker containers. These older versions are known to have bugs which cause data loss and frequently panic under certain conditions.
For Ubuntu Trusty, Wily, and Xenial, it’s recommended to install the ;linux-image-extra’ kernel package. The linux-image-extra package allows you use the ‘aufs’ storage driver.
1) Kernel Upgrade
To install the ‘linux-image-extra’ package for your kernel version do the following steps:
i) Open a command line terminal on your Ubuntu host.
ii) Update your package manager using below command.
[cc]# apt-get update [/cc]
iii) Install the recommended package with below command.
[cc]#apt-get install linux-image-extra-$(uname -r) [/cc]
3) Update your apt sources
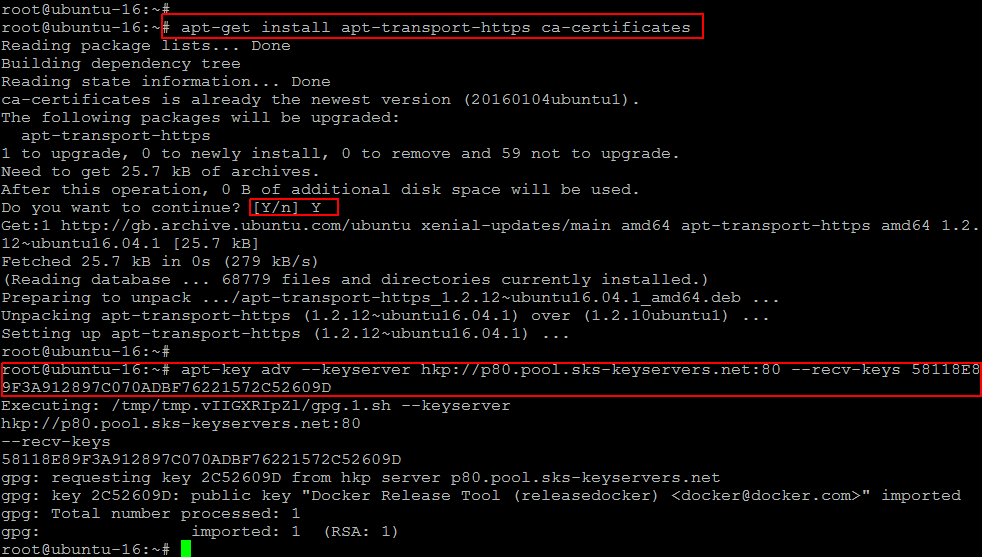
Now Update package information to ensure that APT works with the https method, and that CA certificates are installed.
Run the following commands to do.
[cc]# apt-get install apt-transport-https ca-certificates [/cc]
After that add the new GPG key by flowing the below command in your command line terminal.
[cc]# apt-key adv –keyserver hkp://p80.pool.sks-keyservers.net:80 –recv-keys 58118E89F3A912897C070ADBF76221572C52609D [/cc]
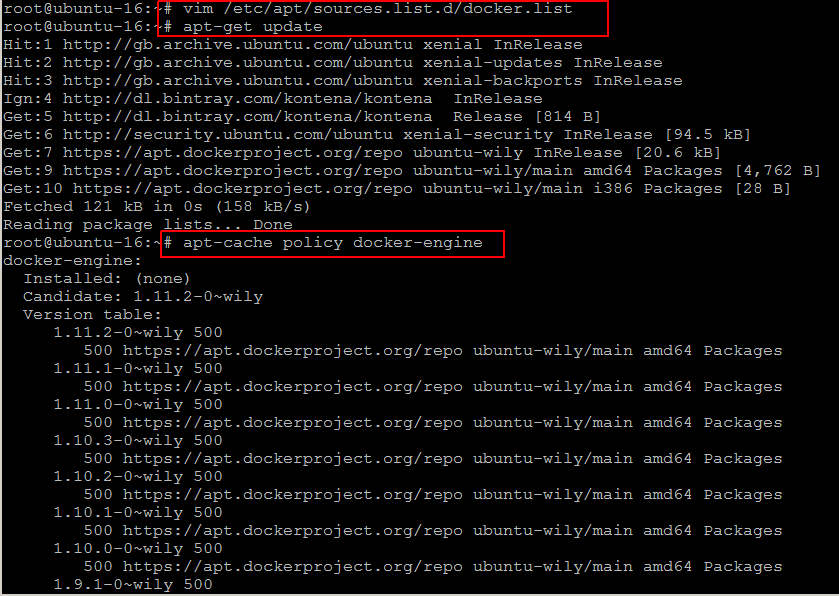
Open the ‘/etc/apt/sources.list.d/docker.list’ file in your favorite editor.
If the file doesn’t exist, create it. Remove any existing entries and add an entry for your Ubuntu operating system.
[cc]# vim /etc/apt/sources.list.d/docker.list[/cc]
[cc]deb https://apt.dockerproject.org/repo ubuntu-wily main[/cc]
Save and close the ‘/etc/apt/sources.list.d/docker.list’ file using ‘:wq!’ and update the APT package index.
Verify that APT is pulling from the right repository with following command.
[cc]# apt-cache policy docker-engine[/cc]
3) Install Docker-engine
After completing all prerequisites, now we can install docker required version by using simple below command on ubuntu 16.
[cc]# apt-get install docker-engine=1.10.3-0~wily[/cc]
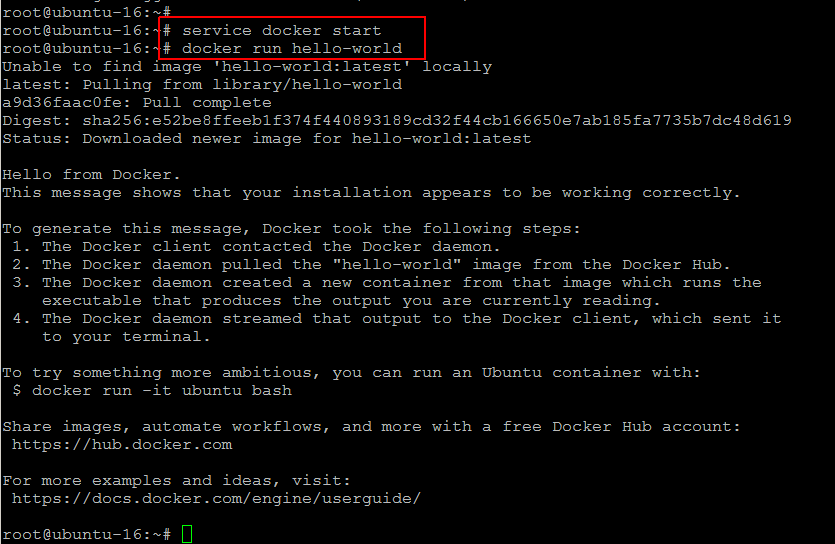
Start the docker daemon and then verify docker is installed correctly.
[cc]# service docker start[/cc]
[cc]# docker run hello-world [/cc]
Installing Docker Engine on CentOS 7
There are two ways to install Docker Engine. You can install with the yum package manager directly yourself. Or you can use curl with the get.docker.com site. This second method runs an installation script which installs via the yum package manager.
Make sure your existing yum packages are up-to-date and add the yum repo for the docker-engine.
[cc]$ sudo yum update [/cc]
[cc]$ sudo tee /etc/yum.repos.d/docker.repo <<-EOF
[dockerrepo]
name=Docker Repository
baseurl=https://yum.dockerproject.org/repo/main/centos/7
enabled=1
gpgcheck=1
gpgkey=https://yum.dockerproject.org/gpg
EOF
[/cc]
Install the Docker package and start its Docker daemon.
[cc]$ sudo yum install docker-engine[/cc]
[cc]$ sudo service docker start [/cc]
Installing Kontena Master Ubuntu packages
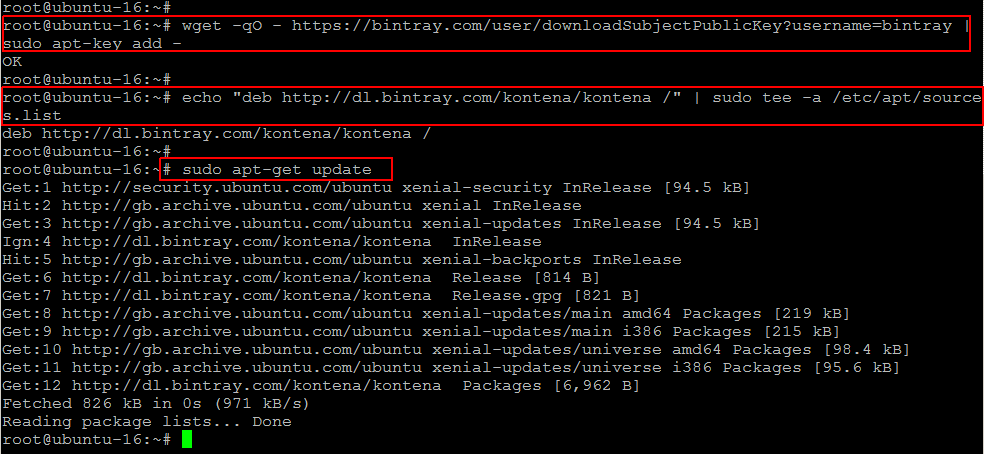
We are now ready to go with installation of Kontena Master on our ubunttu 16 server. Let’s run the following commands first to add its apt source key and update your system.
[cc]# wget -qO – https://bintray.com/user/downloadSubjectPublicKey?username=bintray | sudo apt-key add – [/cc]
[cc]# echo “deb http://dl.bintray.com/kontena/kontena /” | sudo tee -a /etc/apt/sources.list [/cc]
[cc]# apt-get update[/cc]
After system update run below command to install kontana server.
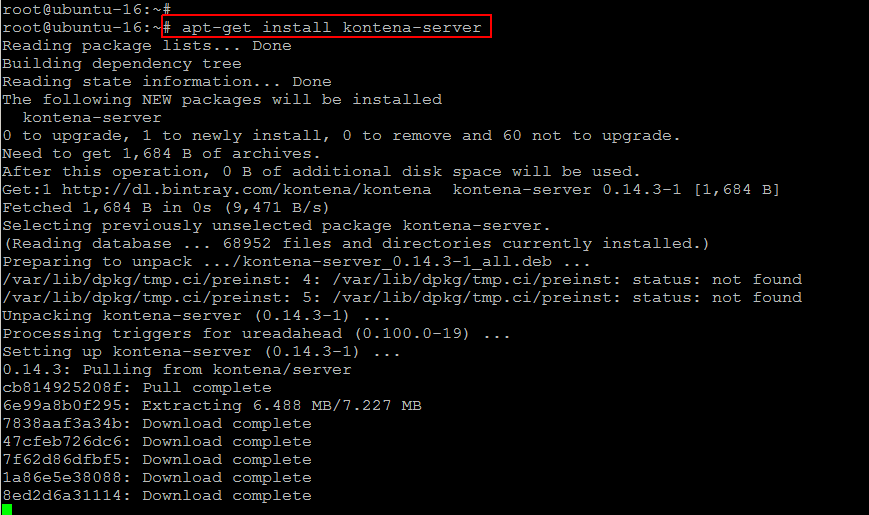
[cc]# apt-get install kontena-server [/cc]
Once the installation is complete, setup ssl certificate by opening the file below using your editor.
[cc]$ sudo vim /etc/default/kontena-server-haproxy [/cc]
[cc]
# HAProxy SSL certificate
SSL_CERT=/path/to/certificate.pem
[/cc]
Start Kontena server
Now you can start Kontena master server by flowing below command in your your command line terminal.
[cc]$ sudo start kontena-server-api [/cc]
Conclusion
In this article we learned about Kontena master server installation. Kontena is one of the most complete and stable systems for running containerized workloads and its really easy to install and use. With the assistance Kontena’s built-in node provision features, you can setup local testing or real production environment in no time. Kontena simplifies workflows for managing container based applications. With Kontena, you are in command and it works on any cloud, supports Docker and is 100% open source. It has everything you need. Technologies used to create something similar can be found as independent open source projects, but Kontena delivers all these features as a single integrated, tested and proven solution.


