
Introduction
Jekyll is a site generator which is useful to generate static and simple website for personal, project or organizational purpose. It is like some file based CMS which works without any data base or complexity. It takes your text content and generate a complete and static website which is ready to be server by any web server like Apache, nginx or other.
Features
Simple
No more databases, comment moderation, or pesky updates to install—just your content.
Static
Markdown (or Textile), Liquid, HTML & CSS go in. Static sites come out ready for deployment.
Blog-aware
Permalinks, categories, pages, posts, and custom layouts are all first-class citizens here.
Reference Link: https://jekyllrb.com/
Installation
Jekyll installation is very easy and straight. It will take only few minutes to install.
Requirement
Ubuntu 15.10 VPS with minimum 512 MB RAM, minimum 4 GB Storage.
Ruby, RubyGems, NodeJS, and Python 2.7 (minimum) is required as software.
Installation Steps
Update Ubuntu Server
# apt-get update
Install Ruby package
# apt-get install ruby-full
Install Jekyll package with gem
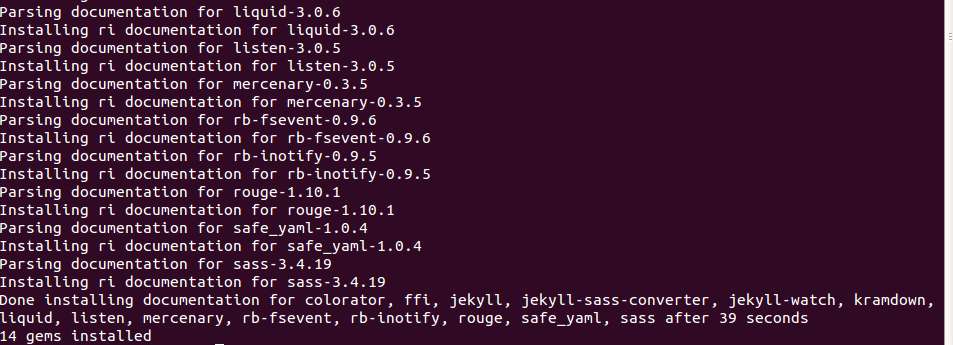
# gem install jekyll
Verify version of jekyll to ensure whether it is installed or not
# jekyll -v
Change to home directory
# cd /home
Create a new website
$ sudo jekyll new unixmen.lan

The above command will create a new web directory under /home
# cd /home/unixmen.lan && ls
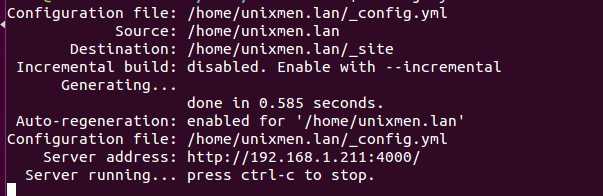
 Time to start jekyll application, replace below mentioned ip address with your ip.
# jekyll server --host 192.168.1.122 &
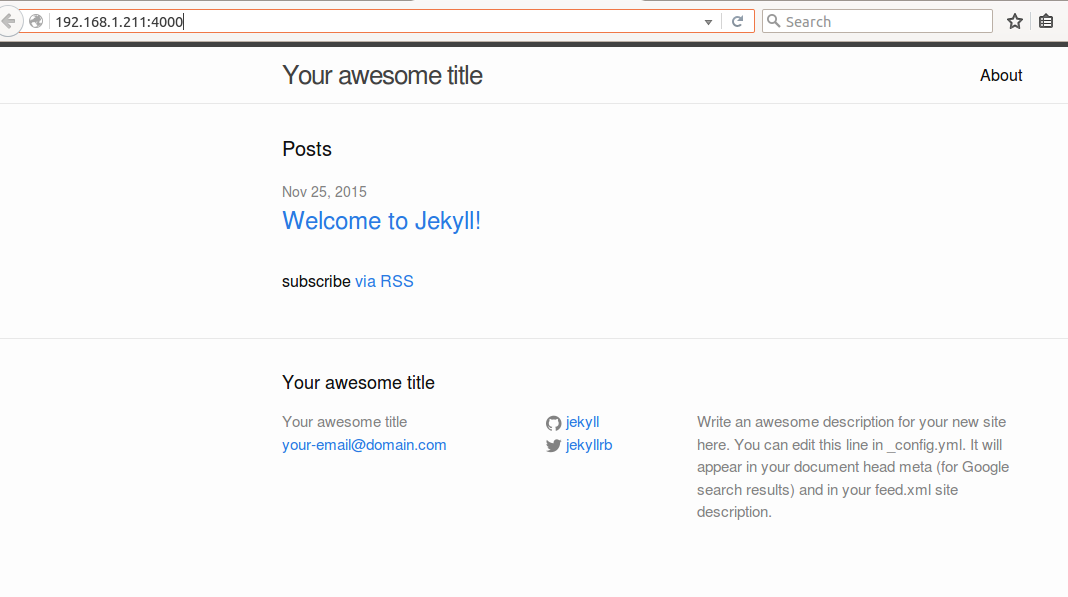
Now Open your browser and type
<ip_addr>:4000
Installation part is done! follow official documentation to learn advanced : http://jekyllrb.com/docs/posts/
Conclusion
Have a look in _config.yml file to define your base url. new blog posts will live under _posts directory. No database is required to build static web pages.


