
What is Zabbix?
Zabbix is an enterprise grade open source monitoring solution for networks. It is written by Alexei Vladishev. It is designed to monitor and track the status of various network services, servers, and other network driven hardwares so that these components can be easily monitored for any sorts of failure. It supports distributed and WEB monitoring with auto-discovery and few more great features.
Zabbix uses MySQL, PostgreSQL, SQLite, Oracle etc to store data as it’s database to keep historical data. Its backend is written in C and the web frontend is written in PHP. In order to provide monitoring services, it uses different protocol like SNMP, TCP and ICMP etc.
Zabbix is released under the terms of GNU General Public License version 2 and it is free.
It has some great features like
- Web monitoring
- Web-based interface
- Distributed monitoring along with centralized web administration
- Auto-discovery of servers and network devices
- Great performance with high capacity to monitor hundreds of thousands of devices
Install Zabbix on openSUSE
Prerequisites
We will need a web server for Zabbix and it is one of the prerequisite to install zabbix on openSUSE 42.1. I will use Apache as web server over here.
To install Apache, issue the following command in the terminal.
sudo zypper -n install apache2
The above command will install Apache into your system as a web server.
To start Apache, issue the below command.
sudo apache2ctl start
or
sudo systemctl start apache2
Zabbix will require a database to store data. So, depending on your choice of database (backend) you should install corresponding Zabbix package for you. Here, I will go for Mysql.
Let’s install Mysql. Issue the following command on a terminal to install Mysql into your server.
sudo zypper install mariadb
We also need to install mysql client. To do so, issue the following command.
zypper install mariadb-client
Start Mysql by issuing the below command in the terminal.
rcmysql start
or
systemctl start mysql
Lastly, we will need PHP. To install PHP on your OpenSuse Leap server, run the following command in the terminal.
sudo zypper install php5 php5-mysql apache2-mod_php5 php5-gettext php5-mbstring php5-gd
We are done installing all of our prerequisites for Zabbix.
Now, its time to install Zabbix. We need to add the repository so that you can install Zabbix by using zypper. Let’s add the Zabbix repository to our server by issuing the following command.
zypper addrepo http://download.opensuse.org/repositories/server:/monitoring/openSUSE_Leap_42.1 server_monitoring
Issue the following command on a terminal to install Zabbix.
sudo zypper install zabbix-server-mysql zabbix-agent zabbix-java-gateway zabbix-phpfrontend
Wait until everything gets downloaded & installed into your system. I hope that you will not encounter any errors over here.
Create MySQL database and user for Zabbix
We need to login to MariaDB / Mysql server by using the following command in order to create a mysql database for Zabbix and a mysql user.
mysql -u root -p
Now, in Mysql server, we need to create a database called “zabbixdb” and a database user called “zabbixuser” for the database “zabbixdb”. Issue the following commands one after another to do so. Make sure you login into mysql first by using mysql -u root -p command.
create database zabbixdb character set utf8;
grant all privileges on zabbixdb.* to ‘zabbixuser’@’localhost’ identified by ‘password’;
flush privileges;
exit
Once, you are done with the above commands, quit from the Mysql console. Now, it is time to copy the DB schemes from /usr/share/doc/packages/zabbix-server/mysql/ directory to the database server.
To do so, issue these following commands one after another in the terminal.
cd /usr/share/doc/packages/zabbix-server/mysql/
mysql -u zabbixuser -p zabbixdb < schema.sql
mysql -u zabbixuser -p zabbixdb < images.sql
mysql -u zabbixuser -p zabbixdb < data.sql
Configuring Zabbix Server
Now, we need to edit and configure the Zabbix server configuration file. Issue the following command in the terminal so that you can use vim to edit the configuration file. I am using vim over here. Use your own favourite file editor.
vim /etc/zabbix/zabbix-server.conf
Simply copy & paste the following 3 lines in the file /etc/zabbix/zabbix-server.conf. Hopefully you can remember that we created this database & user credential earlier in MariaDB / Mysql server.
DBName=zabbixdb
DBUser=zabbixuser
DBPassword=password
Once you are done with the file, save & quit from the file.
Now, lets edit the file /etc/zabbix/zabbix_agentd.conf to start agent monitoring system. Simply uncomment or put the following 3 lines in the file /etc/zabbix/zabbix_agentd.conf.
Server=127.0.0.1
ServerActive=127.0.0.1
Hostname=linux.iftekher.com
For Hostname, please put your own machine’s/server’s hostname. I am using my own hostname over here.
Now, type the following command in the terminal.
vim /etc/apache2/conf.d/zabbix.conf
Now, copy & paste these following lines to the /etc/apache2/conf.d/zabbix.conf file.
<IfDefine ZABBIX>
 Alias /zabbix "/usr/share/zabbix/"

 <Directory "/usr/share/zabbix/">
 Options Indexes MultiViews
 AllowOverride None
 <IfModule mod_authz_core.c>
 # Apache 2.4
 Require all granted
 </IfModule>

<IfModule !mod_authz_core.c>
 # Apache 2.2
 Require all granted
 </IfModule>
 </Directory>

<DirectoryMatch "/usr/share/zabbix/(conf/|include/)>
 <IfModule mod_authz_core.c>
 # Apache 2.4
 Require all granted
 </IfModule>
<IfModule !mod_authz_core.c>
 Require all granted
 Deny from all
 </IfModule>
 </DirectoryMatch>
 </IfDefine>
 <IfDefine !ZABBIX>
 Redirect 403 /zabbix
 </IfDefine>
Save & exit from the file.
Now, enable the Apache PHP5 module by issuing the following command in the terminal.
a2enmod php5
Enable the Zabbix front-end website by setting the ‘ZABBIX’ flag in Apache.
a2enflag ZABBIX
We are almost there. Now, we need to edit this file /usr/share/zabbix/conf/zabbix.conf.php.
Issue the following command in your terminal.
vim /usr/share/zabbix/conf/zabbix.conf.php
Copy and paste the following code in the file /usr/share/zabbix/conf/zabbix.conf.php.
<?php
// Zabbix GUI configuration file
global $DB;
$DB["TYPE"] = 'MYSQL';
$DB["SERVER"] = 'localhost';
$DB["PORT"] = '0';
$DB["DATABASE"] = 'zabbixdb';
$DB["USER"] = 'zabbixuser';
$DB["PASSWORD"] = 'password';
// SCHEMA is relevant only for IBM_DB2 database
$DB["SCHEMA"] = '';
$ZBX_SERVER = 'localhost';
$ZBX_SERVER_PORT = '10051';
$ZBX_SERVER_NAME = '';
$IMAGE_FORMAT_DEFAULT = IMAGE_FORMAT_PNG;
?>
Save & exit from the file.
Just a note, make sure your iptables / firewall is not blocking port 10051. If you have any active firewall, please allow the port 10051 to the firewall.
Now, restart all the services one by one and one after another.
systemctl restart apache2
systemctl restart mysql
systemctl restart zabbix-server
systemctl restart zabbix-agentd
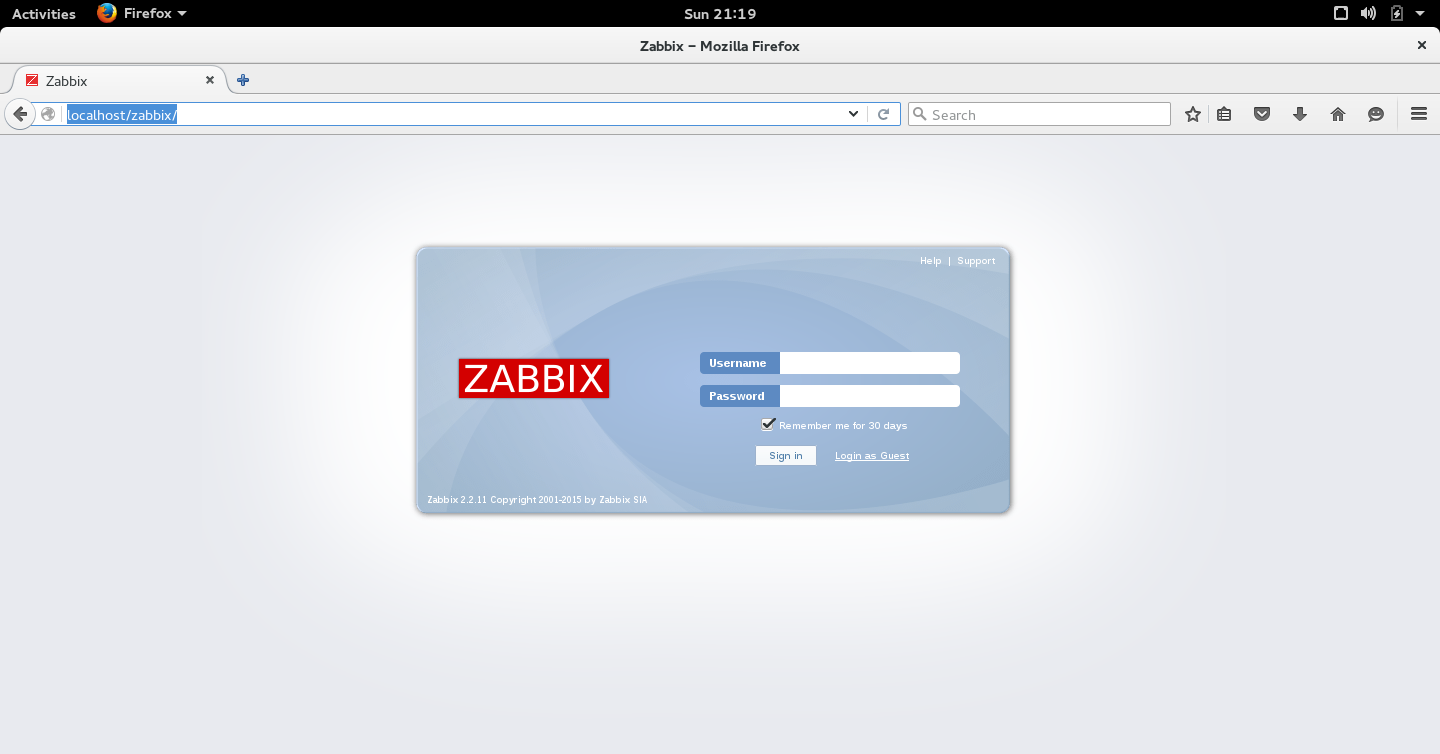
If you don’t encounter any error while restarting above 4 services, then we are done. Open your web browser on your server and type the following in the address bar of the web browser.
http://localhost/zabbix/
You will see something like this.
For further more reading regarding Zabbiz, please visit Zabbix documentation page.
That’s all for today. Thank you.


