
Openfire is a powerful instant messaging (IM) and chat server that implements the XMPP protocol written in Java. It is previously known as Wildfire and Jive Messenger.
In this article, let us see how to setup a Instant Messaging Server using Openfire in CentOS/RHEL based platforms. Openfire is very easy to install and administer through a cool web interface.
Getting Openfire
Download the latest version of Openfire here. I prefer the RPM file. Because it contains Java application which is necessary for Openfire. Or you can install Java using the following command:
# yum install java-1.7.0-openjdk -y
Install Openfire:
# rpm -ivh openfire-3.8.2-1.i386.rpm
Now start the openfire service and let it to start automatically on every reboot:
# service openfire start
# chkconfig openfire on
Add the Openfire administrative ports 9090 (http) and 9091 (https) in your firewall/router to access Openfire from anywhere:
# vi /etc/sysconfig/iptables
[...]
-A INPUT -p tcp -m state --state NEW --dport 9090 -j ACCEPT
-A INPUT -p tcp -m state --state NEW --dport 9091 -j ACCEPT
[...]
Restart iptables using the following command:
# service iptables restart
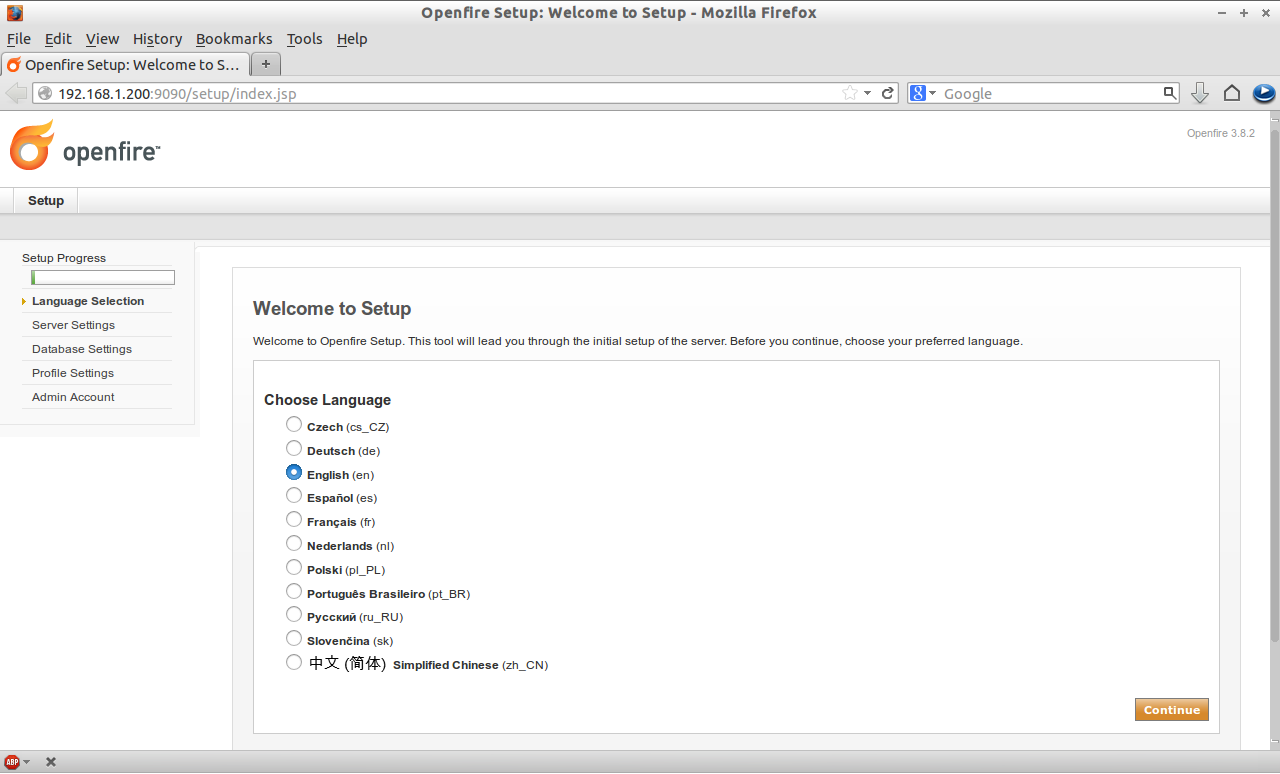
Now navigate to http://ip-address:9090 from your browser. You should see the following screen. Select your preferred language and press Continue.
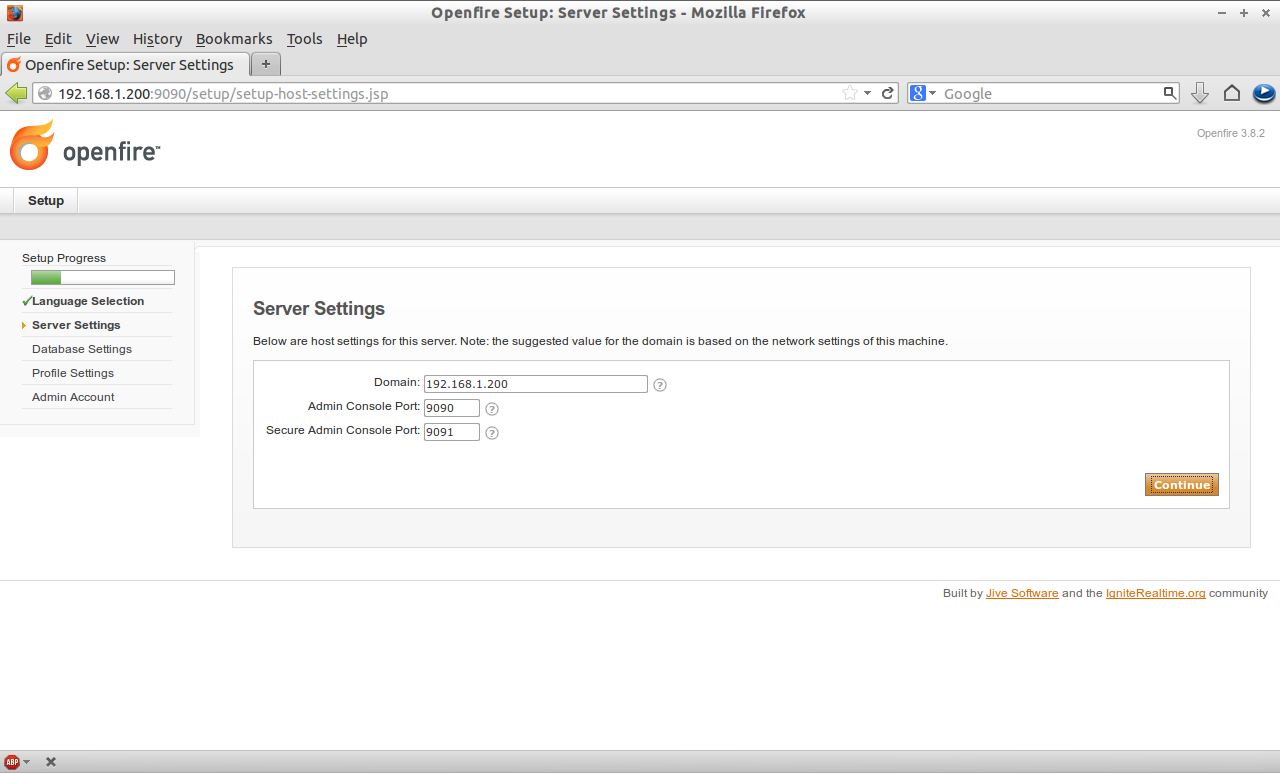
 Enter your server hostname or IP address and press Continue.
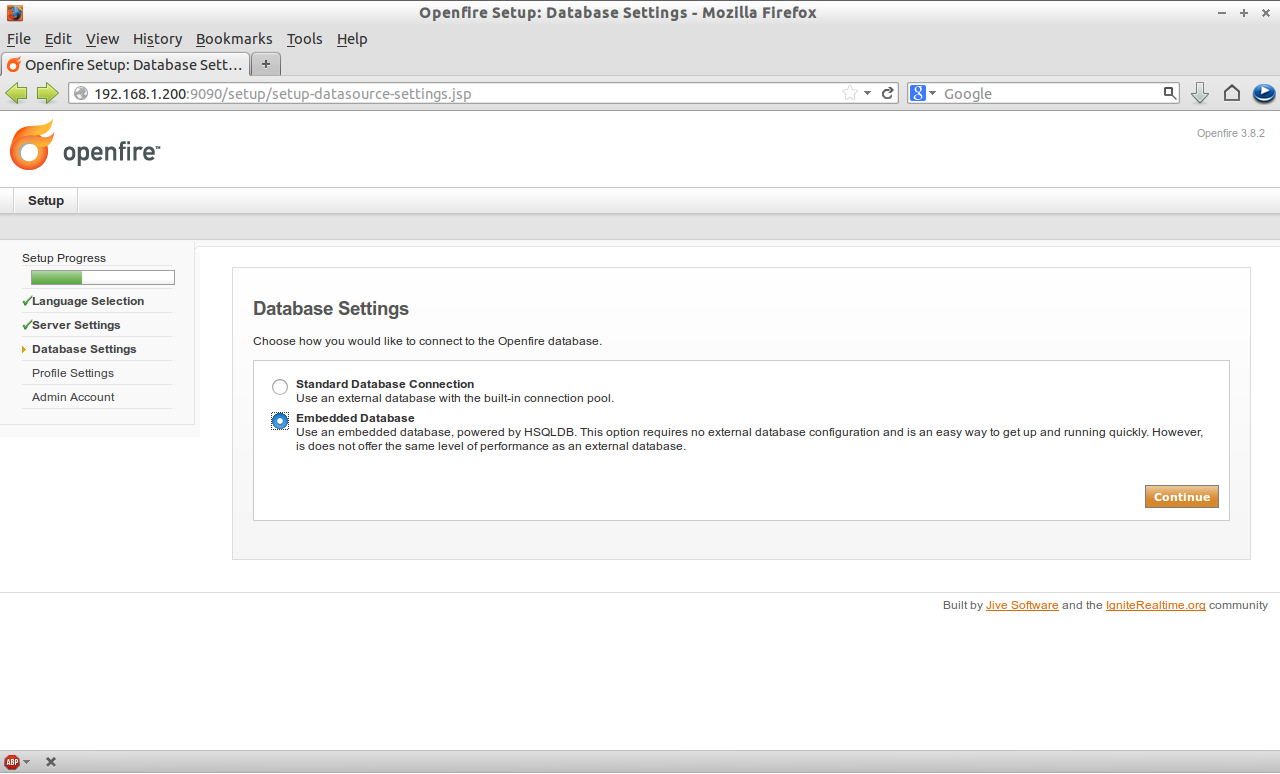
 Now you will be asked to select the database settings. Openfire offers an embedded database powered by HSQLDB. Or you can select external databases like MySQL and Oracle etc. To install and configure external databases click on this link. Here, I select Embedded Database Connection.
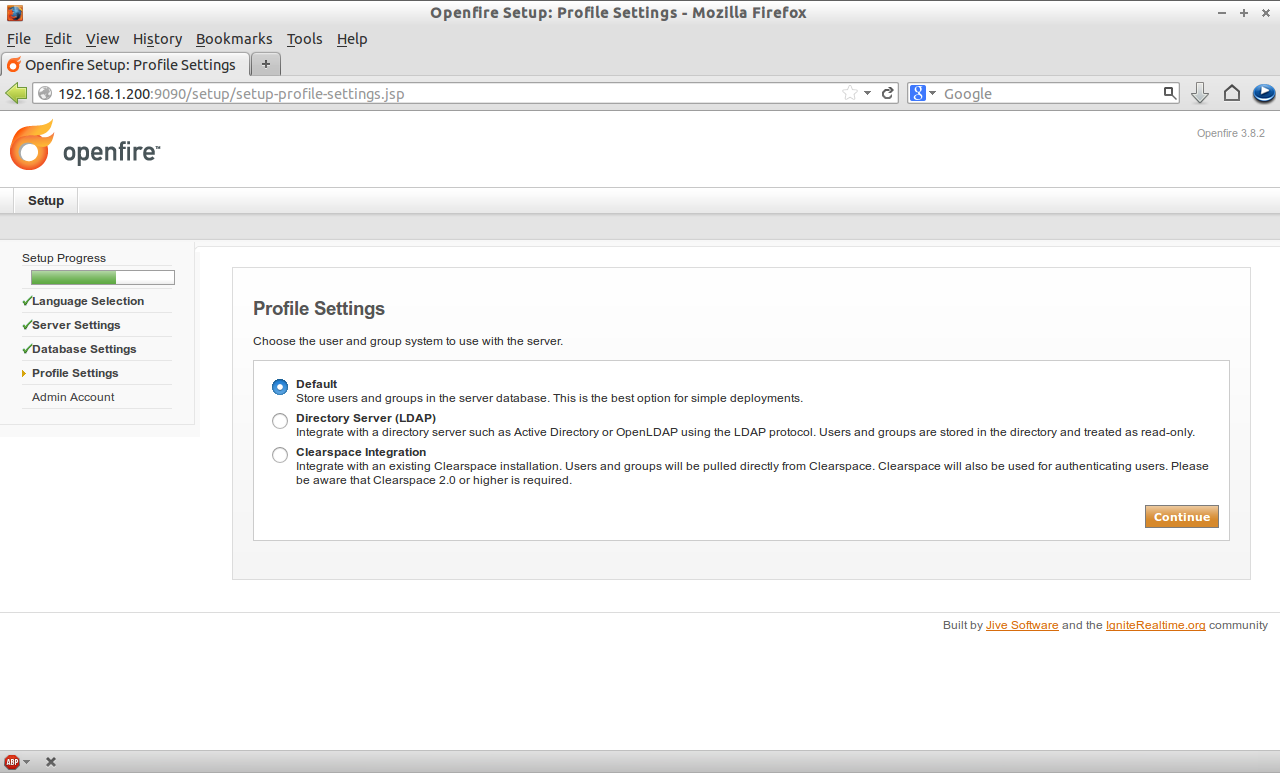
 Now choose your profile settings and press Continue. Or you can import the users from LDAP server.
 Now the installer will ask you to set the administrator password. Setup your account password. It will ask the current password. If it is new installation, the default password will be admin. I don’t want to change admin password. So here I skip this step to use the default password.
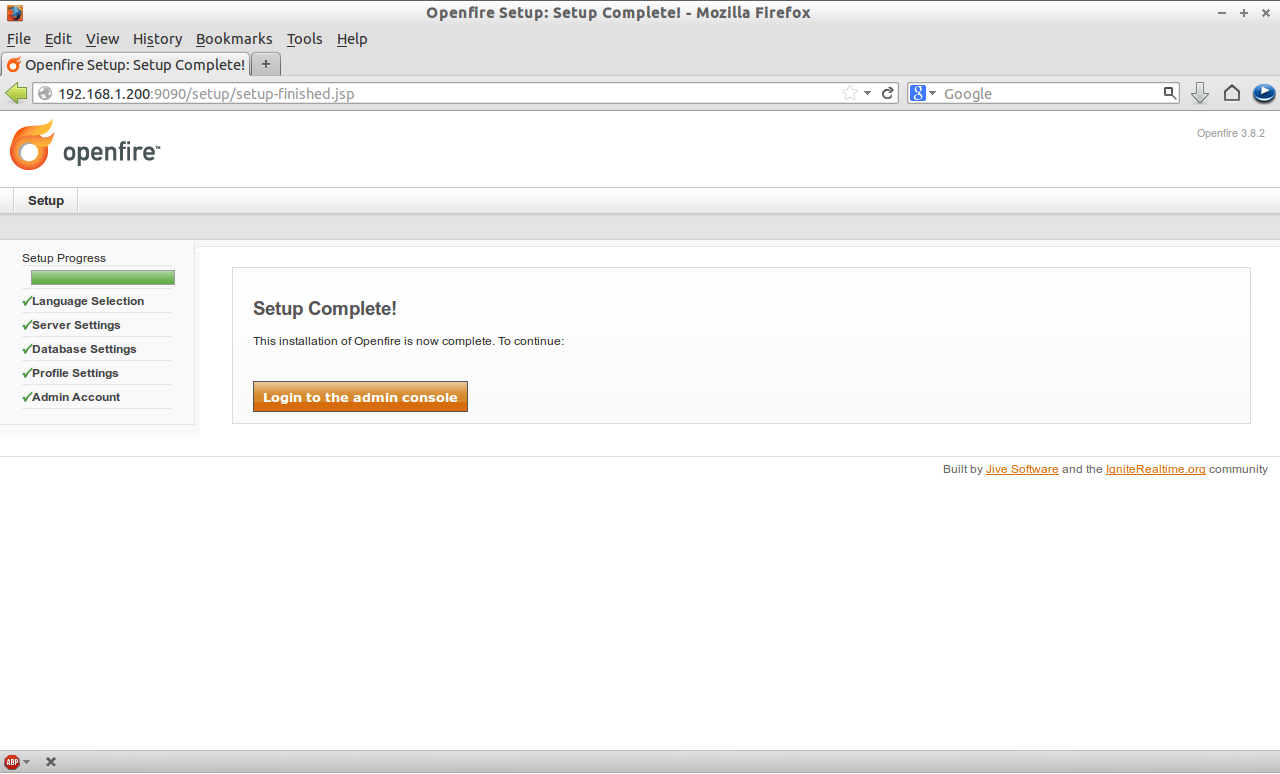 Openfire installation is completed now. Restart the openfire service now. It is important. Otherwise you can’t login to administrative console:
# service openfire restart
Click on Login to Admin Console to enter into Openfire administrative console. Enter username and password. Both are admin.
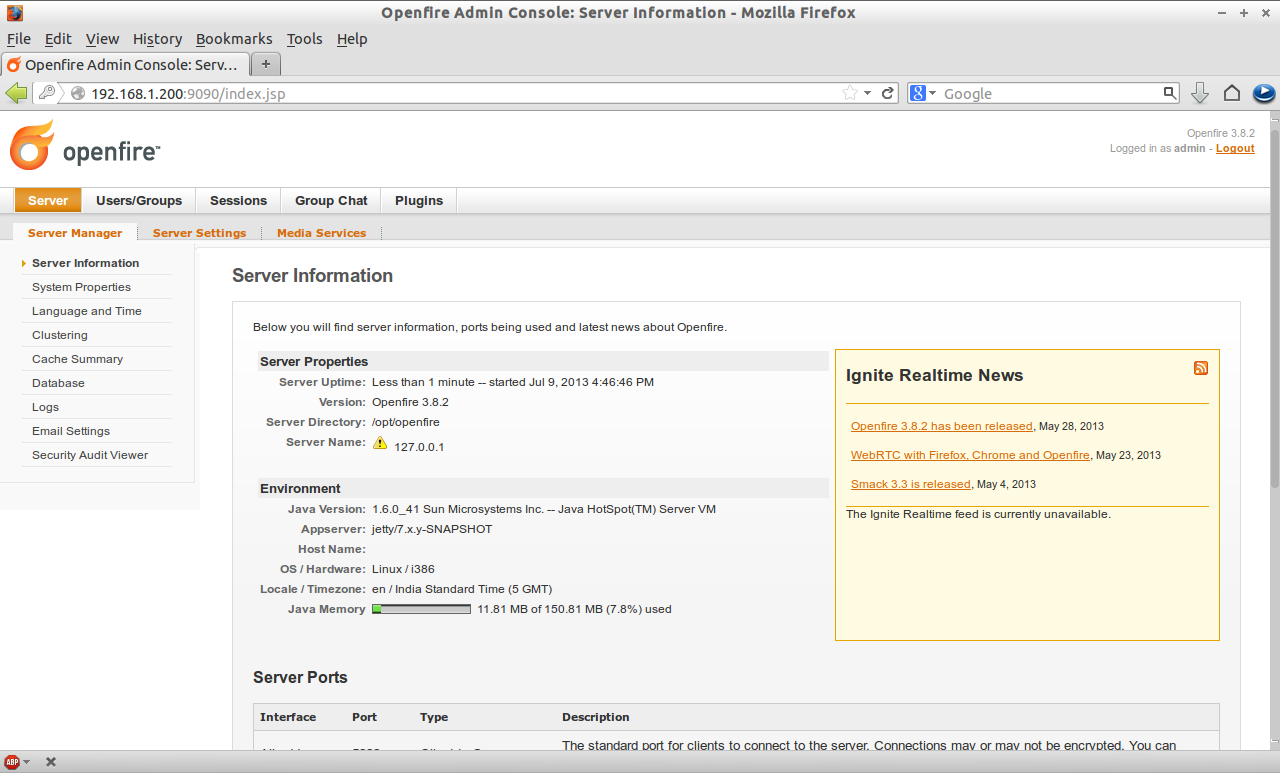
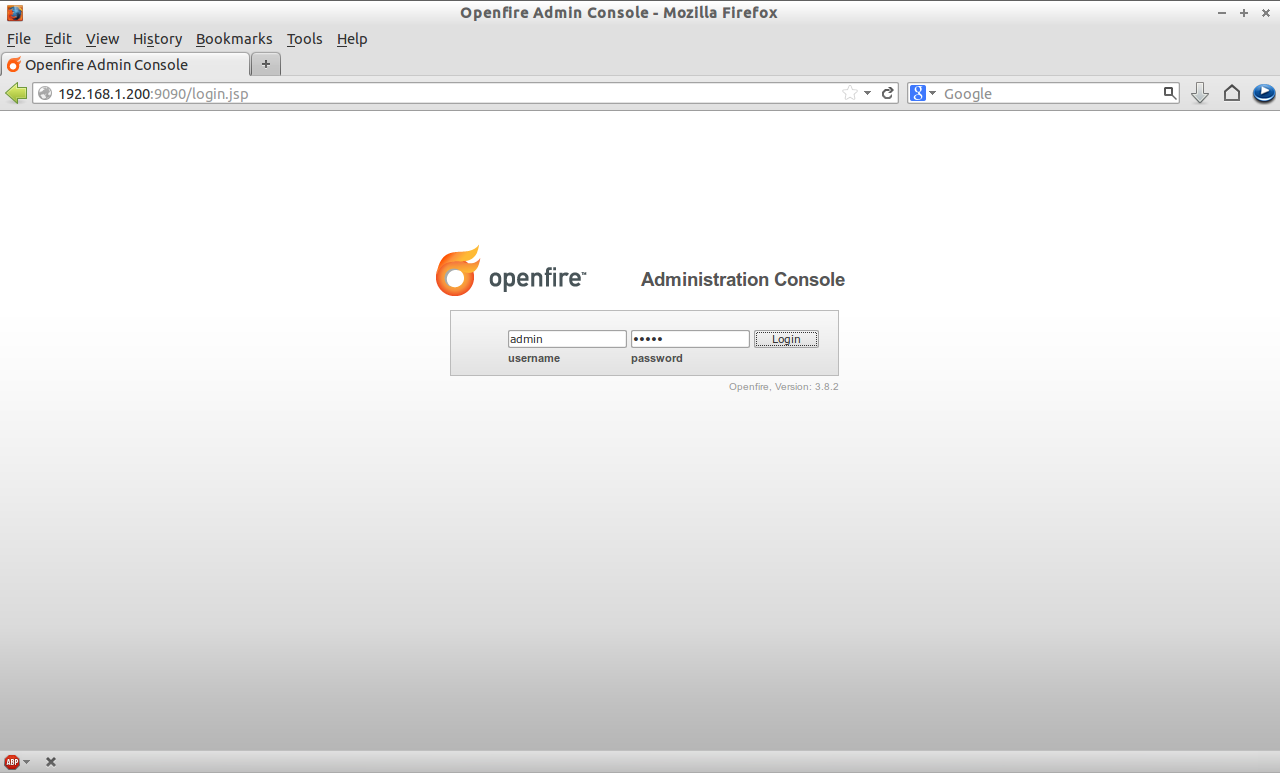 You will be able to login to the administrative console.
 Update Administrative password
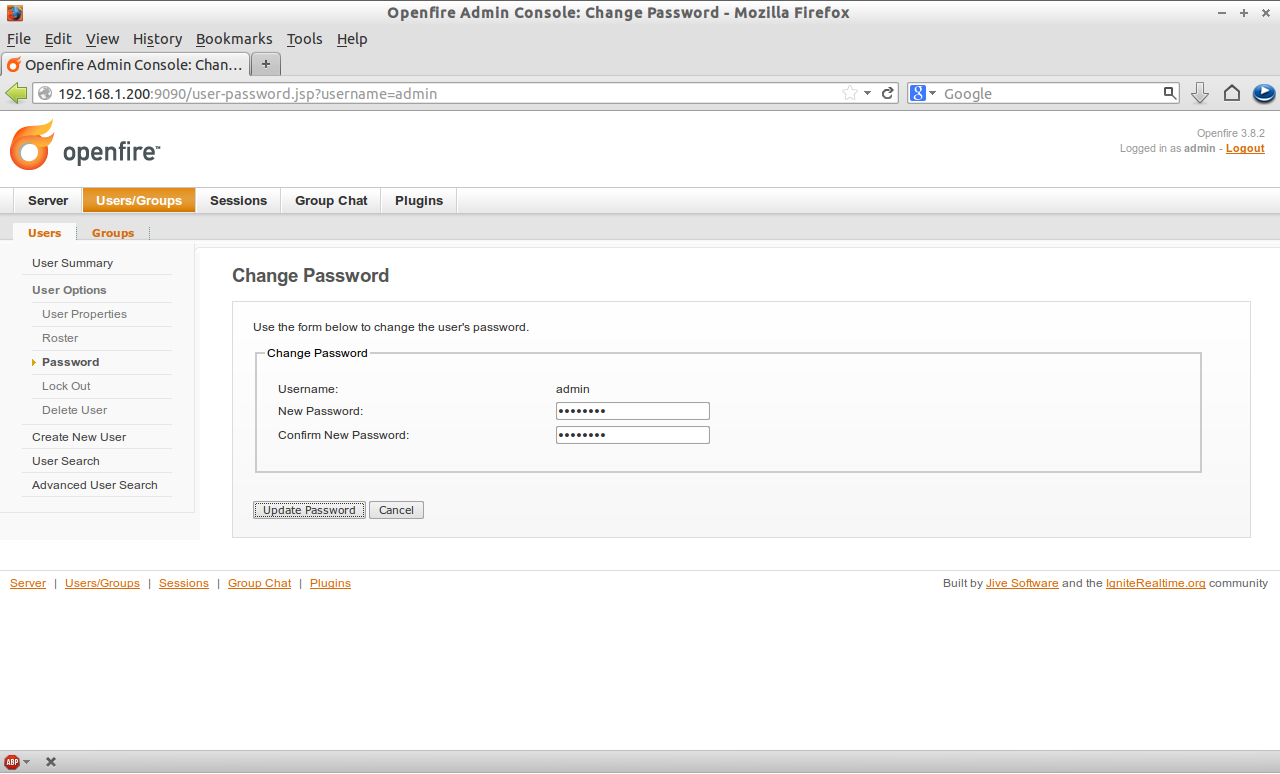
Now change the administrator user password. To do that, Go to Users/Groups tab. Click on the administrative user. Click on Password tab in the left pane and enter the new password twice.
 Create Users
Go to Users/Groups section. Select Users tab. Click on Create a new user link and enter the username and password for the new user. Click on Create.
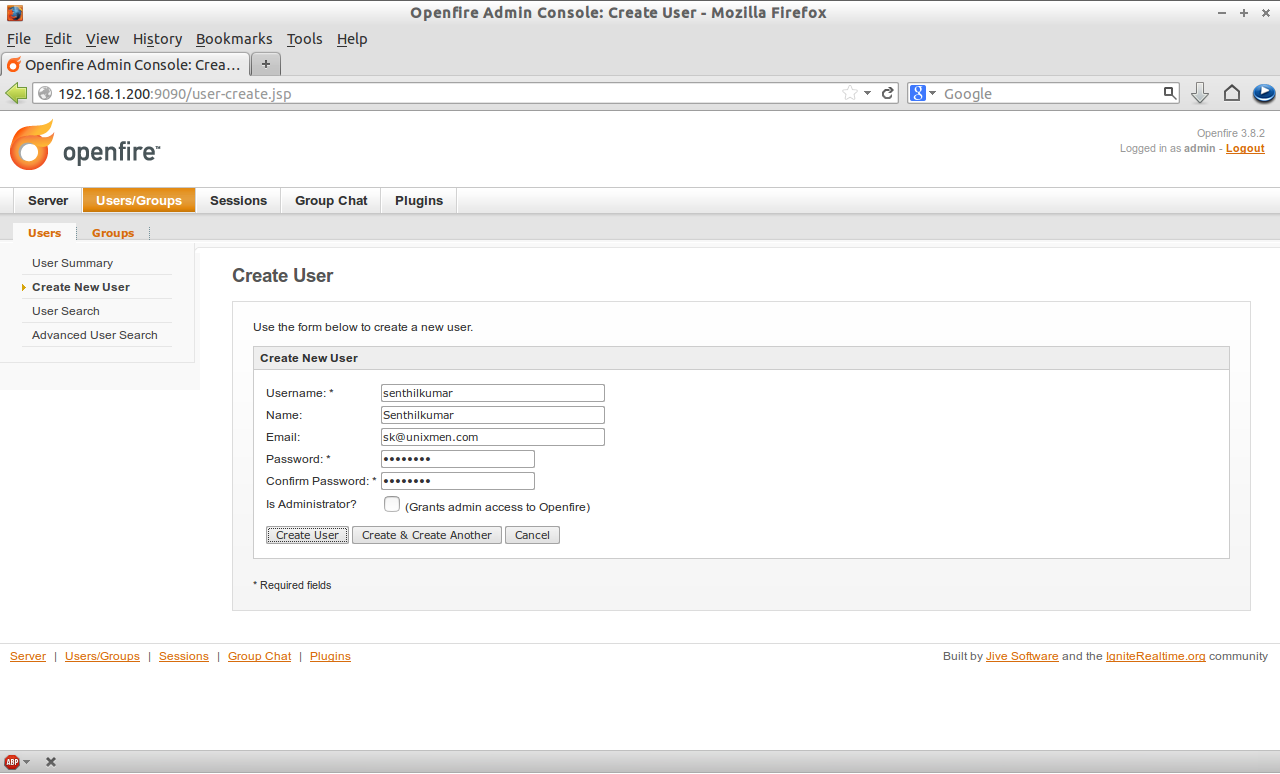 By this way, you can create as many users as you like.
Connecting to Openfire
Download the Openfire client Spark from here. Install it in your client systems. Open Spark and register for the new user. Alternatively you can use Pidgin Messenger that comes with pre-installed on all distributions.
Open Pidgin Messenger from your client systems. Go to Accounts -> Manage Accounts -> Add. A new window will open now. Select XMPP in the Protocol drop-down list. Enter the Openfire user name, password and domain name which you have created in the administrative console.

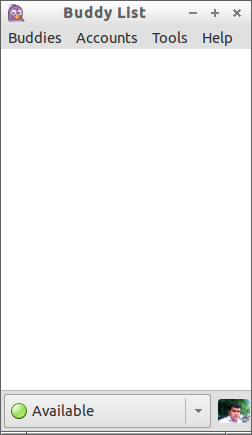 That’s it. Start chatting with your friends!


