
What is Xibo?
Xibo is a great content management system that can be used for Digital Signage which is a form of electronic display used to show messages to the public mainly in the advertisement industry. It is free of charge and this tutorial will help you to learn how to install it on an Ubuntu machine.
According to the official page Xibo includes the followings:
- Content Management System (CMS);
- Windows Display Client;
- Ubuntu Display Client;
- Ubuntu Off-line Download Client;
- Android Display Client (Commercial Software*);
- With Xibo the content is designed from anywhere using a web browser on the internet accessible CMS, scheduled to your Display clients and then downloaded automatically when appropriate. This manual will guide you through the application from installation to troubleshooting, from the CMS to the display clients;
- Commercial software provided by the project sponsors.
Download And Install Requirements
Since Xibo is a web application built in php programming language we need to use the following command in order to install PHP5, Apache2, MYSQL server and the following php plugins:
- PHP5 GD plugin
- PHP5 MySQL plugin
- PHP5 crypt plugin
Open a new terminal on your Ubuntu operating system (CTRL+ALT+T) machine and run the apt-get update command to update the official repositories like shown below.
sudo apt-get update
Then use the following command to install all the requirements in order to run the Xibo CMS on Ubuntu.
sudo apt-get install apache2 mysql-server php5 php5-gd php5-mysql php5-mcrypt
Once the installation of the required packages is finished it is time to download and configure the latest Xibo application on your machine.
Download And Install Xibo On Ubuntu
The wget utility is very useful when it comes to downloading software from the commandline. I use it alot during development work and even when I test new software.
Use the wget utility like shown below.
wget https://github.com/xibosignage/xibo-cms/archive/1.7.1.tar.gz -O xibo-server.tar.gz
Then extract it using the tar utility. The option v is used to indicate verbose mode which is very helpful if you want to see the output of the command displayed on your terminal.
tar xvzf xibo-server.tar.gz
Then run the following commands.
sudo mv xibo-server-142 /var/www/xibo-server
sudo chown www-data:www-data -R /var/www/xibo-server
Once you have finished create a directory for the storage of the media files you will use on Xibo. The following commands will help you do to that.
sudo mkdir /media/xibo-library
sudo chown www-data:www-data -R /media/xibo-library
Web Installation
Restart the webserver with the following command and visit the address http://127.0.0.1/xibo-server in a new tab on your favorite web browser.
sudo /etc/init.d/apache2 restart
Once you visit the url in your web browser it will look like the following.
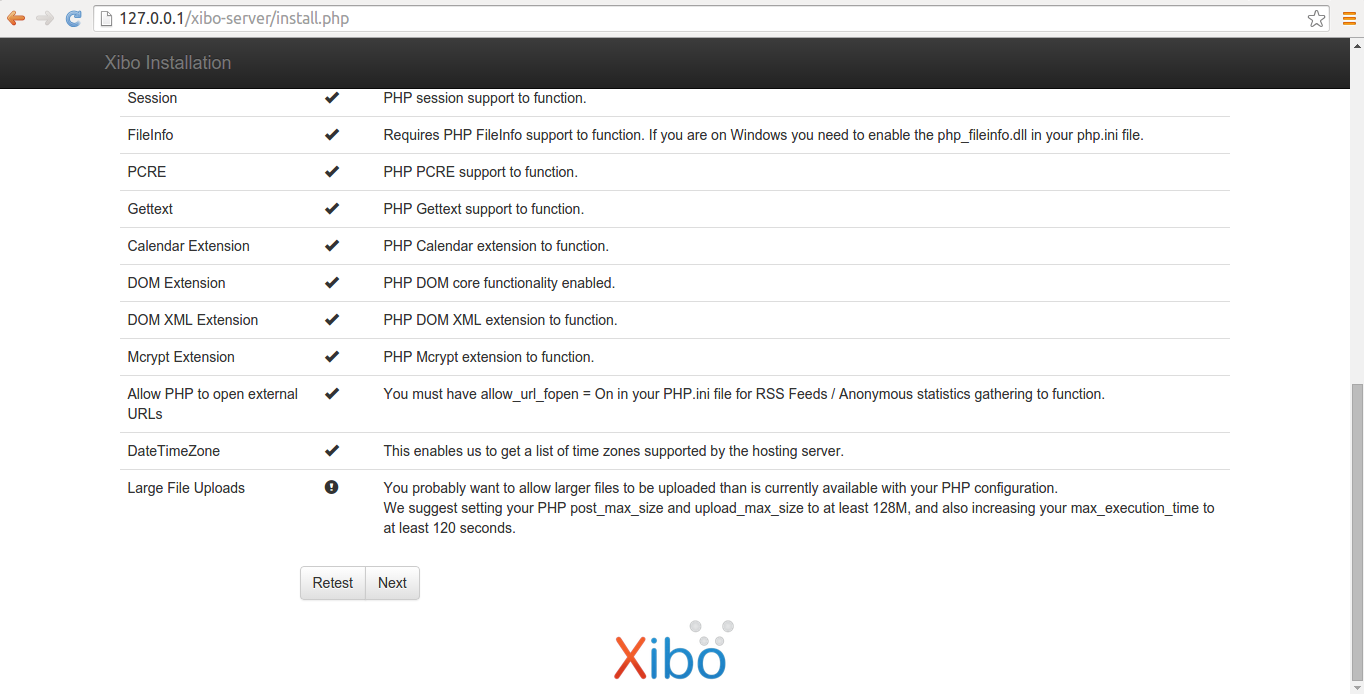
Click next to continue. There are six steps we need to follow in order to complete the installation of Xibo on your system.
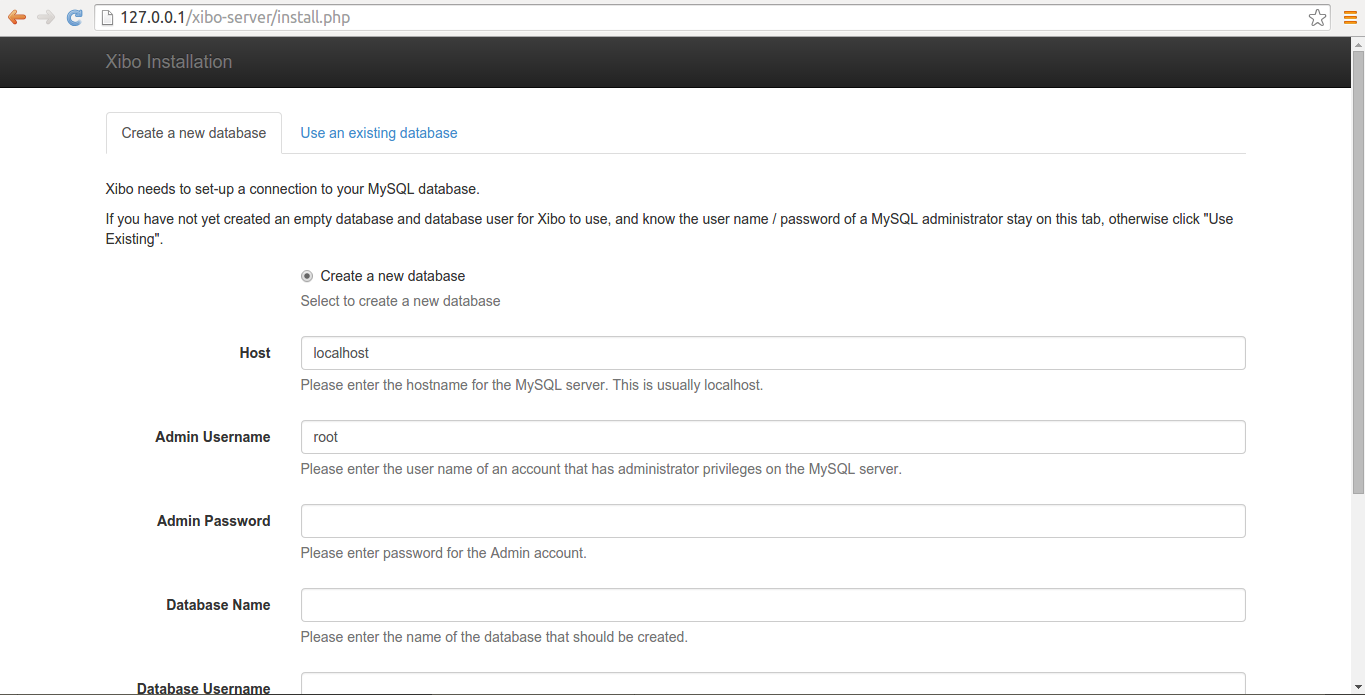
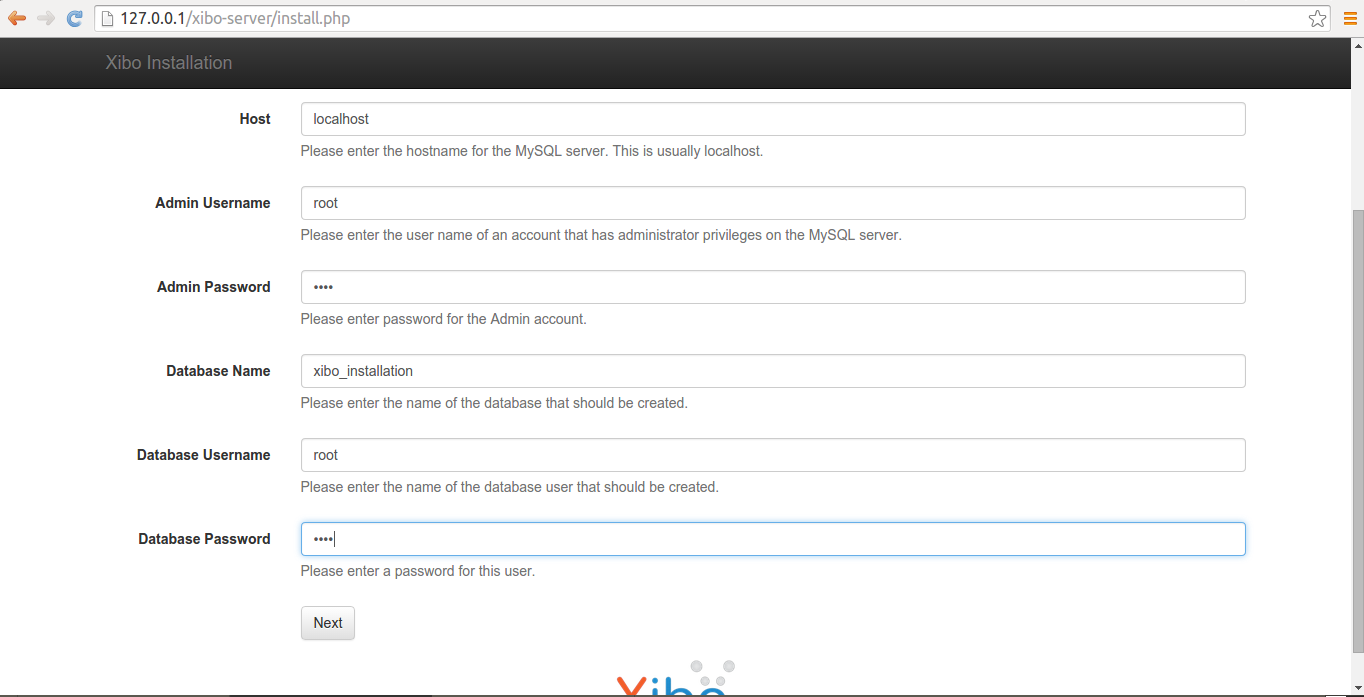
As you can clearly see from the above screenshot Xibo needs to use a connection to your MySQL database. I am going to create a new empety database and will let Xibo do it for me. I suggest you do the same. Leave host as localhost, create an admin password, database name, database username and click on next again.
You will se the following displayed on your screen.
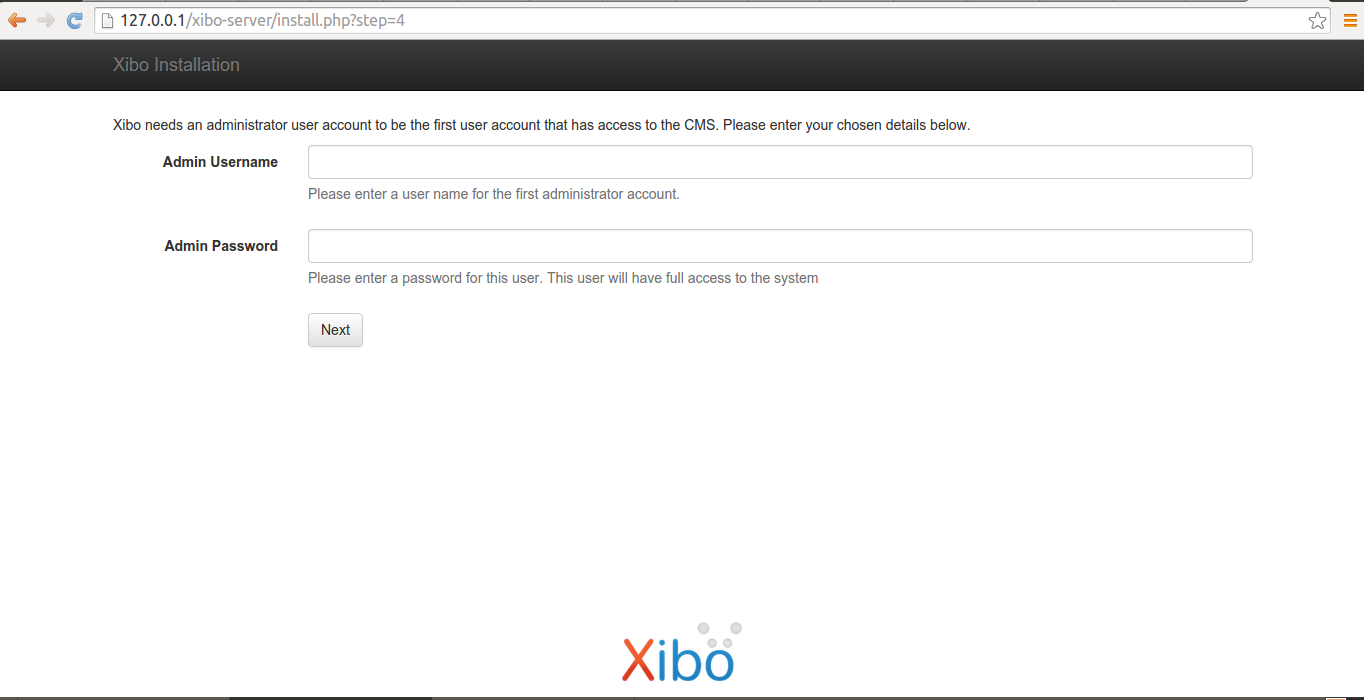
The above will help you to create the administrator account will gain access to the CMS. Mine are the followings. Make sure you use a strong password and an original username.
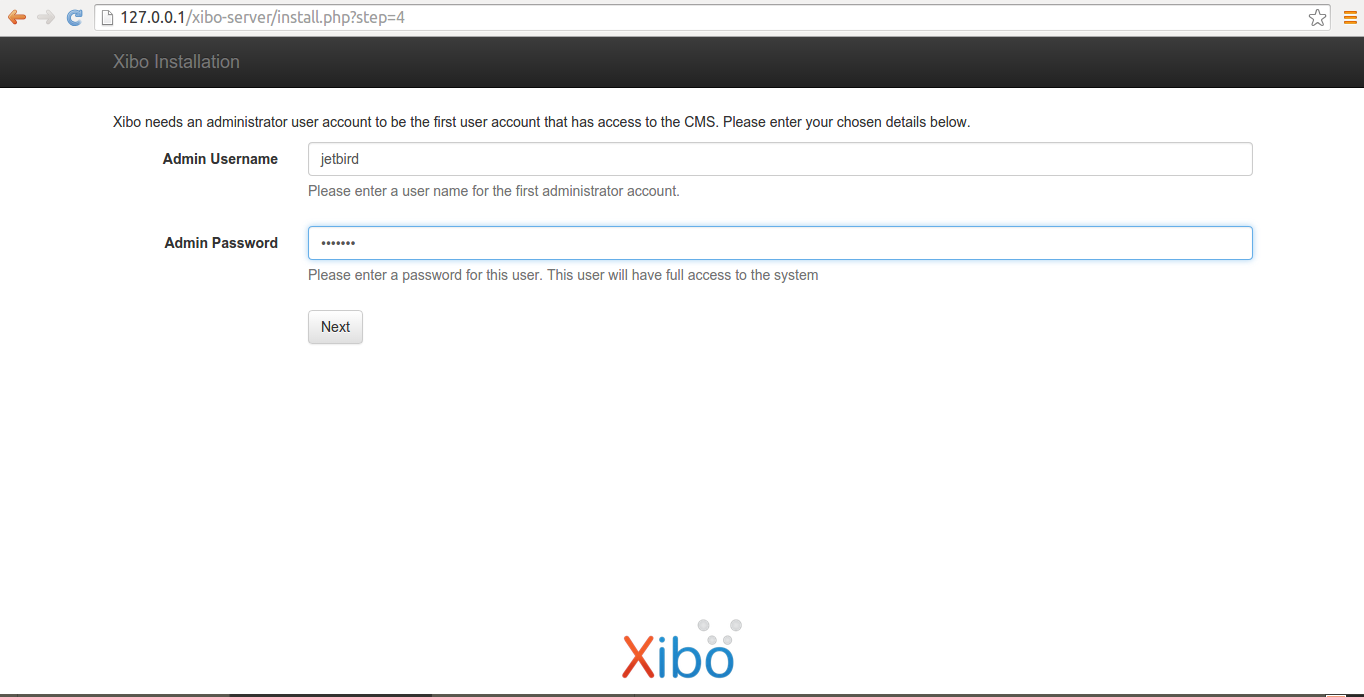
Click on next again so you can continue with the next step.
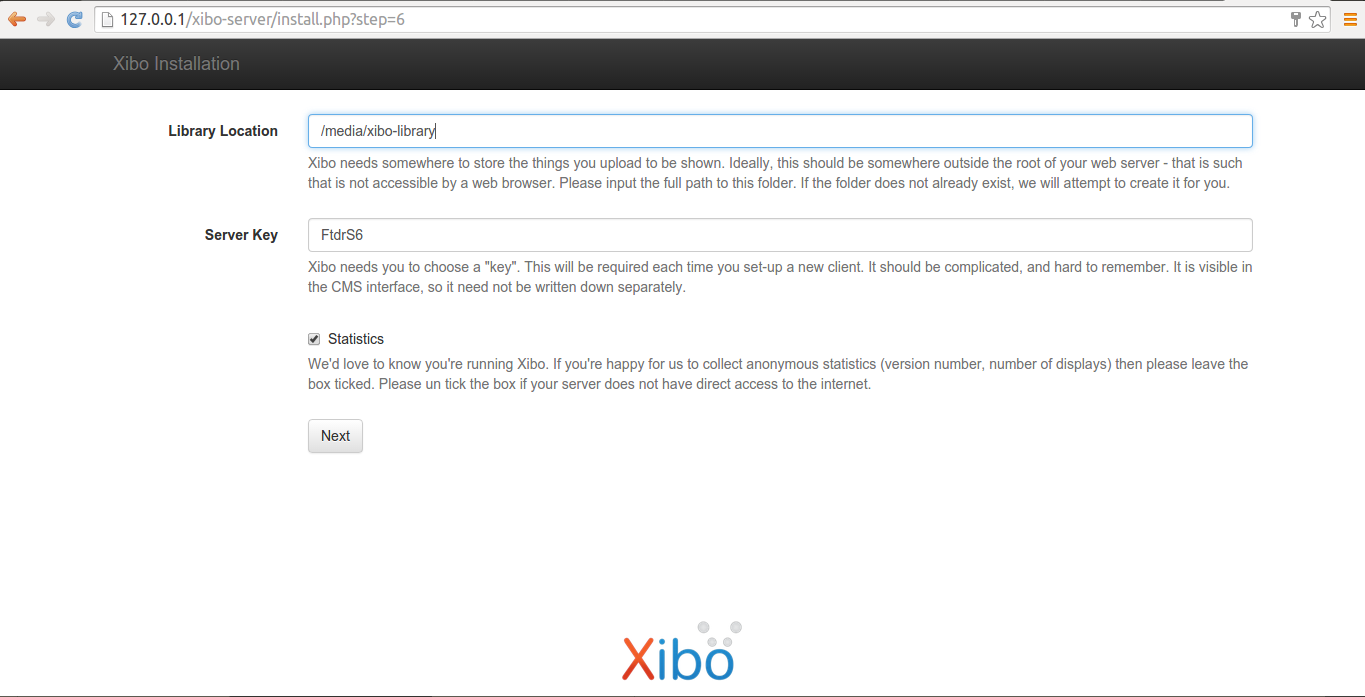
The Library Location is the place where things you upload will be stored. Put the full path location of the folder we created for the media files. It should be /media/xibo-library.
Then click on next.
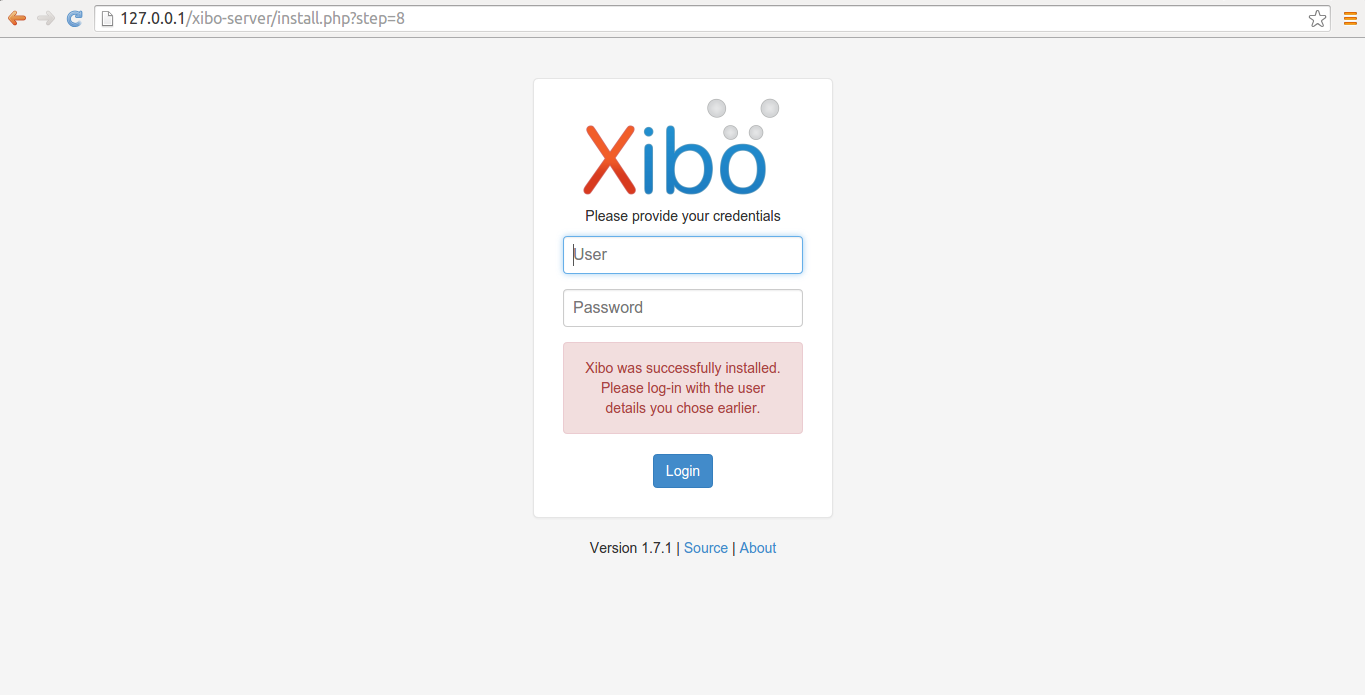
Xibo is finally installed on your machine. Use the login credentials you created and login.
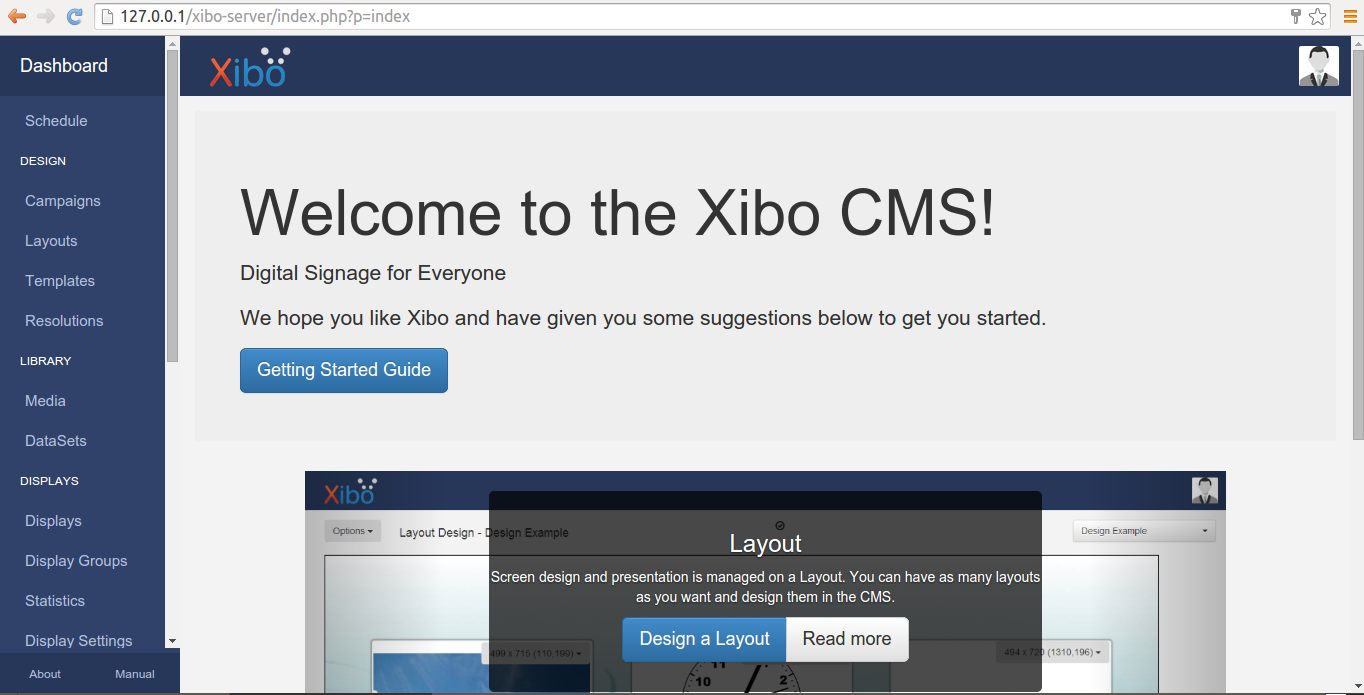
Done!


