EyeOS is just like an online operating system, it is based on cloud computing concept and offers an online desktop based system for collaboration and communication among users. It lets you access a desktop environment from within your browser. It is a feature rich application, you can access your web desktop from your tablet, smartphone, laptop or your office computer, you can collaborate with other members of your team and can create groups for better communication. It is developed in PHP, XML and Javascript. In this article, we will show you how this web desktop can be installed on ubuntu.
Installing EyeOS
Before proceeding with EyeOS installation, please note that it requires following three software apps to be installed.
1. Apache web server
2.PHP
3.MySQL Sever
Installing Pre-requisites
In order to install all of the above mentioned pre-requisites, we will install LAMP Stack on our ubuntu operating system, it will take care of all required dependencies. Launch your terminal and run following command to install LAMP.
[cc]sudo apt-get install lamp-server^[/cc]
During the install process, it will open a pop up for MYSQL root password, specify whatever root password you want to set for your mysql installation, note down the password you set, as it will be used later when installing EyeOS.
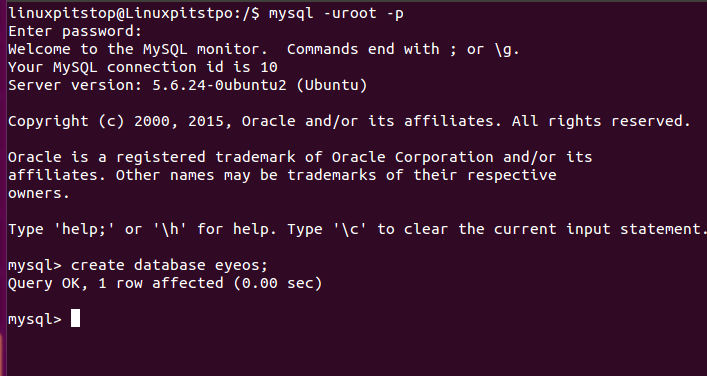
First of all, lets create a mysql database for eyeos, Login mysql on your system by running following command and providing mysql root password when prompted.
[cc]mysql –uroot –p[/cc]
Once logged into mysql, run following command to create database:
[cc]create database eyeos;[/cc]
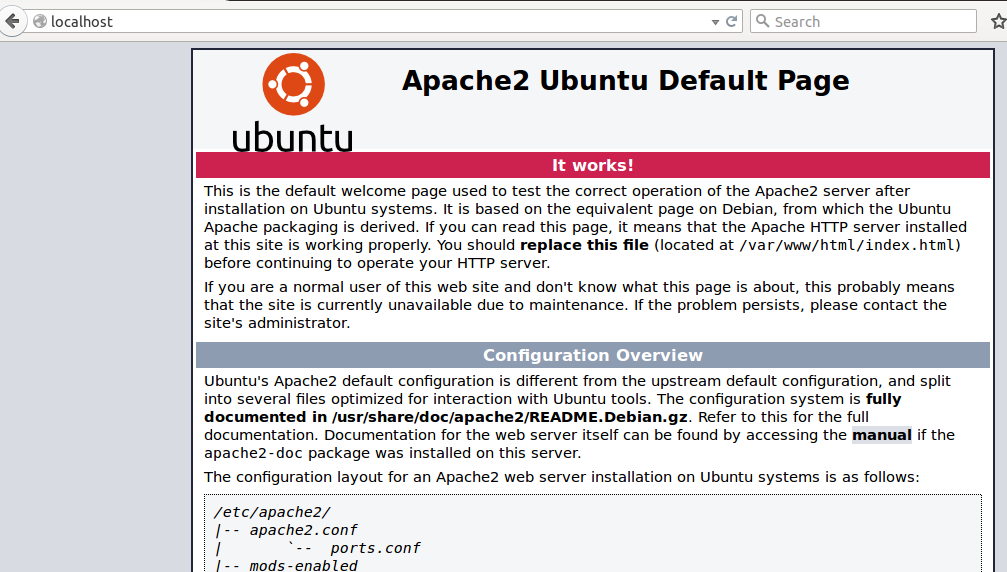
As soon as the installation for LAMP stack is complete, run following command on your terminal to start Apache web server.
[cc]sudo /etc/init.d/apache2 start[/cc]
Now verify that Apache is working fine on your system by browsing http://localhost, it should load Apache status page as shown in the following screenshot.
Important Note: By default, the document root for fresh apache install is /var/www/html. You need to place your scripts in this directory for apache to serve them successfully.
Now go into Apache’s default document root location by running the following command:
[cc]cd /var/www/html/[/cc]
Download the compressed file for EyeOS installer here by running the following command:
[cc]sudo wget http://liquidtelecom.dl.sourceforge.net/project/eyeos25opensour/eyeos-2.5.rar[/cc]
Once download process has been complete, run following command to extract this downloaded file.
[cc]sudo unrar x eyeos-2.5.rar[/cc]
Now rename the extracted directory to something more meaningful.
[cc]sudo mv eyeos-2.5 eyeOS[/cc]
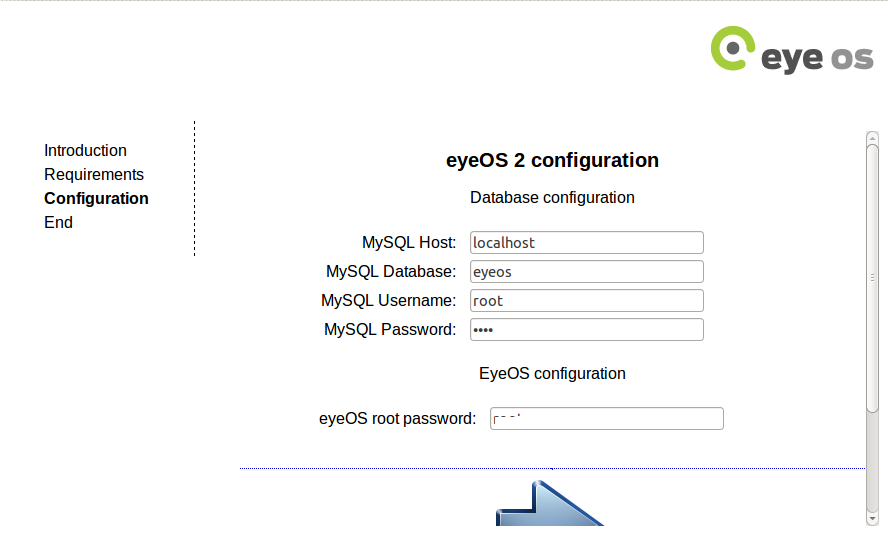
Now launch your browser and load http://localhost/eyeOS/install to initiate the installation process for eyeOS. Here is the very first screen you should see when launching this URL:

From here, choose “Install EyeOS 2 on my server” as shown encircled in the above screenshot.
On next step, specify your mysql root password for your eyeos new install. Once done, hit -> button to proceed further.
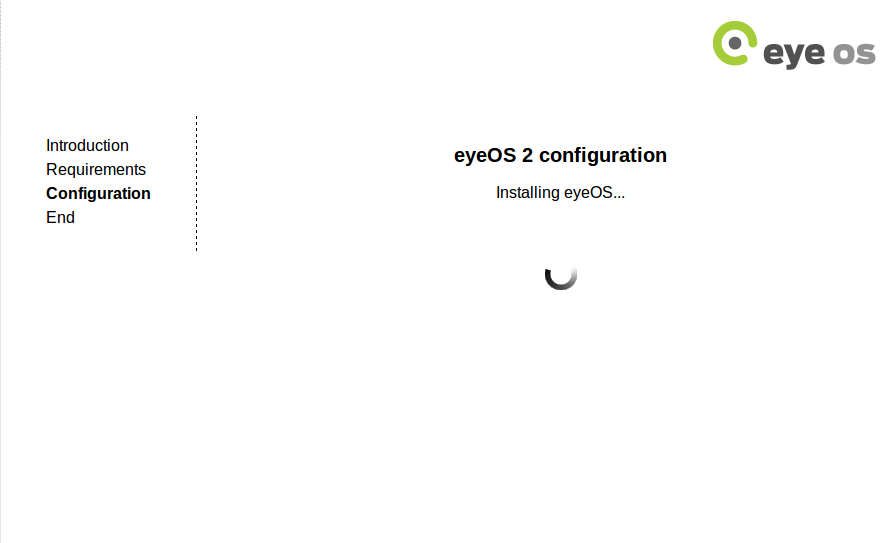
That’s all, eyeos installation will start, it should hardly take a min.
Congratulations, EyeOS has been installed now.
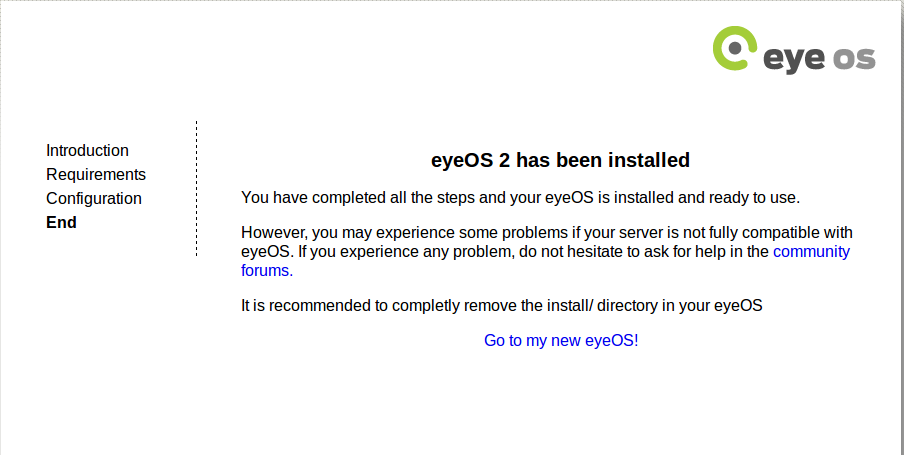
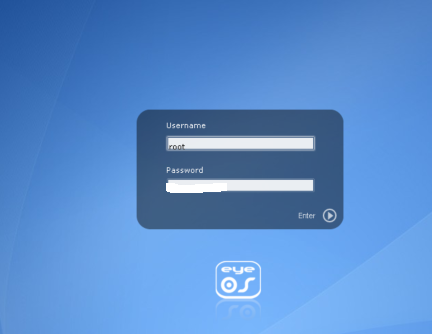
Click “Go to my new eyeOS” option and it should take you straight to the login page, Login with root username and password you set earlier in the installation process.
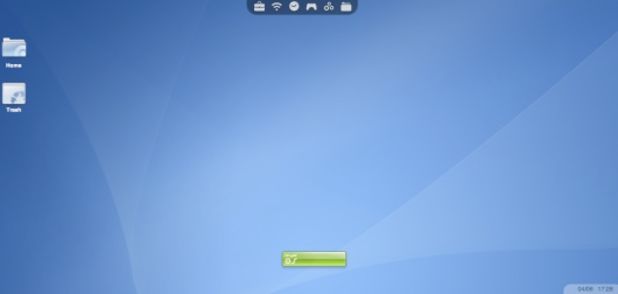
There you go, your Web Desktop is available to use now 🙂
Conclusion
EyeOS is lightweight, easy to install, user friendly web desktop which fully utilizes the concept of cloud computing. Hope you find this article useful, do let us know in comments 🙂


