
Virtualbox is a very simple & powerful virtualization tool that is used to create & manage Virtual Machines [VMs]. Most of my friends & colleagues ask me what the best way to learn Linux is. I always suggest them to get Virtualbox installed on their systems either running Windows or Mac & download the ISO image of a Linux flavor & install it using Virtualbox. We do not need to change any hardware for that, no affect on current operating system & a very huge RAM or CPU upgrade won’t be required as well because with very light specifications, Virtualbox is able to manage multiple VMs.
Installation on Windows
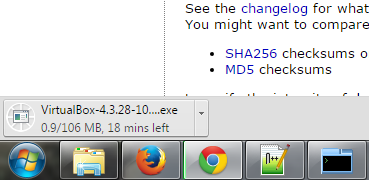
It’s installation on Windows is pretty simple, we need to download the executable file & run it, would be an easy install.
Installation on Ubuntu
There are 2 ways to install Virtualbox on a Ubuntu Machine:
1. Just execute the following command and it will be an auto-install
[cc]sudo apt-get install virtualbox[/cc]

Click y to proceed to the installation.
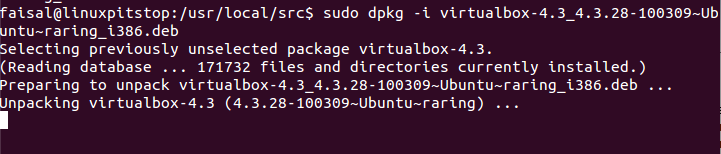
2. In order to install manually, please download the suitable package for your Linux distro
[cc]sudo wget http://dlc-cdn.sun.com/virtualbox/4.3.28/virtualbox-4.3_4.3.28-100309~Ubuntu~raring_i386.deb[/cc]
3. Once downloaded, install it with the following command
[cc]sudo dpkg -i virtualbox-4.3_4.3.28-100309-Ubuntu-raring_i386.deb[/cc]
The Virtualbox is installed 🙂
Creating a Virtual Machine
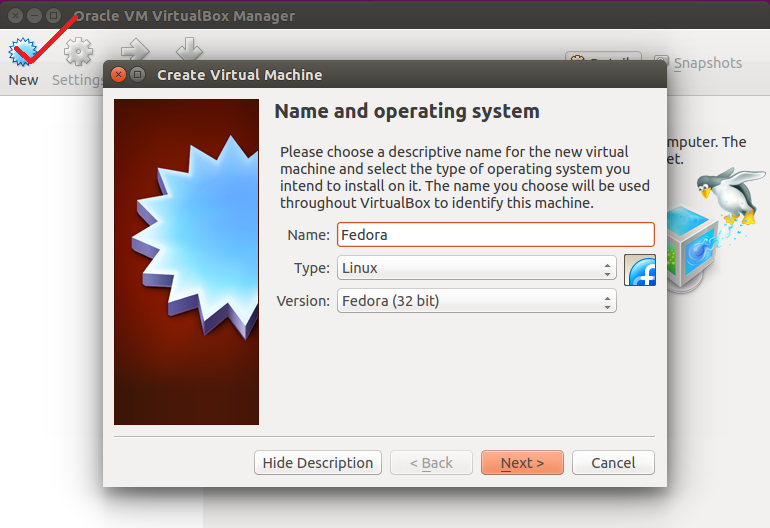
1. Open the Virtualbox & click on New to create a new VM, give name of your choice, select Linux & version as 32 bit or 64 bit depending upon your system architecture
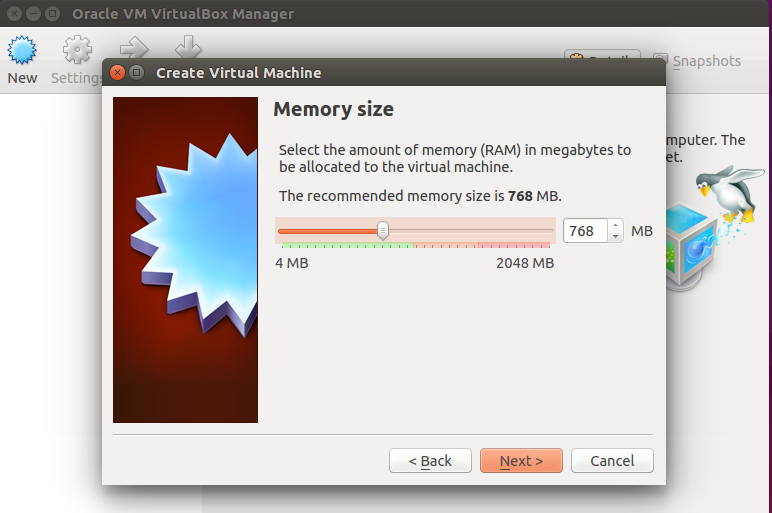
2. Give RAM Memory to the VM
3. And hard disk space on the next step, I have given 8.00 GB too here as recommended
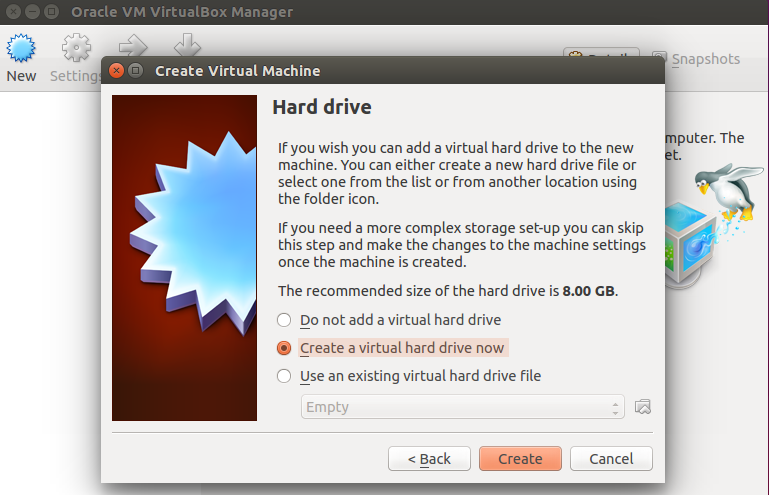
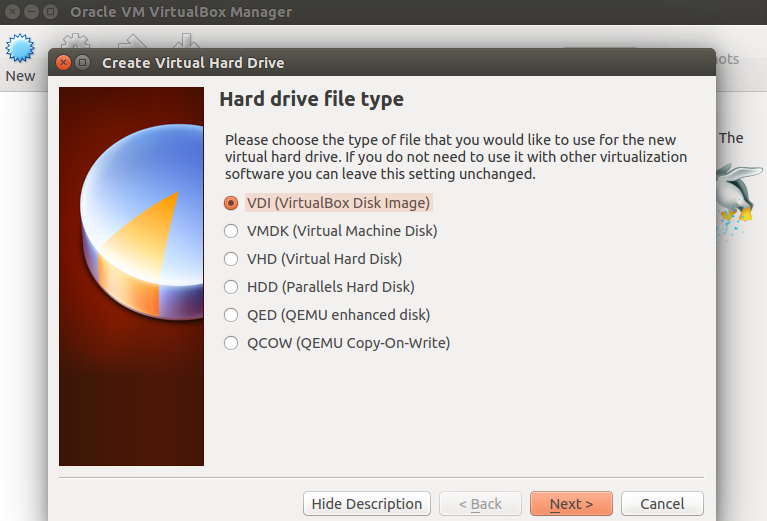
4. Select the default VDI type for the hard disk and click Next
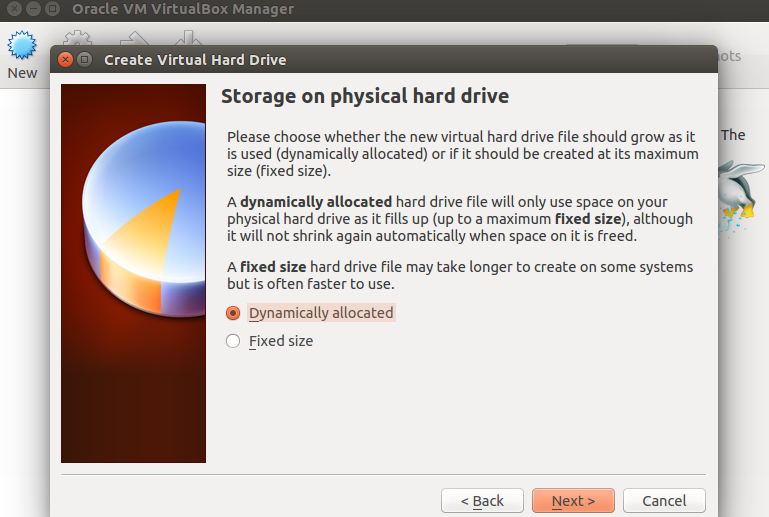
5. Select the physical storage on hard disk, the recommended one is Dynamic, so we’ll go with that. After the VM’s disk gets full, it will eat the extra bytes from the system as required.
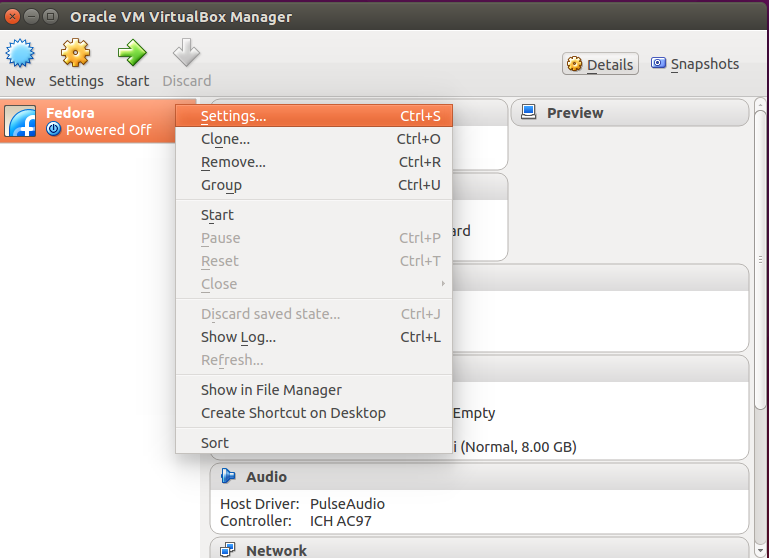
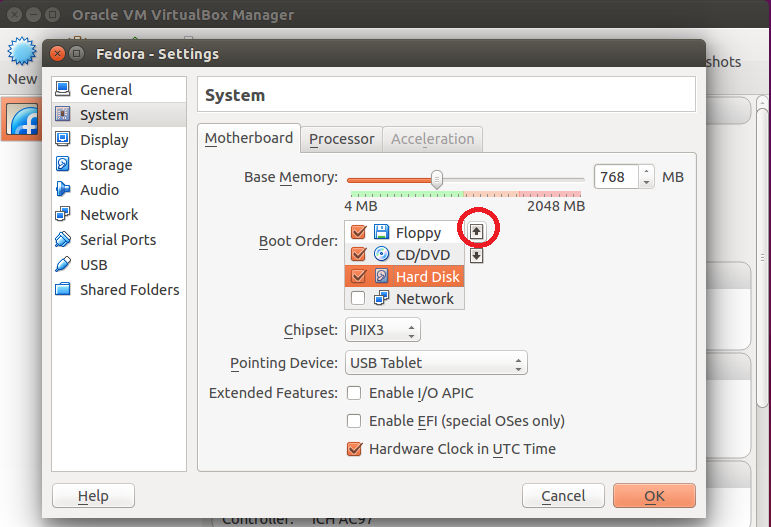
6. Once we are done with memory & disk space, we have to modify some important settings of the VM, right click on the newly created VM to enter into the settings area.
7. As we will be going to boot the machine from hard disk, set the boot priority order on the top by clicking on the encircled up arrow
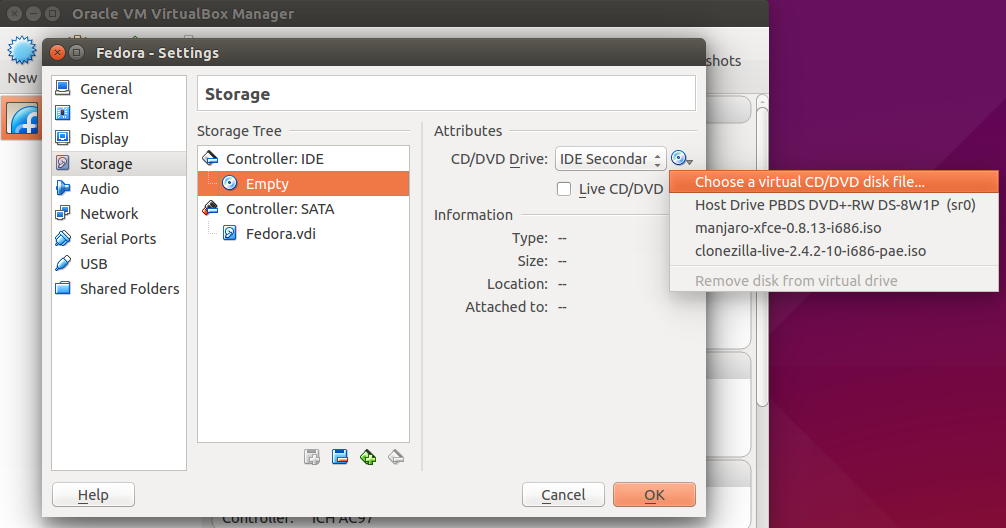
8. I have already downloaded a Fedora 22 ISO file for the new VM, you can download your favorite flavor & choose here 🙂
Click on Storage ==> Empty ==> DVD Icon & give the location path of the iso image file.
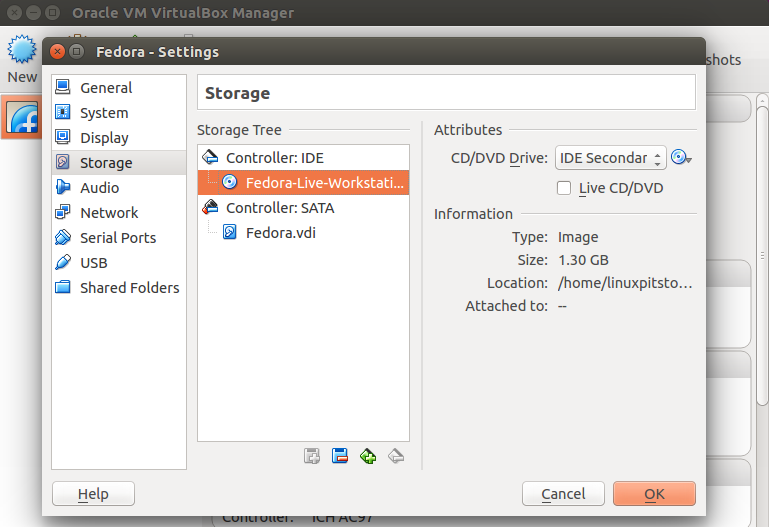
9. Our VM is now ready to boot.
10. Right click on the VM & start it.
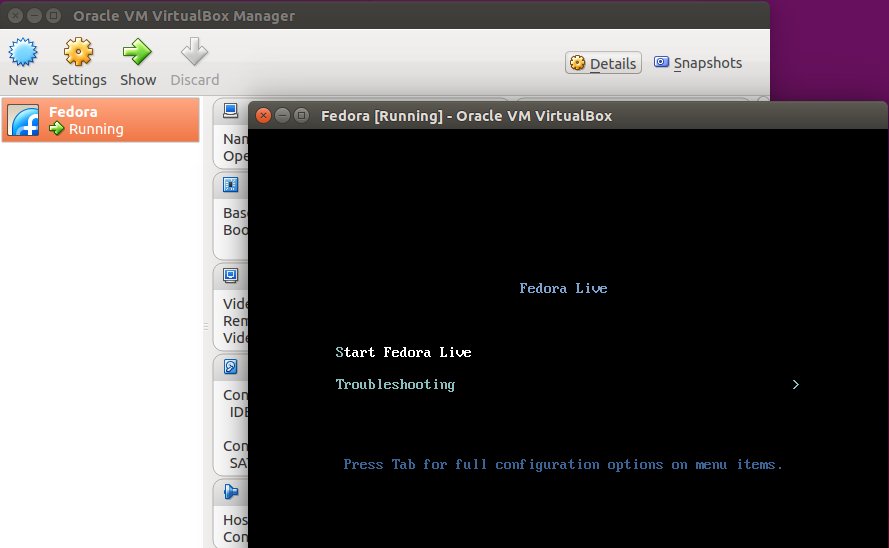
I hope you have got the idea how awesome Virtualbox is to play with a no. of Linux distributions on few clicks on your personal laptop or computer. The steps of creating a VM on Windows using Virtualbox is same without any big difference, so its a must try 🙂


