
Introduction and Features
On June 27, VectorLinux distro team announced the latest release of their lightweight operating system. VectorLinux 7.1 is out now and available to download and install for computers with both 32bit and 64bit architectures. It is a lightweight, easy to install distribution, based on Slackware concept. This new release is equipped with Linux kernel 3.18.1 and powerful XFCE desktop environment.
The installer for this new release is pretty impressive, simple, quick and well designed. Development team has claimed to fix and update many system programs and added thousands of software packages to the repositories. Although XFCE is the default desktop environment, but you can still install GNOME or KDE using Slaptget and Gslapt package managers. This distro is claimed to fulfill the needs of both basic and advance level users. The built-in system programs should suffice for the daily needs of normal desktop user, but if you are geek user and need advance level programs/configurations, this distro got a rich package repository to satisfy your thirst. Let’s see how we can install this simple, yet powerful operating system.
Installing VectorLinux 7.1
There are couple of ways through which you can initiate the installation process for this eye candy operating system.
(a) Download VectorLinux 7.1 ISO and burn it to DVD/USB drive and boot your system using this DVD/USB.
(b) Create Virtual machine on your current operating system using tools like Oracle Virtual Box and boot your Virtual machine using ISO of this operating system.
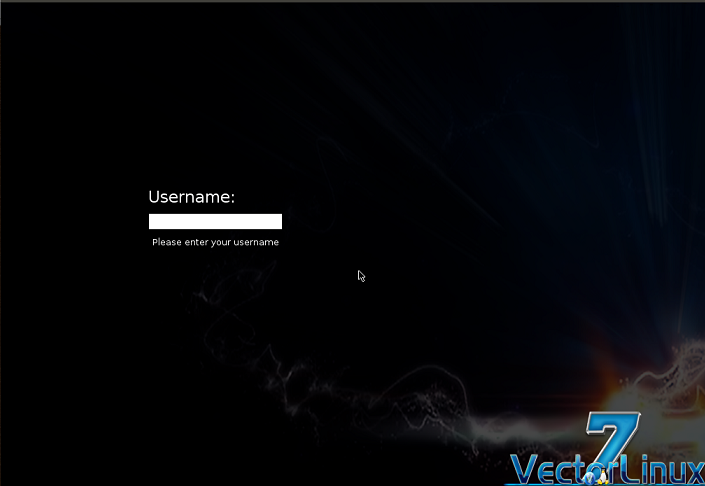
Whichever method you choose, here is the very first screen you should see when booting this distro ISO.
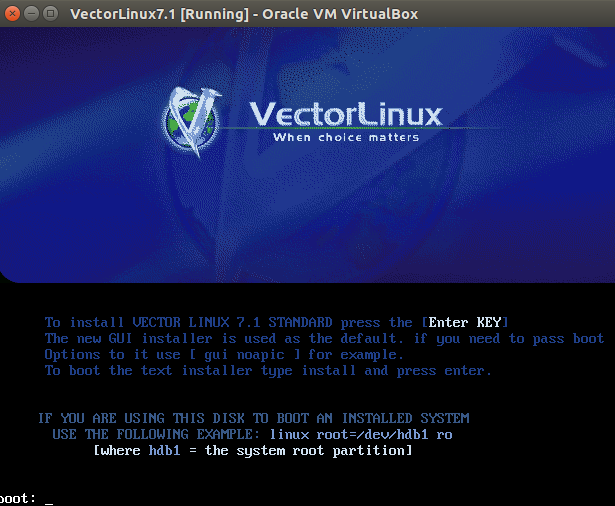
Hit “Enter” to initiate the installation process for this OS. There you go, it will shortly present you with the first screen of installation. Choose how you wish to install this operating system, “Automatic” option will let you specify disk to use for this new installation, while “Advanced” option is for advanced pre-install configuration like custom disk partitioning, boot loader etc. Default choice “Automatic” should work for most of us. Hit “Forward” to take installation to next level.

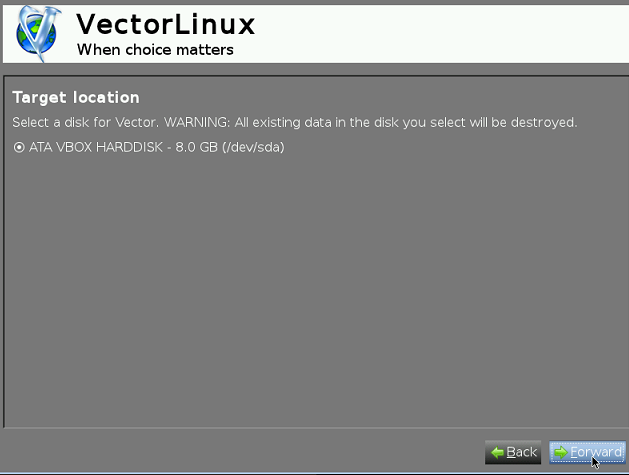
Choose your hard disk for new install on third step.
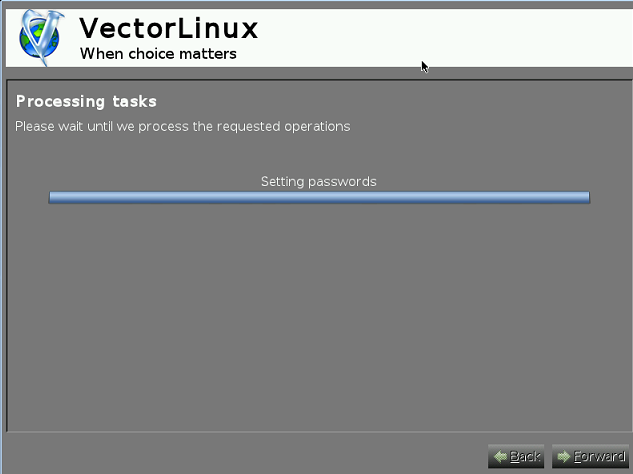
Specify your Administrator account login details here .

Hit “Forward” and there you go, OS installation is in progress now.
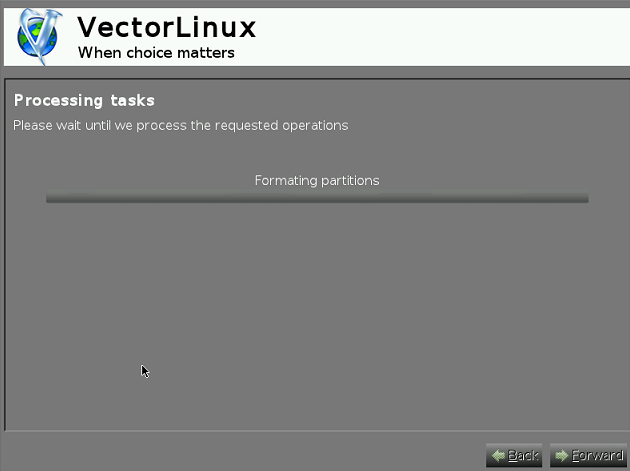
Sit tight but it shouldn’t take long to complete the installation process, Isn’t it the simplest Linux distro to install ? :).
As soon as the install process is complete, reboot your system and start enjoying the power of Slackware and simplicity of VectorLinux together.
Conclusion
It is a lightweight distribution in true sense. If you are already satisfied with your current linux distro, you can still try this operating on your old computer or any low resource virtual machines. Hope you enjoyed this article, do let us know in comments 🙂


