
Hi All, today we are going to show you installation setup of Tripwire on CentOS 7. Tripwire is an intrusion detection system (IDS), which, constantly and automatically, keeps your critical system files and reports under control if they have been destroyed or modified by a cracker (or by mistake). It allows the system administrator to know immediately what was compromised and fix it.
Tripwire is available as both an open source offering and a full-fledged enterprise version.
Tripwire Open Source agents monitor Linux systems to detect and report any unauthorized changes to files and directories. It first creates a baseline of all files in an encrypted file (encryption protects it from malware tampering) then monitors the files for changes, including permissions, internal file changes, and timestamp details. Cryptographic hashes are employed to detect changes in a file without storing its entire contents in the database. While useful for detecting intrusions after they’ve occurred, Tripwire Open Source can also serve many other purposes, such as integrity assurance, change management and policy compliance.
System Update:
Starting from the best practice, let’s login to your CentOS 7 operating system and update it with latest updates and security patches using the command mentioned below.
[cc]#yum update[/cc]
After system update, install the latest EPEL Repository by pressing ‘y’ key once you are asked on your CentOS 7 server.
[cc]# yum install epel-release[/cc]

Installing Tripwire:
Now the installation of Tripwire is just a one command ahead by using ‘yum’. Optionally you can also download its binary package from their Official Download Link .
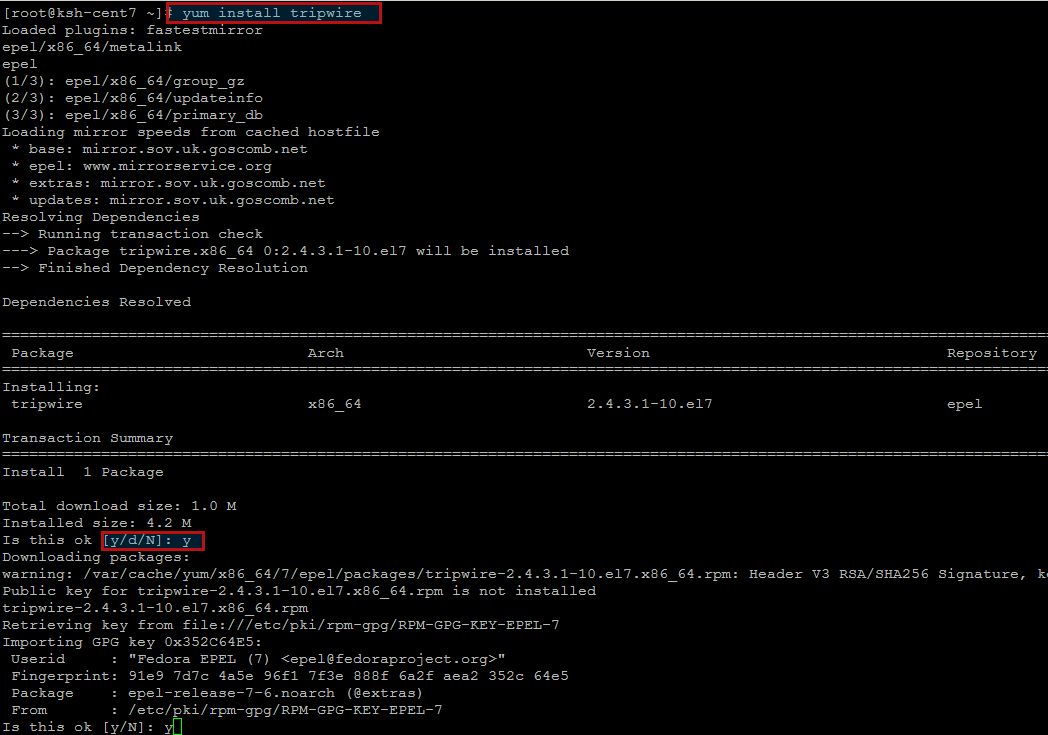
[cc]# yum install tripwire[/cc]
Press ‘y’ key to continue once you are prompted for confirmation about tripwire installation and its GPG key verification as shown.
Creating Keys:
Run the command below to create Tripwire local and site key files provided with some secured pass phrases for the Tripwire site and local passphrases which are used to sign a variety of files, such as the configuration, policy, and database files.
[cc]#tripwire-setup-keyfiles[/cc]
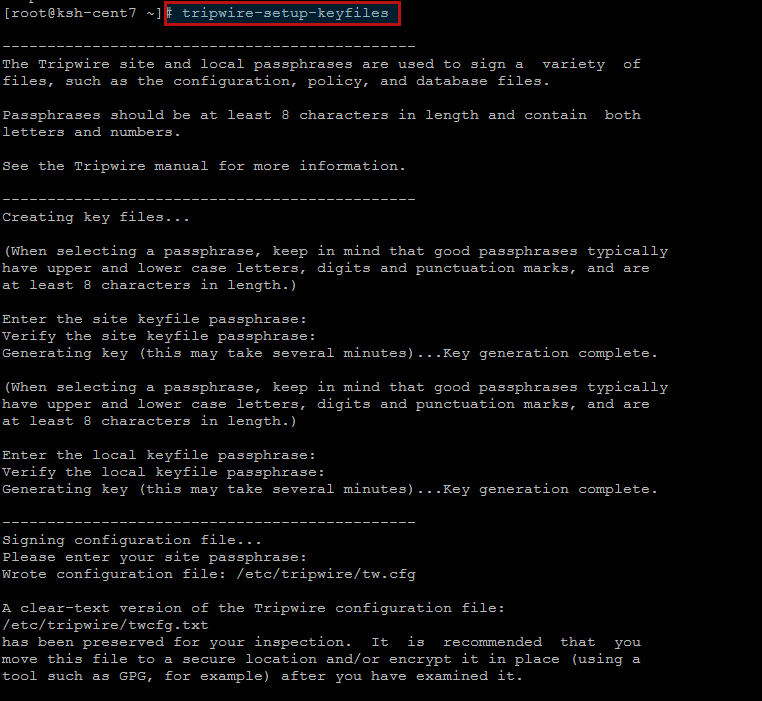
Once you have a satisfactory Tripwire policy file, you should move the clear-text version to a secure location and/or encrypt it in place (using a tool such as GPG, for example).
Now run “tripwire –init” to enter Database Initialization Mode. This reads the policy file, generates a database based on its contents, and then cryptographically signs the resulting database. Options can be entered on the command line to specify which policy, configuration, and key files are used to create the database. The filename for the
database can be specified as well. If no options are specified, the default values from the current configuration file are used.
Initializing Tripwire:
Finally initialize the Tripwire database using the following command.
[cc]# tripwire –init [/cc]
After processing all system files, you will get the following message bout tripwire database initialization.
“### Continuing…
Wrote database file: /var/lib/tripwire/ksh-cent7.twd
The database was successfully generated.”
Configure Tripwire policy:
You can disable some check by “#” with “no such file or directory” file when we have done Initializing polices in previous step by opening the following configurations file.
[cc]# vim /etc/tripwire/twpol.txt[/cc]
Tripwire will identify file changes in the critical system files specified in the policy file. Using Tripwire while making frequent changes to these directories will flag all these changes. It is most useful after a system has reached a configuration that the user considers stable.
To use Tripwire after creating a policy file to run a report, use the following command.
[cc]# tripwire –check > /etc/tripwire/report.txt [/cc]
Depending on your system and the contents of the policy file, the tripwire check will might take some time to complete the process. Alter that you will be able to view the Report Summary generated by Tripwire.
If you would like to modify the default policy file then you can use a new one, by modifying the policy file and then execute the following commands as the root user for its implementation.
[/cc]# twadmin –create-polfile /etc/tripwire/twpol.txt && tripwire –init [/cc]
Please enter your site passphrase:
Wrote policy file: /etc/tripwire/tw.pol
Please enter your local passphrase:
Parsing policy file: /etc/tripwire/tw.pol
Generating the database…
*** Processing Unix File System ***
### Continuing…
Wrote database file: /var/lib/tripwire/ksh-cent7.twd
The database was successfully generated.
Automating Tripwire reports:
Now we will set up a cron job to execute a tripwire check every morning after confirmation of tripwire results manually.
We will be using root’s crontab, because edits to the system cronjob can get wiped out with system updates.
Let’s create the crontab by typing below command.
[cc]# crontab -e[/cc]
[cc]40 2 * * * /usr/sbin/tripwire –check | mail -s “Tripwire report for `uname -n`” your_email@linuxpitstop.com[/cc]
Here in this cron job we have provided our email to send reports by tripwire run at 2:40am every day.
In order to review all of your cron jobs present under your current use, you can use below command.
[cc]# crontab -l [/cc]
Conclusion:
At the end of this article, you are now able to install and configure your Tripwire IDS. Now you should review the emailed reports regularly and take action where there are changes detected, either in updating the tripwire database to okay the changes, or investigating suspicious activity. You are all setup for an automated intrusion detection system that sends you reports regarding changes on your filesystem. Let’s enjoy and keep visiting for other awesome articles.


