
TeamPass is a password manager that allow us to store the password and share to a team with a specific role and purpose.
In this article will be install teampass on a Linux server with Apache, MySQL and PHP. Create a password key and share to different users who are in the different role.
Installation
Login as root and install require packages such ash Apache2, MySQL and PHP with the following command:
apt-get install apache2 mysql-server php5
Wait for a while and enter mysql root’s password.
Go to opt directory:
cd /opt
Download the latest version of TeamPass 2.1.19.
wget https://codeload.github.com/nilsteampassnet/TeamPass/zip/2.1.19
Install the zip and unzip package to unzip TeamPass package:
apt-get install zip
Unzip the package:
unzip 2.1.19
Create symlink for teampass into web directory, We create symlink so it easy for us to perform test upgrade to an other version just switch the symlink in the future.
ln -s /opt/TeamPass-2.1.19 /var/www/teampass
Configuration
Access to teampass via browser:
http://server-ip/teampass
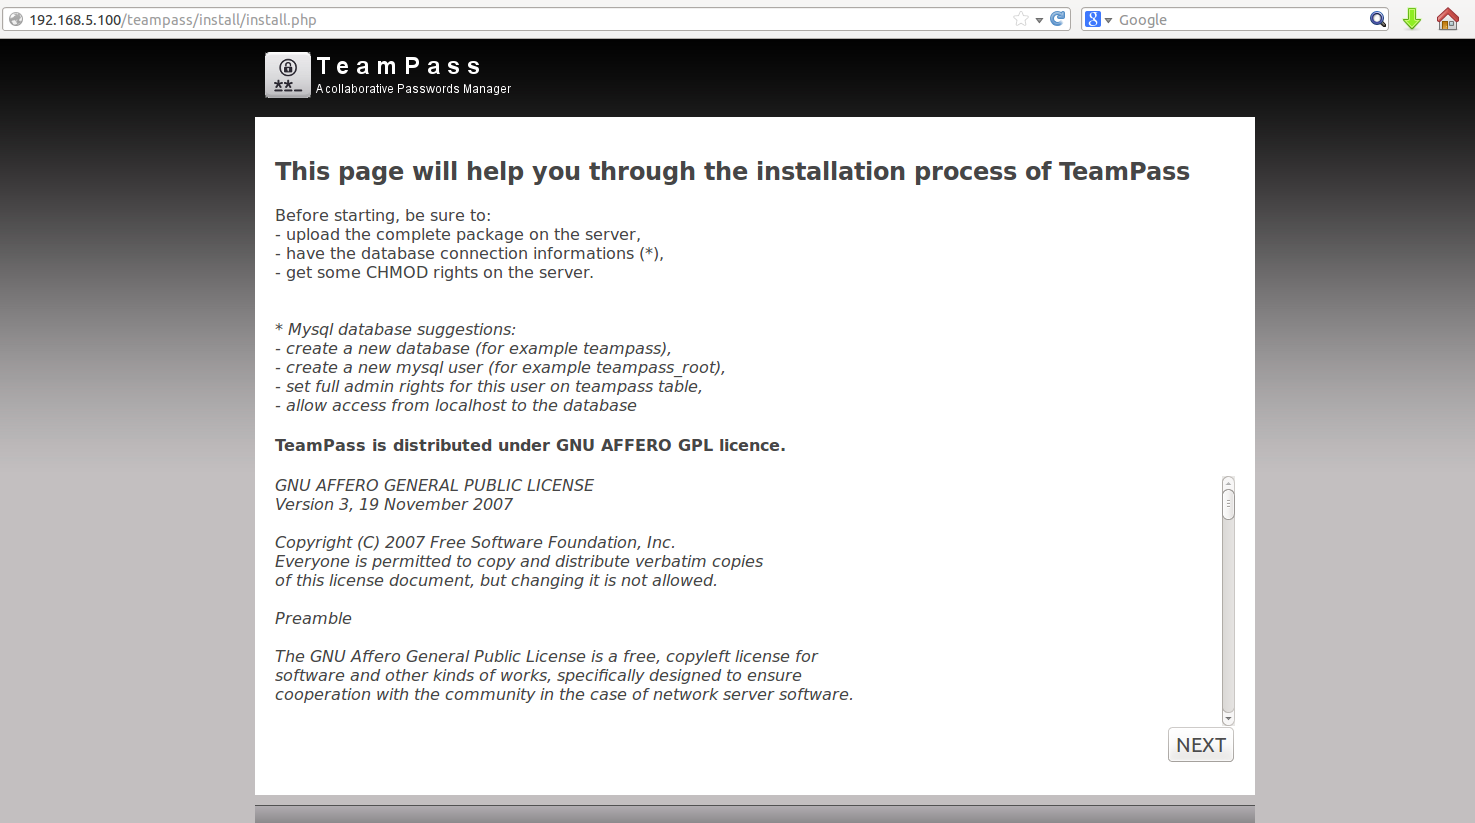
and we will get this page, and Click Next:
Click on LAUNCH to check the elements:
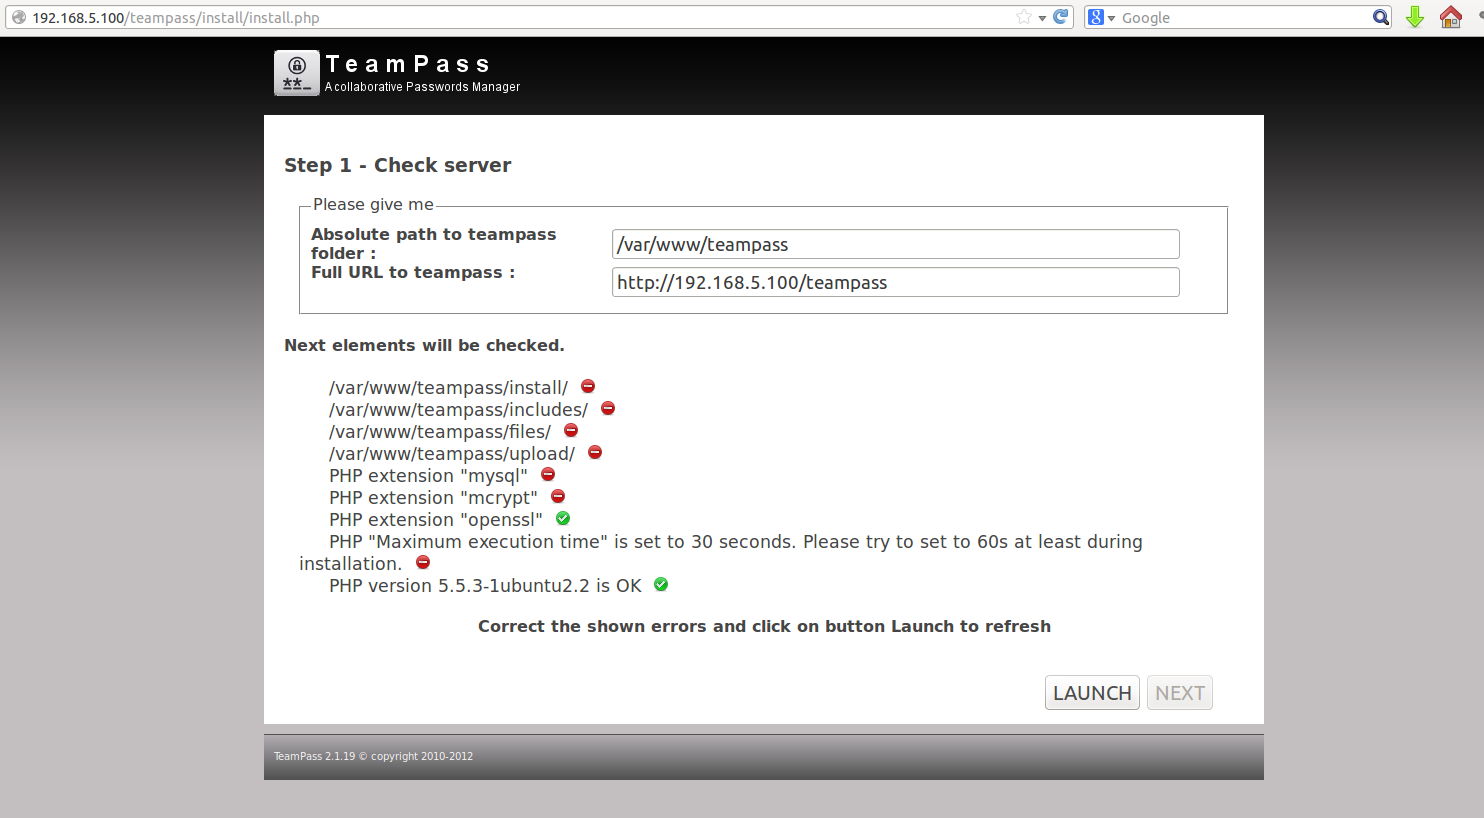
Based on this picture, we need to change ownership the directory of TeamPass-2.1.19 to web user.
chown -R www-data:www-data /opt/TeamPass-2.1.19/
Install some php extensions:
apt-get install php5-mysql php5-mcrypt php5-json
Change Maximum execution time for Apache2:
vi /etc/php5/apache2/php.ini
change from 30 to 120:
max_execution_time = 120
For Ubuntu 13.10 there is a bug related to php5-mcrypt. To fix this we put a symlink to the mcrypt.ini file in the PHP config with the following command:
sudo ln -s /etc/php5/conf.d/mcrypt.ini /etc/php5/apache2/conf.d/20-mcrypt.ini
Click on LAUNCH to check the element again.
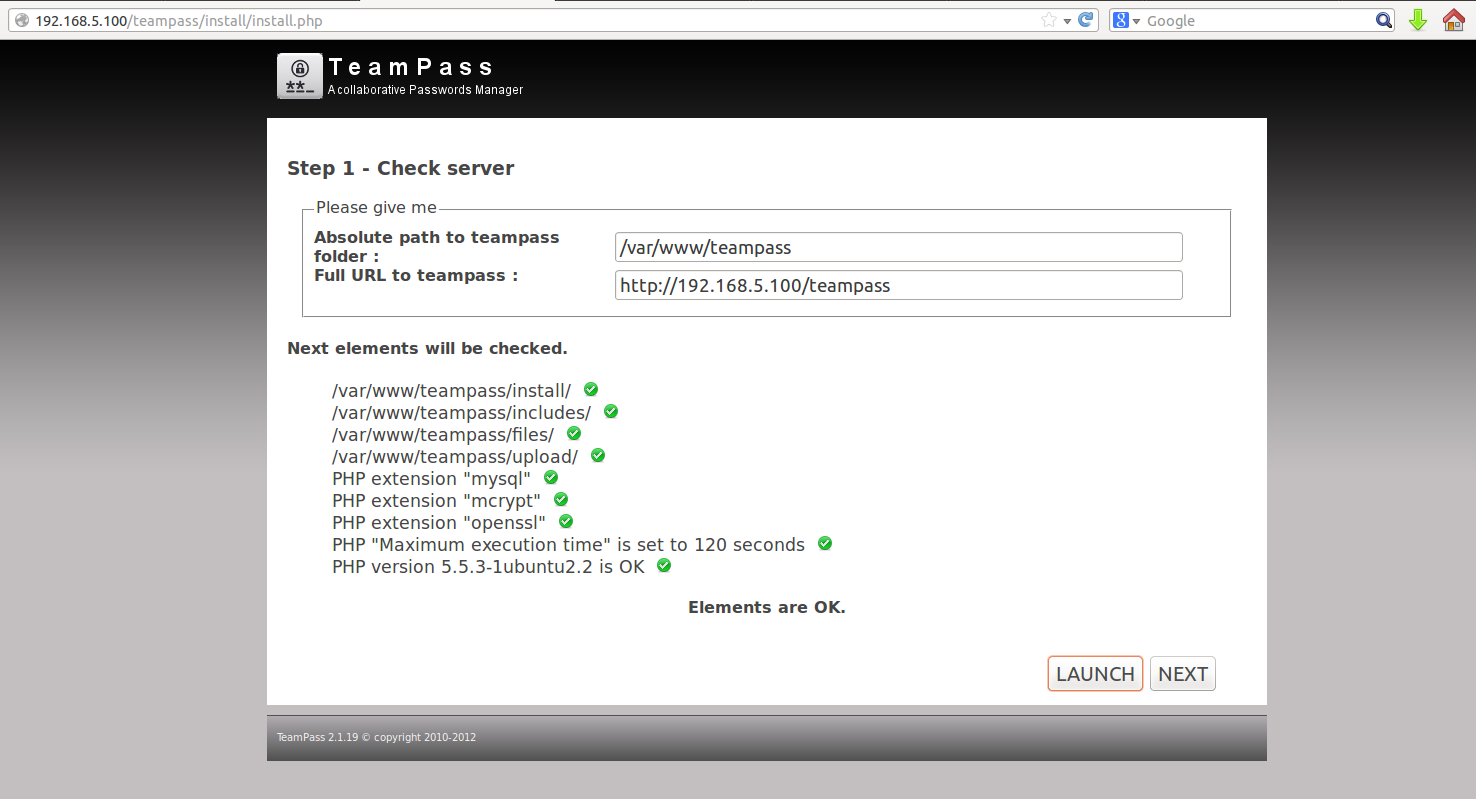
and the click Next,
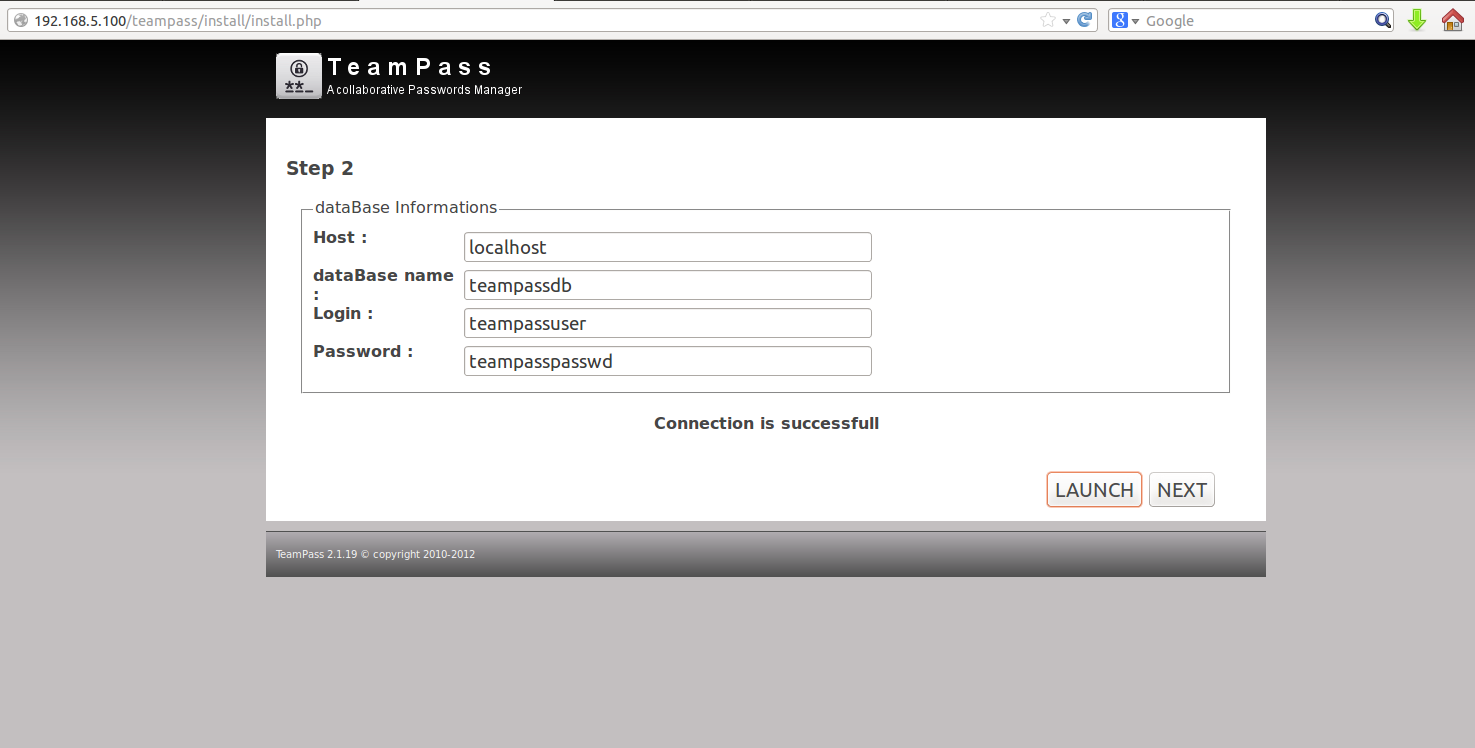
In this step we need to configure database, by log into mysql server create database user, database name and database password.
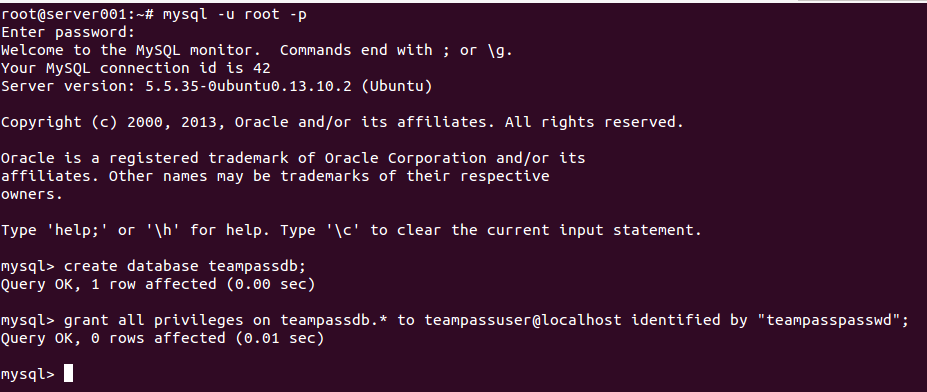
Fill the details:
Create a folder bank name “key”.
/var/www/teampass/keys
chmod 755 /var/www/teampass/keys
and fill in all the requirements and click Next.

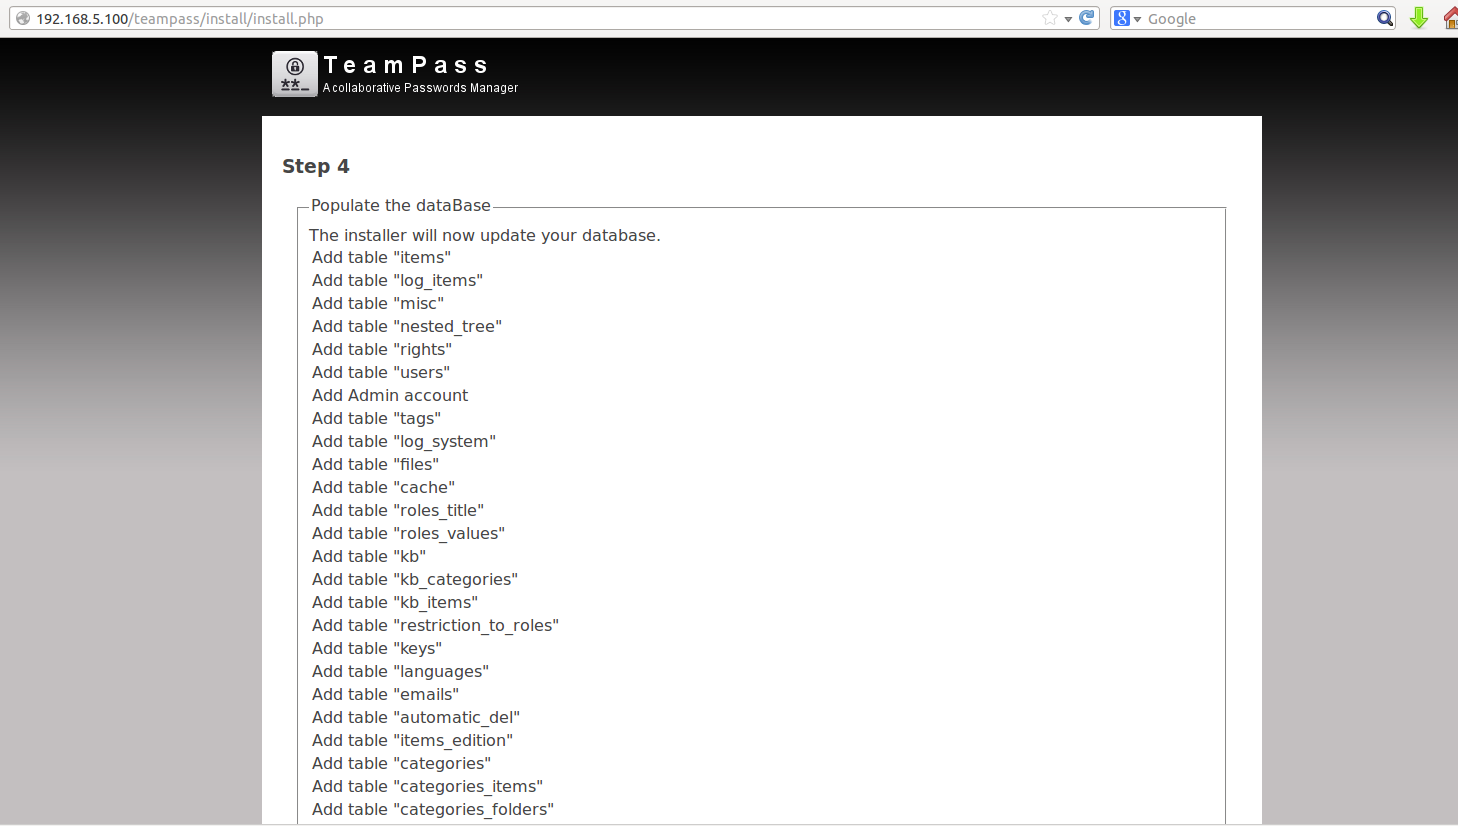
In this step we need to populate database.
Click on LAUNCH TO populate database and click Next.
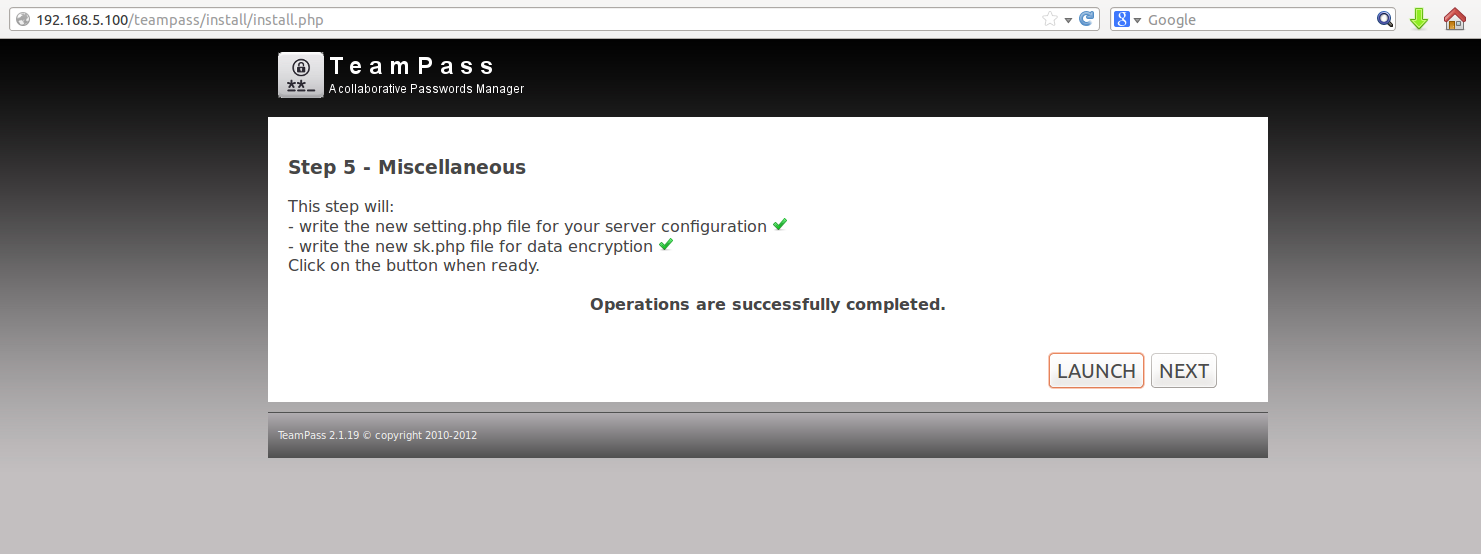
Miscellaneous
This step will:
- write the new setting.php file for your server configuration
- write the new sk.php file for data encryption
Click on LAUNCH TO populate database and click Next.
Installation is finished.
Click on Open TeamPass.

and we got the login page:
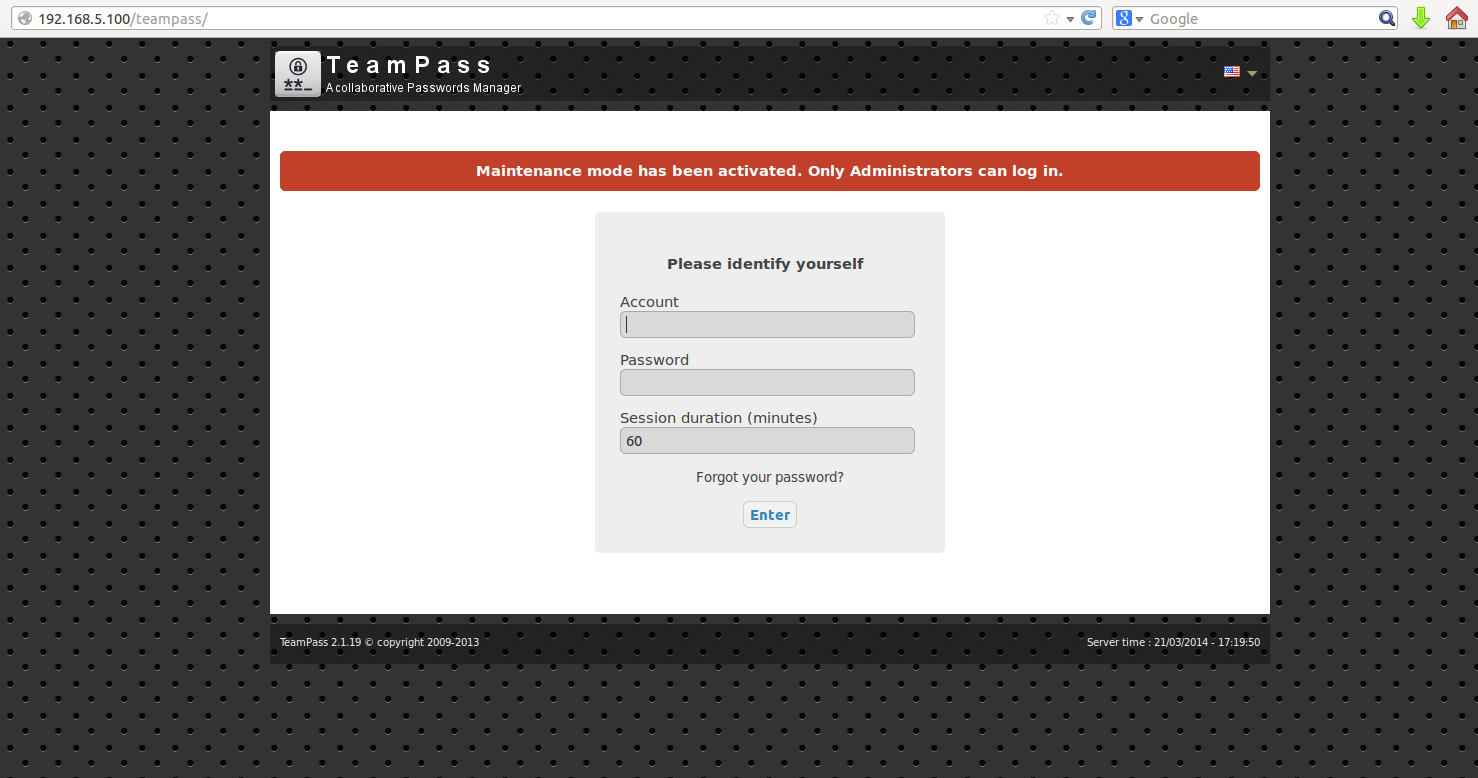
Log in with default:
- User Name: admin
- Password: admin
We got this page:
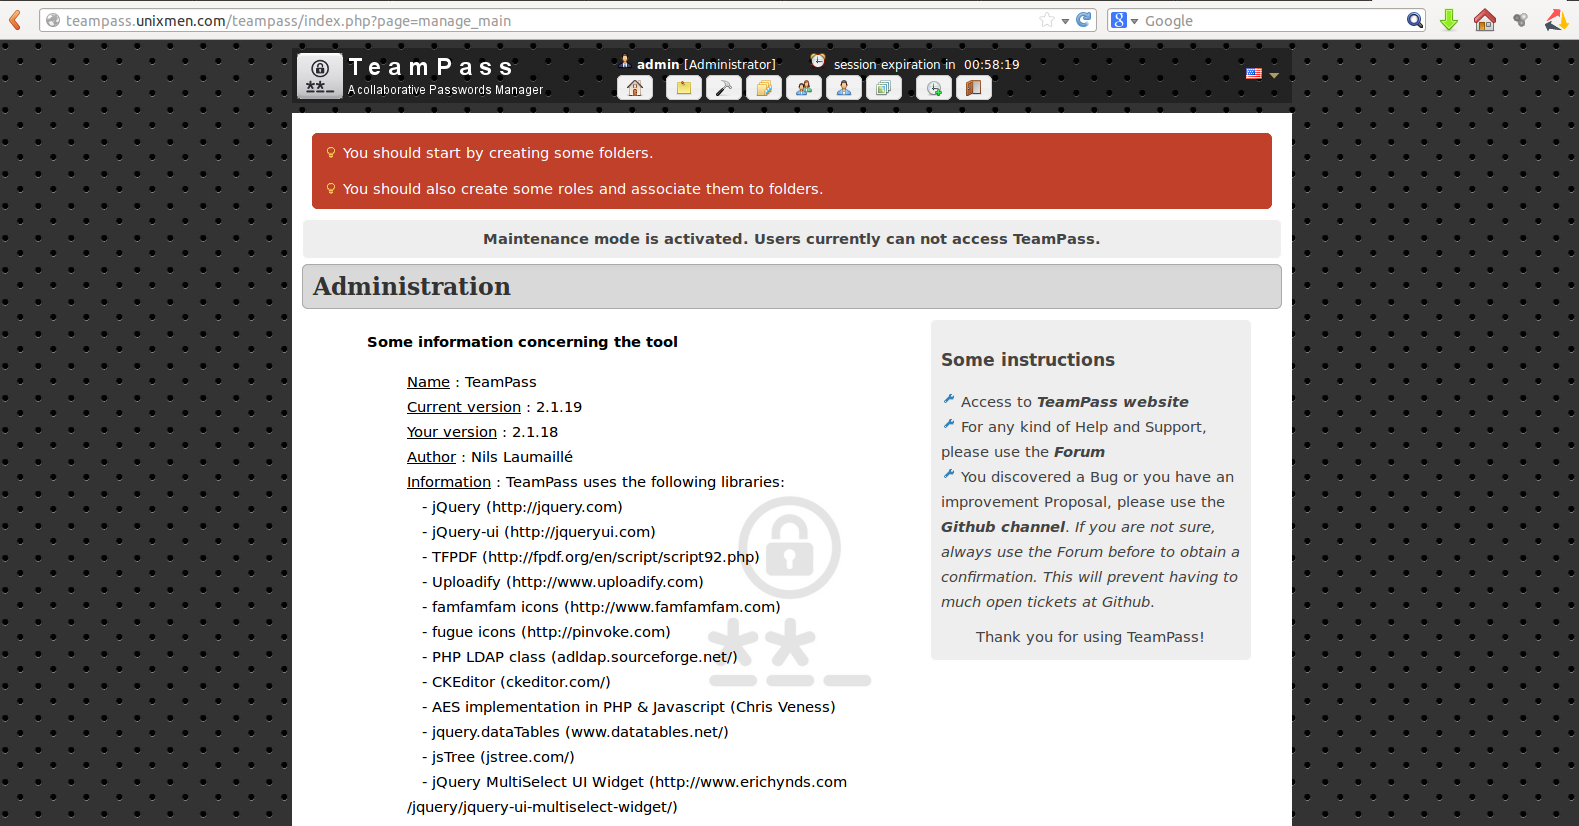
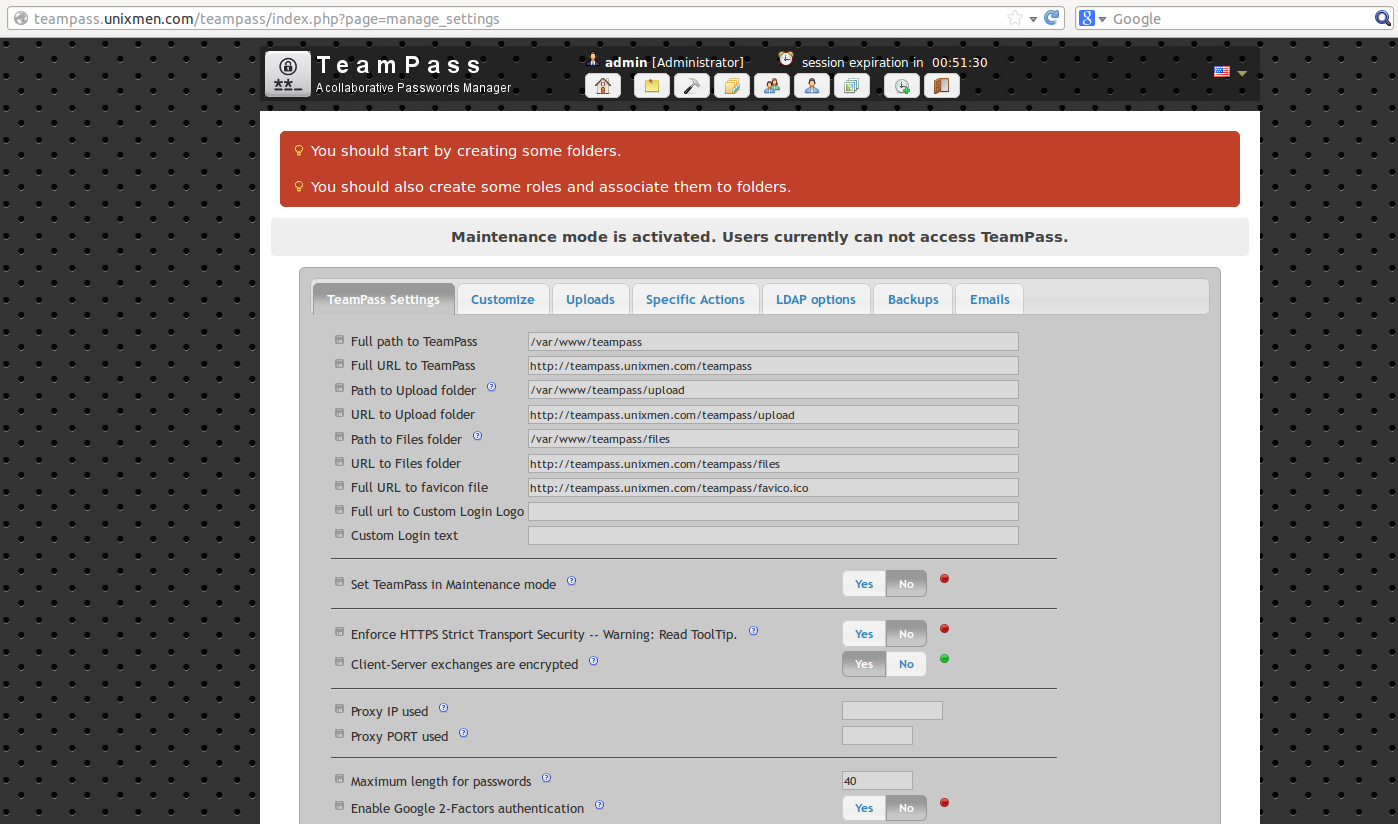
Disable Maintenance mode is activated.
Go to Settings, Set TeamPass in Maintenance mode select No and Save.
The installation is finished, And adjust these custom settings regarding to your organization.
- change the default password of user admin
- Create a password key structure,
- Create users in your organization or you can get it from LDAP if you already has the existing LDAP.
- Create roles base on teams/departments in your organization
- Add user to role
- Assign the role gain access to the specific folder.
Enjoy!


