
Tanglu is a Debian based operating system, which focuses on providing excellent desktop environment for users of this distribution. Being a debian type operating system, it still provides its own repositories so users of this operating system can get latest releases of different apps in time. The design goal of this distro is to provide an operating system for all type of users. The development team of this OS is preparing their next major release Tanglu 3 to be released soon, and they have made the Release Candidate version 1 available for download and testing. Let’s review the prominent features and installation steps of this RC.
Features
This new release is powered by Linux kernel 4.0, GNOME 3.16 and latest KDE plasma 5.3. The release candidate is available for download in all, GNOME and KDE and Tanglu Core desktop environments. This new release is using latest Systemd to handle the boot process.
This new release comes with Calamares 1.1 universal installer ; although it is a stable operating system, but RC release is never recommended to be installed on production system. It is just a testing release so that you may evaluate and get familiar with the upcoming operating system version.
Installing Tanglu 3 RC1
There are couples of ways through which you can initiate the install of this OS.
(a) Download Tanglu 3 RC1 and burn it to DVD/USB drive and boot your system using this DVD/USB.
(b) Create Virtual machine on your current operating system using tools like Oracle Virtual Box and boot your Virtual machine using ISO of this operating system.
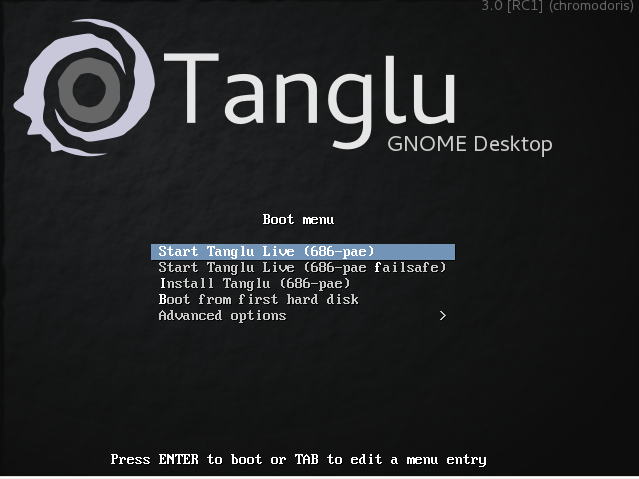
Whichever method you choose, here is the very first screen you should see when booting your system using this ISO.
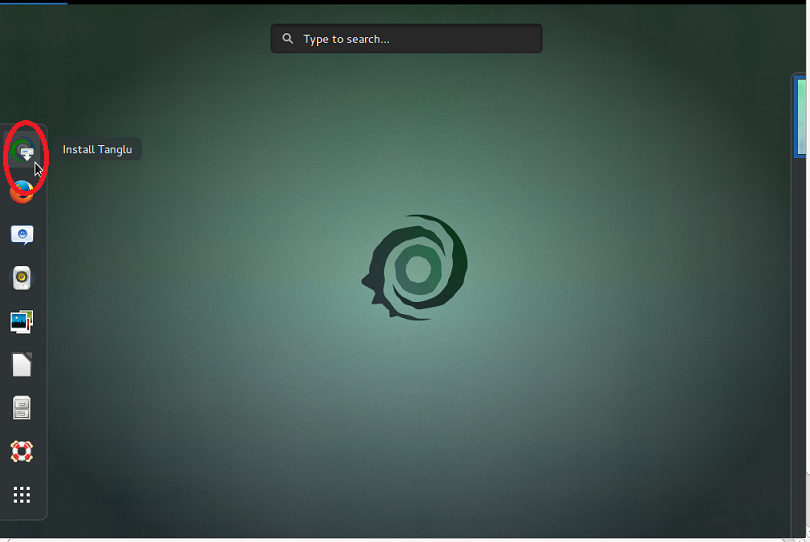
Wait for few seconds or hit Enter to boot the operating system to Live Desktop, on live desktop, click “Install Tangula” icon, shown encircled in the following screenshot.
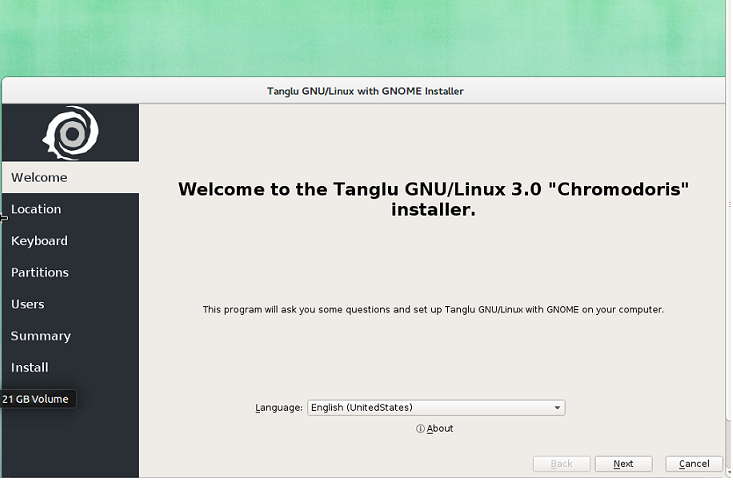
Installation process will start now, Choose your preferred language for installation from here.
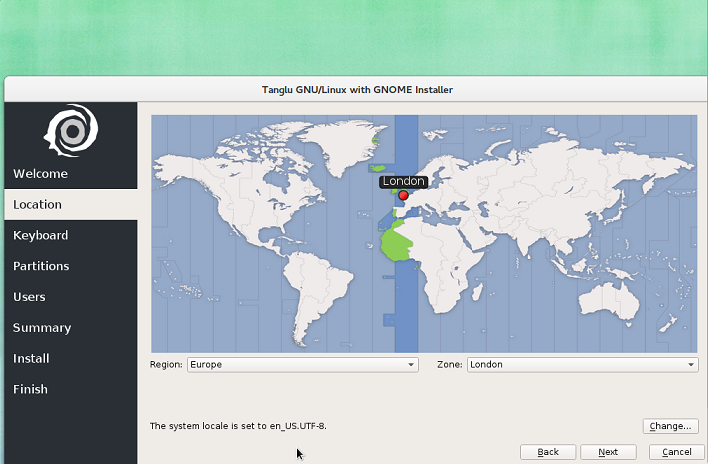
Select your location from next step.
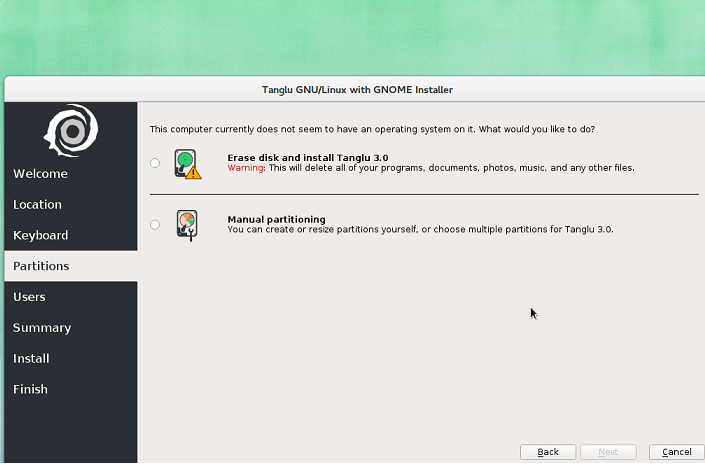
Specify how you want disk partitioning to be performed, the very first choice “Erase disk and install Tangulo” option should work for most of us. But if you want to perfom custom partitioning, choose “Manual Partitioning” option.
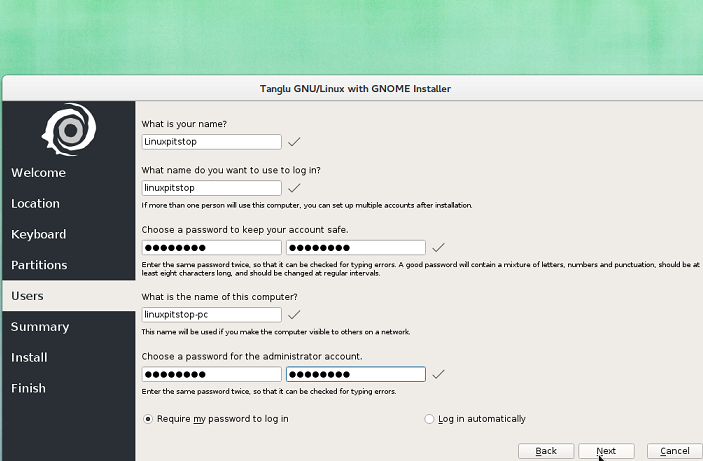
Next step, specify your login credentials for new installation.
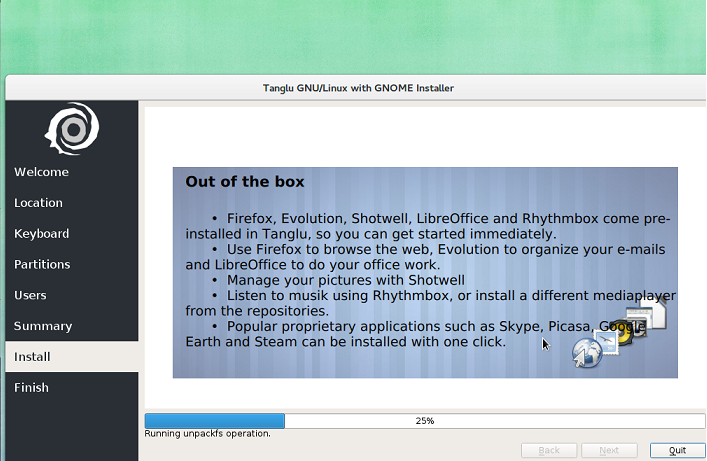
That’s all, Tangula Installation is under way; sit tight, it should take few minutes to perform all required configurations.
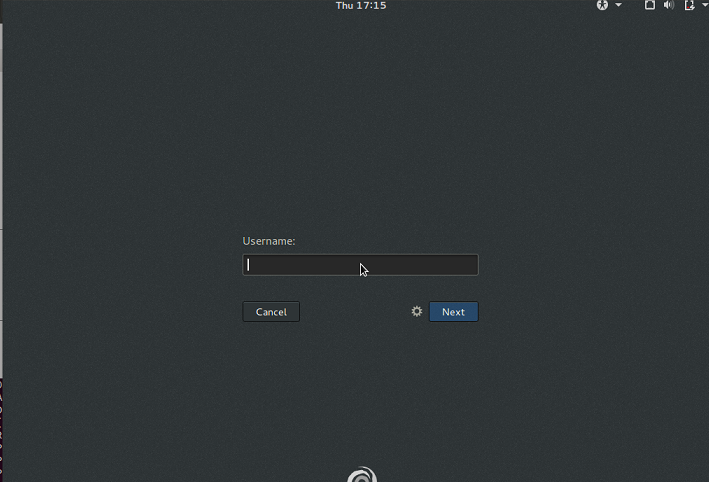
Once installation is complete, reboot and starting using your new OS.
Conclusion
We tested GNOME version of Tangula 3 RC and it seems pretty solid, however, we hope to see it in more mature form once stable version is released. If you have any questions regarding the installation or features of this operating system, feel free to let us know in comments 🙂


