
Proxmox is an open source and enterprise-ready virtualization solution which lets you create and manage your own virtualization setup. You don’t need to use highly paid virtualization solutions. Simply download and install Proxmox and start creating your virtual machines on top of your hardware. It comes with intuitive web interface and is Debian based system. Here are some of the noteworthy features of this virtualization application.
- If offers two virtualizations methods, Kernel-based Virtual Machine (KVM) and container-virtualization.
- It is highly customizable as source code is available online. You can tailor it to your needs, but overall it is pretty stable and well structured system.
- It lets you run Windows or Linux virtual machines by using the unmodified Linux or Windows images.
- With the help of easy to use web based interface, it provides complete control and central management for your hardware infrastructure.
- It provides easy backups and restore features for your virtual machines.
- It comes with High Availability Cluster feature to ensure that your complex and important applications are hosted in best suited environment.
- It offers a flexible storage mechanism, you can store your virtual machines on local storage or any shared network storage.
- It lets you perform live migrations of your virtual machines from one physical node to another, without shutting down the virtual machine.
- It is an active member of Open Virtualization Alliance (OVA) which is focused on enhancing the KVM type virtualization technology.
Installing ProxmoxVE
Let’s see how we can install Proxmox Virtual Environment, first of all download its ISO from following URL. Please note that it comes with its own customized operating system and kernel version.
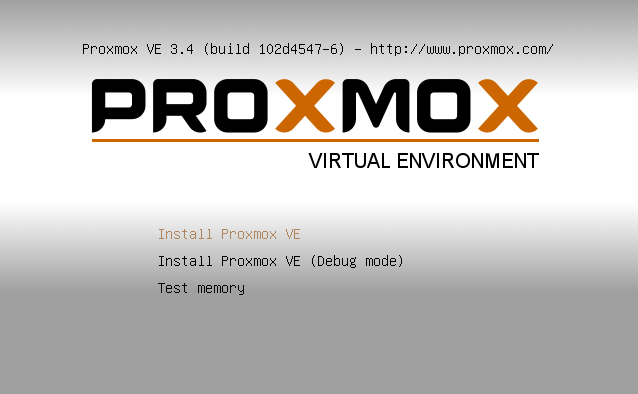
Once the download process is complete, burn the image to DVD or create a bootable USB and boot your system using this USB or DVD. Here is the very first screen you should see when booting your system using Proxmox ISO. From here choose “Install Proxmox VE” and hit “Enter”.
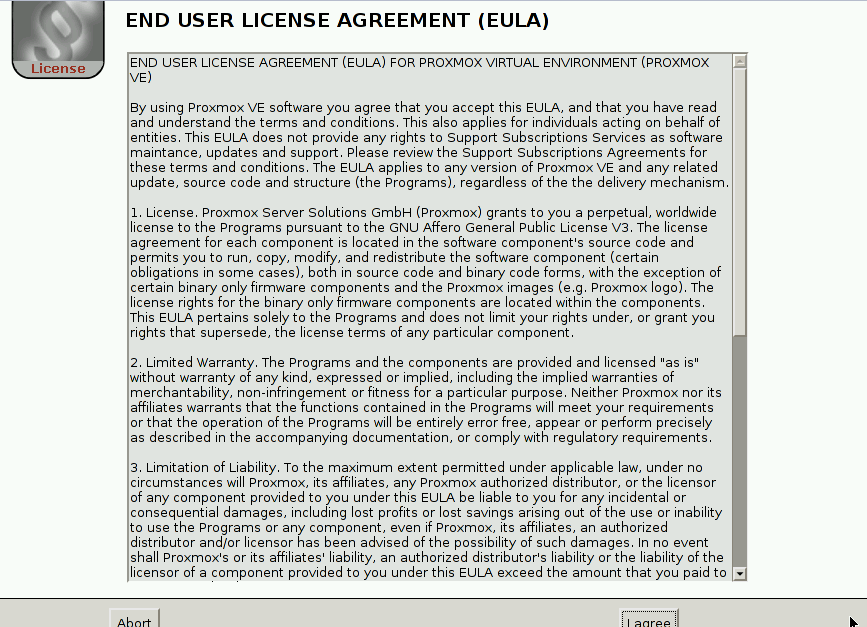
Read and accept License Agreement on the next step.
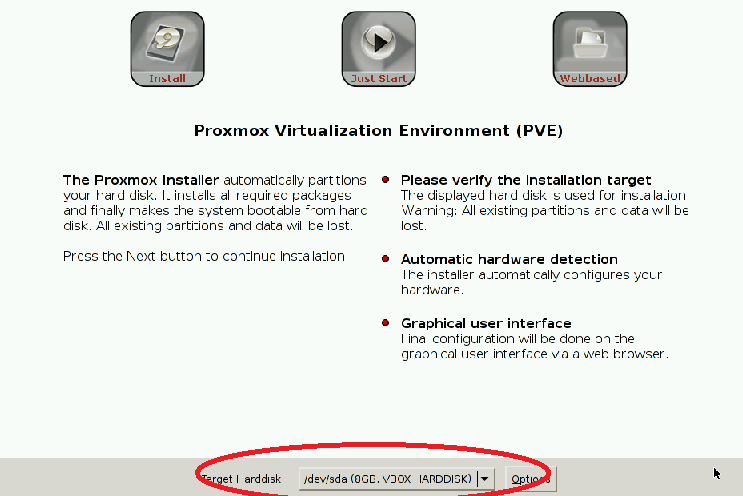
Choose the hard disk to install Proxmox on. It is the most crucial step as the installer will be completely formatting your selected disk to install new operating system on it.
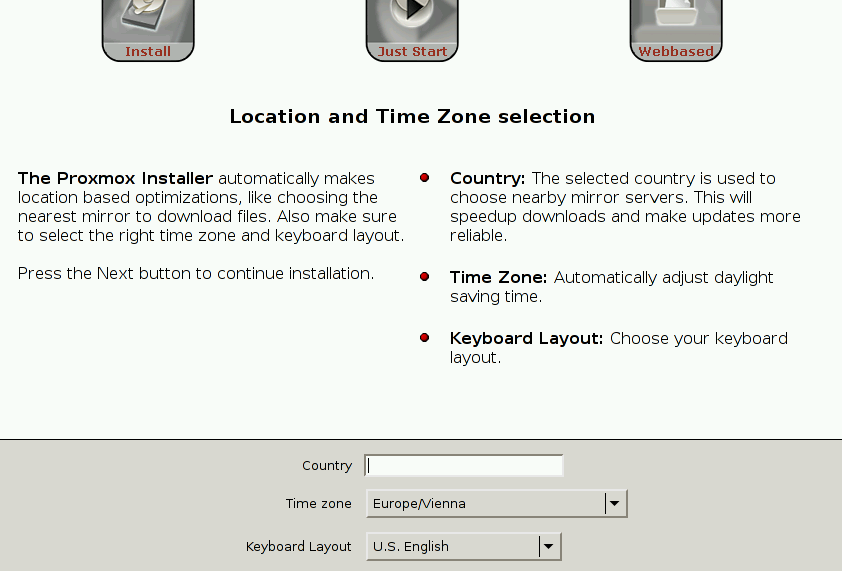
Select your geographical location, keyboard layout and time zone from this step.
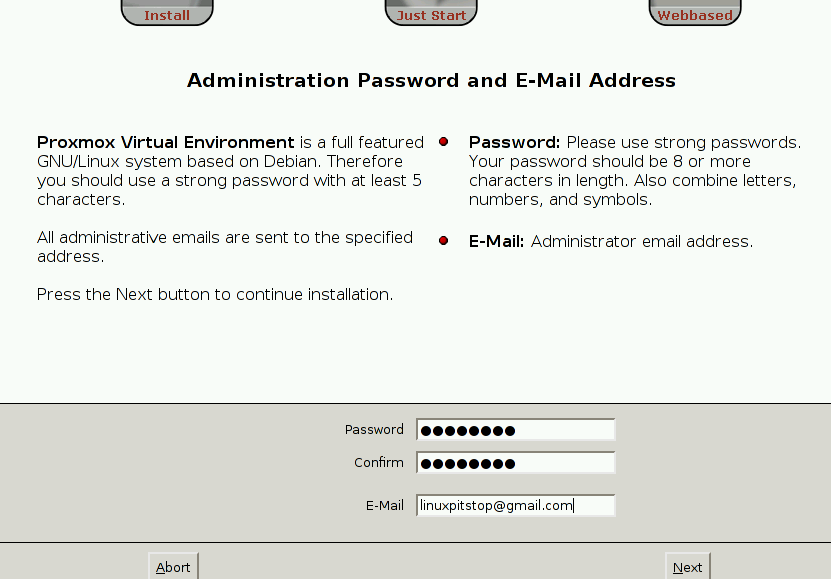
Provide your new installation’s Administrator password and email address here.
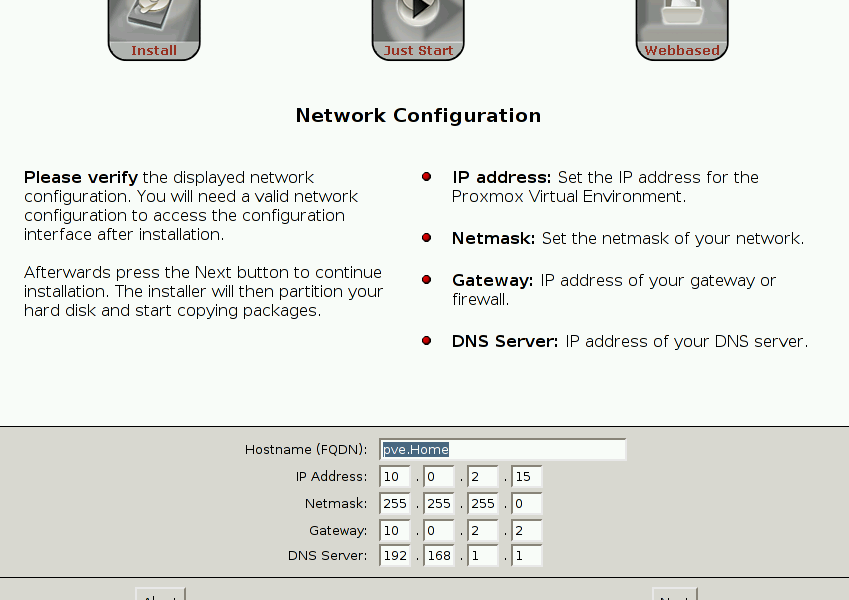
We are on the network configuration stage now, make sure to provide correct network configuration here as you will be using it to access the web interface of your Proxmox installation.
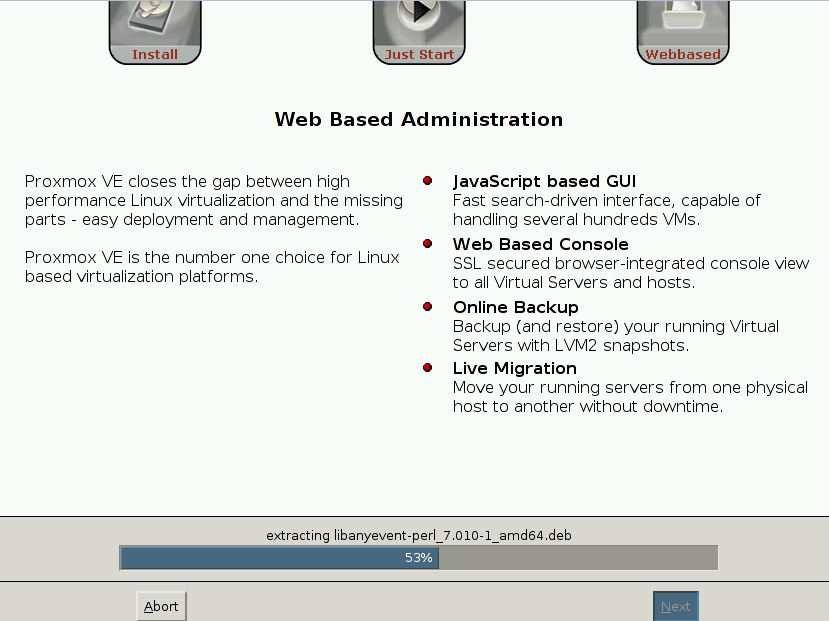
There you go, the installation process is in progress now. Depending on your hardware resources, it shouldn’t take much time to complete.
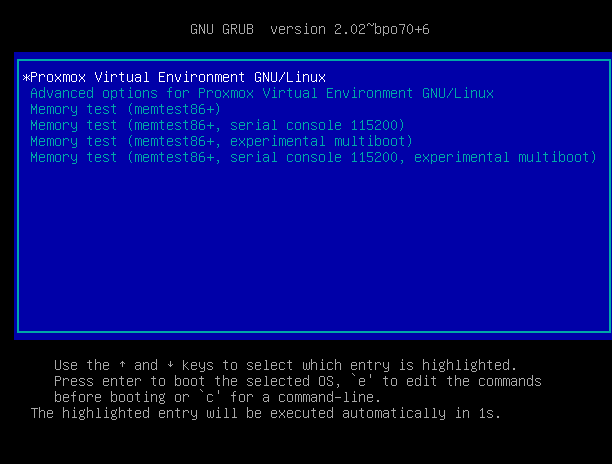
Once the installation is complete, reboot your sytem and here is the grub screen for this new OS. Let it boot ahead.
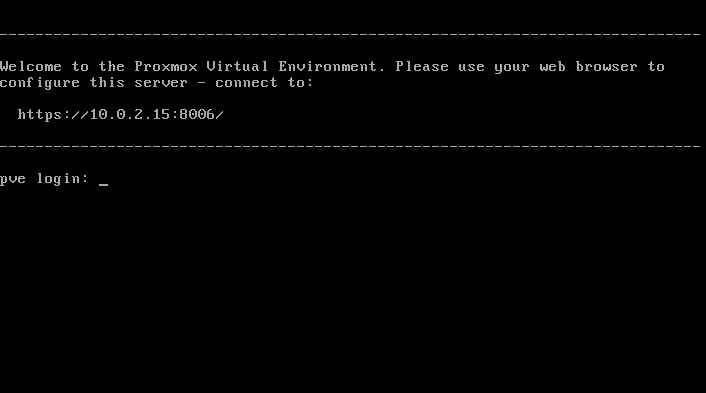
Congratulations, Proxmox is all set now. It will provide you web address to access the graphical interface to create and manage your virtual environment.
Conclusion
Proxmox is a mature system, equipped with all required features to manage a good virtualization setup. It is suitable to be implemented in small to medium scale infrastructures. If you are looking for an open source and free virtualization platform, Proxmox is definitely worth a try then.


