
Introduction
OPNSense is an stateful firewall which comes with almost all of the features that are expected from a commercial firewall, it has a sleek graphical interface, very lightweight application which is based on freeBDS. The meaning of stateful firewall is that it keep tracking network streams and it is programmed to distinguish legitimate packets for various connection currently active onto your network. A firewall can filter source and destination IP,source and destination protocol.
Some highlight Features of OPNsense firewall
1. Control over state table
The State tables of a firewall keep information on your open network connection, as OPNsence is a stateful firewall therefor all rules are stateful. OPNsense offer various options for state handling like:
Keep state – Work with all protocols and default for all rules.
Sloppy State – Work Only for TCP.
Synproxy state – Help to protect server from spoofed TCP SYN floods.
None – Do not keep any track on state entries for the network traffic.
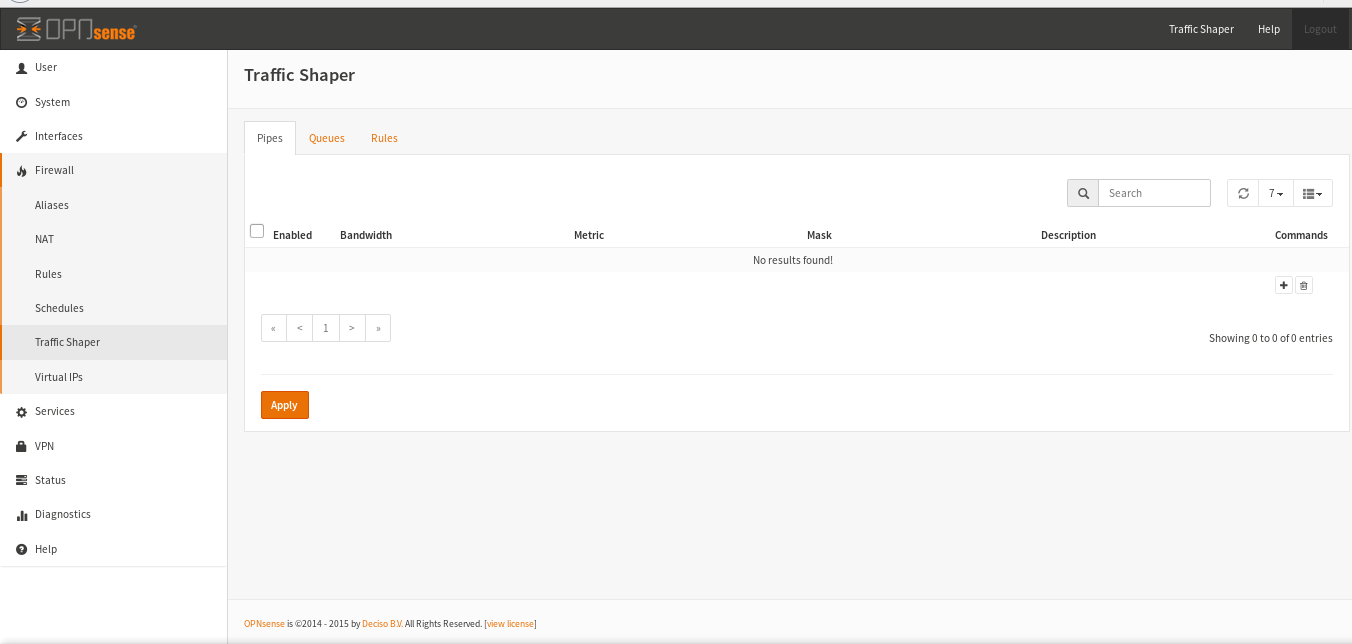
2. Traffic shaper
To ensure “Guaranteed performance” traffic shaping is required.To lower the latency rate, to increase usability of bandwidth by delaying packets that meet certain criteria. Specifically we can state that traffic shaping is to apply some sort of traffic profile over s set of packets so that they must meet some bandwidth control.
3. NAT (Network Address Translation)
Definition of NAT in terms of networking is to remapping of one IP address into another.I Default setting of NAT are outbound to the WAN IP Address, port forwarding is enabled and used for mutiple public IPs.
4. VLAN Support
OPNsense supports multiple VLANs, VLAN are multiple LAN segments of a managed switch. With this feature you can have large number of networks without adding any extra physical interface to your firewall.
5. VPN
OPNsense supports three types of VPN Connectivity:
IPSec – Most commonly used for Site to Site connectivity.
OpenVPN – Powerful SSL VPN Solution supporting wide range of client OS.
PPTP – Can use a local database or RADIUS Server for authentication.
6. High Availability
With the help of Common Address Redundancy Protocol or CARP it allows multiple hosts over the same LAN to provide failover redundancy.
7. Reports
With the help of RRD Graphs you can have information of
- CPU Utilization.
- Total Throughput of Internet Bandwidth.
- Firewall State.
- Interface status.
- Ping Response time for WAN.
Installation
Requirements
- Minimum 4 GB RAM
- 40 GB Storage
- Dual Core Processor
- 2 Network Interface (LAN+WAN)
Procedure
Download Firewall image from this link
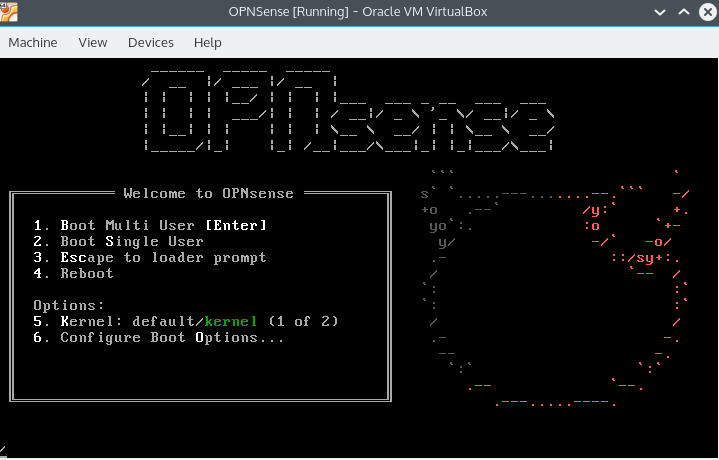
Boot the system.

Boot Menu will appear, press enter
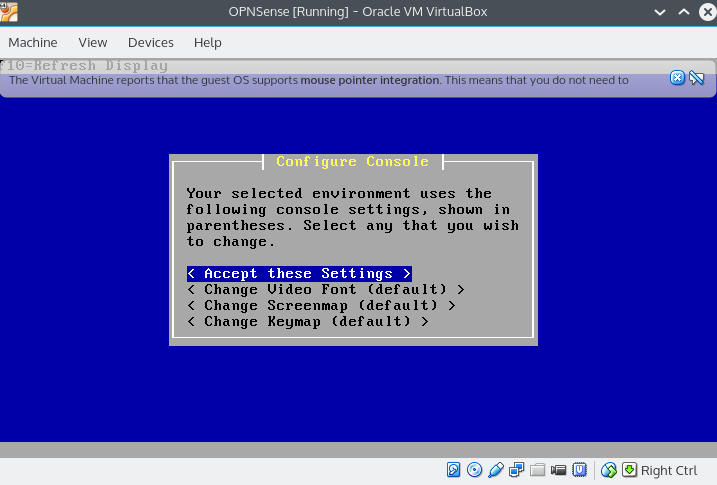
A configuration Console will appear, accept these settings and press enter.
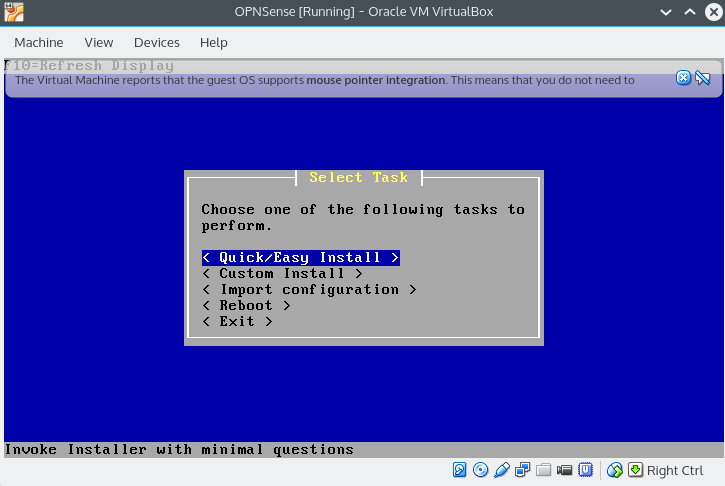
Choose quick easy install method. press enter.
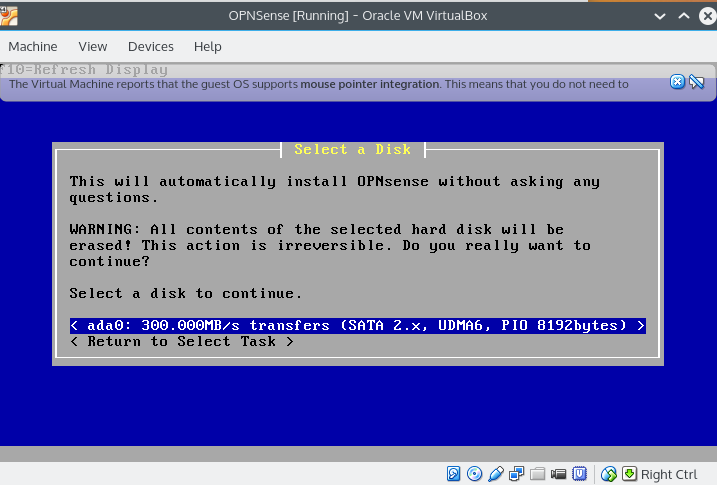
Select the hard drive, press enter.
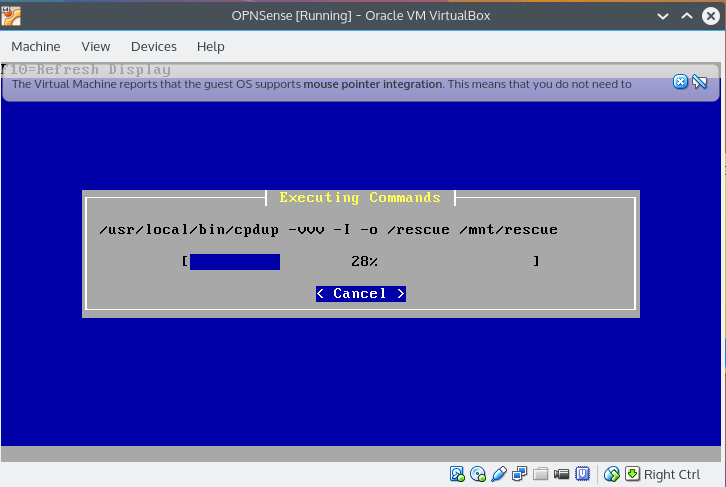
This Step may take some time, the the process be complete.
After installation process is over, select reboot and press enter.

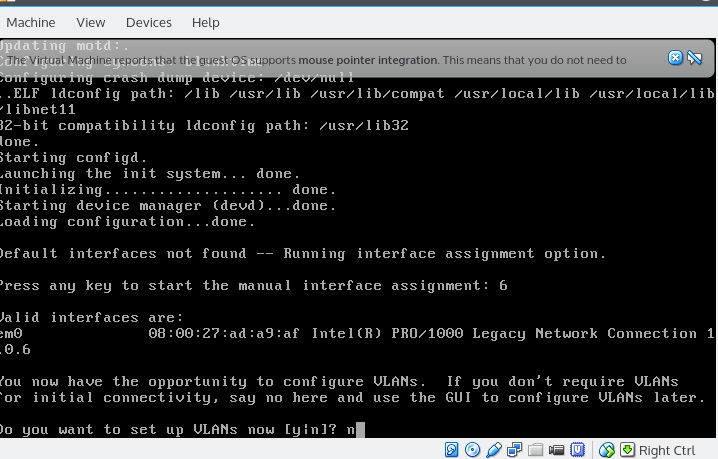
Remove the boot media, after reboot it will ask you to set VLANs, press ‘no’ as will configure VLAN with GUI later on.
After above step is over, server will ask for login and password, login with ‘root’ with default password ‘opnsense’, login top the system and set the interface.

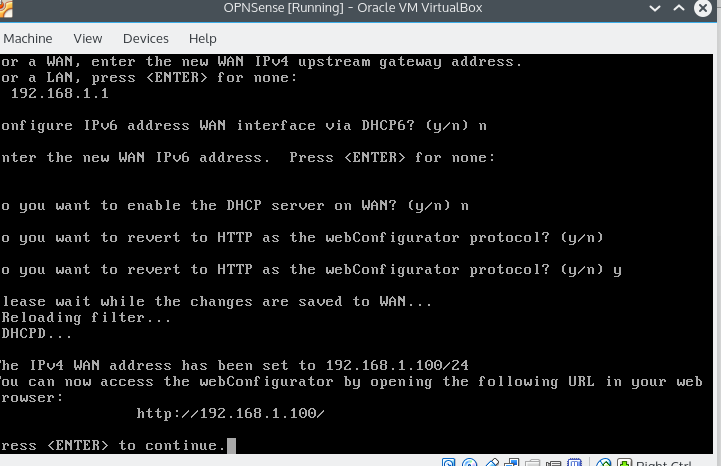
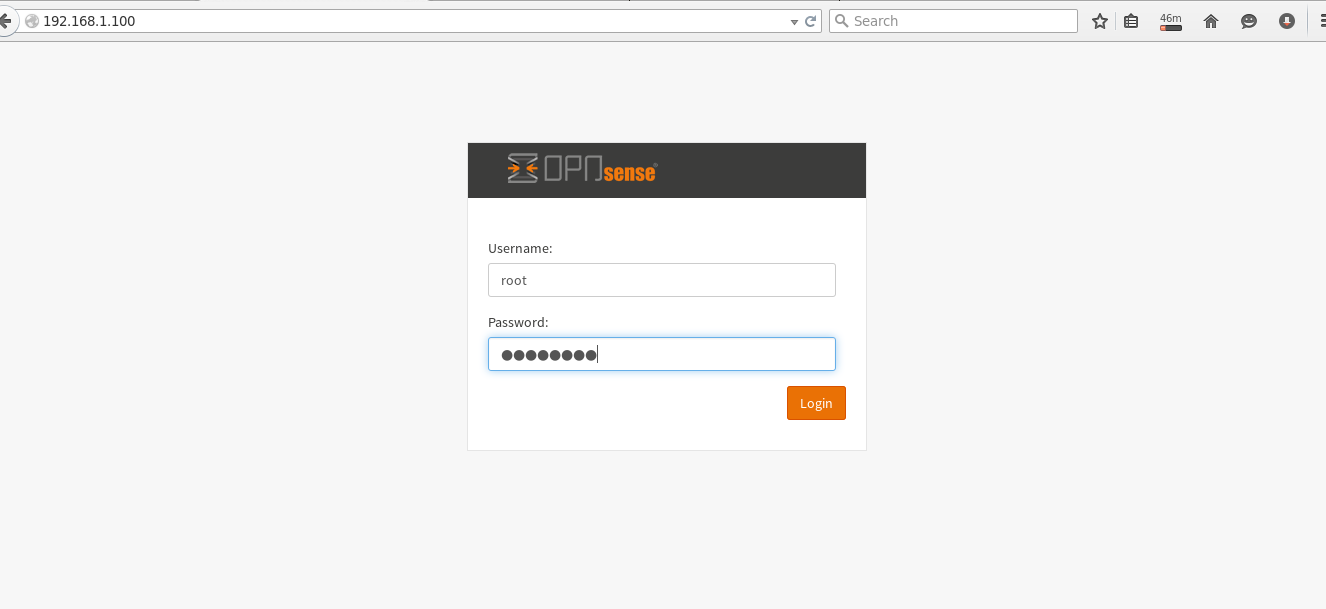
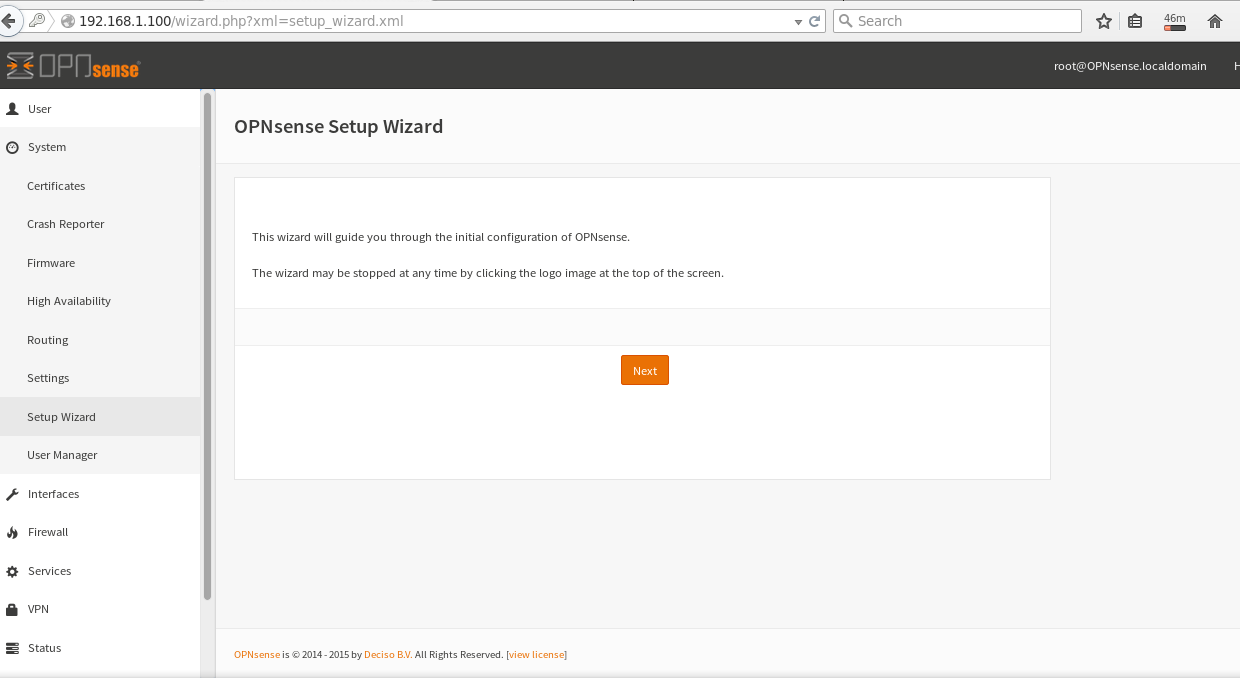
Access this ip address via browser on a remote system and complete rest of the configurations, note that in gui admin login admin is ‘root’ and password is ‘opnsense’
Provide required DNS credentials.
In Same manner complete rest of the steps as per your network requirements.
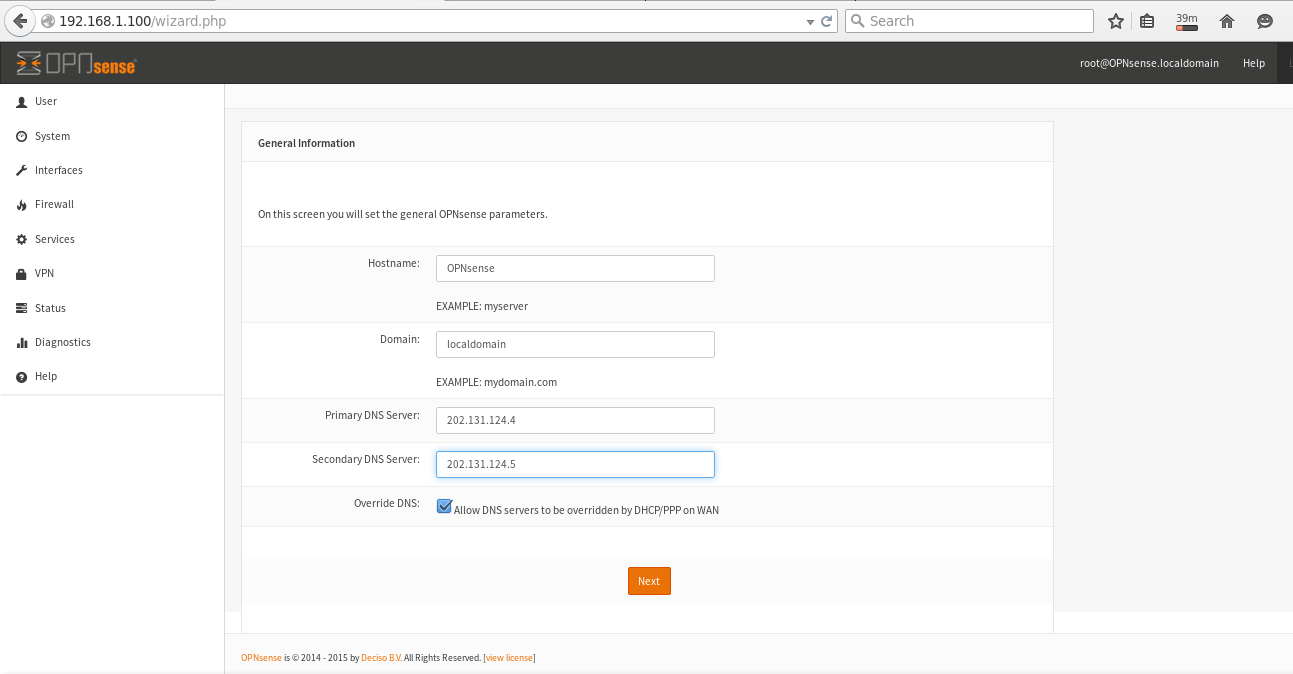
Set Hostname and Time zone as per your need .

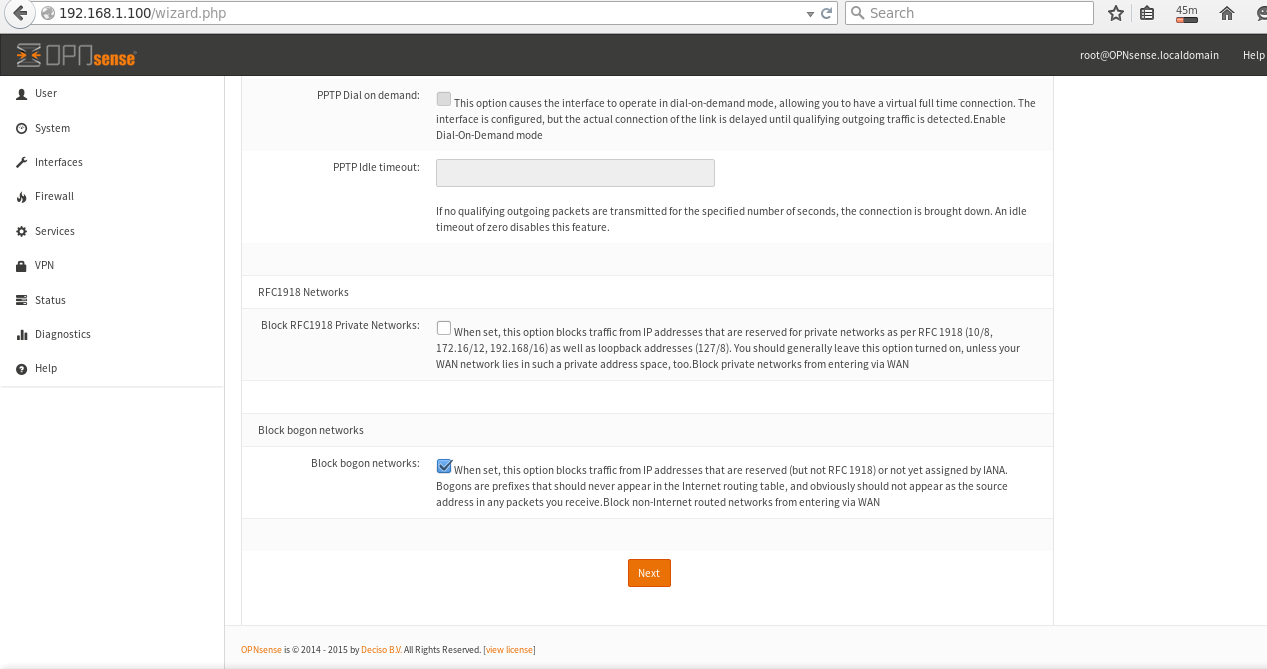
Set Your Traffic rules, click next.
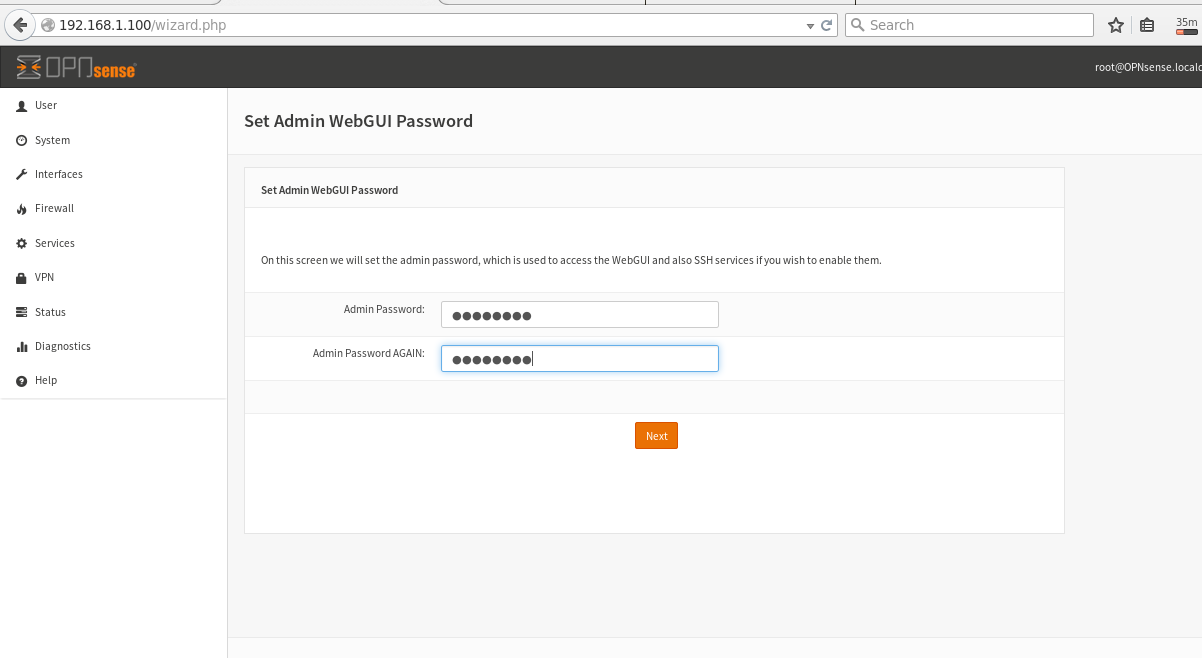
Provide new admin password of root for next login, click next.
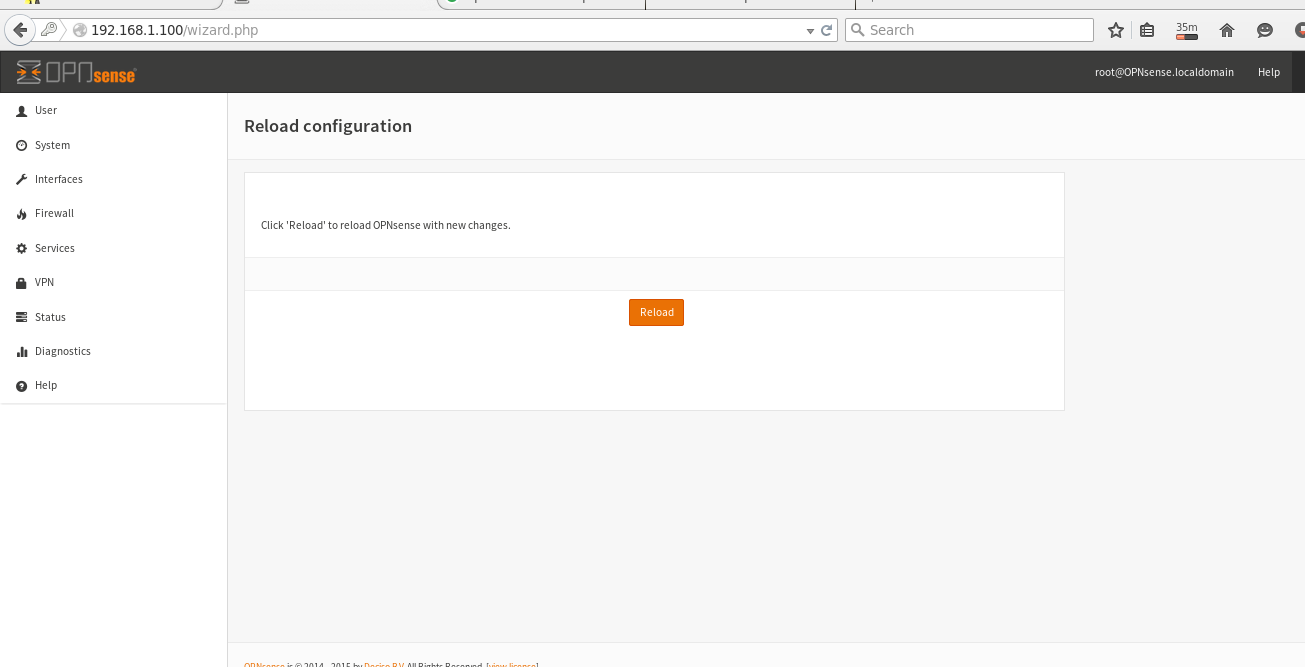
When installation process is over, reload service, this step will reboot the system.
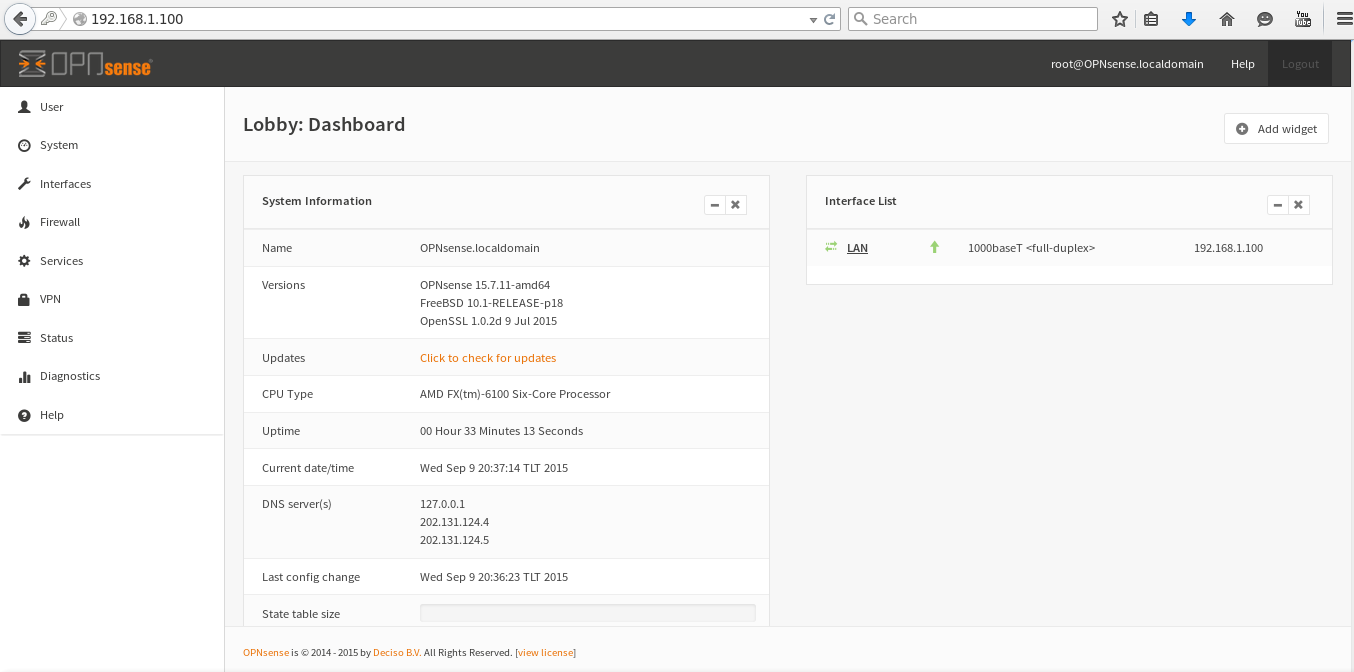
After reboot, click ‘add widget’ icon at upper right corner of the portal, with the help of this your can add various widgets as per your requirement.
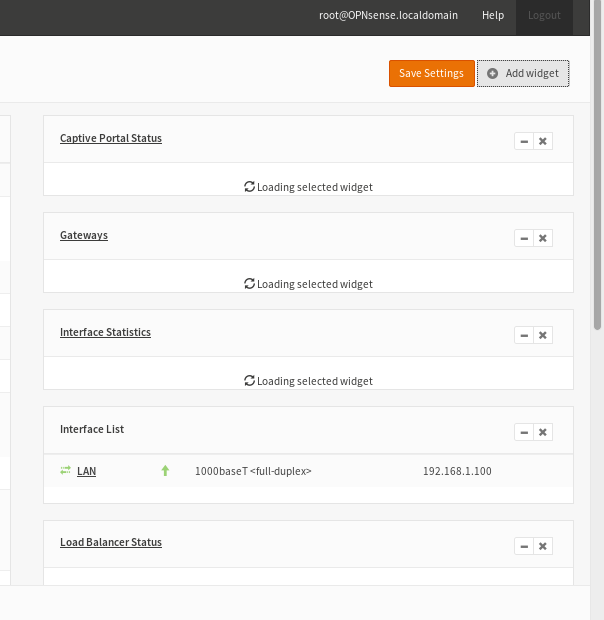
Sample of some installed widgets.
When All steps are over, configure your DHCP, DNS and other firewall setting, test for network.
Have fun!!
Reference Link:


